下面图老师小编跟大家分享PS合成漂亮的明月照耀雪山场景,一起来学习下过程究竟如何进行吧!喜欢就赶紧收藏起来哦~
效果合成的素材非常少,雪山背景加月亮素材,不过合成的时候要根据光源方向合理调整图片局部明暗,同时要把远近层次关系处理自然。
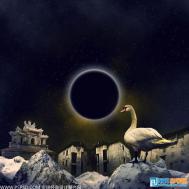
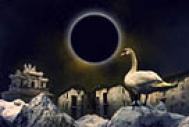
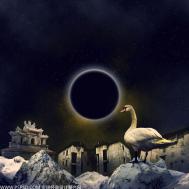
最终效果
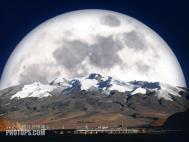
1、打开背景素材。 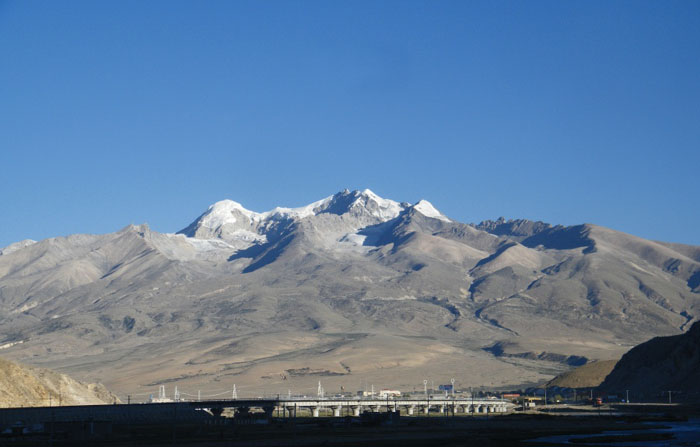
2、用裁剪工具扩大图层画面。 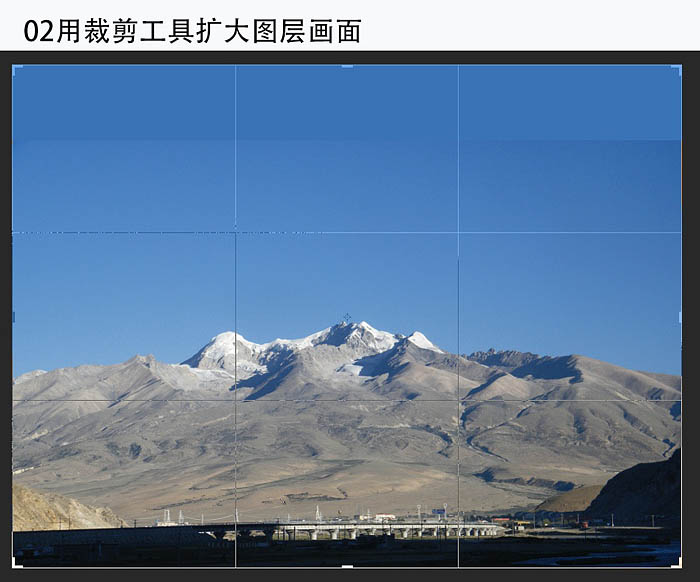
3、用矩形工具复制天空,羽化半径50。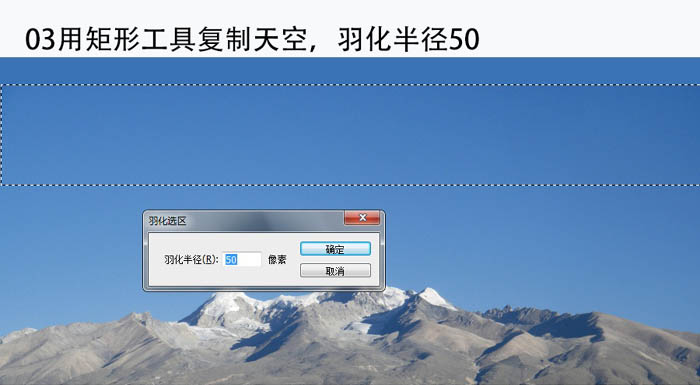
4、复制的天空色块用扭曲工具拉伸到画布顶部边缘。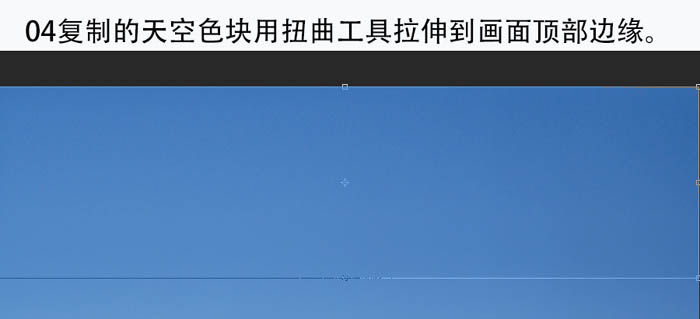
5、图层上下合成,发现天空空旷了。
6、选择菜单:图形 调整 可选颜色。 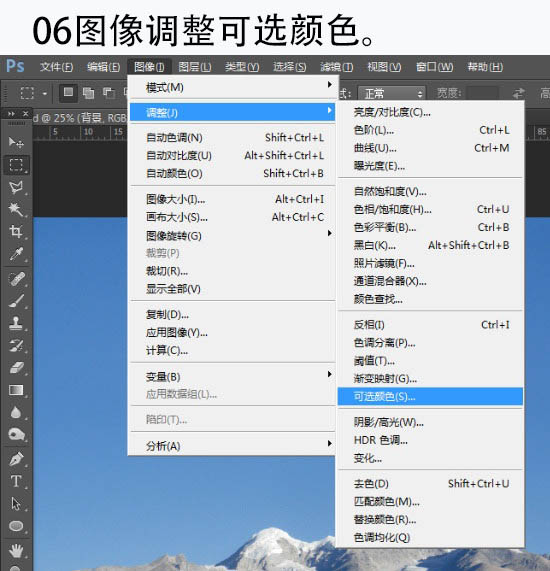
7、可选颜色参数如下。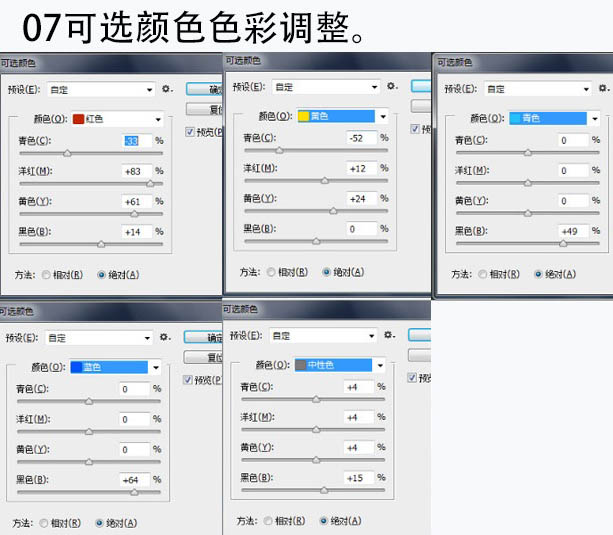
8、魔棒点击天空,并反选选区。
9、添加冰川效果,用多边形套索工具勾勒出需要的山顶。
10、勾勒的山顶羽化半径1,并复制画面建立新图层。
(本文来源于图老师网站,更多请访问https://m.tulaoshi.com/ps/)11、图像 调整 可选颜色,调整山顶中性色和黑色部分。 
12、图层前后对比。
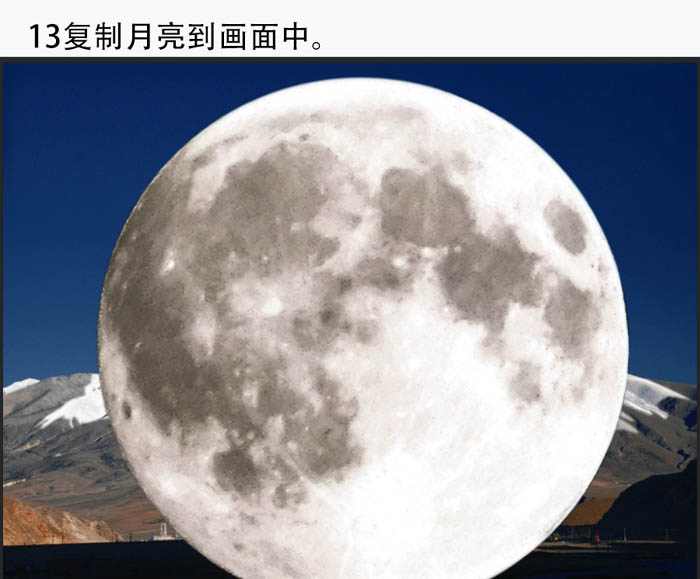
13、复制月亮到画面中。 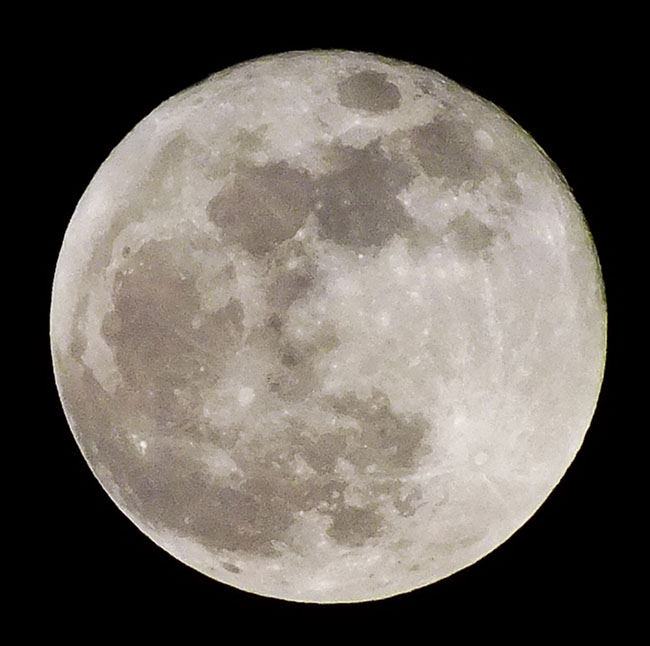
(本文来源于图老师网站,更多请访问https://m.tulaoshi.com/ps/)14、用扭曲工具旋转月亮并拉伸。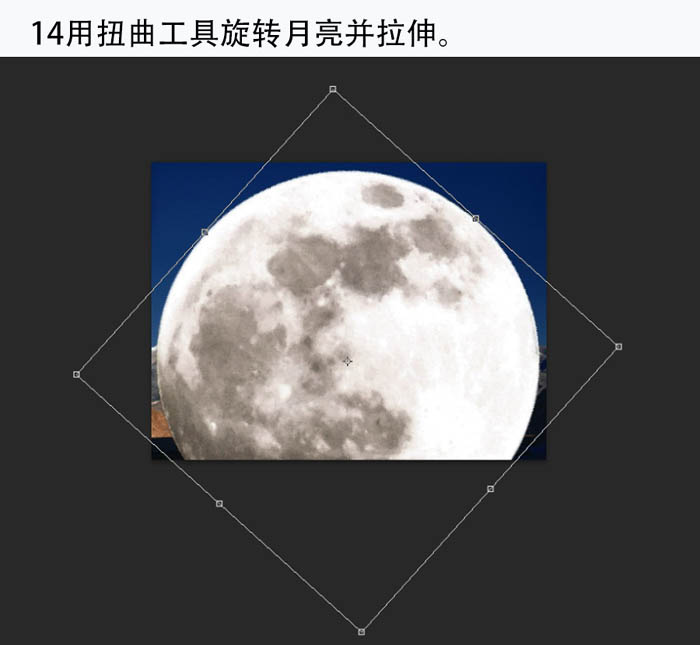
15、图像调整可选颜色,调整中性色。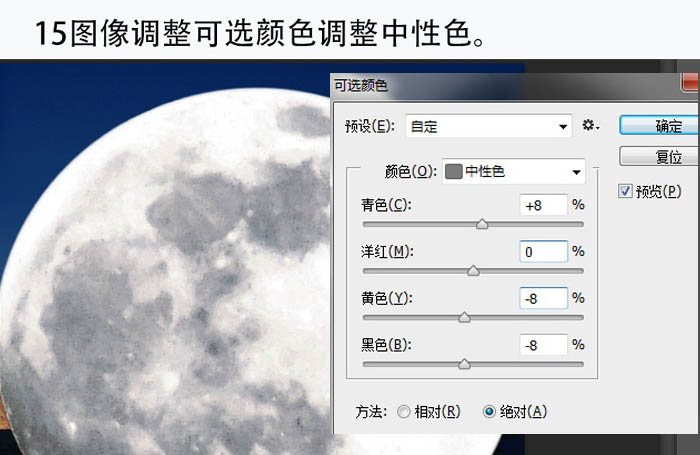
16、隐藏月亮,用魔棒点击背景天空,并反选选区。
17、旋转月亮图层,羽化半径。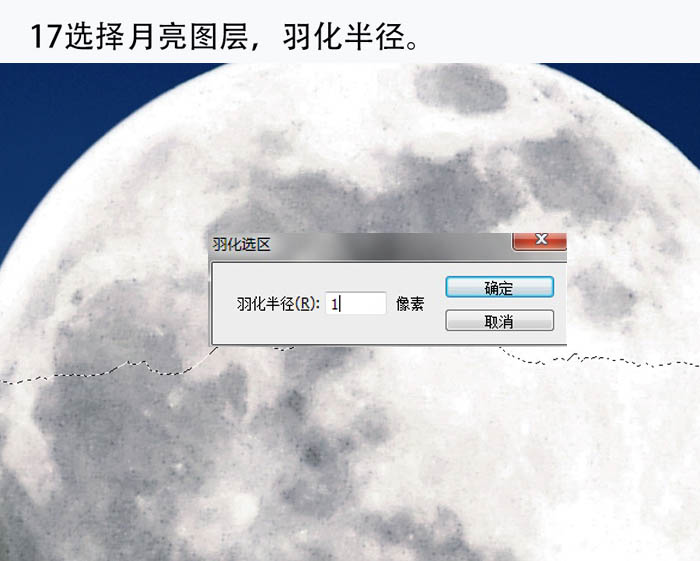
18、删除月亮下半部,发现与冰川边缘有印痕。
19、把月亮图层往下移动一点,印痕消失。
20、复制背景图层。
21、隐藏月亮,图形调整背景可选颜色,调整中性色及蓝色。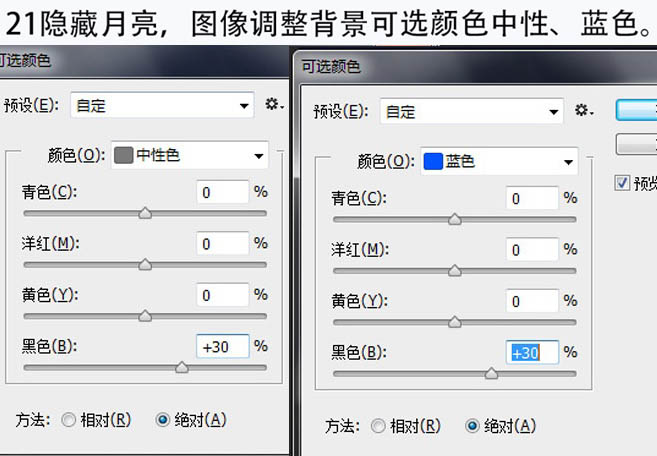
22、显示月亮,用椭圆选框工具根据把月亮边缘框住。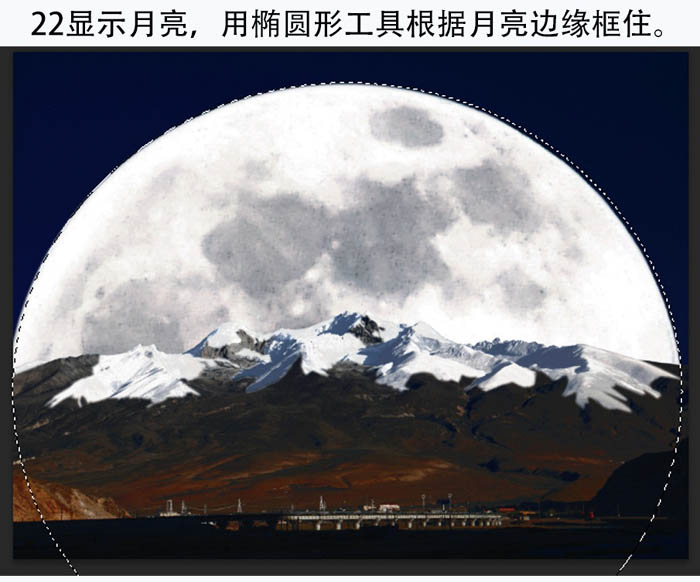
23、羽化半径120像素。
24、隐藏月亮,删除背景框线内画面,并把背景复制层调整到月亮上一层。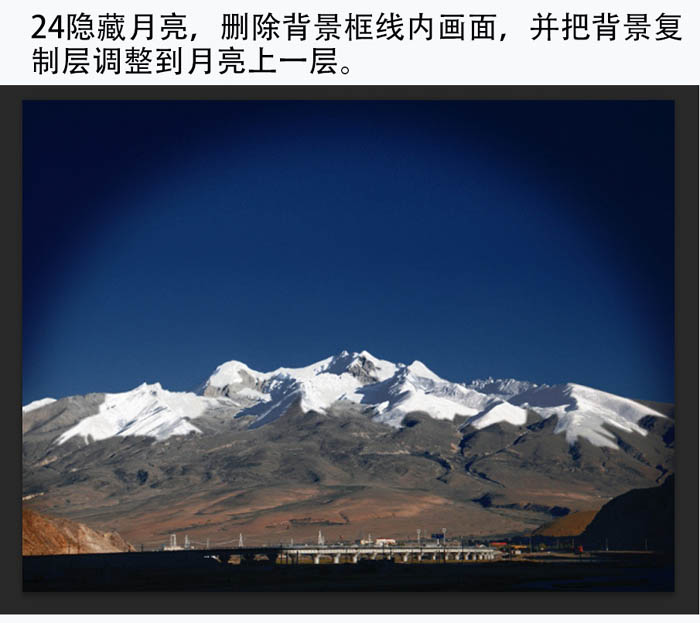
25、因月亮远离山峰距离,故月亮清晰度要降低,高斯模糊6像素。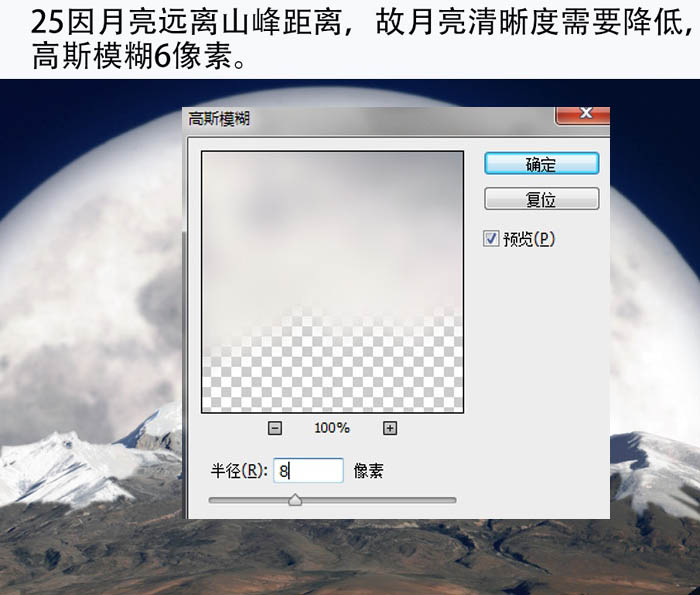
26、Alt键 + 快速蒙版,用画笔给月亮磨皮。 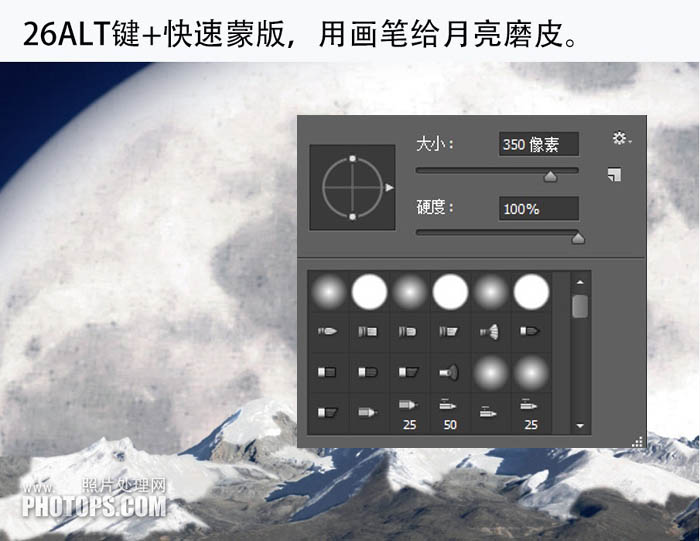
最终效果: