今天图老师小编给大家精心推荐个依源风格之制作淡青色非主流效果教程,一起来看看过程究竟如何进行吧!喜欢还请点个赞哦~
制作的过程中有任何疑问可以加作者的QQ:48553268。
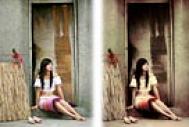
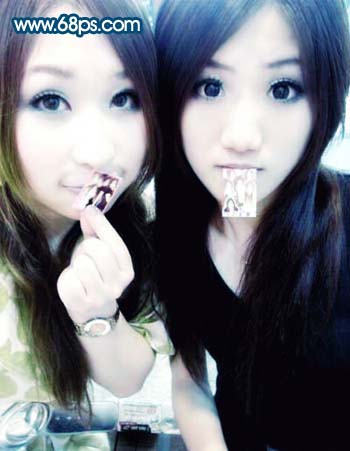
原图
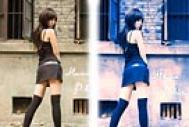
最终效果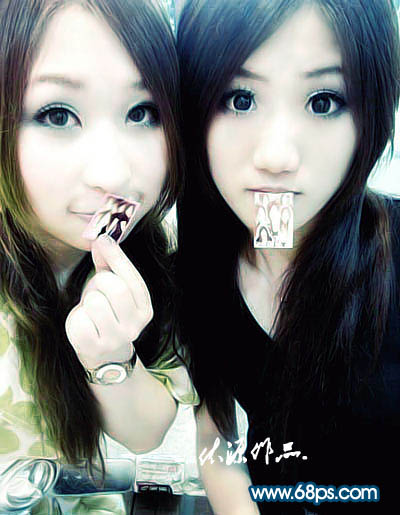
1、打开原图,进行磨皮,磨皮方法很多,自己掌握,然后用加深减淡工具,加深眉毛及眼睛高光。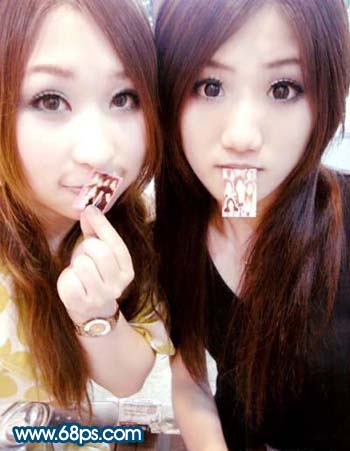
2、创建色彩平衡调整图层,参数及效果如图下图。

3、创建亮度/对比度调整图层,参数及效果如图下图。

4、创建色相/饱和度调整图层,参数设置如下图。
(本文来源于图老师网站,更多请访问https://m.tulaoshi.com/psxpcl/)

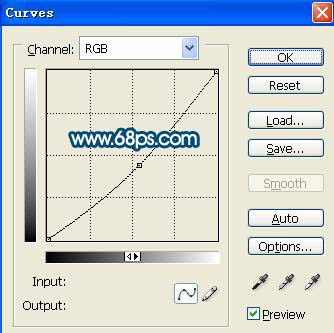
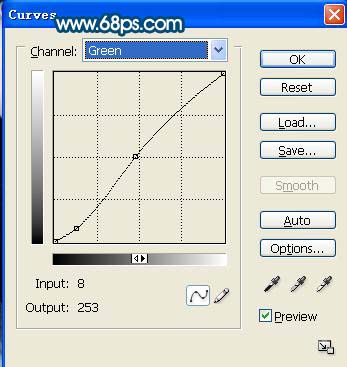
5、创建曲线调整图层,参数及效果如图下图。
(本文来源于图老师网站,更多请访问https://m.tulaoshi.com/psxpcl/)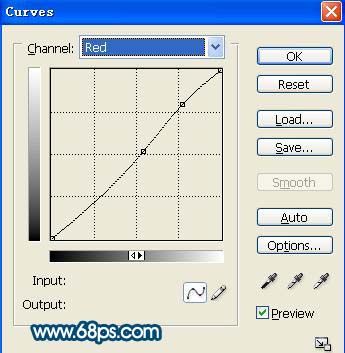

6、新建一个图层,按Ctrl + Alt + Shift + E盖印图层,执行:滤镜 模糊 高斯模糊,模糊值为5,混合模式为叠加,不透明度为40。
7、新建一个图层,印图层,适当的用Topaz滤镜锐化一下,效果如下图。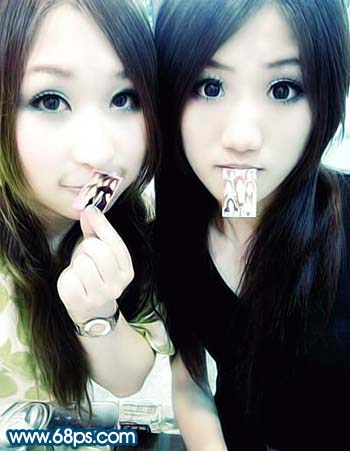
8、创佳曲线调整图层,参数设置如下图,确定后打上文字,完成最终效果。