想不想get新技能酷炫一下,今天图老师小编就跟大家分享个简单的Photoshop打造蓝色梦幻童话艺术图片教程,一起来看看吧!超容易上手~
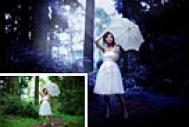
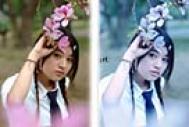
最终效果![](https://img.tulaoshi.com/image/20160202/aedee2b03ae46af637c8dc23431a3610.jpg)
(本文来源于图老师网站,更多请访问https://m.tulaoshi.com/psxpcl/)素材![](https://img.tulaoshi.com/image/20160202/d6f90adc870ddb0e2a02008d65e6a470.jpg)
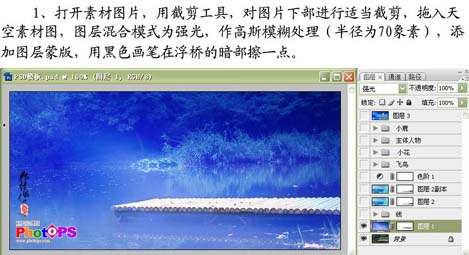
1、打开素材图片,用裁剪工具对图片进行适当裁剪,拖入天空素材图,图层混合模式改为“强光”,执行:滤镜 模糊 高斯模糊,数值稍微调大一点,加上图层蒙版,用黑色画笔在浮桥的暗部擦一点。![](https://img.tulaoshi.com/image/20160202/002116bccd2334bb373272e558465ad9.jpg)
![](https://img.tulaoshi.com/image/20160202/23bf5abcf72d19e84b9ccd8398456753.jpg)
2、用钢笔工具画一根S形状路径,进行白色路径描边,执行:滤镜 模糊 动感模糊,用相同的方法再做两根梦幻的白线。![](https://img.tulaoshi.com/image/20160202/a637c9127844582b1f23d20258ae7e6d.jpg)
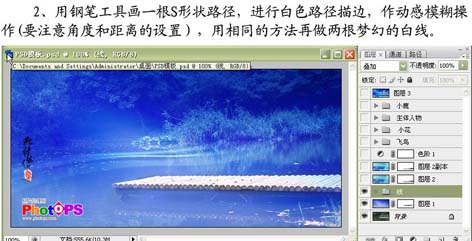
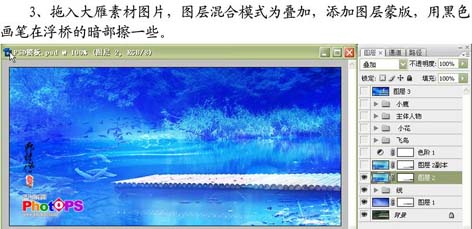
3、拖入大雁素材图片,图层混合模式改为“叠加”,添加图层蒙版,用黑色画笔在浮桥的暗部擦一些。![](https://img.tulaoshi.com/image/20160202/a68b5124525f1fc75394e943736e78d7.jpg)
![](https://img.tulaoshi.com/image/20160202/426f4c11f1aefca27ab45e0407be1d98.jpg)
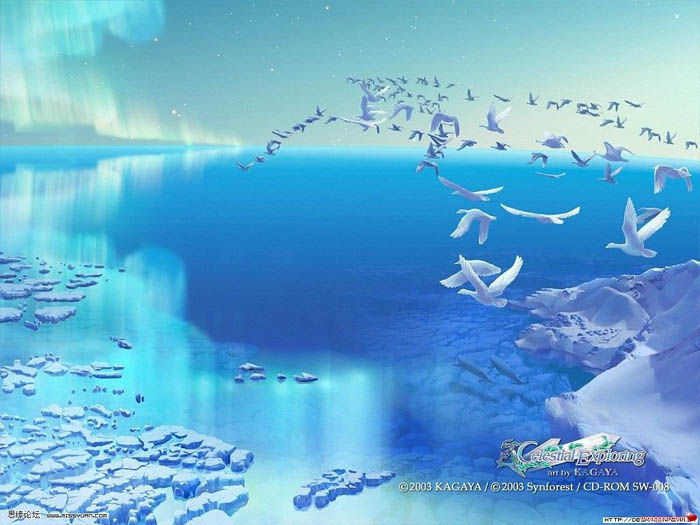
4、复制一层,图层混合模式改为“柔光”。![](https://img.tulaoshi.com/image/20160202/410f9ade508ba2039f77067558677be4.jpg)
5、创建色阶调整图层,点自动。![](https://img.tulaoshi.com/image/20160202/6d354d937bc0f1b6abf77feb449846db.jpg)
6、对飞鸟素材进行抠图,把飞鸟拖进来,进行反相操作,废止几个图层,做如下图所示排列。![](https://img.tulaoshi.com/image/20160202/6c695fa2803fa7c32ea6249a9bc967b5.jpg)
![](https://img.tulaoshi.com/image/20160202/16234318b7f87bb24f84d310de3a1a2a.jpg)
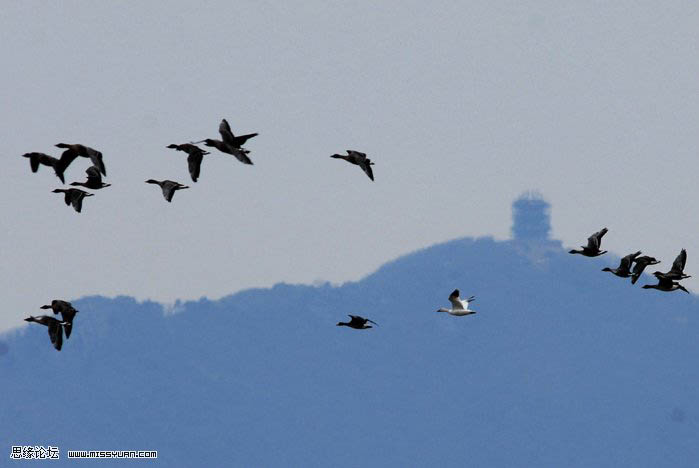
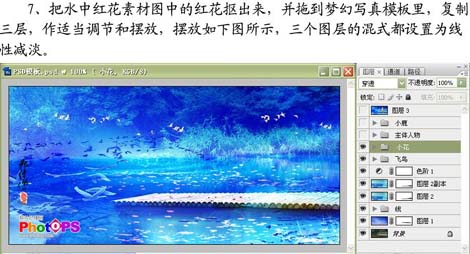
7、把水中的红花素材图中的画抠出来,拖进来,复制三层,做适当调节和摆放,摆放如下图所示,三个图层混合模式都设置为线性减淡。![](https://img.tulaoshi.com/image/20160202/c34c093158d038e08788061915fd6eb3.jpg)
![](https://img.tulaoshi.com/image/20160202/1f87cb18b3a604d10d33e5a849b18f79.jpg)
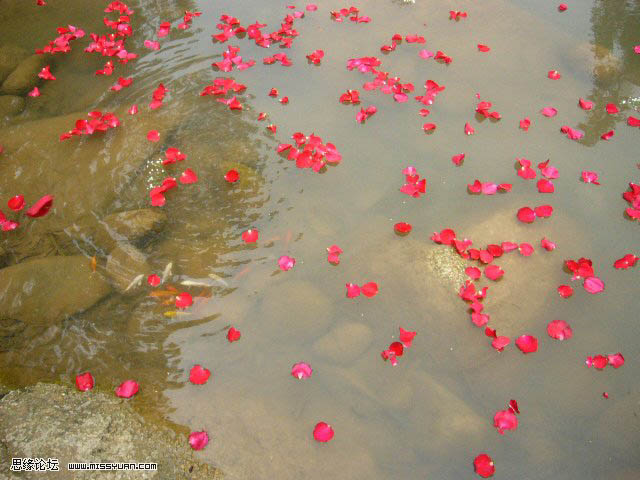
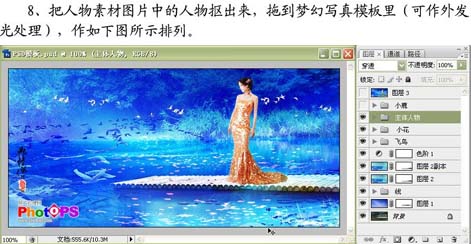
8、把人物素材图片中的人物抠出来,拖进来。![](https://img.tulaoshi.com/image/20160202/bfedc4be4d5da065d60ddd60dfe80f62.jpg)
![](https://img.tulaoshi.com/image/20160202/9928f6919cb0b19886dc307ca7c8b2c8.jpg)
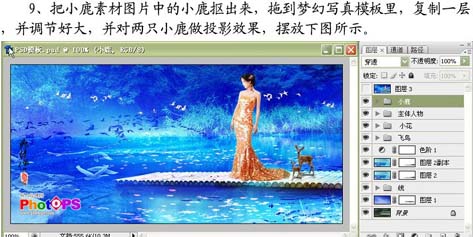
(本文来源于图老师网站,更多请访问https://m.tulaoshi.com/psxpcl/)9、把小鹿素材图片中的小鹿抠出来,拖进来,复制一层,并调节好小小,适当的加上投影。![](https://img.tulaoshi.com/image/20160202/283a07b90cbda30ca2d0e46ccdd35814.jpg)
![](https://img.tulaoshi.com/image/20160202/596186bc91f667d87323b5c29b8b9e56.jpg)
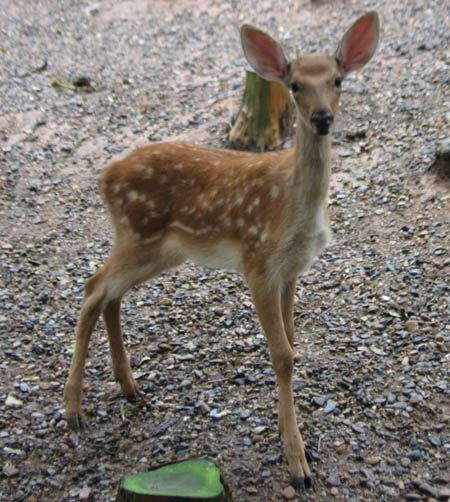
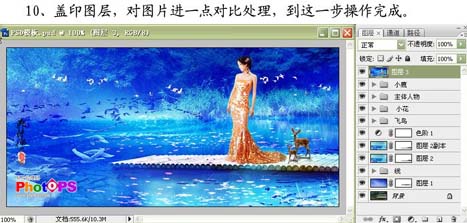
10、盖印图层,对图片进行一下对比度处理,完成最终效果。![](https://img.tulaoshi.com/image/20160202/4d09dfc0d3c976e416dae6382e0609b9.jpg)