图老师电脑网络栏目是一个分享最好最实用的教程的社区,我们拥有最用心的各种教程,今天就给大家分享Photoshop调出照片清爽的灰绿色的教程,热爱PS的朋友们快点看过来吧!
本教程色调调得不错。仅利用几个调色工具快速调出效果,可见作者对色彩把握的非常好。
原图
![](https://img.tulaoshi.com/image/20160202/79b81349a2a6aac6d13a0a5165646ab5.jpg)
最终效果![](https://img.tulaoshi.com/image/20160202/034e2a0a63683ddaefa13c0ca5736194.jpg)
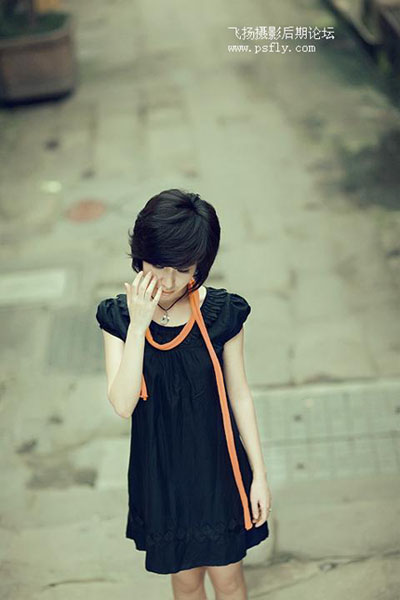
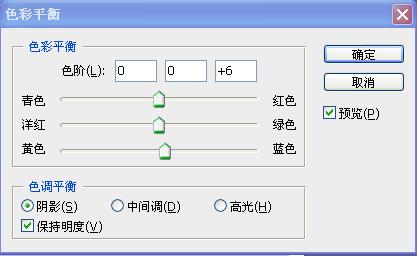
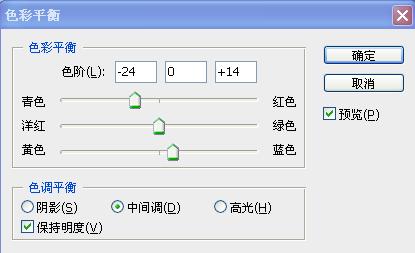
1、打开原图素材,双击爱你色彩平衡调整图层,参数设置如下图。![](https://img.tulaoshi.com/image/20160202/89fa80e132a2cddfdfc558197d249573.jpg)
![](https://img.tulaoshi.com/image/20160202/37c6252200abfe84a1336f807d0061d7.jpg)
![](https://img.tulaoshi.com/image/20160202/3c62d353263728ae3cbce923ce5f3bc4.jpg)
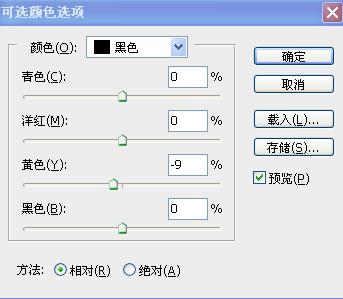
(本文来源于图老师网站,更多请访问https://m.tulaoshi.com/psxpcl/)2、创建可选颜色调整图层,参数设置如下图。![](https://img.tulaoshi.com/image/20160202/fa9796da7f457a67db6374d427d3d010.jpg)
![](https://img.tulaoshi.com/image/20160202/5598861c93c2958c3824aa0b4a17783b.jpg)
![](https://img.tulaoshi.com/image/20160202/4f12be598f31e17ba82cbdf7312c6c1a.jpg)
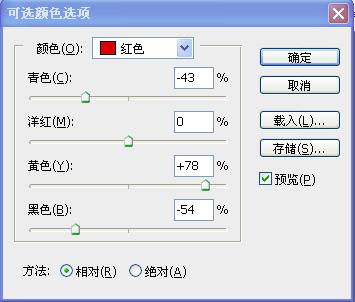
3、创建曲线调整图层,适当把图层调亮一点,效果如下图。![](https://img.tulaoshi.com/image/20160202/bf7683b1b2baadc957931bb5708655a9.jpg)
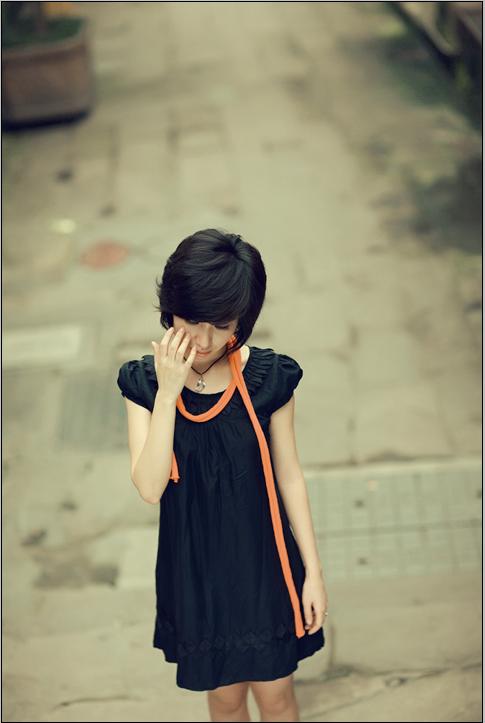
4、创建照片滤镜调整图层,参数设置如下图。![](https://img.tulaoshi.com/image/20160202/5af643ca6a23522edd45dbc3c5723a83.jpg)
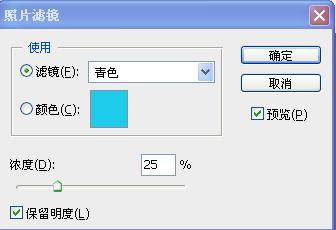
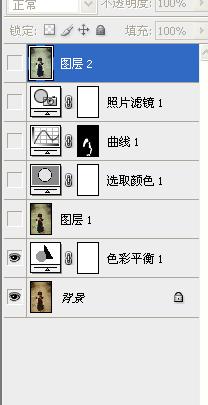
(本文来源于图老师网站,更多请访问https://m.tulaoshi.com/psxpcl/)5、新建一个图层,盖印图层,适当的把图层锐化一下,完成最终效果。下面是图层参照及效果图。![](https://img.tulaoshi.com/image/20160202/67cadf5d3308e757085a69b5eab69c93.jpg)
![](https://img.tulaoshi.com/image/20160202/034e2a0a63683ddaefa13c0ca5736194.jpg)