下面是个超简单的Photoshop快速修复偏暗红的美女照片教程,图老师小编精心挑选推荐,大家行行好,多给几个赞吧,小编吐血跪求~
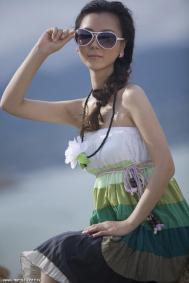
1、打开原图素材,创建曲线调整图层,参数及效果如下图。
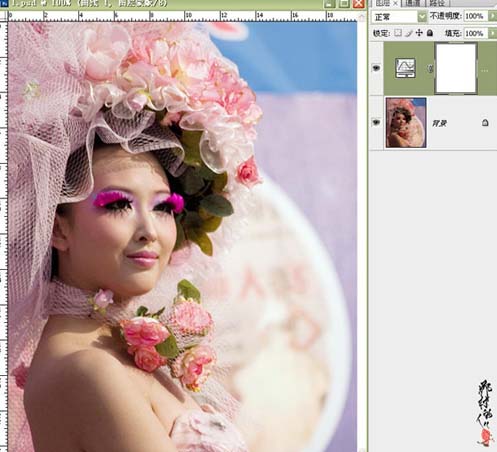
2、选择菜单:图像 模式 Lab颜色,选择合拼,然后创建曲线调整图层,参数及效果如下图。
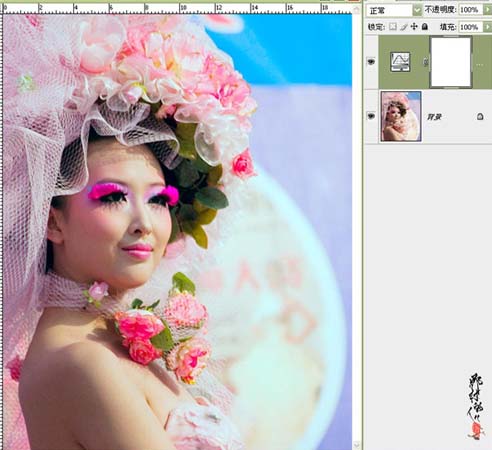
3、选择菜单:图像 模式 RBB颜色,选择合拼,把背景图层复制一层,做降噪处理。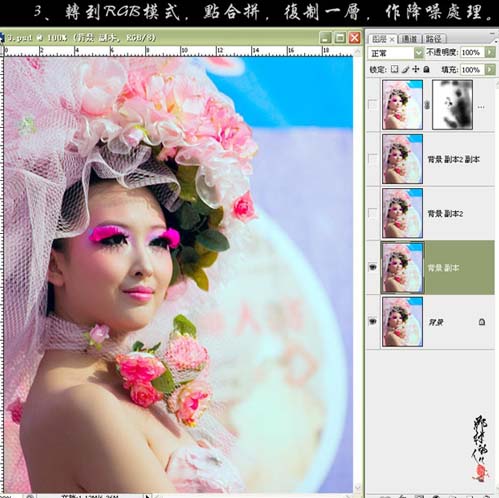
4、复制一层,做锐化处理,效果如下图。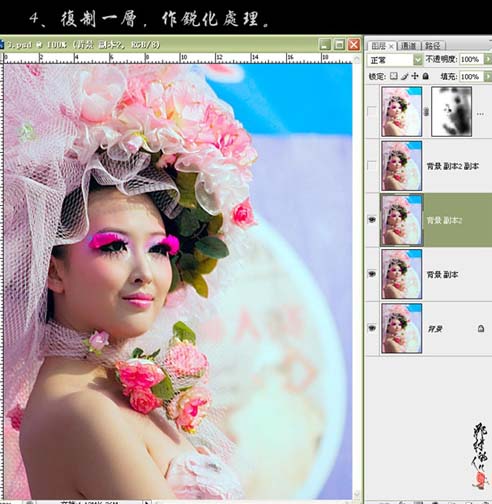
5、复制一层,图层混合模式改为“滤色”,图层不透明度改为:47%,效果如下图。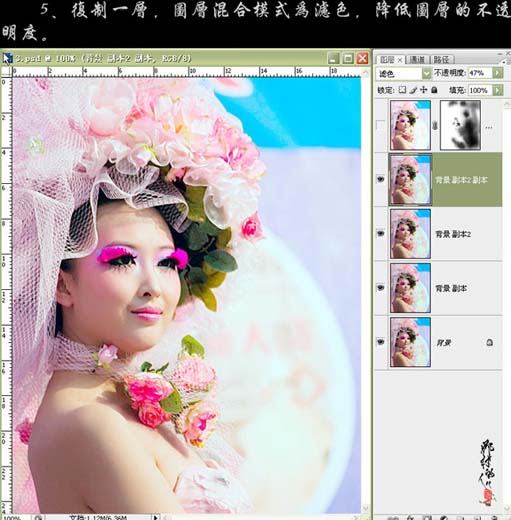
(本文来源于图老师网站,更多请访问https://m.tulaoshi.com/psxpcl/)6、新建一个图层,按Ctrl + Alt + Shift + E盖印图层,执行:图像 应用图像操作,参数设置如下图。确定后按住ALt键加上图层蒙版,用白色画笔涂抹需要操作的部分,完成最终效果。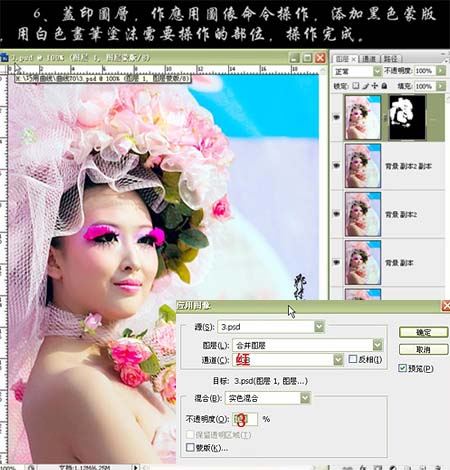

(本文来源于图老师网站,更多请访问https://m.tulaoshi.com/psxpcl/)