下面图老师小编要向大家介绍下Photoshop调出人物甜美的淡紫色,看起来复杂实则是简单的,掌握好技巧就OK,喜欢就赶紧收藏起来吧!
作者调色非常专业,能够很好的从局部出发,完美的处理好每一个细节,然后再整体美化,出来的效果感觉档次非常高。非常值得学习。
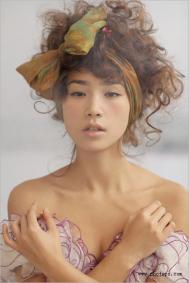
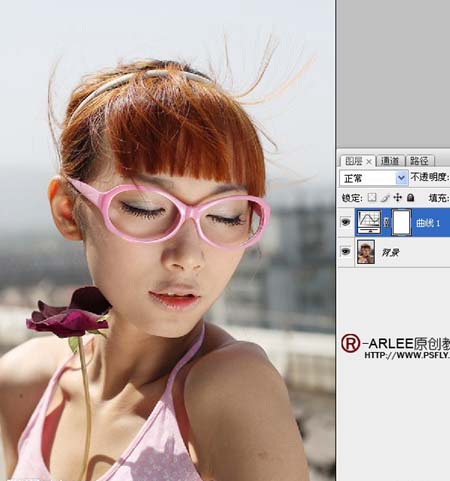
原图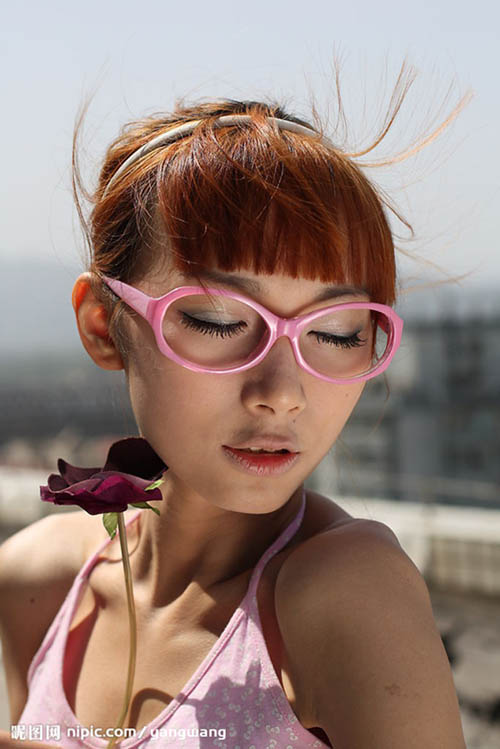
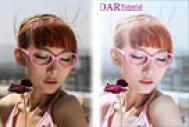
最终效果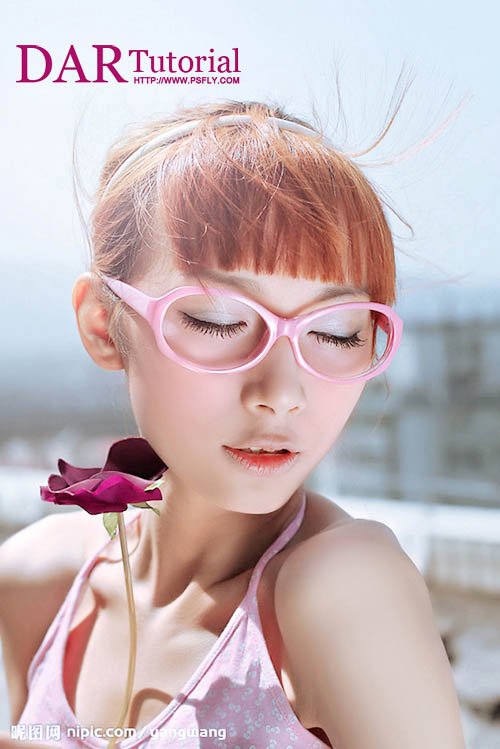
1、打开原图素材,新建曲线调整层,目的将暗部提亮。
2、利用图层蒙版将衣服上过亮的搽出来。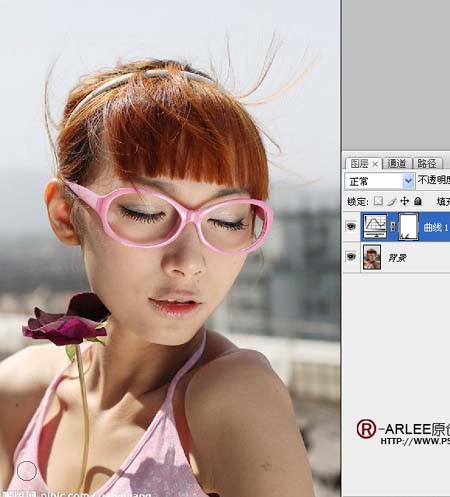
3、盖印可见图层,连续选四次高光区域,快捷键ctrl+alt+shift+~ 连续四次,复制选的区域出来。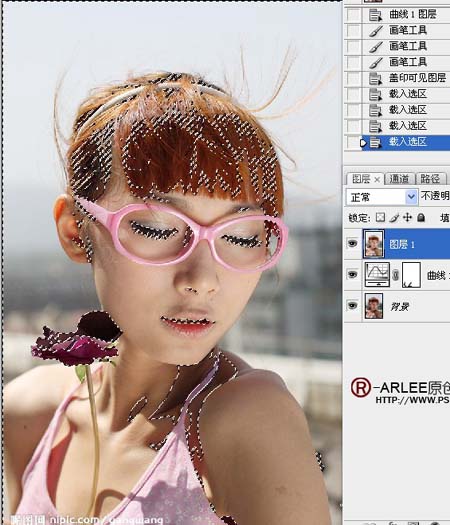
4、添加图层蒙版,将五官,头发衣服细节搽出来,目的-NEAT进行磨皮细节处理。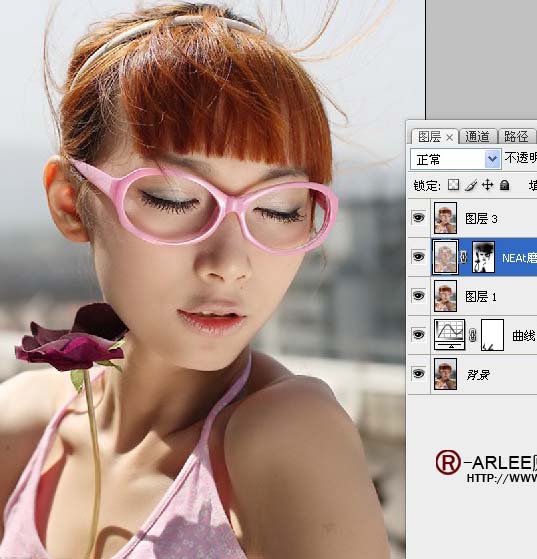
5、盖印可见图层,连续选两次高光区域,快捷键ctrl+alt+shift+~ 连续两次。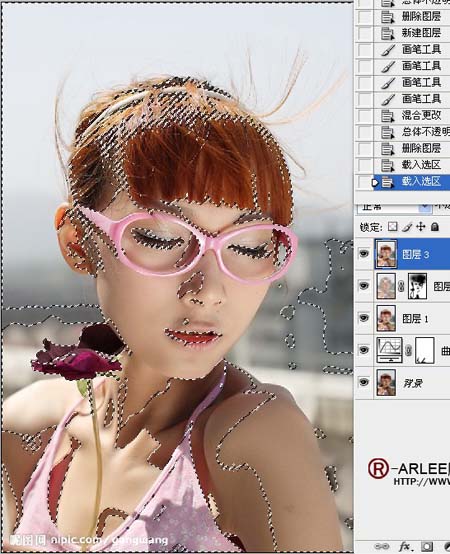
(本文来源于图老师网站,更多请访问https://m.tulaoshi.com/psxpcl/)6、图像-调整-阴影高光目的改变阴影过暗与调整质感。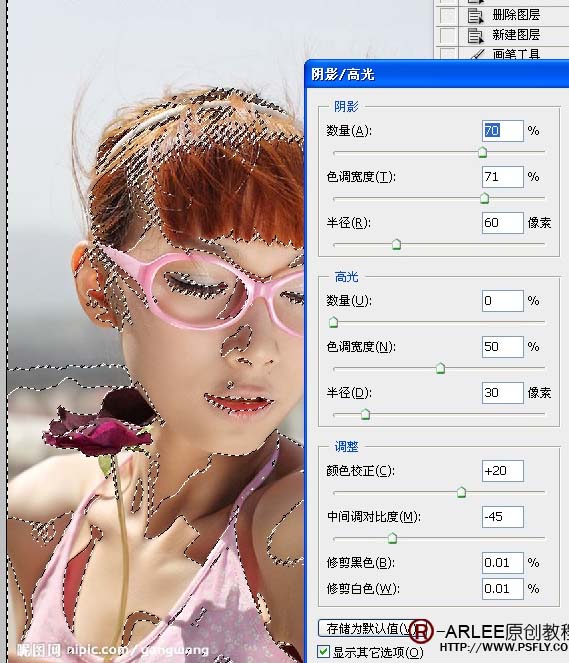
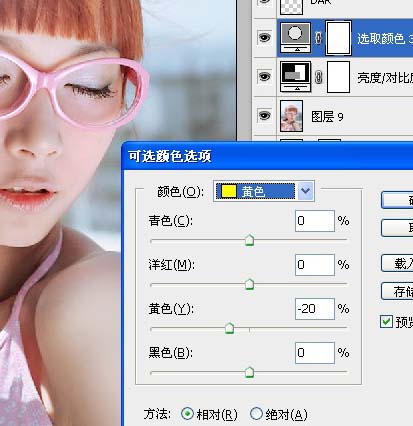
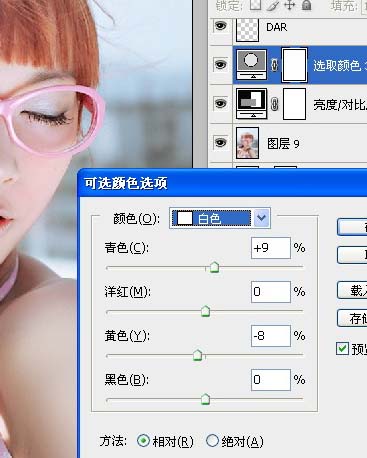
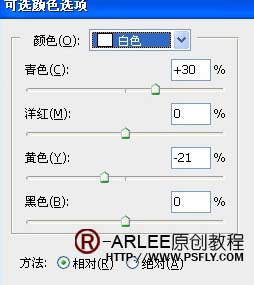
7、新建可选颜色调整层。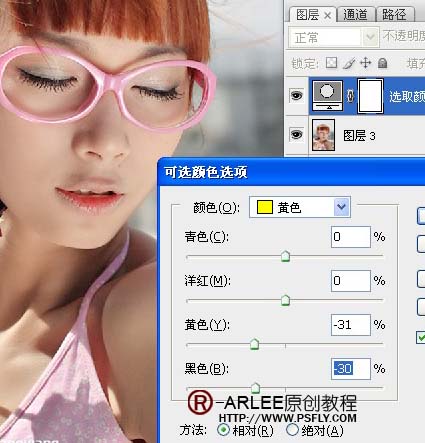

8、盖印可见图层,将花勾选出来,用可选进行调整。
9、新建一个空白图层,用白色画笔,硬度为0,在手臂上涂上一笔。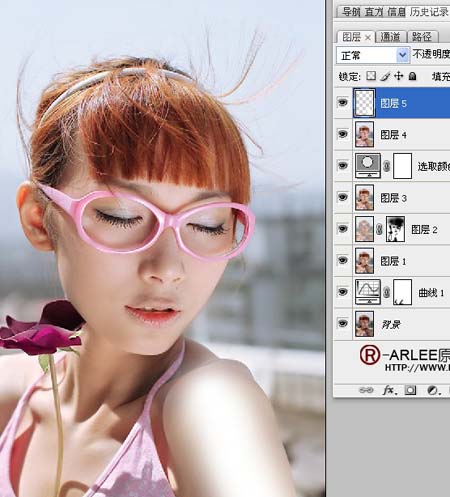
10、模式改为柔光,现在我们发现手臂有了光感。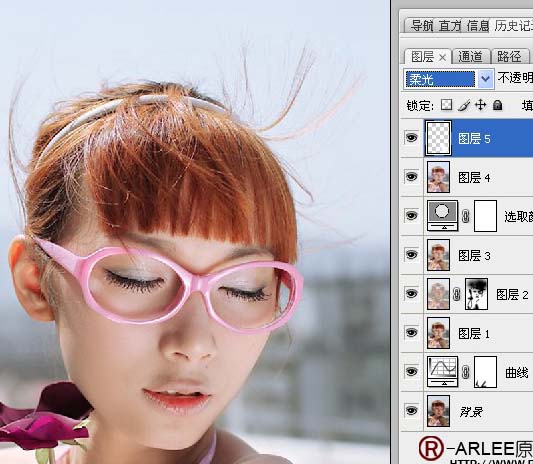
11、盖印可见图层。新建曲线调整层。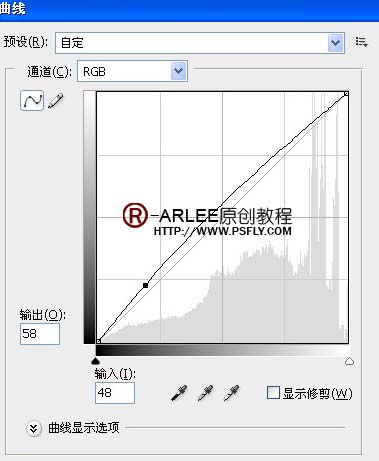
12、新建可选调整层。
13、新建个空白图层为美女加点腮红,先拉个选区,羽化一下,具体看图。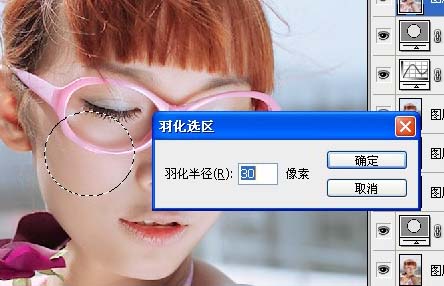
14、选取腮红的颜色。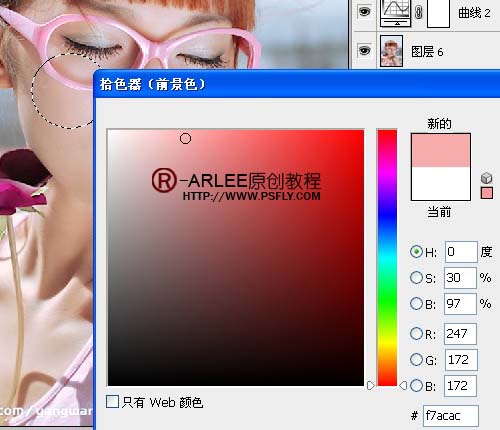
15、模式改为颜色。
16、盖印可见图层,再复制一层,滤镜-渲染-镜头光晕,具体如图。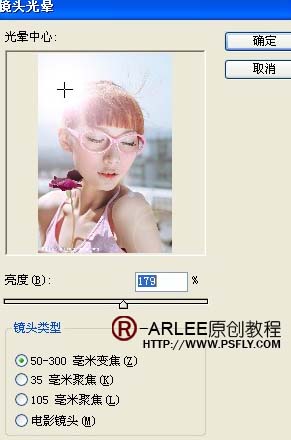
17、添加图层蒙版,将多余的光晕搽除。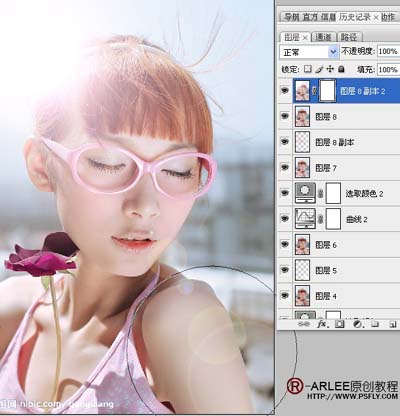
18、更改不透明度。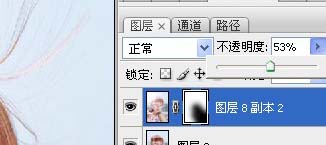
19、盖印可见图层,自动对比度。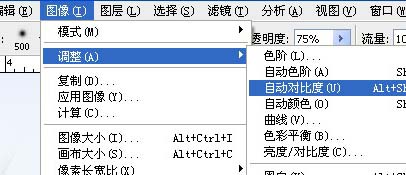
20、不透明度更改。
21、勾出眼睛部分,具体如图。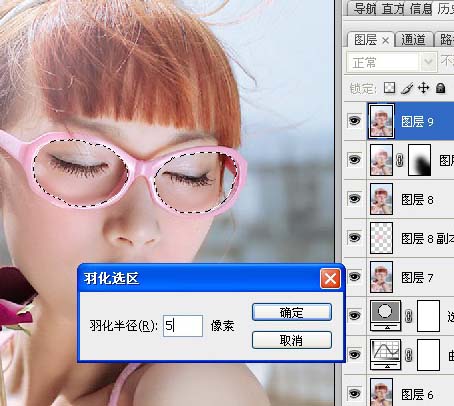
22、图像-调整-可选颜色。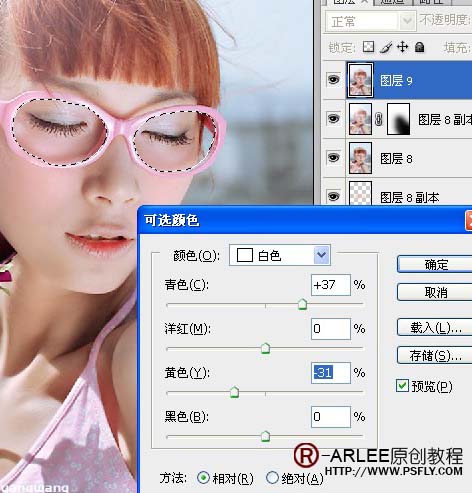
23、新建亮度对比度调整层。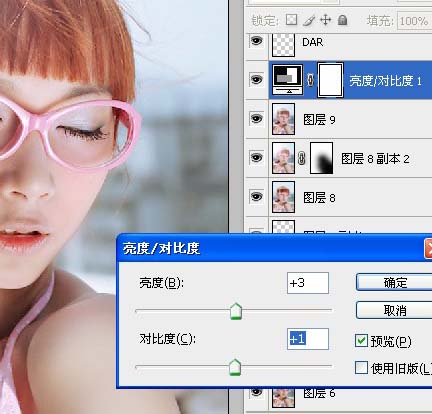
(本文来源于图老师网站,更多请访问https://m.tulaoshi.com/psxpcl/)24、新建可选颜色调整层,参数设置如下图,确定后完成最终效果。