下面是个简单易学的超细的人像后期磨皮及专业美化教程,图老师小编详细图解介绍包你轻松学会,喜欢的朋友赶紧get起来吧!
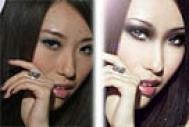
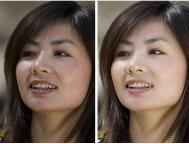
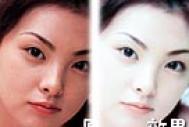
本教程将非常详细的介绍人像的后期的处理过程。作者美化的时候非常注重细节部分的修饰。不管是细小的瑕疵还是细微的颜色,作者都是非常用心的去美化。出来的效果自然漂亮。 原图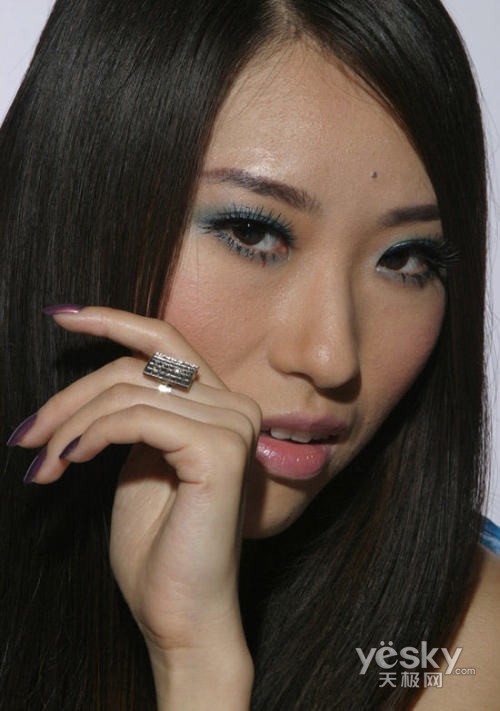
最终效果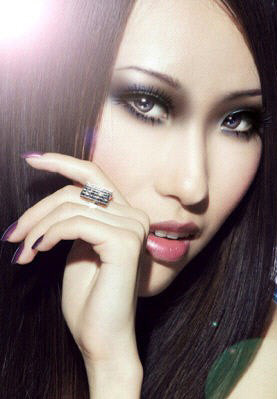
局部放大
1、打开文件;
2、复制一个图层副本; 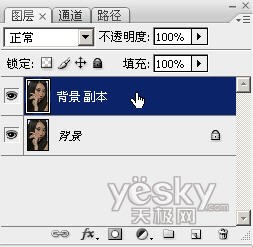
3、选中复制的图层按自由变换快捷键ctrl+t改变人物的脸形使更修长;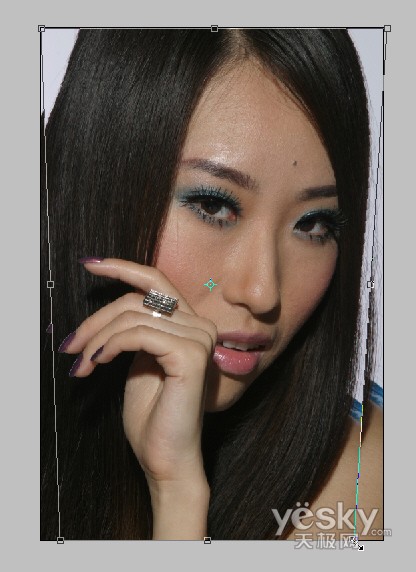
4、按合并图层快捷键ctrl+e合层后,用载剪工具使画面从新构图,载去多出的部份,使构图使紧凑;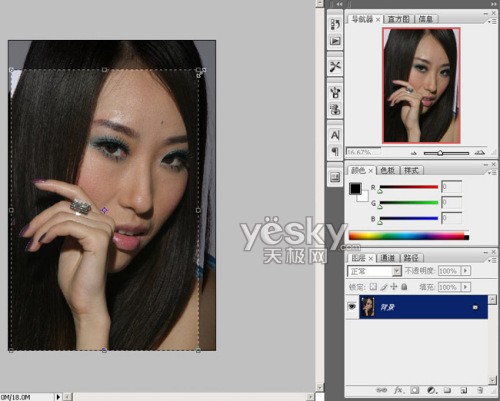
5、图像 调整 可选颜色;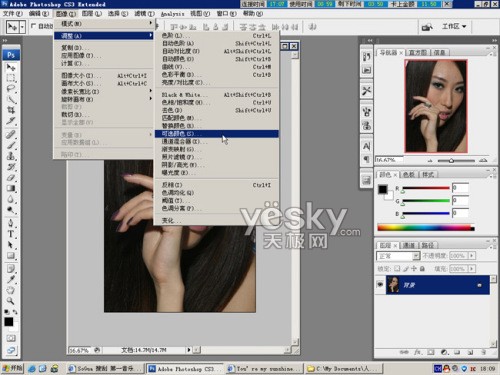
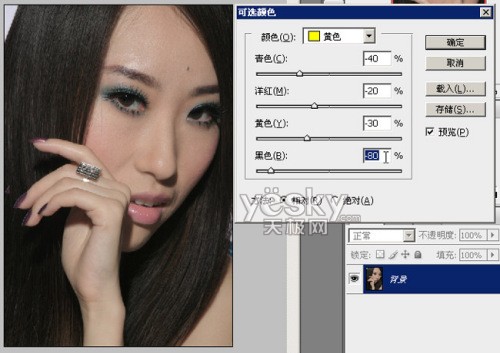
6-9、可选颜色参数设置如下图;


10、按曲线快捷键ctrl+m调整整体颜色;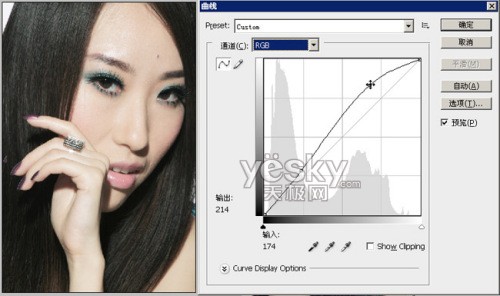
11、按曲线快捷键ctrl+m调整整体颜色(蓝通道);
16、用钢笔把眼袋和脸部暗部圈起;按ctrl+enter把路径转为选区;
17、选择 修改 羽化60;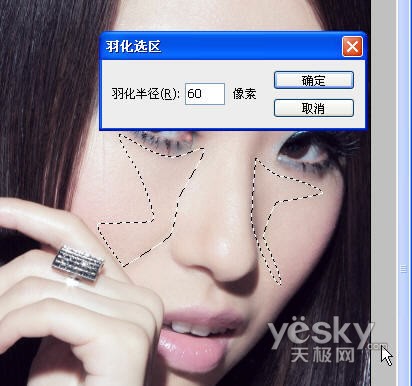
18、图像 调整 曲线把选区调亮使减淡眼袋和减小脸部肌肉不放松的表情;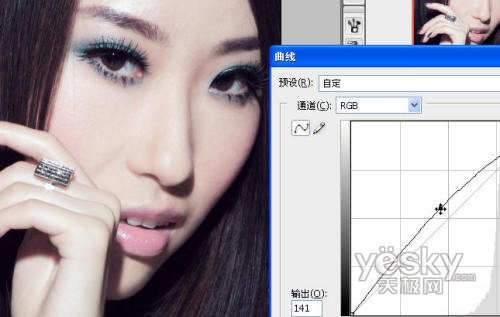
19、继续选区羽化60;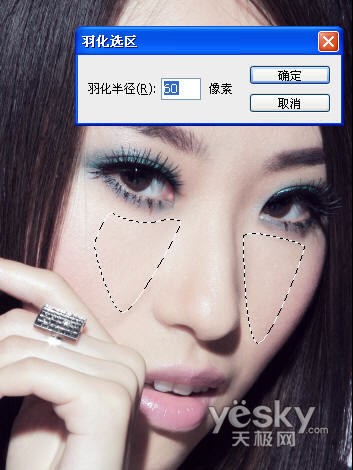
20、图像 调整 曲线调亮,使脸部饱满点;
21、把高光部份圈出来;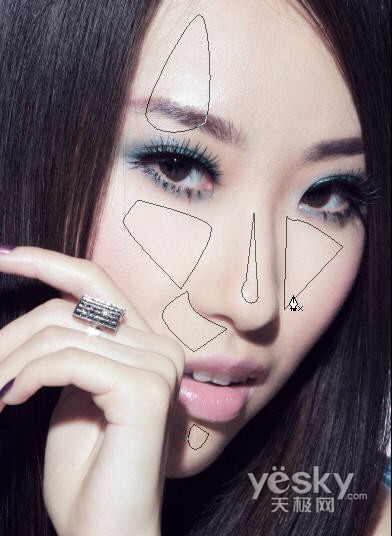
22、选择 修改 羽化60;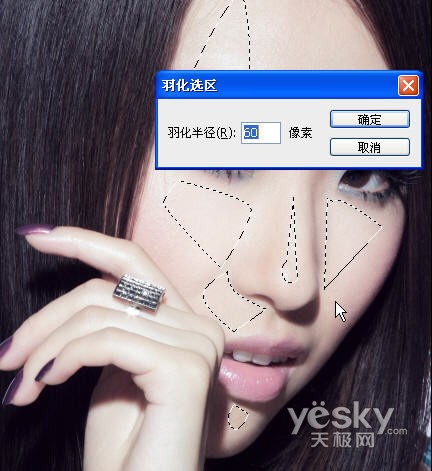
(本文来源于图老师网站,更多请访问https://m.tulaoshi.com/psxpcl/)23、图像 调整 曲线调亮,使脸部饱满点;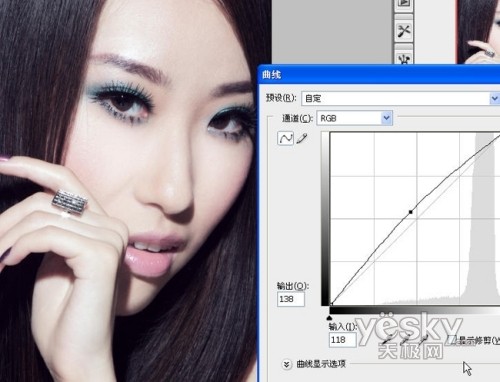
24、修眉,把眉毛顶部连皮肤复制一层;
25、把复制图层往下移,以达到修眉作用;
26、印盖修眉,这个要很仔细呀;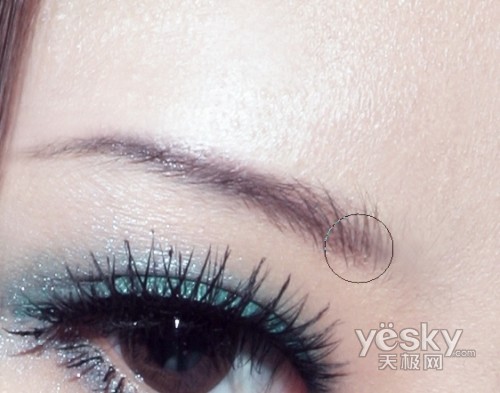
27、开始调整眼睛,选把眼球部份圈出来,复制一层;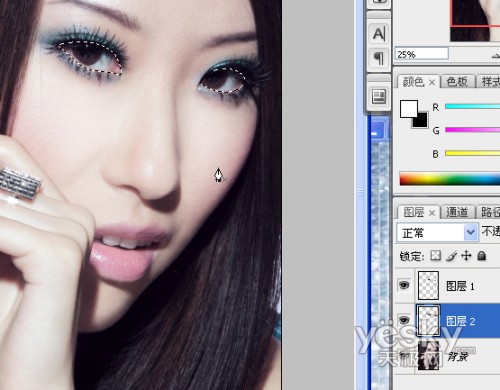
28、钢笔圈出要做眼影的区域;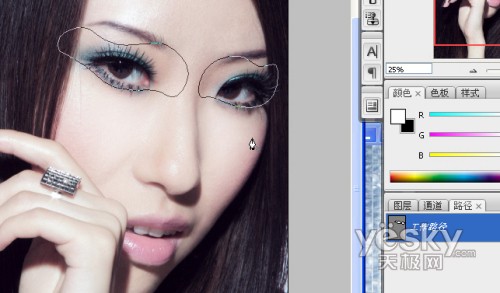
29、复制一层后,图像调整曲线压暗,颜色要调整好;
30-31、图像 调整 色彩平衡,设置如下;

32、节颜色调整;图像 调整 色相/饱和度 设置如下。

33、圈出细节后,按DELETE键删除选区,使露出高光位;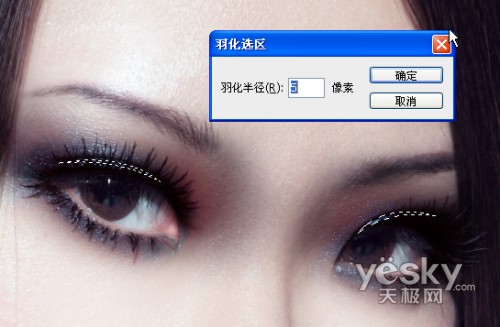
(本文来源于图老师网站,更多请访问https://m.tulaoshi.com/psxpcl/)
34、删除多出的眼影部份;
35、圈出细节后,按DELETE键删除选区,使露出高光位;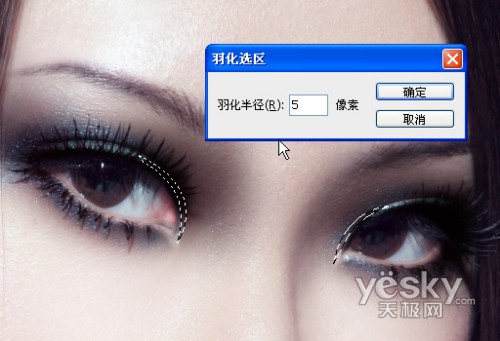
36、眼部细节调整;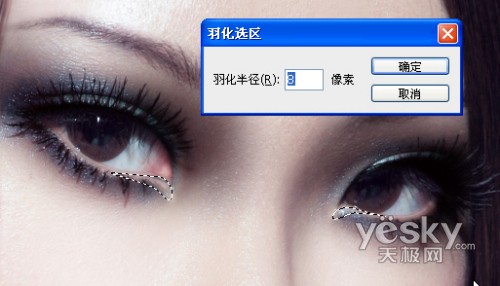
37、把眼珠圈出来,复制一层;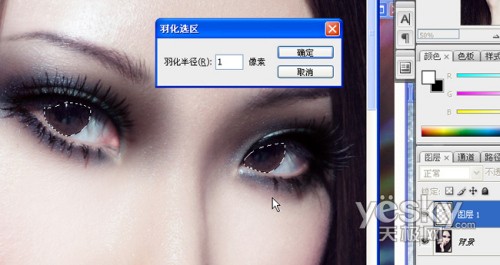
38、执行图像 调整 色相/饱和度 眼白部份减饱和度,退杂色;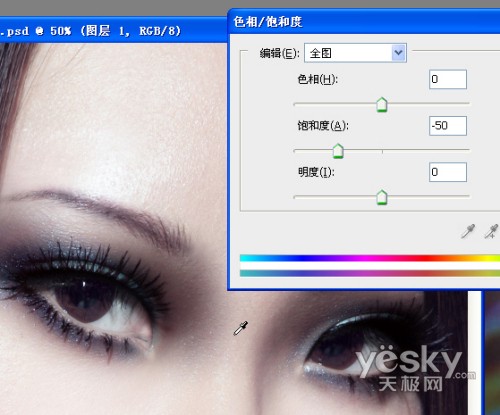
39、眼白细节调整;
40、图像 调整 曲线,眼白部份调高光;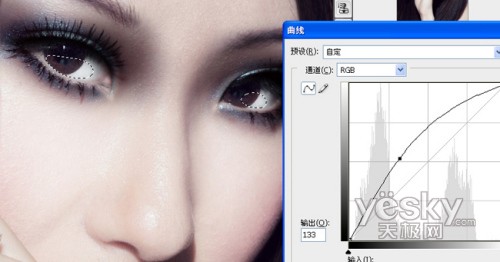
41、图像 调整 曲线,细节调整;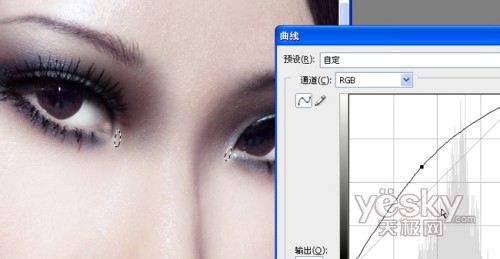
42、复制一层后图像 调整 曲线调亮;
43、刷退上半部份的;
44、删除瞳孔部份;
45、图像 调整 曲线,调整眼部色彩,使一致;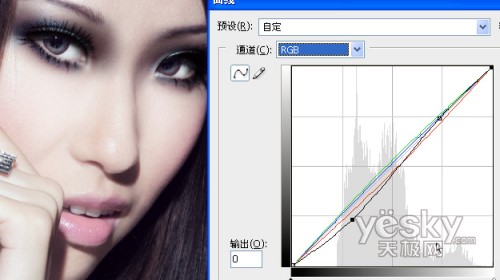
46、加眼神高光;
47、圈出嘴唇;
48、图像 调整 曲线,调整嘴唇高光;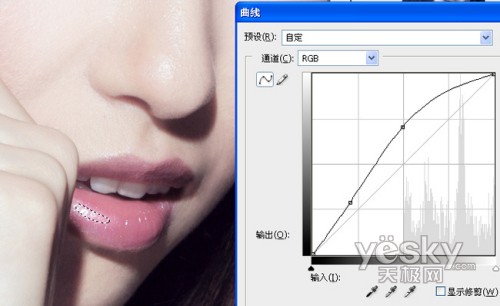
49、图像 调整 曲线,调整嘴唇颜色;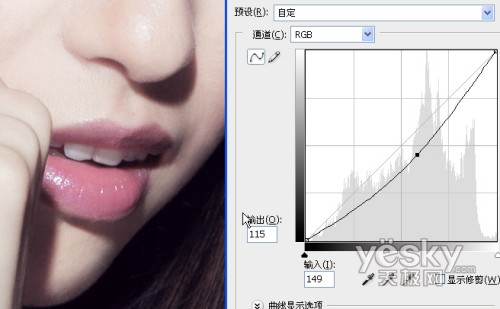
50、调图像 调整 曲线,调整鼻梁高光;
51、图像 调整 曲线,调整眼影高光;
52、用图像 调整 可选颜色作整体调色;
53、用图像 调整 色颜平衡微调; 
54、液化把头发拉顺;
55、滤镜 渲染 镜头光晕,加上光晕;
56、最后在适当的地方加上闪光笔刷完成最终效果。