jingbeiyipiao
2016-02-01 21:42
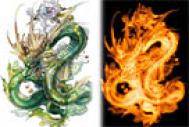
下面图老师小编要向大家介绍下Photoshop把人物头像转成斑斓的火焰轮廓图,看起来复杂实则是简单的,掌握好技巧就OK,喜欢就赶紧收藏起来吧!
本教程的操作有点复杂,不过思路比较简单:先找好素材图,不一定是人像。用滤镜把轮廓部分找出来转为路径,然后用设置好的一些画笔分别描边路径。后期再适当加强轮廓部分。最后调色即可完成。
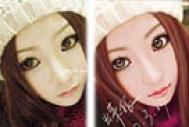
作者近期教程:Photoshop给照片加上绚丽的潮流光束。 原图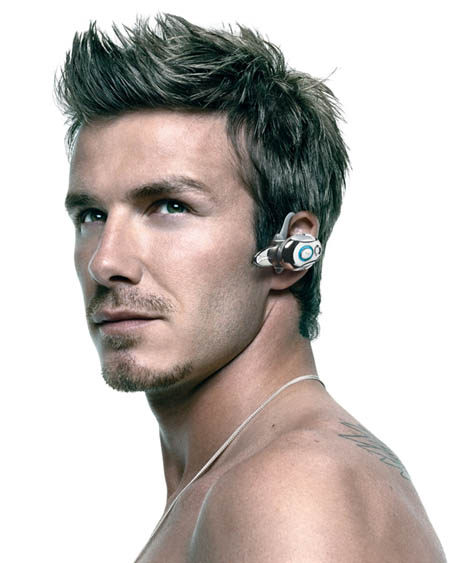
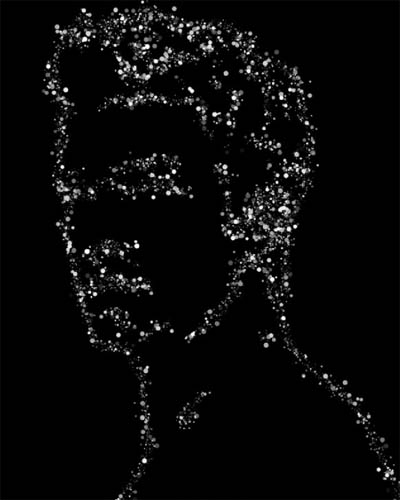
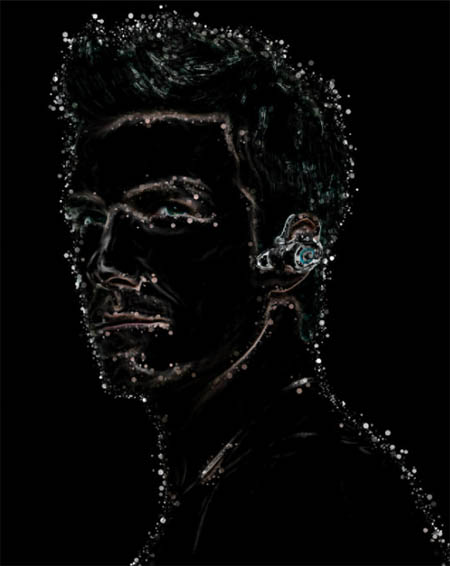
点击小图查看大图最终效果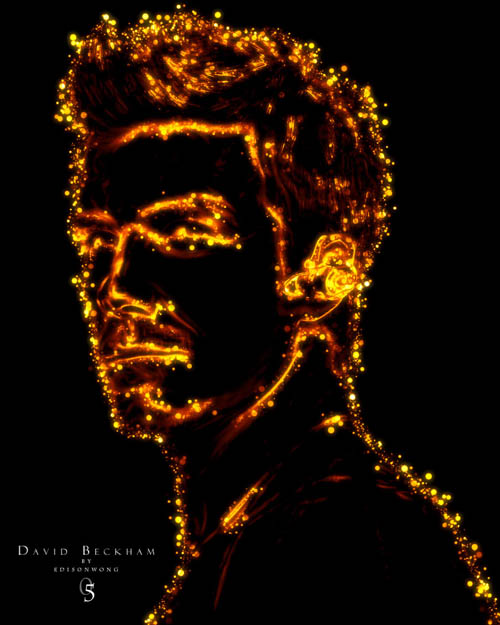
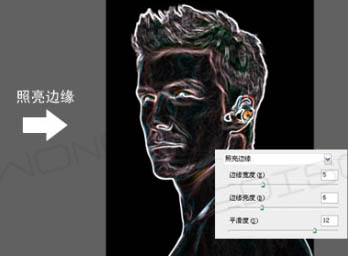
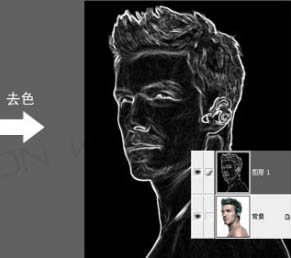
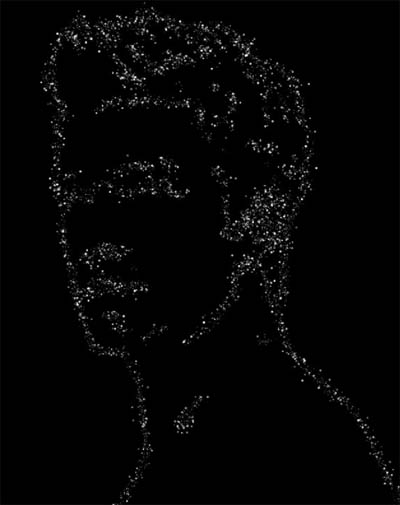
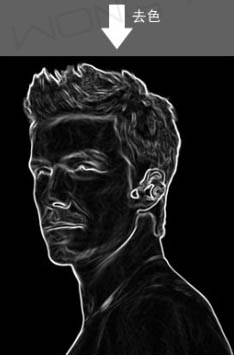
点击小图查看大图1、打开原图素材,按Ctrl + J把背景图层复制一层,得到图层1。对图层1执行:滤镜 风格化 照亮边缘,设置:5/6/12。确定后按Ctrl + Shift + U 去色。 
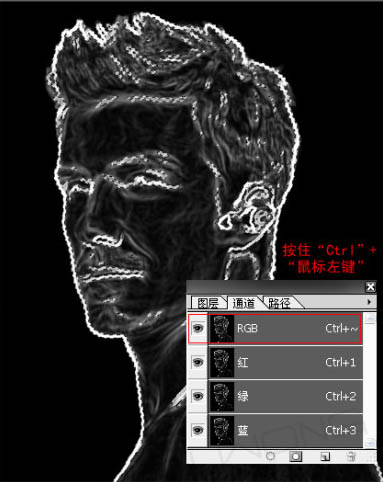
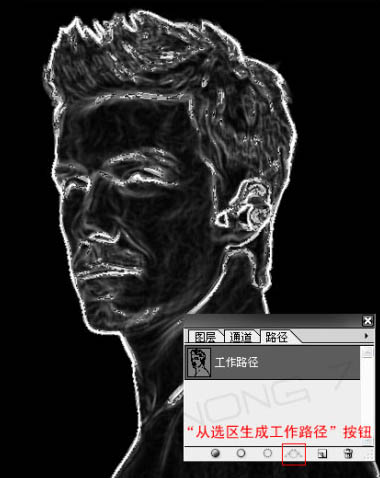
2、按Ctrl + ALt + ~ 调出高光选区,点路径面板,选择“从选取生成工作路径”按钮,这样刚刚的选区就转成了工作路径,过程如下图。 
为了方便观察接下来的效果,新建空白图层,填充黑色,如下图。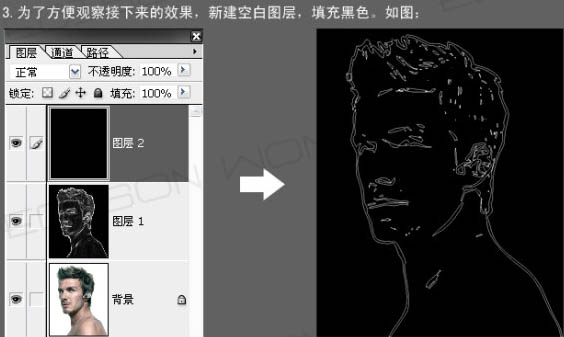
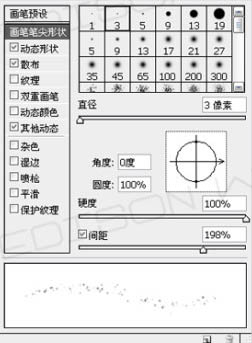
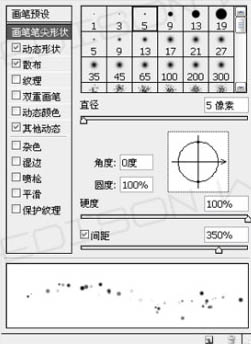
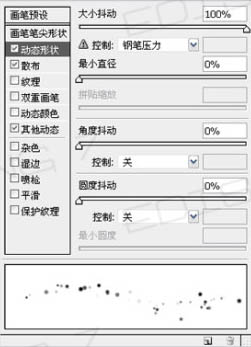
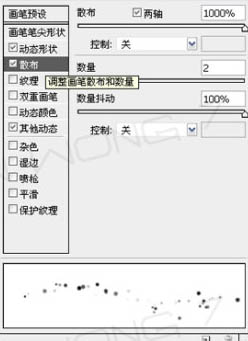
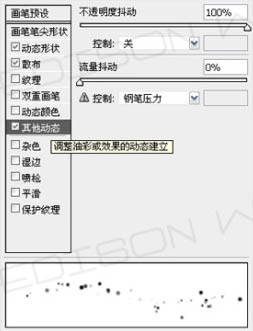
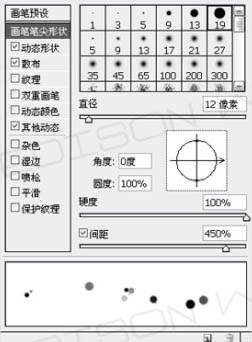
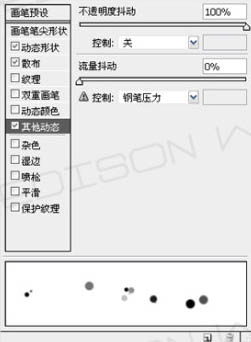
3、利用刚刚转好的工作路径进行“描边路径”。新建空白图层,取名为“1”,笔刷为白色,按F5调出笔刷设置面板,参数设置及效果如下图。
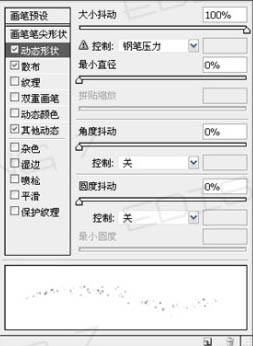
(本文来源于图老师网站,更多请访问https://m.tulaoshi.com/psxpcl/)
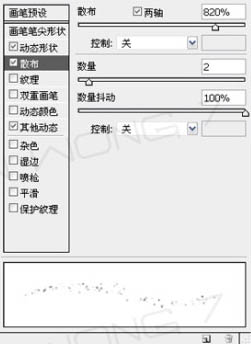
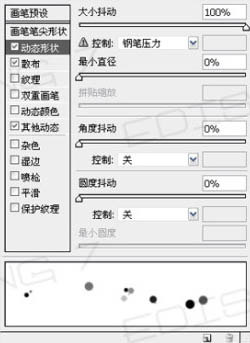
4、新建空白图层,取名为“2”,还是进行“描边路径”,笔刷为白色,按F5调出画笔面板,参数设置如下图。
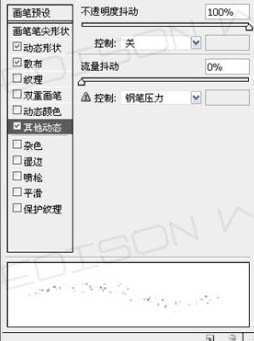
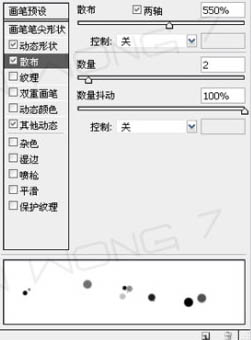
5、新建空白图层,取名为“3”,继续进行“描边路径”,笔刷为白色,按F5调出画笔面板,参数设置如下图。
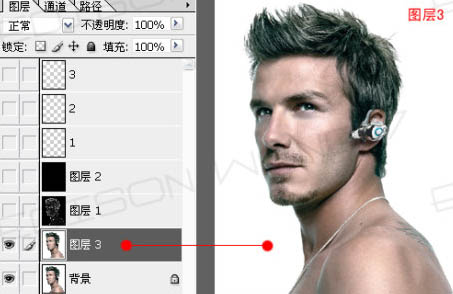
6、按Ctrl + J 把背景图层复制一层,得到“图层3”,执行:滤镜 风格化 照亮边缘,参数:4/6/13。确定后再按Ctrl + Shift + U 去色。 
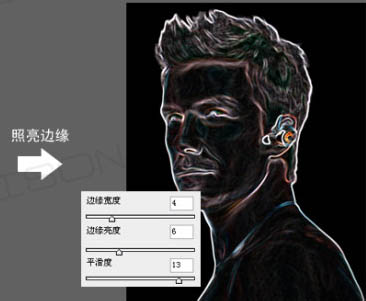
按Ctrl + L 调整色阶。 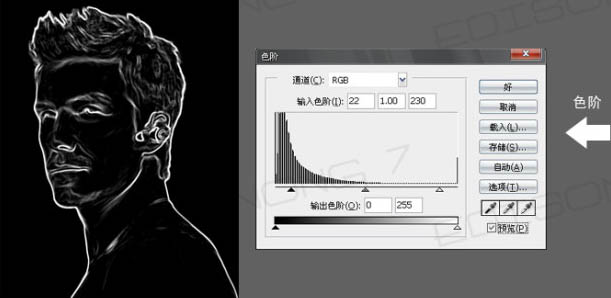
选择减淡工具,模式选择高光。然后把不明显的轮廓涂出来,例如眉毛。鼻梁等。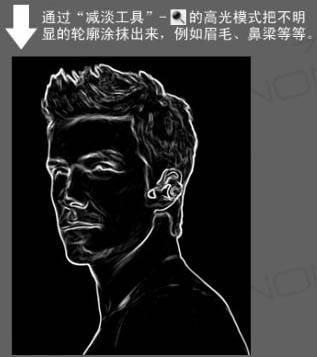
按Ctrl + Alt + ~ 调出高光选区。 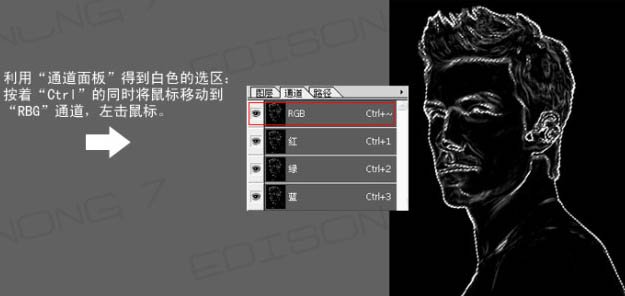
影藏“图层3”,回到背景图层。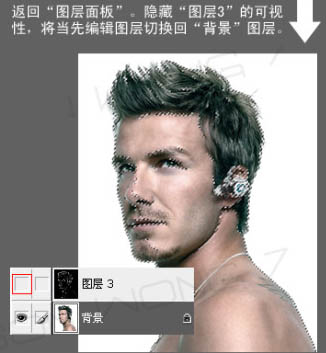
按Ctrl + J 把选区部分的图像复制到新的图层,并把图层命名为“Line”,将它移到“图层2”上方,并开启“图层2”的可视性。 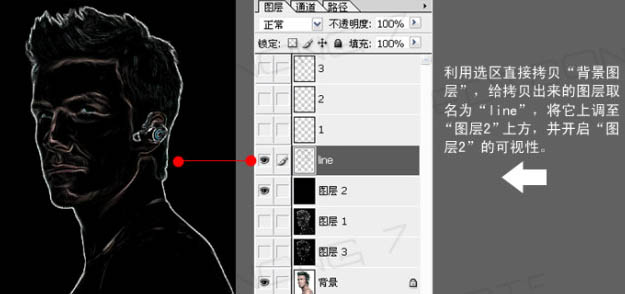
按Ctrl + L调整色阶。 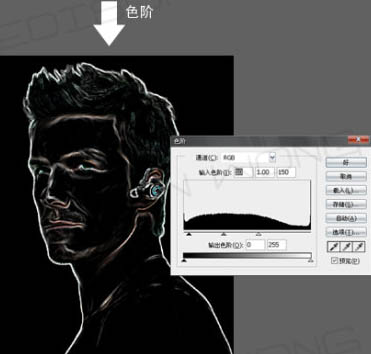
在“Line”图层上创建“图层蒙版”把嘴外面的粗线蒙调。
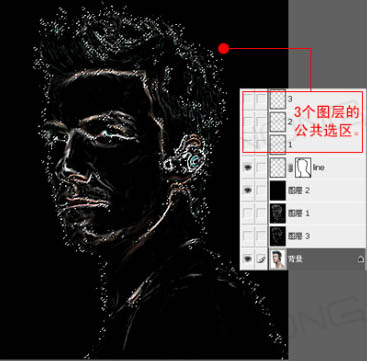
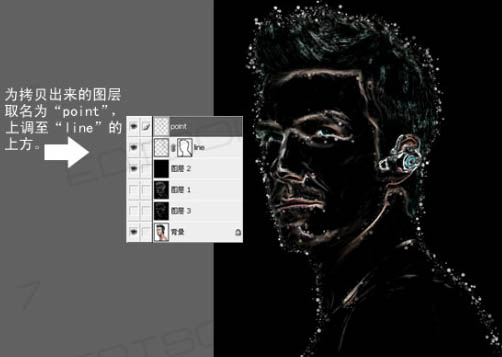
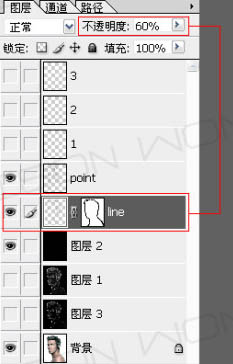
7、按住Ctrl + Shift + 鼠标左键分别点击“1”“2”“3”图层,这样就连续得到了3个图层的公共选区,将当前编辑图层切换到背景图层,按Ctrl + J 复制选区部分的图像,命名为“Point”,把图层移到“Line”图层的上方,再把“Line”图层不透明度改为:60%。流程图如下图。
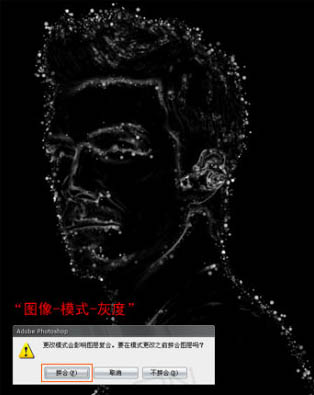
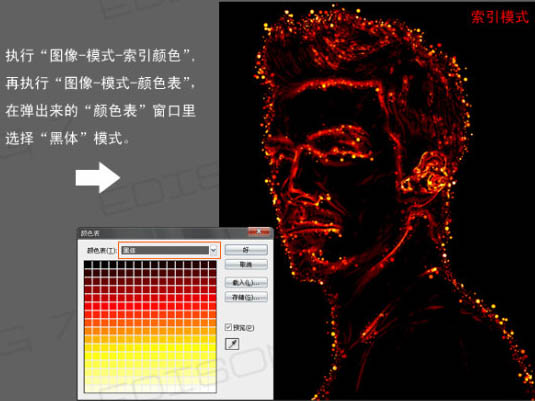
8、选择菜单:图像 模糊 灰度,在弹出的对话框选择“拼合”,接着选择菜单:图像 模式 索引颜色,确定后再选择菜单:图像 模式 颜色表,在弹出来的“颜色表”窗口选择“黑色”模式,过程如下图。 
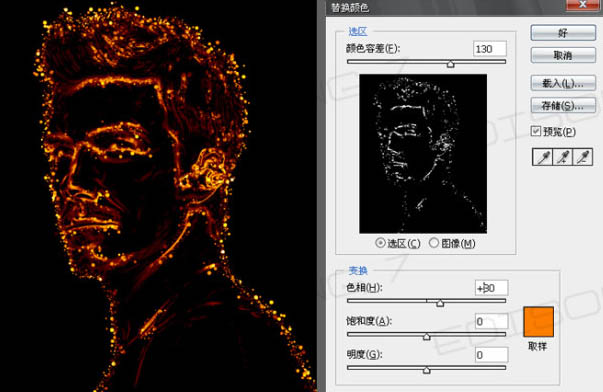
9、选择菜单:图像 模式 RGB颜色,确定后执行:图像 调整 替换颜色,这是当前工具自定切换为“吸管工具”吸取画面的“亮红”作为我们替换的颜色取样,将其替换成“橘黄色”,这样整个色调会协调一些。
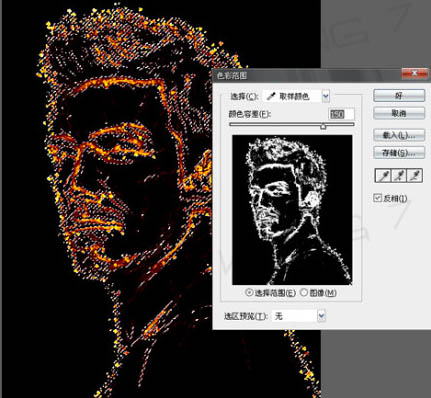
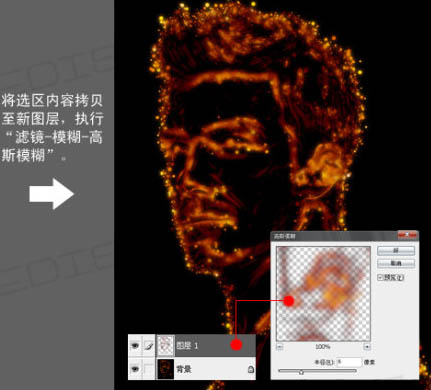
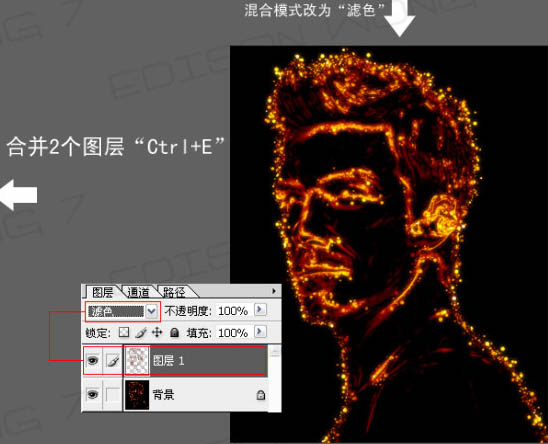
10、选择菜单:选择 色彩范围,用吸管工具吸取画面中的黑色部分。怎么得到橘黄色选区,参数设置如下图。接着将选区内容拷贝至新图层,执行:滤镜 模糊 高斯模糊,混合模式改为“滤色”。然后合并2个图层。 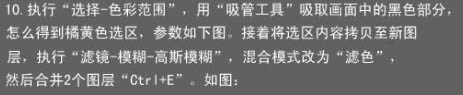
11、润色,按Ctrl + B 调整色彩平衡。 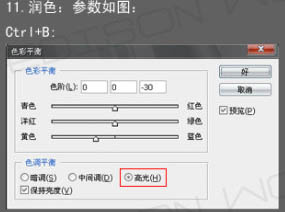
图像 调整 可选颜色。 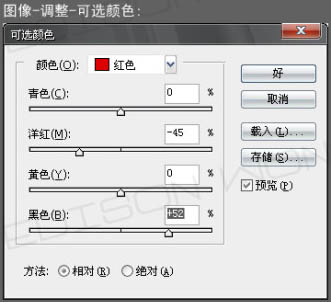
按Ctrl + L 调整色阶。 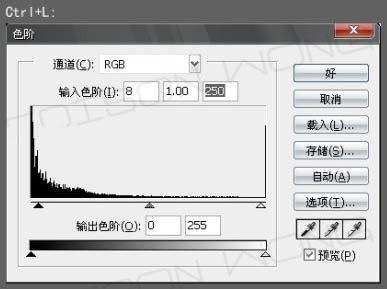
(本文来源于图老师网站,更多请访问https://m.tulaoshi.com/psxpcl/)最后加上文字,完成最终效果。
点击小图查看大图