制作的过程中有任何疑问可以加作者的QQ群:71160119。
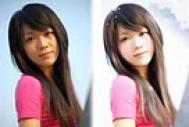
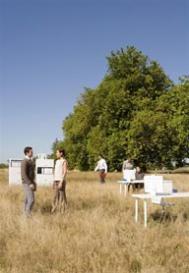
原图
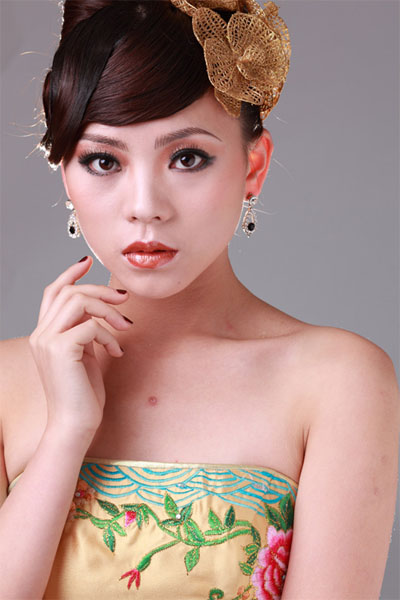
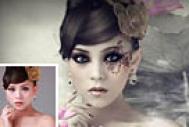
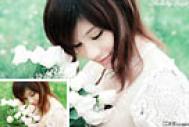
最终效果

1、打开原图调整下色相饱和度,参数设置如图1,确定后新建一个图层,按Ctrl + Alt + Shift + E 盖印图层,简单的对人物皮肤进行处理。
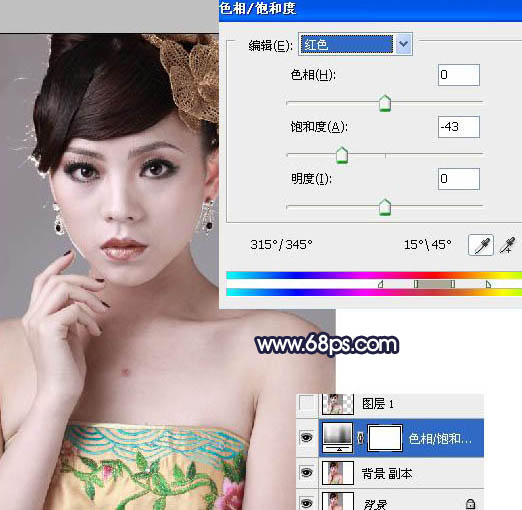
图1
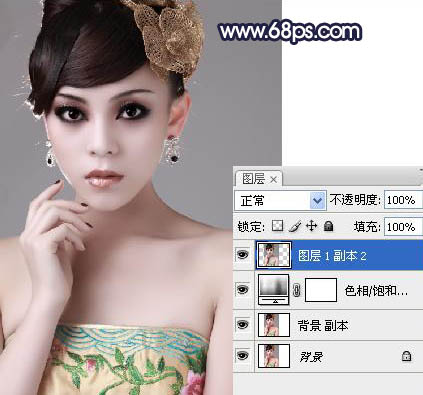
图2
2、用钢笔把人物抠出来复制到新的图层。拖入一张水墨荷花的素材如图3,拖进来放到人物图层的下面如图4。适当调整大小和位置。再回到人物图层,加上图层蒙版,用黑色画笔稍微把需要虚化的部分擦出来,如图5。
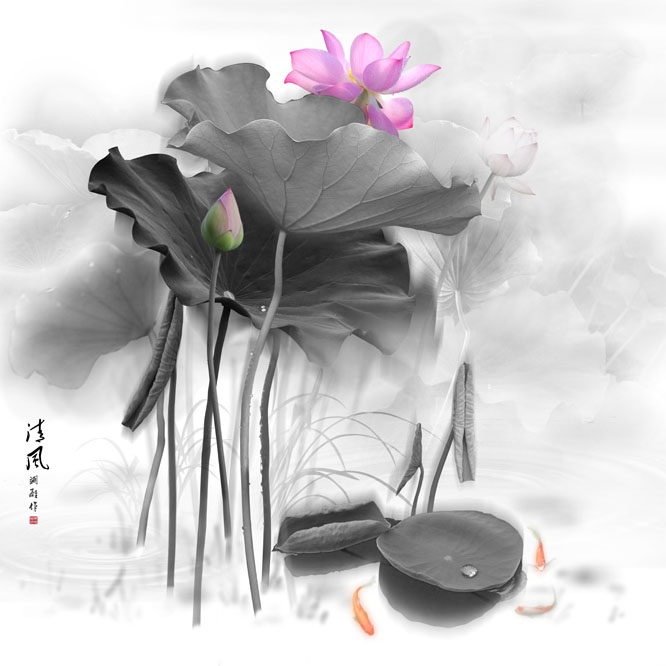
图3
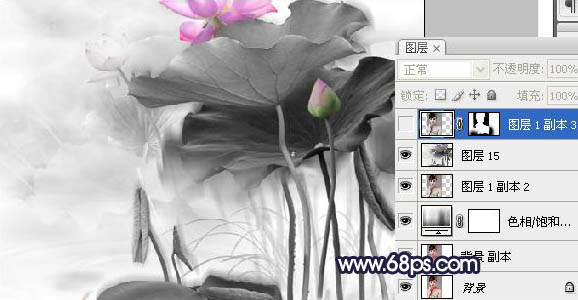
图4
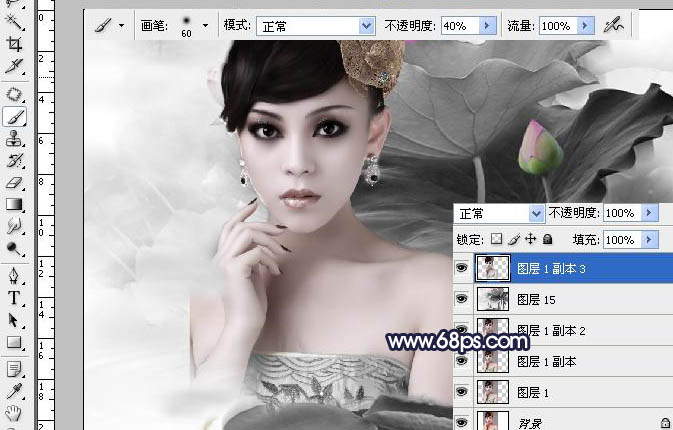
图5
3、再用同样的素材,调整下大小,然后把图层模式改叠加并降低图层的不透明度。
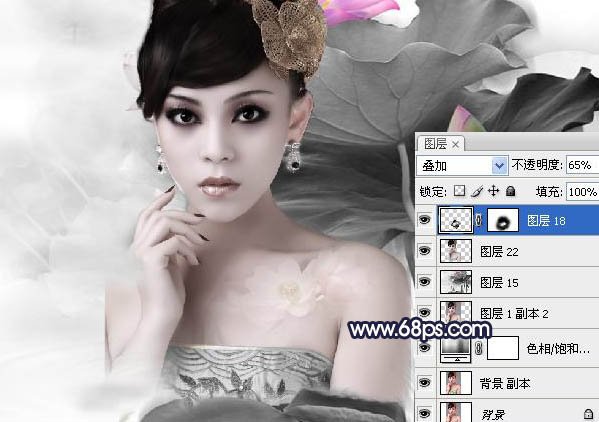
图6 4、建一个图层,画笔颜色如图,然后给人物添加腮红。

图7 5、然后给人物前景加点素材。

图8
6、下来是头发的制作,选择钢笔工具,绘制如图路径。然后右键选择描边,勾上模拟压力。

图9

图10

图11 7、眼睛制作,将原图的眼睛用椭圆选框工具选出,然后复制一层,改图层模式绿色。通过色相饱和度可以改变眼睛的颜色。
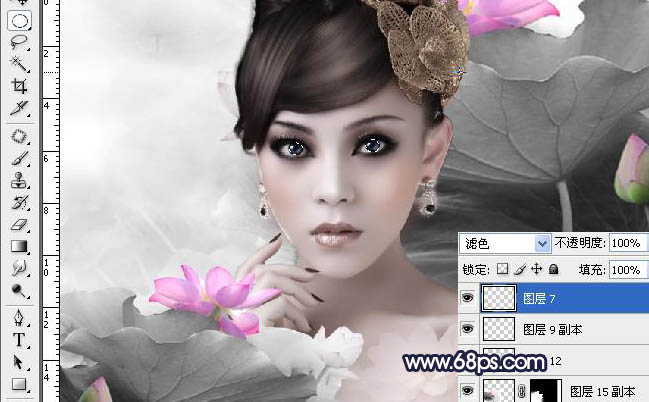
图12
8、选择画笔工具 颜色如图。给人物添加眼影。盖印一个图层,调整下色相饱和度。

图13
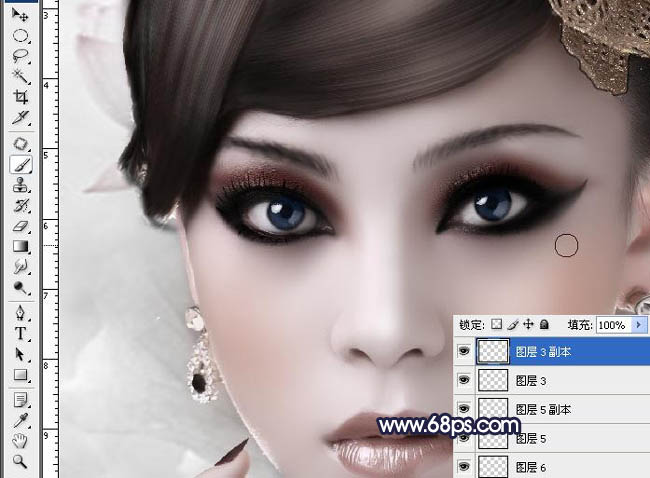
图14
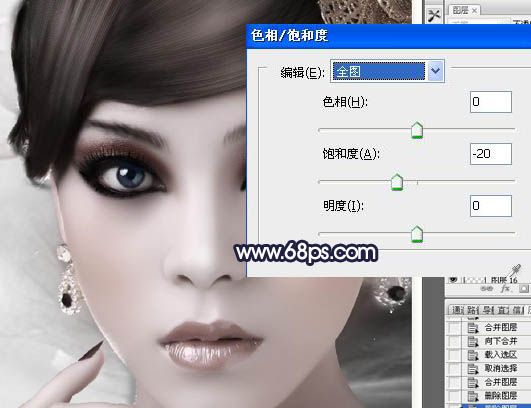
图15
9、拖入一个花纹素材,改模式正片叠底。效果如图,调整下曲线。
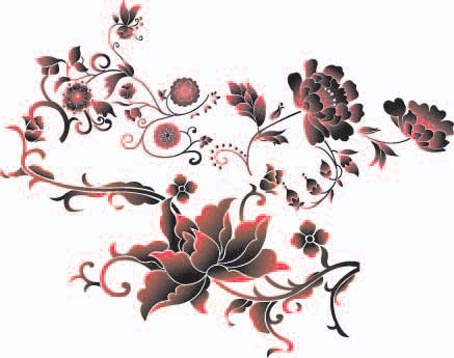
图16
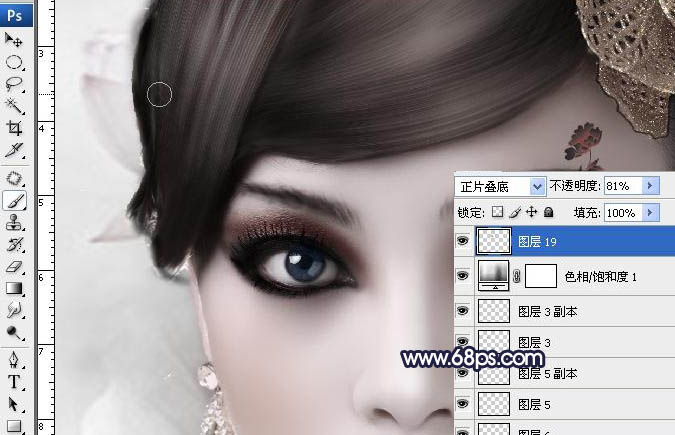
图17
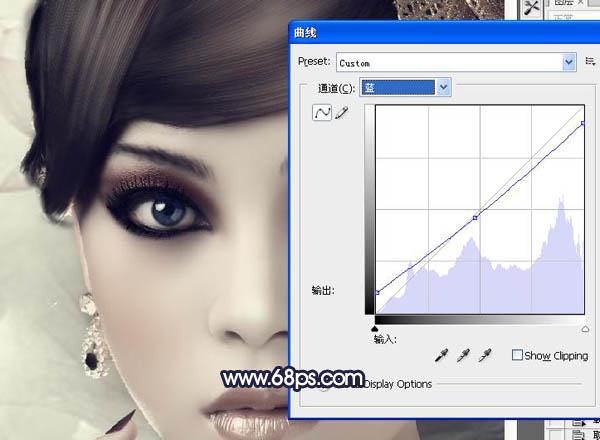
图18
10、拖入一个白云的素材,可以去网上下载,去色,然后反相,改图层模式滤色,制造烟雾的效果。
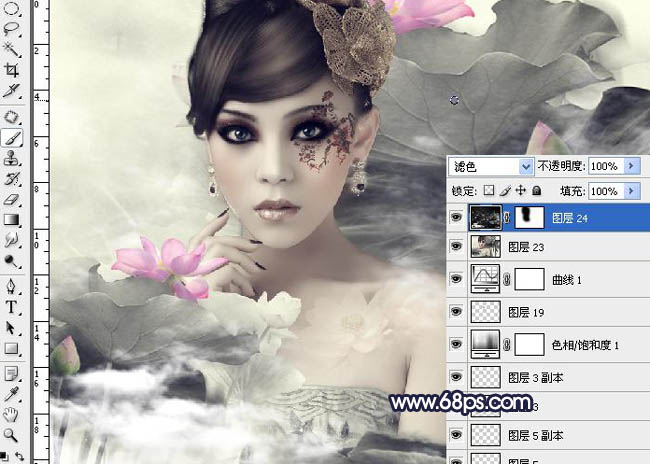
图19 11、新建一个图层,将四周填充黑色。然后锐化下完成。
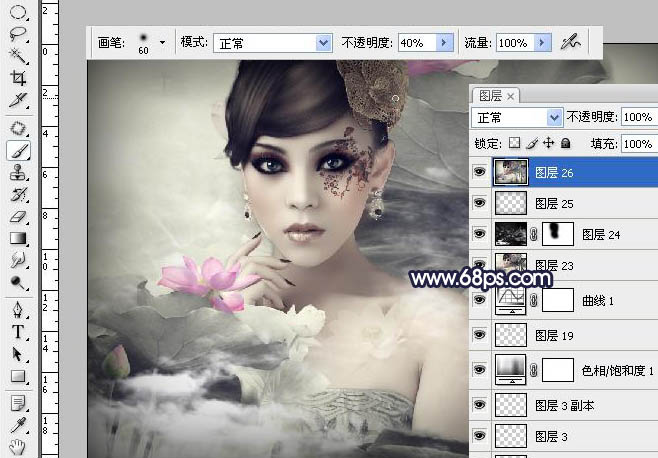
图20 最终效果: