1、打开原图素材,按Ctrl + J 把背景图层复制一层,得到“图层1”,然后把“图层1”隐藏。
![](https://img.tulaoshi.com/image/20160201/8a4a814a35268cf8bae8395a26f21fc3.jpg)
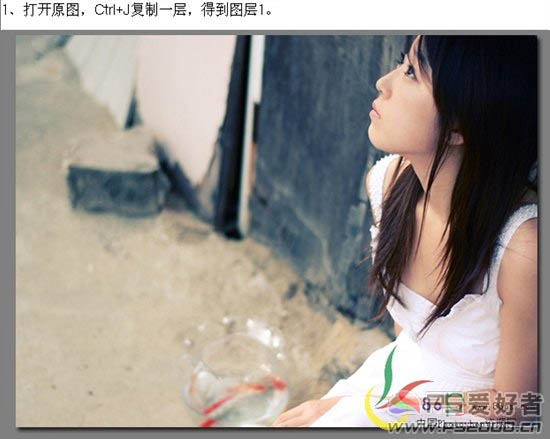
2、回到背景图层,按Ctrl + B 调整色彩平衡,对阴影进行调整,参数及效果如下图。![](https://img.tulaoshi.com/image/20160201/5aed02e4c5520d5f0fe38cde2bda363a.jpg)
![](https://img.tulaoshi.com/image/20160201/e34c200f33457edd119116865ee59a2b.jpg)
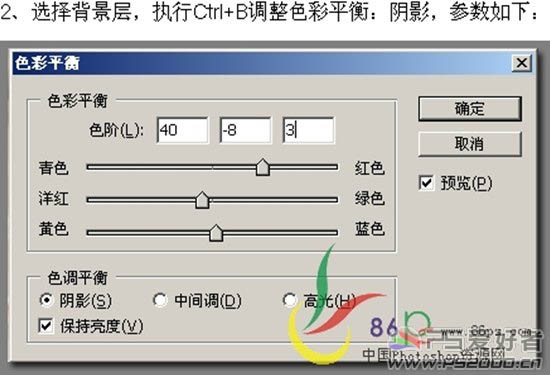
3、把“图层1”显示出来,按Ctrl + B 调整色彩平衡,对中间调进行调整,参数设置如下图。确定后把图层混合模式改为“饱和度”,图层不透明度改为:70%,效果如下图。![](https://img.tulaoshi.com/image/20160201/f763d570a8e5258fe6af0baf4ae29ca8.jpg)
(本文来源于图老师网站,更多请访问https://m.tulaoshi.com/psxpcl/)![](https://img.tulaoshi.com/image/20160201/511c806698020bac7d4e0a7dc67bda70.jpg)
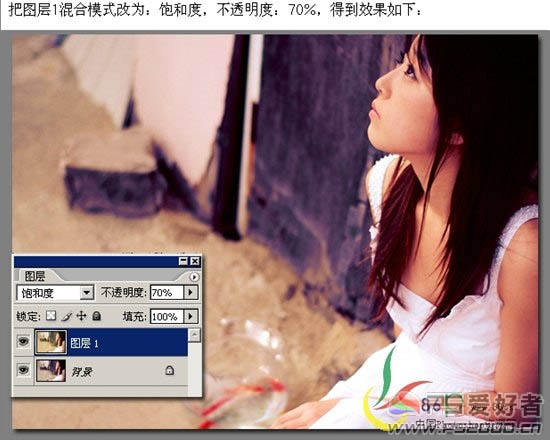
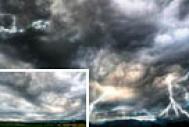
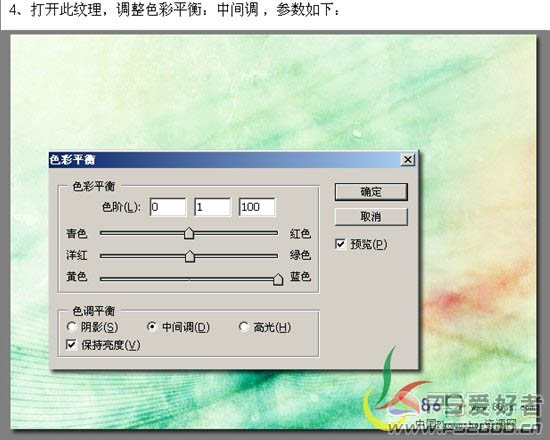
4、打开下图所示的纹理素材,按Ctrl + B 调色色彩平衡,把蓝色调到最大如下图。![](https://img.tulaoshi.com/image/20160201/b148641cec58634751527ca085b1962c.jpg)
![](https://img.tulaoshi.com/image/20160201/d96d7ead5652831e70f77dad4fa7292c.jpg)
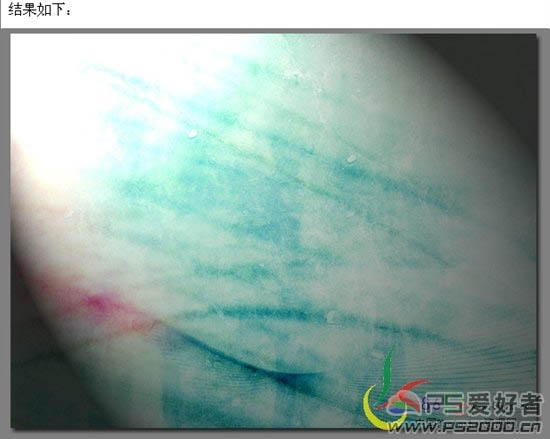
双击纹理素材背景图层解锁,按Ctrl + T 变形,右键选择“水平翻转”。确定后再执行:滤镜 渲染 光照效果,参数设置及效果如下图。![](https://img.tulaoshi.com/image/20160201/3a40418cae59be2179a6ae27304f633b.jpg)
![](https://img.tulaoshi.com/image/20160201/f4ee5341dd8bf9d1997a72e5d7d6c2e4.jpg)
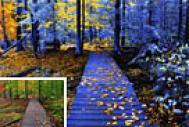
5、把调好光的纹理素材拖进来,适当放好位置后吧图层混合模式改为“滤色”,效果如下图。![](https://img.tulaoshi.com/image/20160201/f82841f713604b4ae5ad233f25b1266f.jpg)
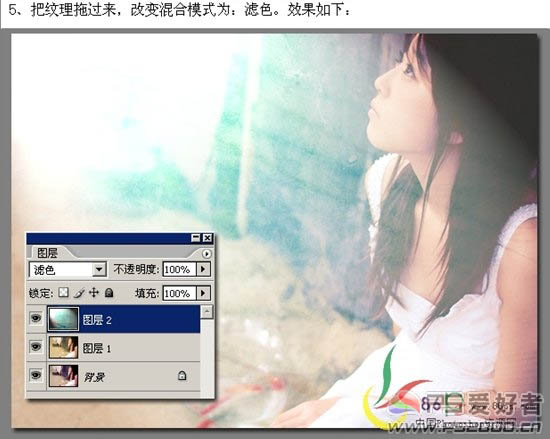
对纹理图层执行:滤镜 模糊 高斯模糊,数值为4。![](https://img.tulaoshi.com/image/20160201/e02b2229d4de91748bb71806305eb372.jpg)
6、回到背景图层,按Ctrl + J 复制一层,按Ctrl + Shift + ] 置顶,图层混合模式改为“柔光”,效果如下图。![](https://img.tulaoshi.com/image/20160201/3ff0d3e1c2f39983d61da627e09c8cb1.jpg)
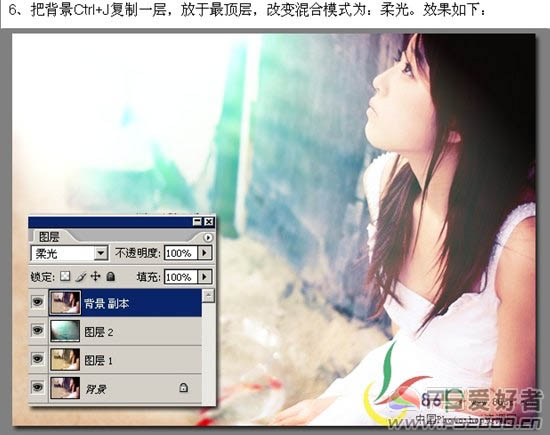
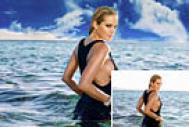
7、打开下图所示的高光素材,拖进来。按Ctrl + T 自由变换大小,确定后把图层混合模式改为“滤色”,确定后再复制一层做一下旋转,效果如下图。![](https://img.tulaoshi.com/image/20160201/30f68079003d8ade0eb125b09fc58287.jpg)
(本文来源于图老师网站,更多请访问https://m.tulaoshi.com/psxpcl/)![](https://img.tulaoshi.com/image/20160201/62853c7ec6e4669543742a415ce4bc04.jpg)
8、新建一个图层,用画笔刷上一些星光笔刷或其他装饰素材,完成最终效果。![](https://img.tulaoshi.com/image/20160201/e8a8d754b9dec48448283e35c6ca6b57.jpg)
最终效果:![](https://img.tulaoshi.com/image/20160201/9b89da03208d8b035054259ce8298da8.jpg)