挚爱奥迪enjoy
2016-02-01 05:19
今天图老师小编给大家介绍下利用通道分步抠出头发色差较大的人物图片,平时喜欢利用通道分步抠出头发色差较大的人物图片的朋友赶紧收藏起来吧!记得点赞哦~
下面的教程虽然是通道抠图,不过作者思路非常不错。抠图之前我们需要认真分析好素材图片的色调构成,然后再在通道里分析每个通道的色差,找出我们真正需要的通道,然后再复制相应的通道抠出我们需要的部分。有时候素材色差较大,抠图的时候需要用到多个通道抠图。
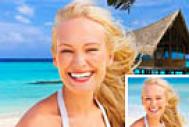
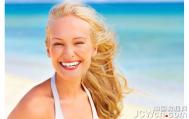
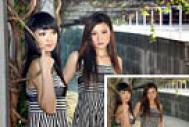
原图
最终效果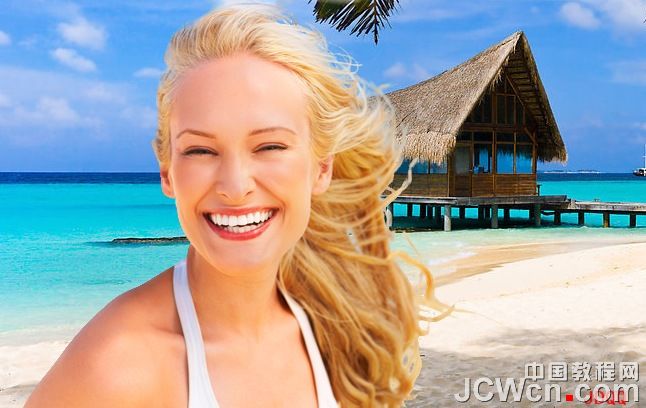
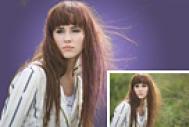
1、打开素材发现头发色差较大,要分别用不同通道抠发。
2、查看通道,蓝通道中人体和大部分头发与背景反差大,可用蓝通道抠人体和大部分头发。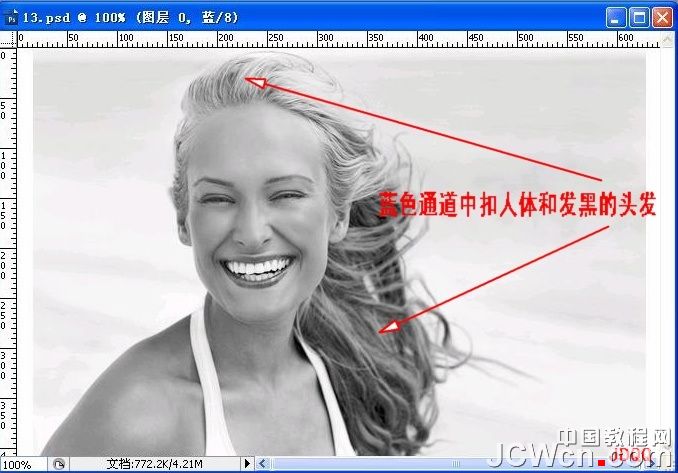
3、红通道中箭头所指的头发与其相邻的背景反差大,用红通道抠发白的头发。思路已定,下面开始操作。
4、进入通道,复制蓝通道得到蓝副本,Ctrl+I 反相。
5、Ctrl+L 调色阶,数据供参考。调到边缘头发变白,背景变黑。
6、设置前景色为白色,用画笔涂白人体和头发。注意发丝间的空隙不要涂。
7、点击箭头所指,把蓝副本载入选区。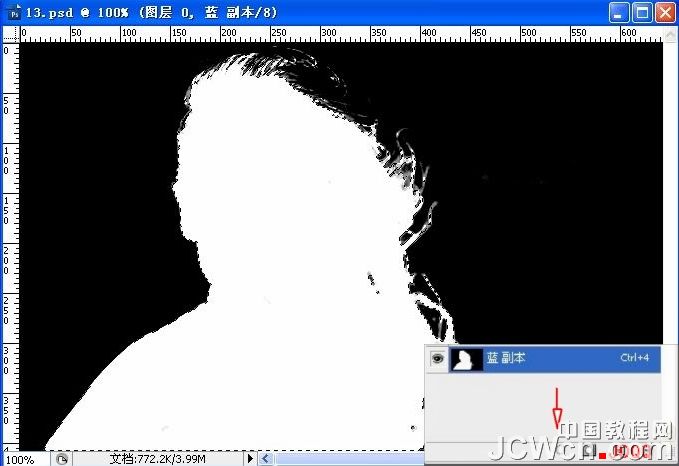
8、回到图层面板,选中图层0,Ctrl+J复制得到图层1。在图层0上方新建图层填充蓝色作为检验层。图中可以看出MM基本被抠出。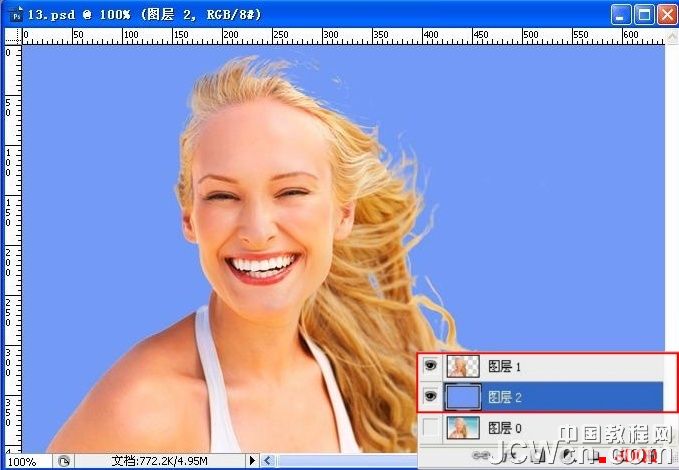
(本文来源于图老师网站,更多请访问https://m.tulaoshi.com/psxpcl/)9、再次进入通道,复制红通道,得到红副本。用黑色画笔涂抹,只保留头顶白发。
10、Ctrl+L对红副本调色阶,数据供参考。调到发丝更白且清晰并且与背景黑白分明。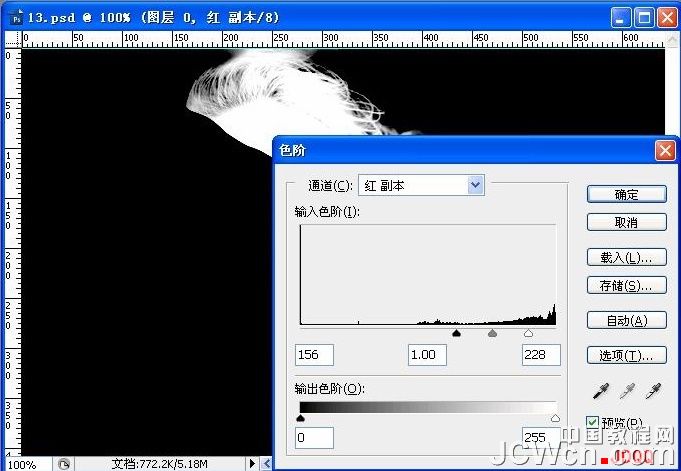
11、回到图层面板,选中图层0,Ctrl+J复制得到图层3。MM已经抠出。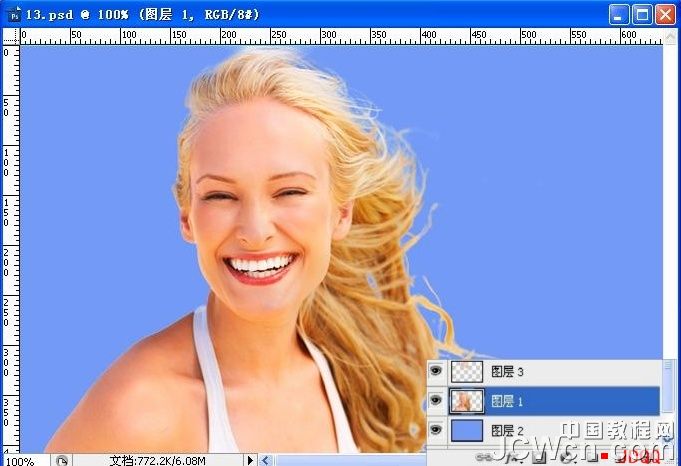
(本文来源于图老师网站,更多请访问https://m.tulaoshi.com/psxpcl/)
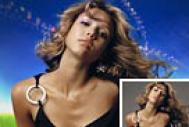
12、加上下图所示的背景素材,完成最终效果。
最终效果: