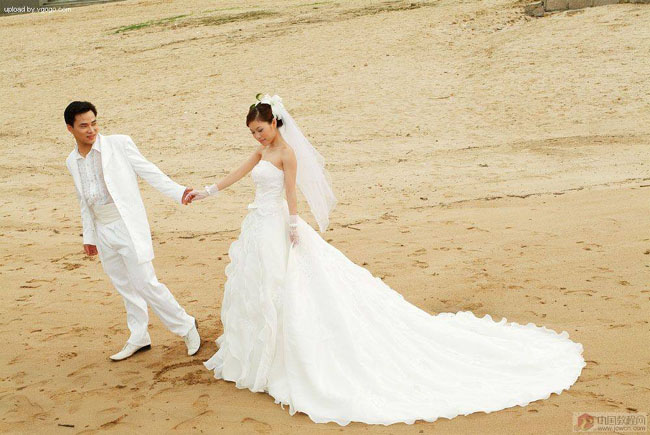
原图
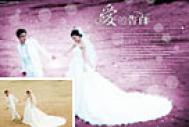
最终效果
1、首先我们对人物进行美化的操作,打开照片,复制一层,然后执行:滤镜/模糊/高斯模糊(参数不要过大),然后把混合模式设为“柔光”。使其有梦幻般的感觉。(这招可能大家都会)
图1
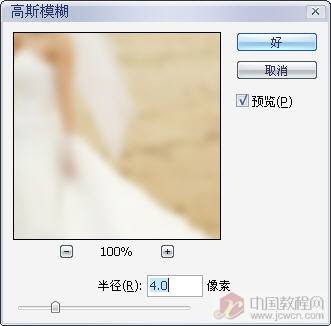
图2
图3
2、按Ctrl+E向下合并图层,然后再按Ctrl+J复制一层,这时我们要进行整体色调的调整,执行"编辑/调整/色彩平衡"(参数如图),把整体色调调成得柔合一点。
图4

图5
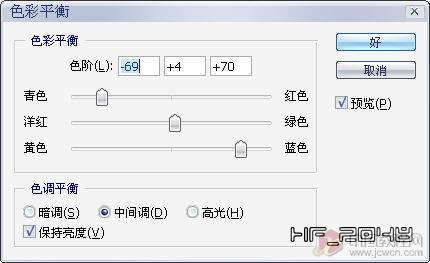
图6

图7
3、为了增强效果,我再做一次梦幻效果,和第一步操作一样。
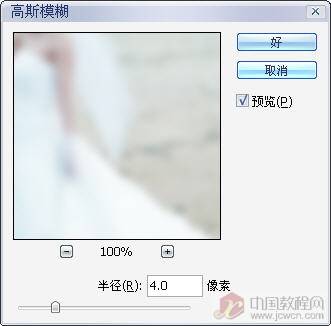
图8
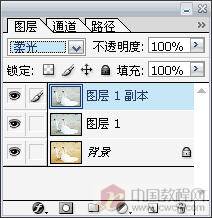
图9
4、新建一层后,按Ctrl+Shift+Alt+E,盖印可见层,其实在这里也可以直接向下合并,我习惯了做个盖印层。
然后按Ctrl+M用"曲线"调整一下明暗。
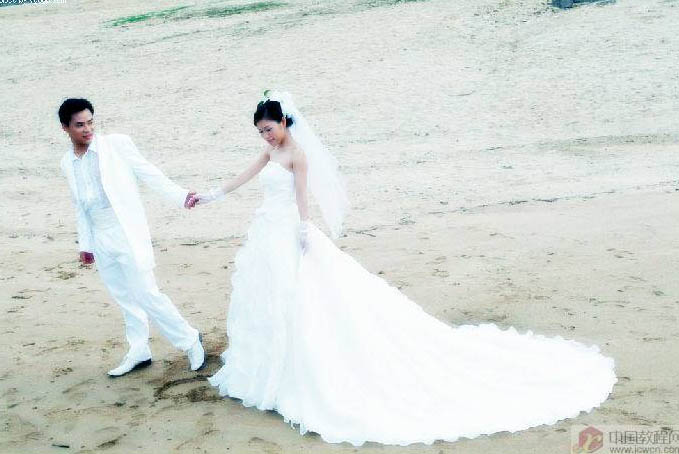
图10
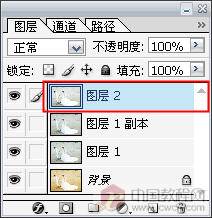
图11
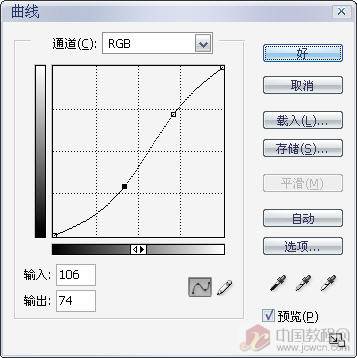
图12
5、从这步起就开始对环境的渲染了,用"套索工具"把人物套起来(如图)并羽化60,然后按Ctrl+Shfit+I,反选。再按Ctrl+M用"曲线"把周围环境调暗。如果觉得一次调得不够暗再调一次。(如图)
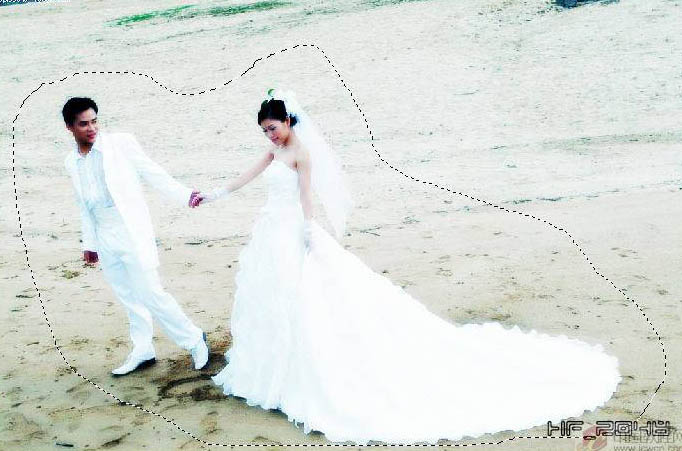
图13
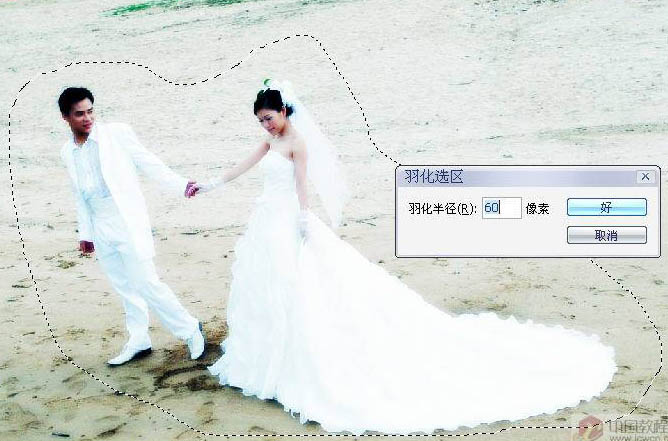
图14

图15
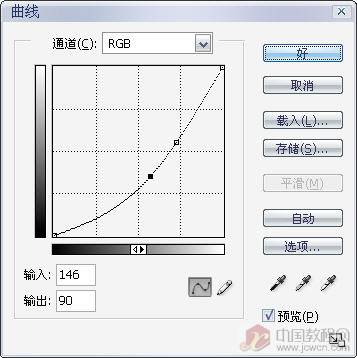
图16
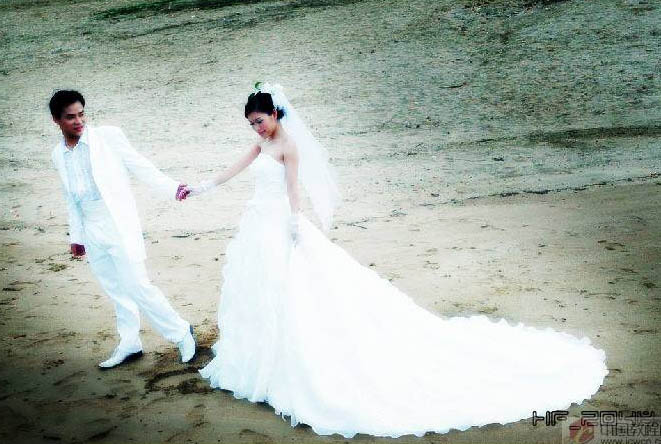
图17
6、由于环境的色调有点偏黄,属于较亮的色调,这样不能突出主体人物,这一步来改变一下周围环境色调的,把环境色调改为紫色调,因为紫色是属于较暗的色调,容易突出主体。
有一个方向后那就好办了,执行"图层-新调整图层-色相/饭度",把"着色"选项打勾。添加一个调整图层。为什么要用调整图层呢?这是因为后面我们还要利用调整层旁的蒙板来突出主体人物,往下看就知道了。
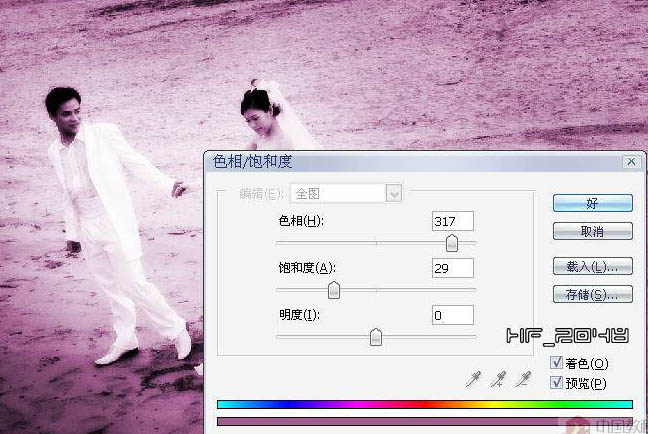
图18
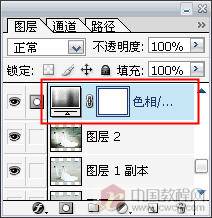
图19 7、现在我们就把人物用"多边形套索工具"选出,然后选中"色相/饱和度"调整层旁的蒙板,并填充黑色。(这里涉及到蒙板的概念,关于蒙板已经有很多教程了,这里我不多说了)
图20

图21
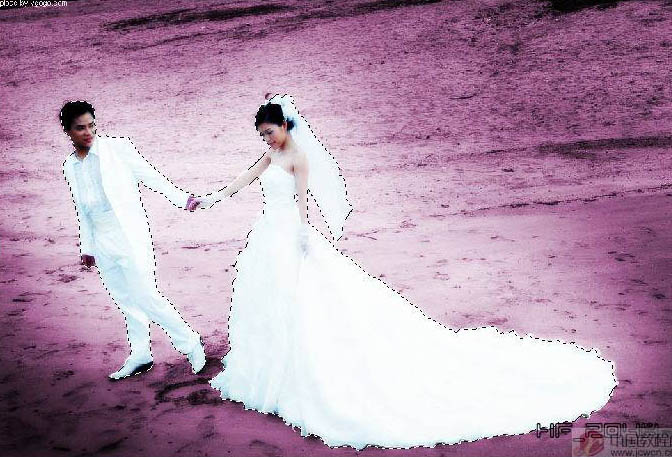
图22
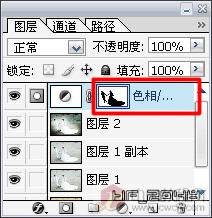
图23
8、再加点光效进去,使其更耀眼。选中图层2,执行"滤镜/渲染/镜头光晕"(参数如图)。

图24

图25 9、这步用笔刷来给周围加点效果,首先设置好笔刷(如图),然后在主体人物周围拖动(如图):
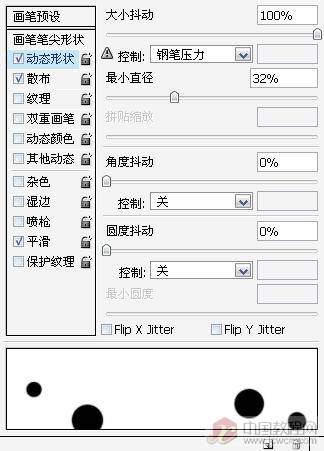
图26
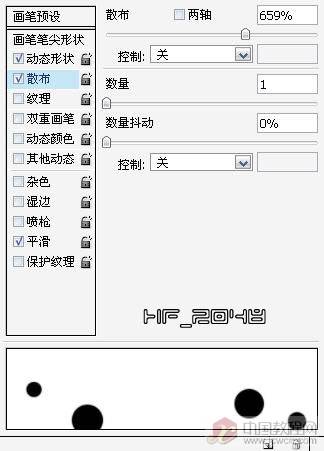
图27
![]()
图28
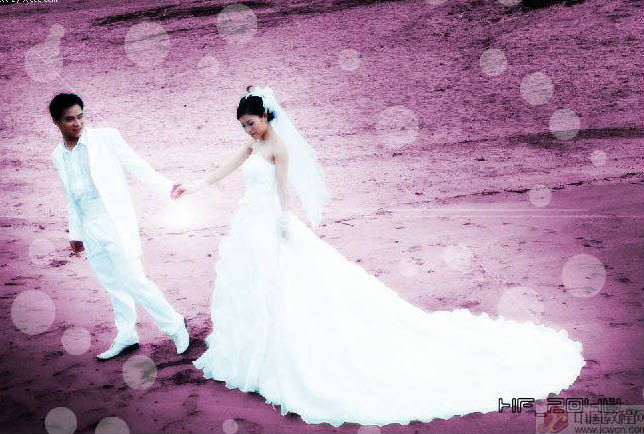
图29
10、再设置一种星星笔刷(如图),也是在人物周围拖动(如图)。(这时的画笔不透明度设为100%)
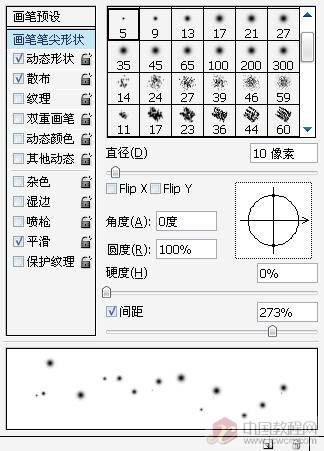
图30
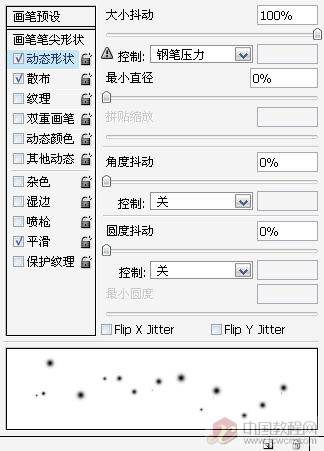
图31
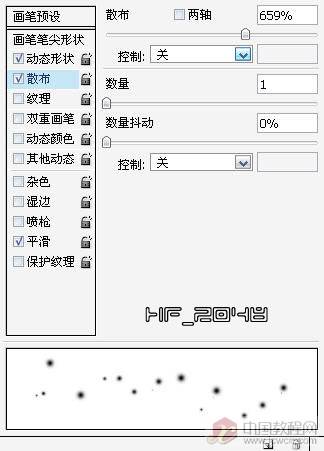
图32
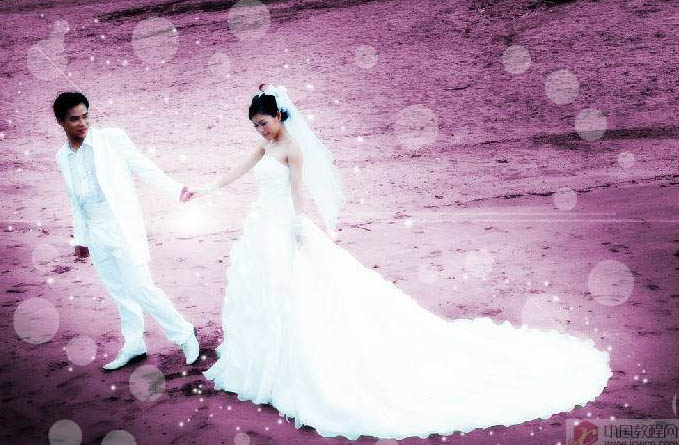
图33
11、现在整个图的已经基本完成,好像还缺点什么,对了文字是很好的装饰品。添文字的过程我就不多说了。
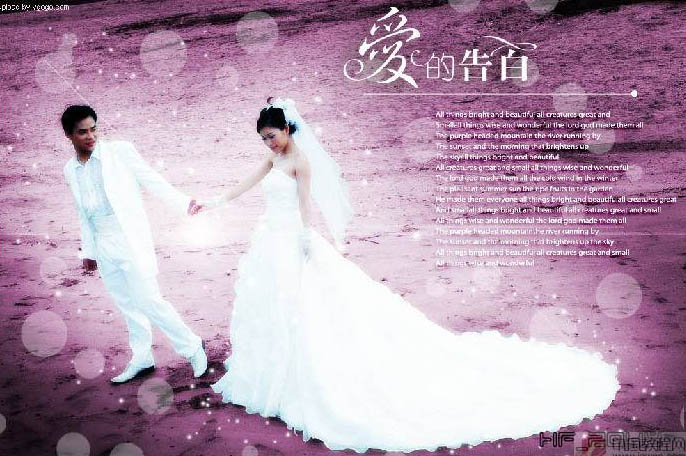
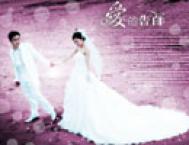
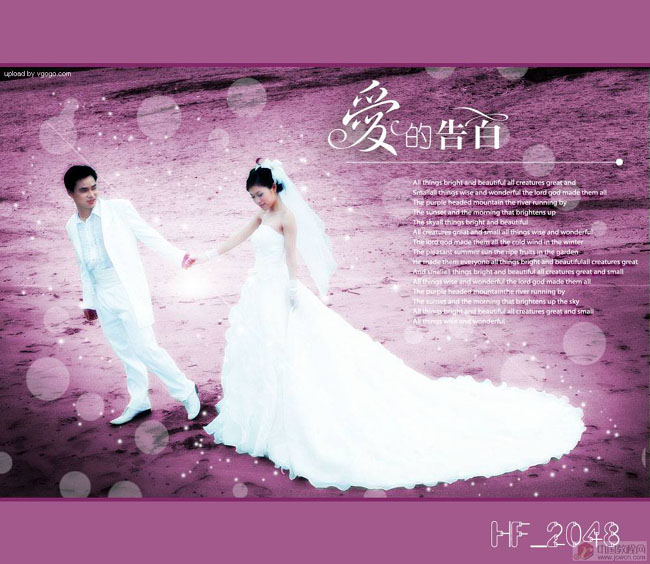
图34 12、最后加点边框修饰一下,这个简单。
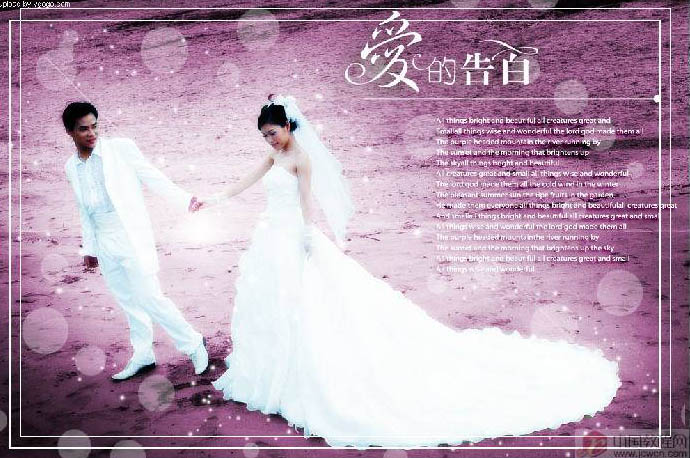
图35
13、发现男主角的脸部有点暗,我们用"减淡工具"对男主角的脸部进行轻微处理,再找了一个好的素材框架:
图36 最终效果: