zuo左zuo左zuo
2016-02-01 01:50
get新技能是需要付出行动的,即使看得再多也还是要动手试一试。今天图老师小编跟大家分享的是超详细的双曲线精细磨皮教程,一起来学习了解下吧!
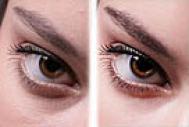
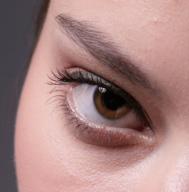
本教程的磨皮方法操作起来可能有点复制,不过处理后的图片细节分布均匀,效果也非常精细。大致过程:首先需要选择精度好一点的素材图片,再磨皮之前需要创建两个曲线调整图层,分别把图片调亮和变暗,然后把曲线蒙版都填充黑色。为了便于观察还可以添加两个观察图层,都填充黑色,适当更改图层混合模式。处理的时候只需要用白色画笔变亮的曲线蒙版上把较暗的部分涂亮,在变暗的曲线蒙版上把较亮的部分涂暗即可。 原图
最终效果
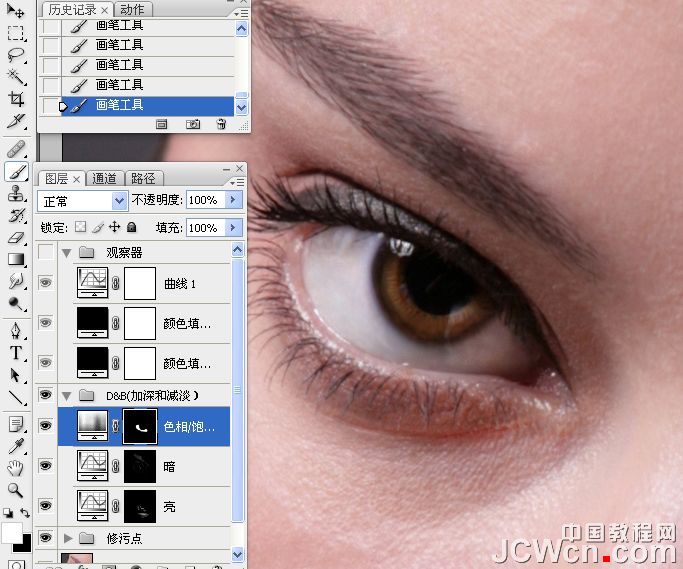
1、大原图素材,建立“观察器”。
2、创建纯色填充图层,选择黑色,效果如下图。
3、把图层混合模式改为“颜色”。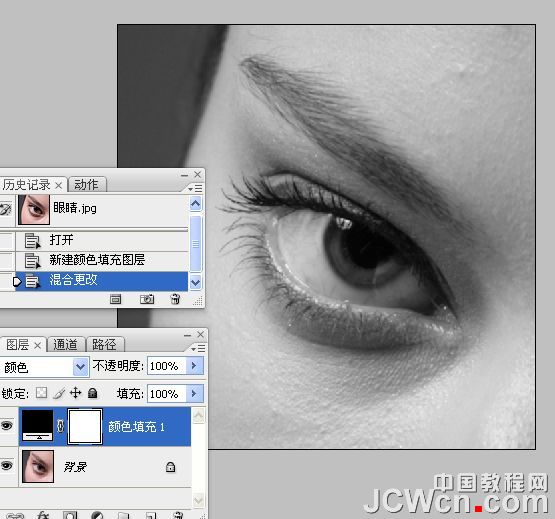
4、把当前颜色填充图层复制一层,如下图。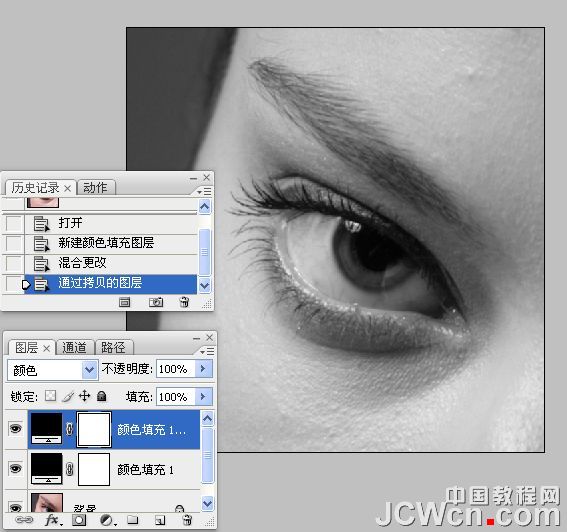
5、把颜色填充图层副本图层混合模式改为“叠加”。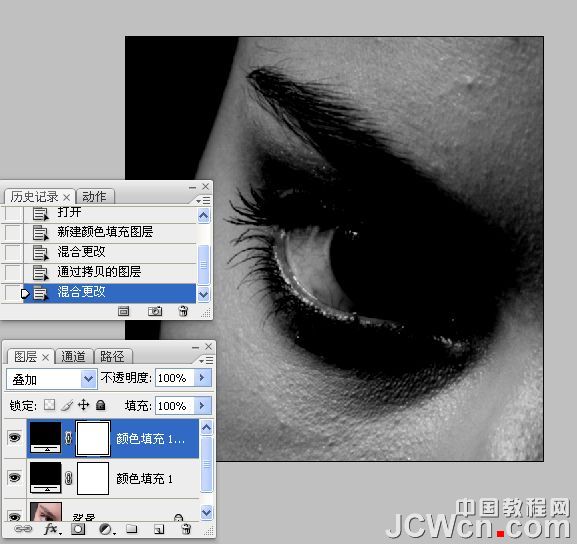
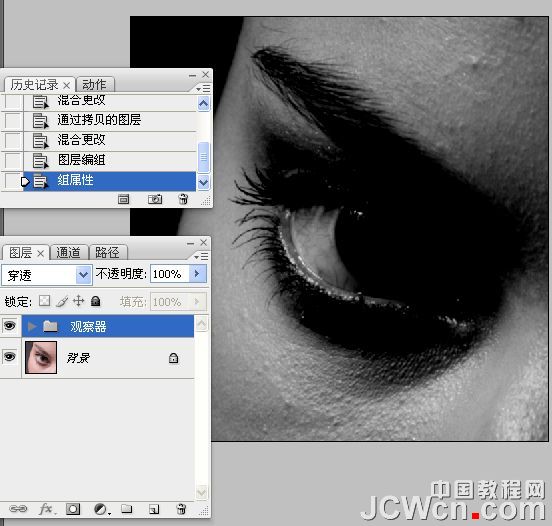
6、新建一个组,把两个颜色填充调整图层放入新建的组中,把组命名为“观察器”。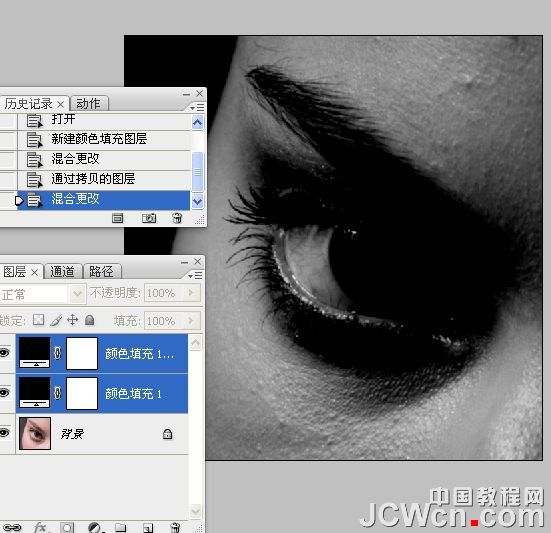

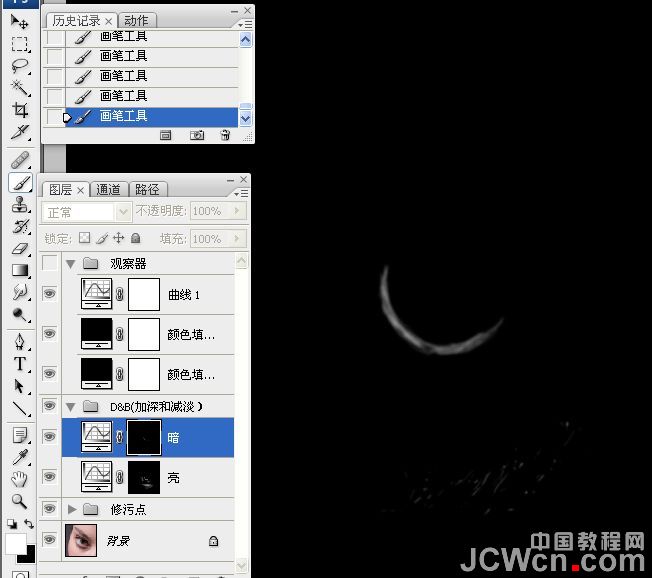
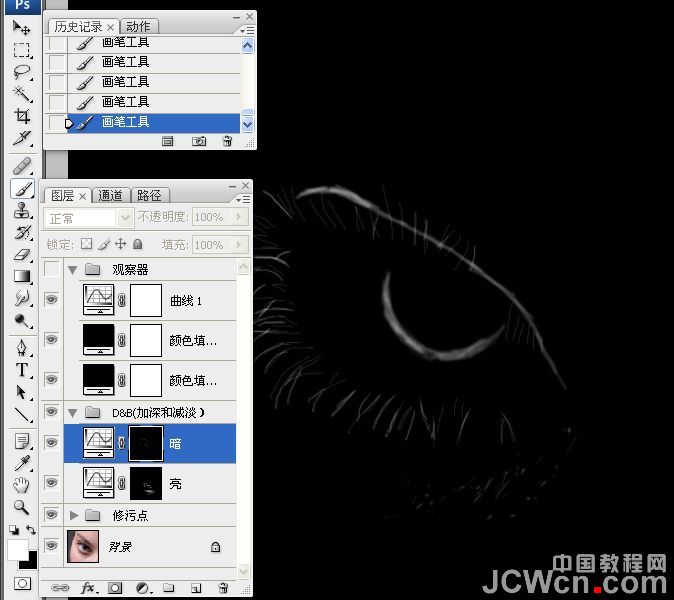
7、建立“暗调与高光”层。
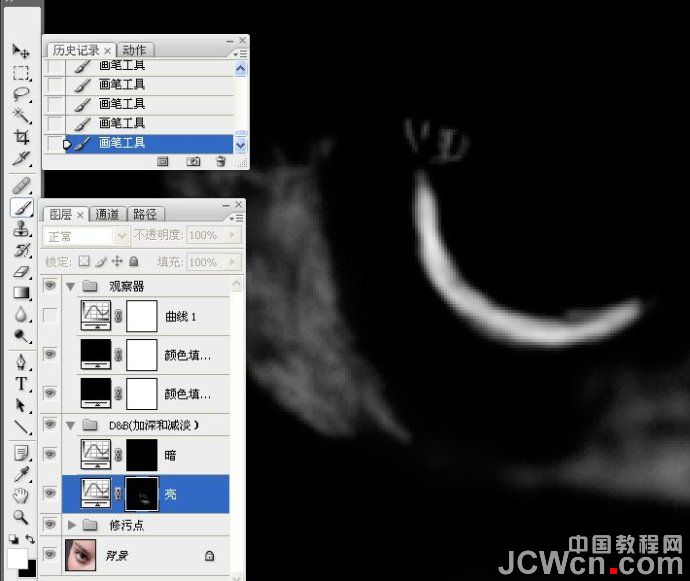
8、在“观察器”组下面创建曲线调整图层,适当把图片调亮一点,如下图。
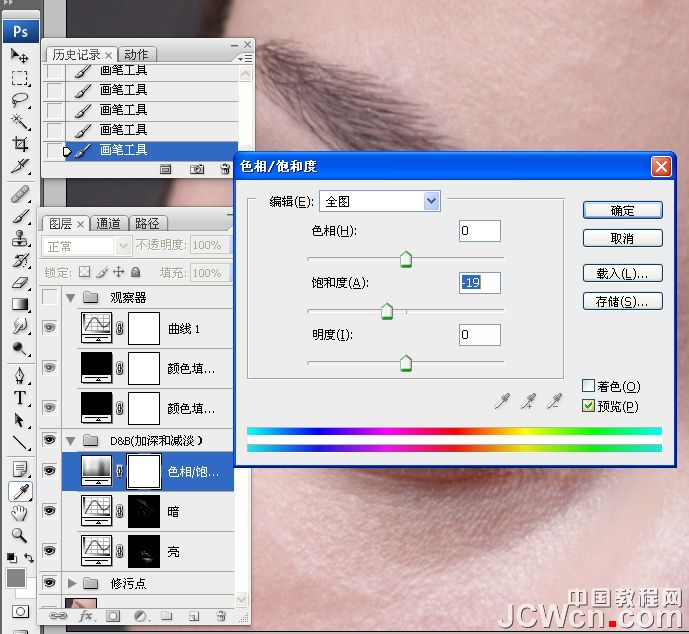
9、再创建曲线调整图层,稍微把图片调暗一点,参数设置如下图。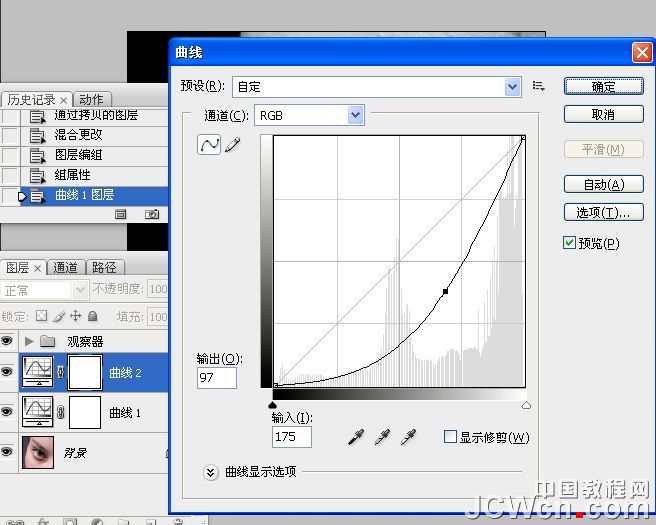
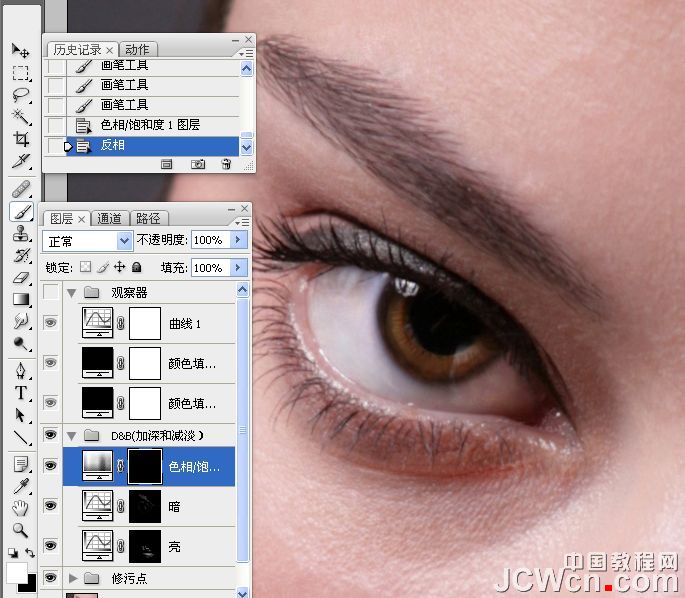
10、把两个曲线调整图层蒙版都填充黑色,效果如下图。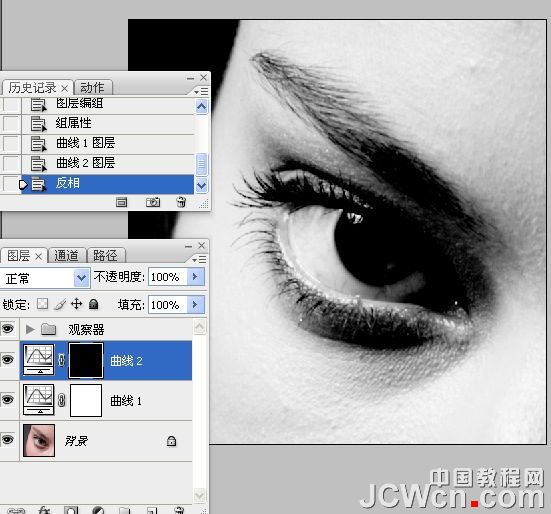

11、分别给曲线调整图层命名,上面的命名为“暗”,下面的命名为“亮”,如下图。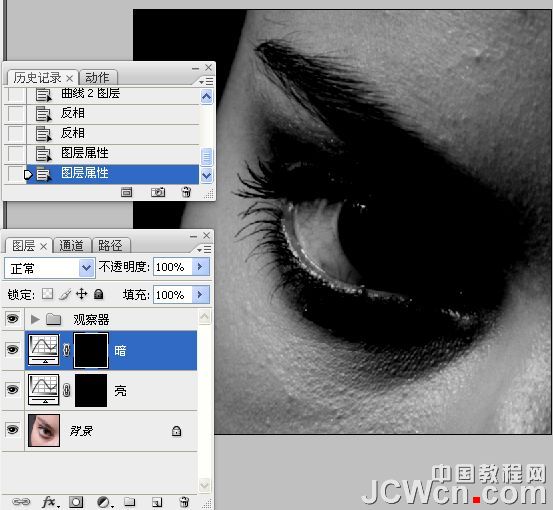
12、同上的方法把两个曲线调整图层放入新建的组里面。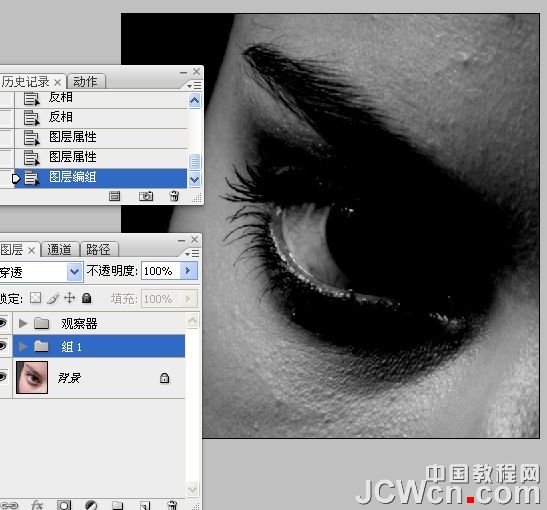
13、把组命名为“加深和减淡”,如下图。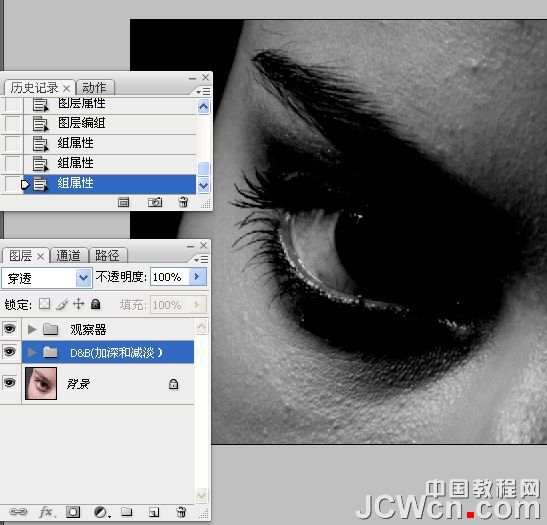
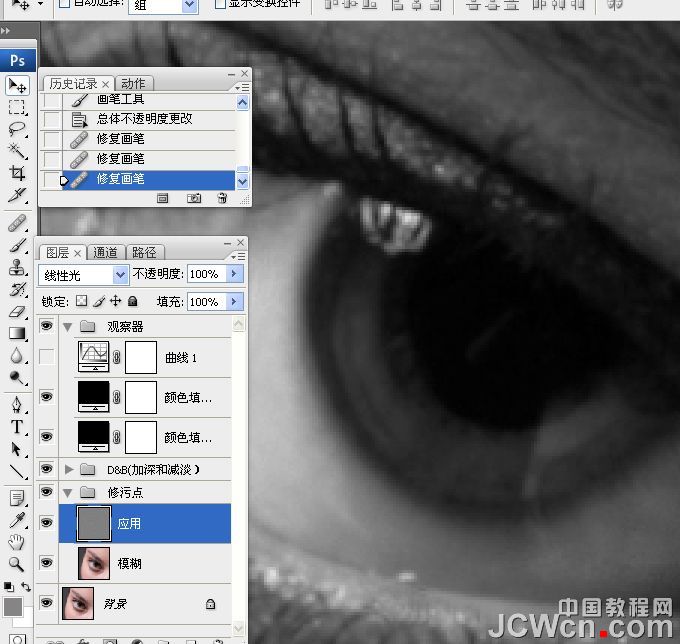
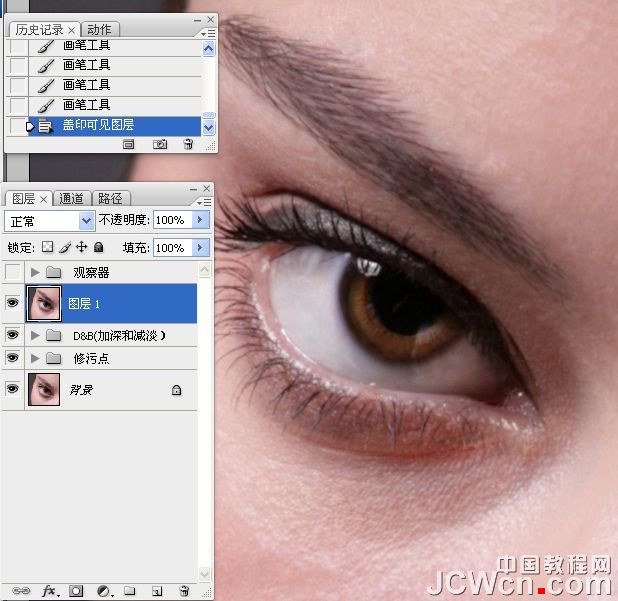
14、把背景图层复制两层,分别命名为“模糊”和“应用”如下图。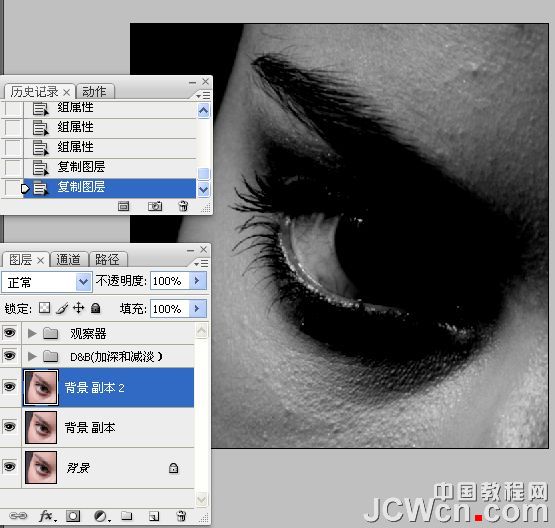
15、同上的方法编组和命名为“修污点”。


16、关闭“观察器”图层的眼睛。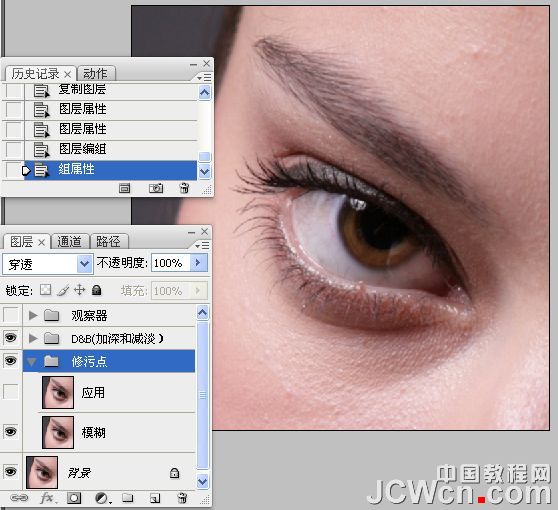
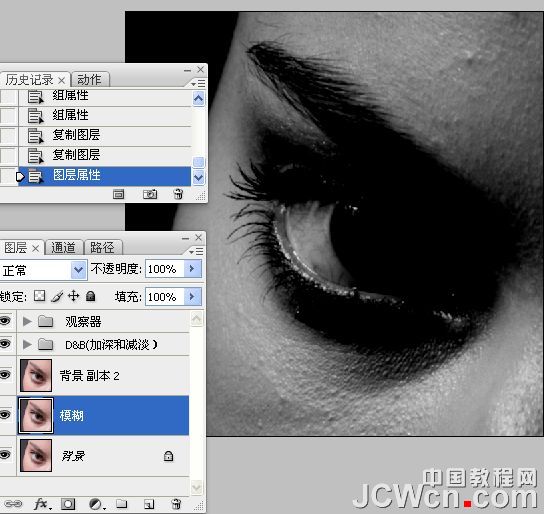
17、选中模糊图层,执行“高斯模糊”处理。
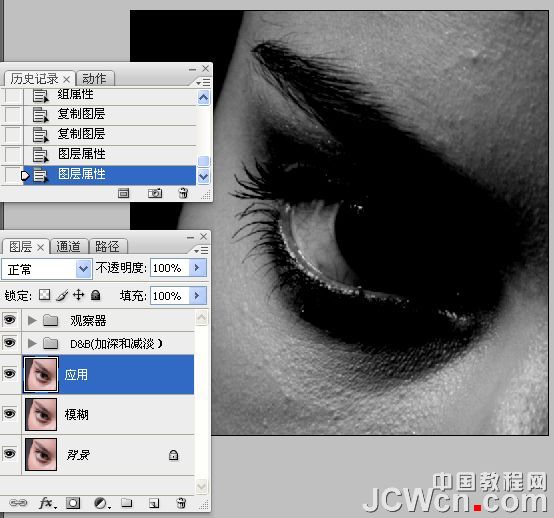
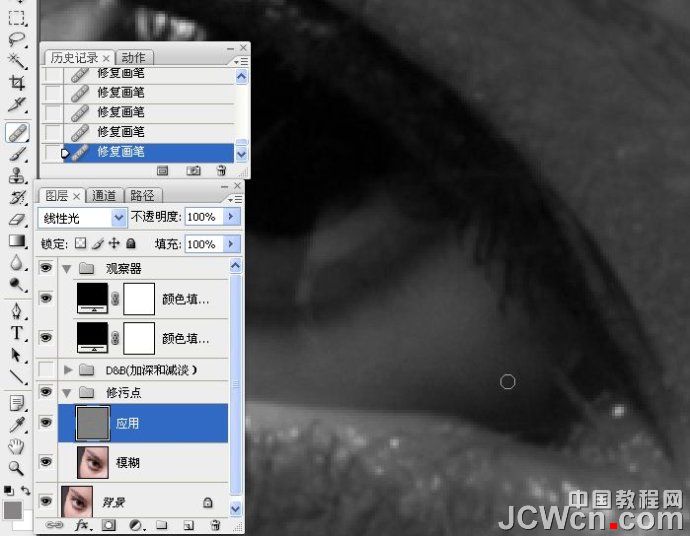
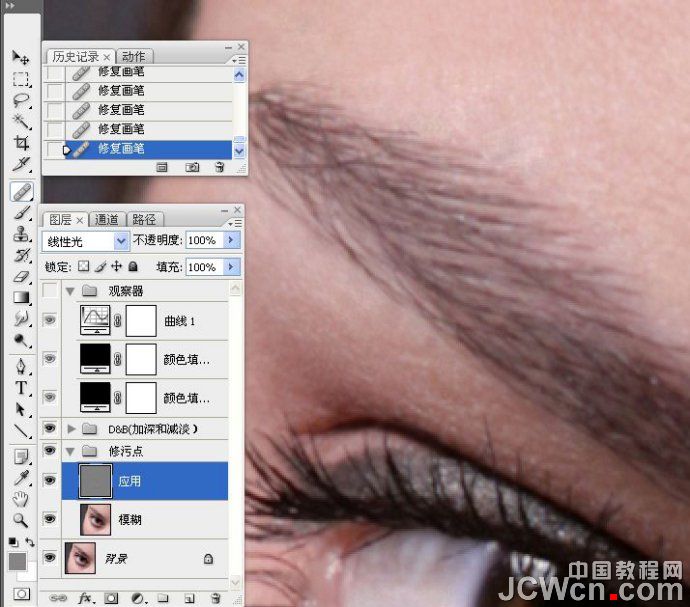
18、选中“应用图层”,执行“应用图像”命令。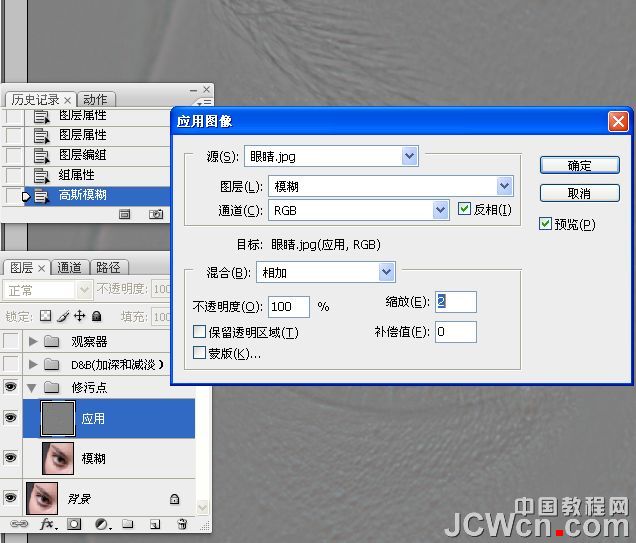
19、修改混合模式为“线性光”。
20、打开观察器图层。
21、选中应用图层,使用“修复画笔工具”处理眼白的血丝。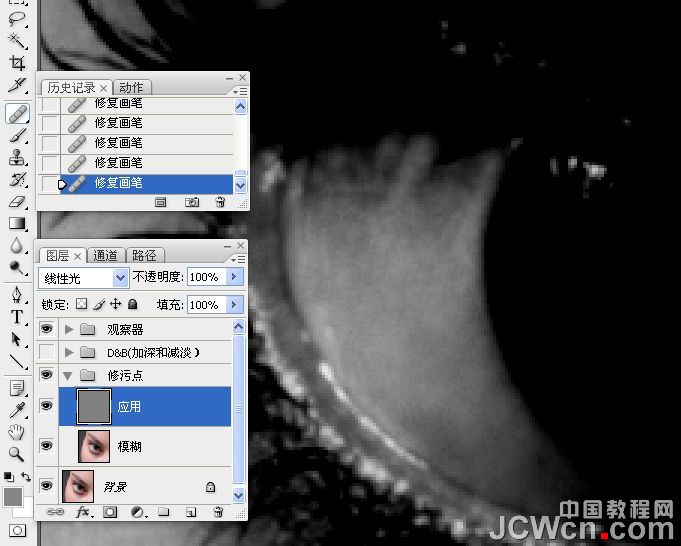
22、降低观察器图层的不透明度,选中应图层,使用“修复画笔工具”对右眼白进行处理。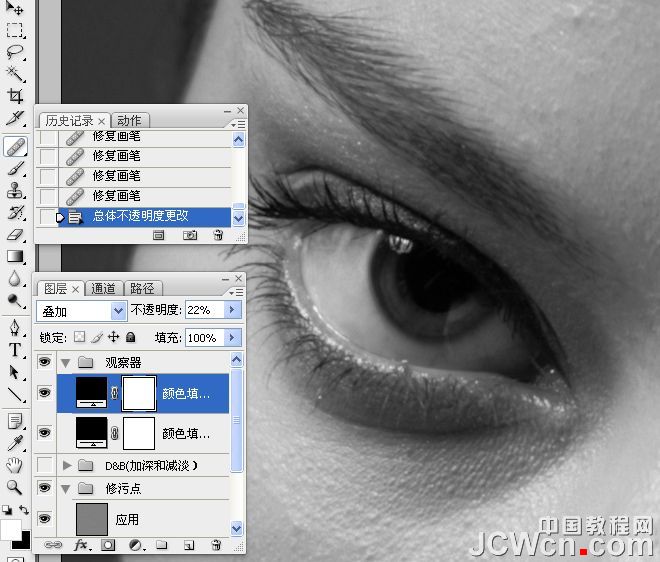
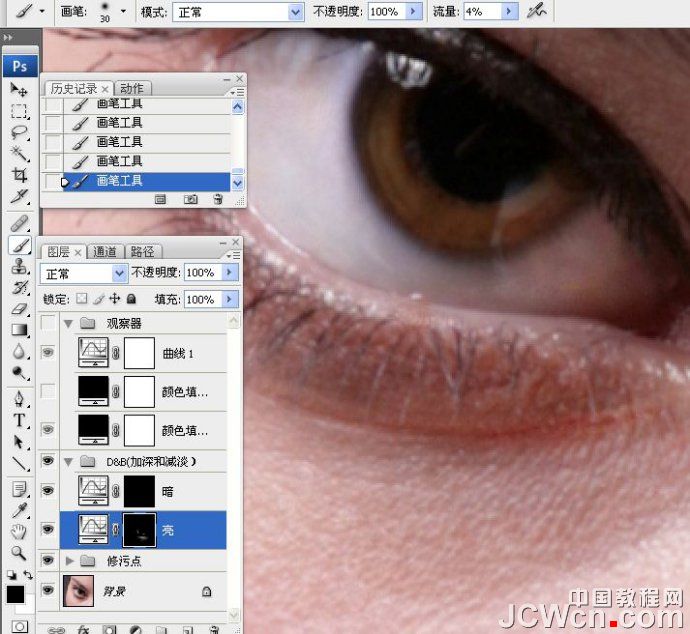
23、增加“观察器图层”的不透明度,对皮肤污点进行处理。
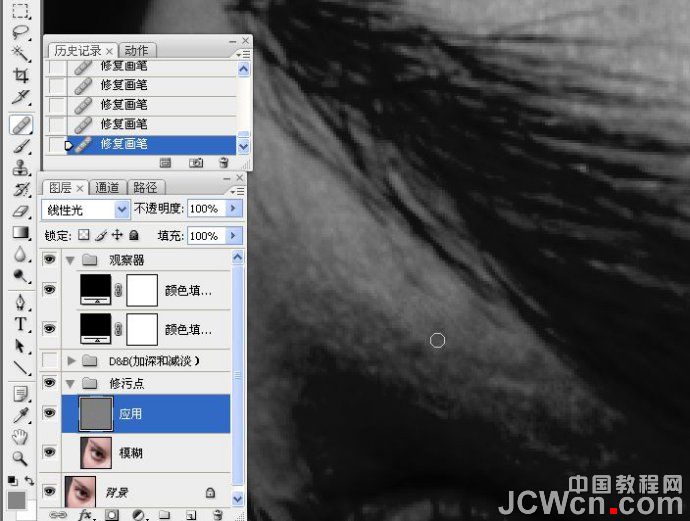

24、关闭“观察器图层”眼睛,使用“修复画笔工具”对眼睛粉刺和皮肤进行处理。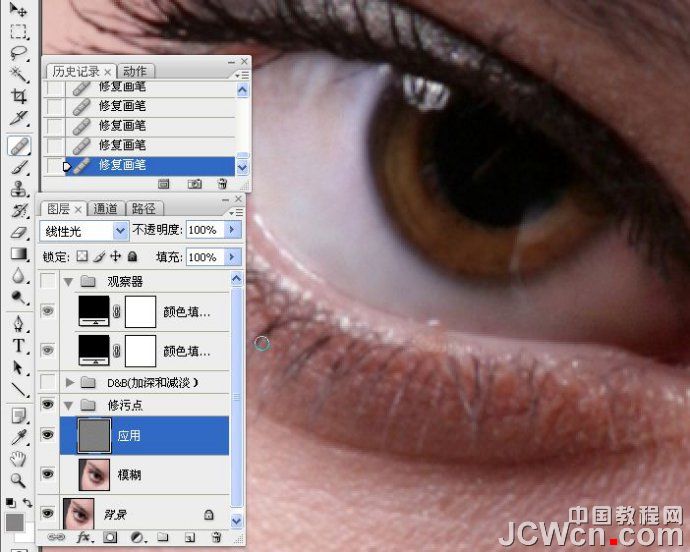

25、增加观察器的不透明度。
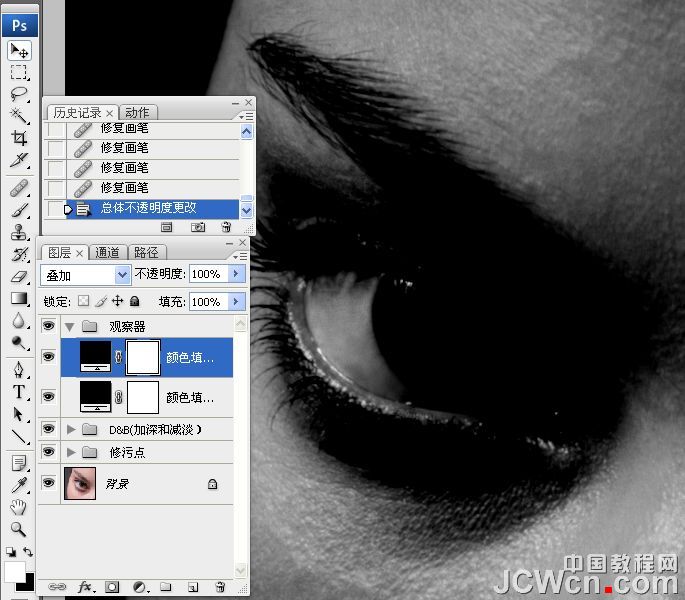
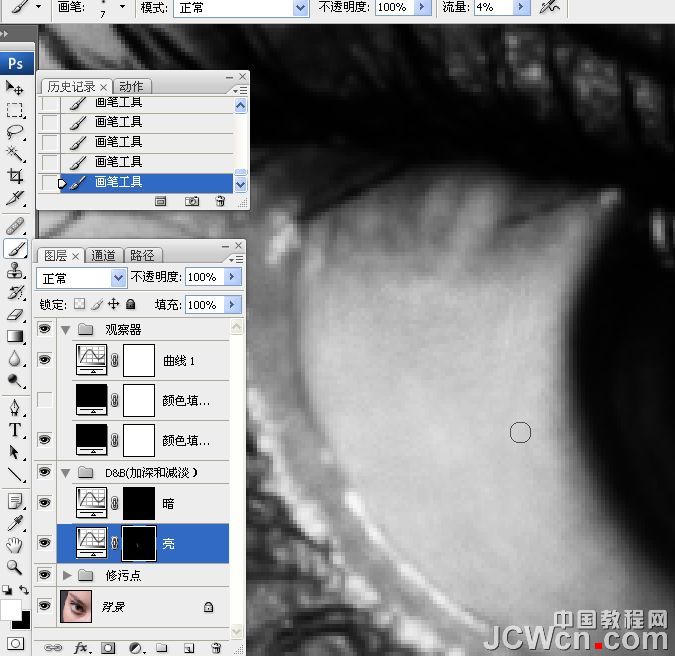
26、新建一曲线调整图层,增强对比度。
27、降低画笔流量,使用白色画笔涂抹眼白亮部区域,目的在于使黑白灰过度均匀。
(本文来源于图老师网站,更多请访问https://m.tulaoshi.com/psxpcl/)
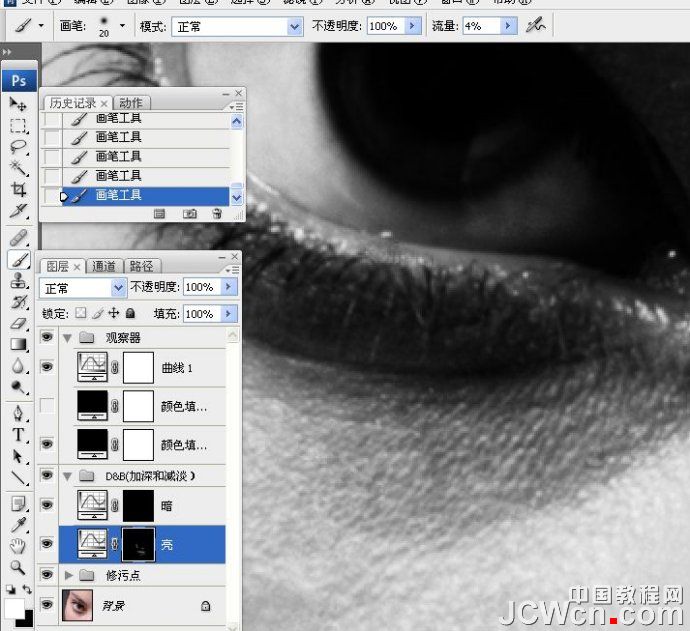
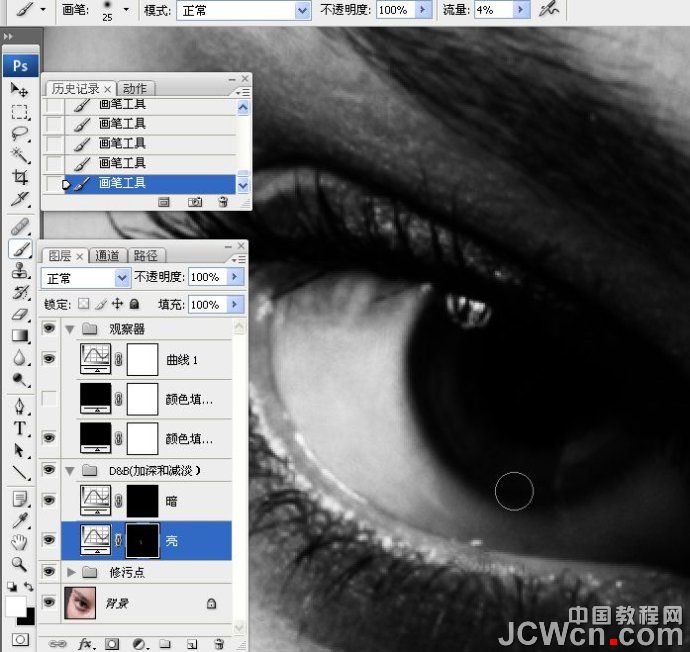
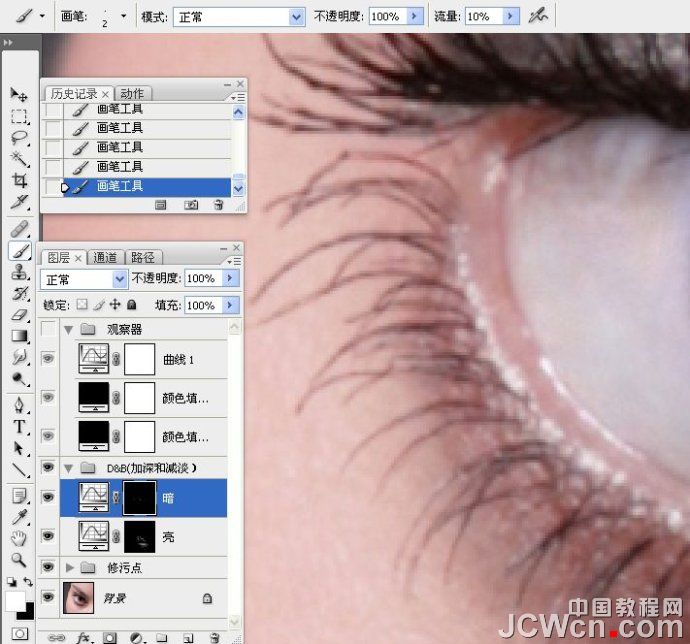
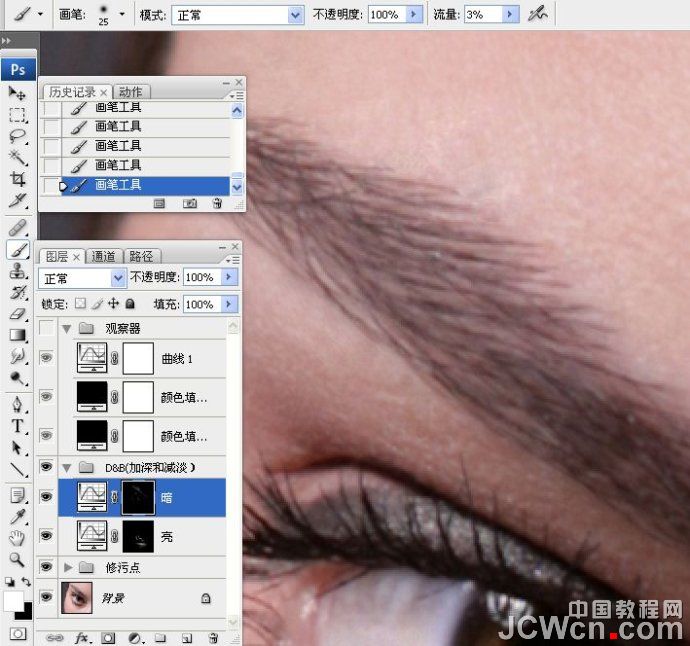
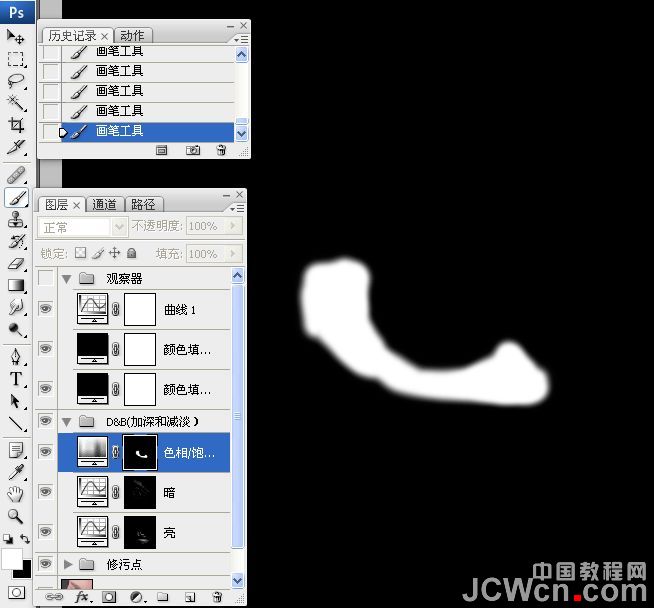
28、使用白色画笔在曲线蒙版上涂抹下眉区域,使其减速淡。
29、使用白色画笔在曲线蒙版上涂抹下眉区域亮点,使其变暗一点。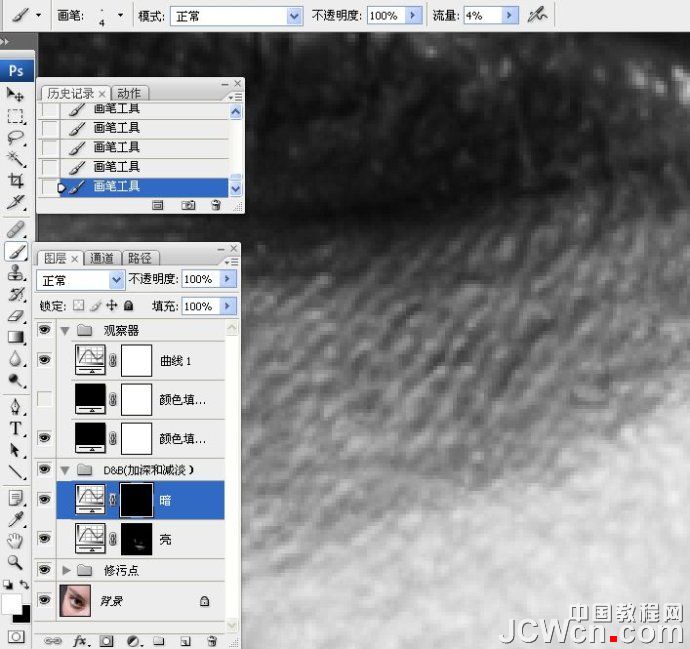
30、使用白色画笔在曲线蒙版上涂抹下眉区域的暗点,使之减淡。
31、关闭观察器,修饰皮肤其它区域。
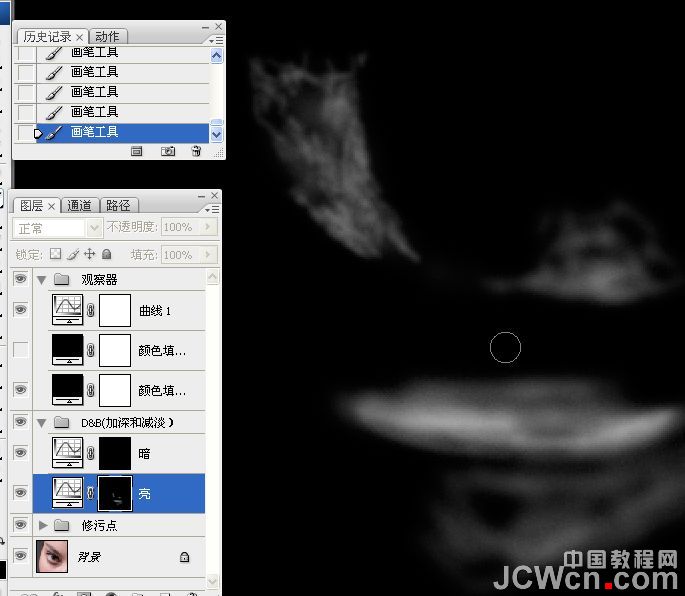
32、修饰瞳孔。


33、修饰睫毛。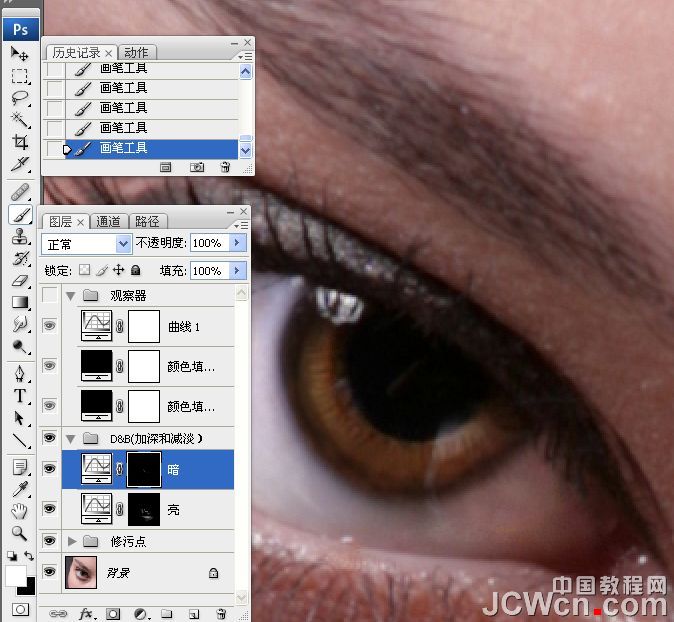
(本文来源于图老师网站,更多请访问https://m.tulaoshi.com/psxpcl/)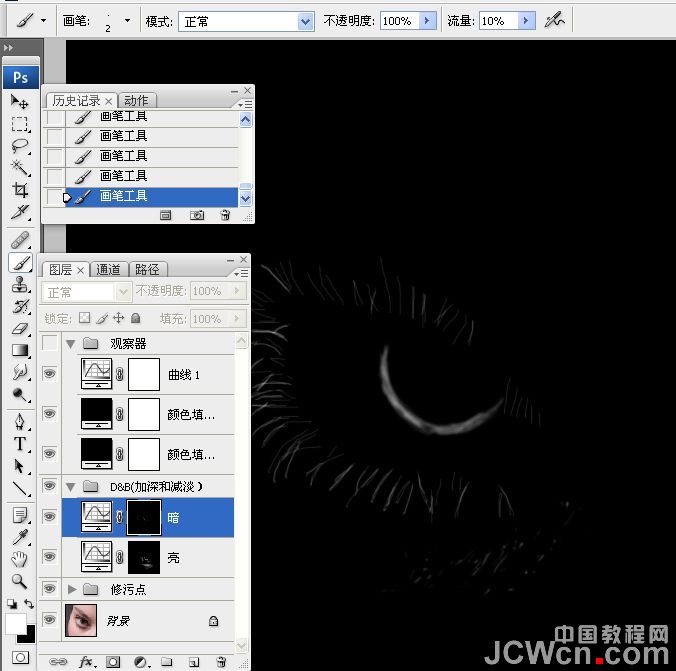
34、修眉毛。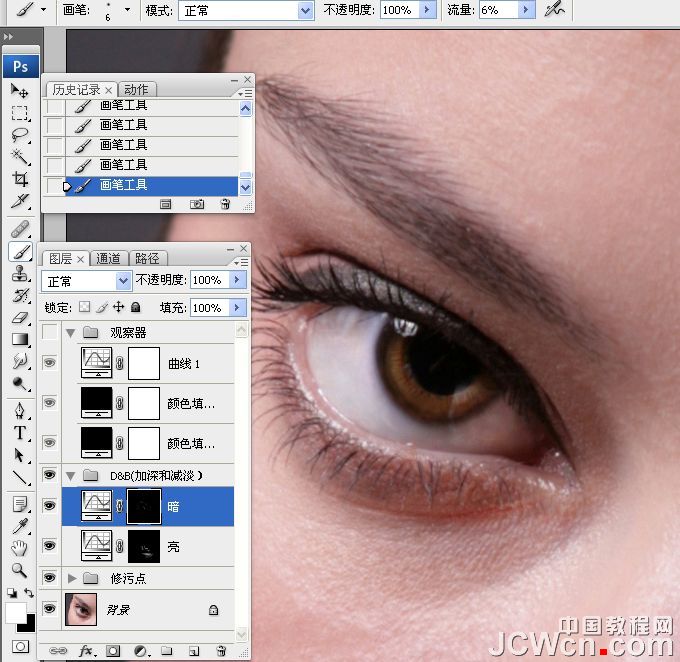


35、锐化。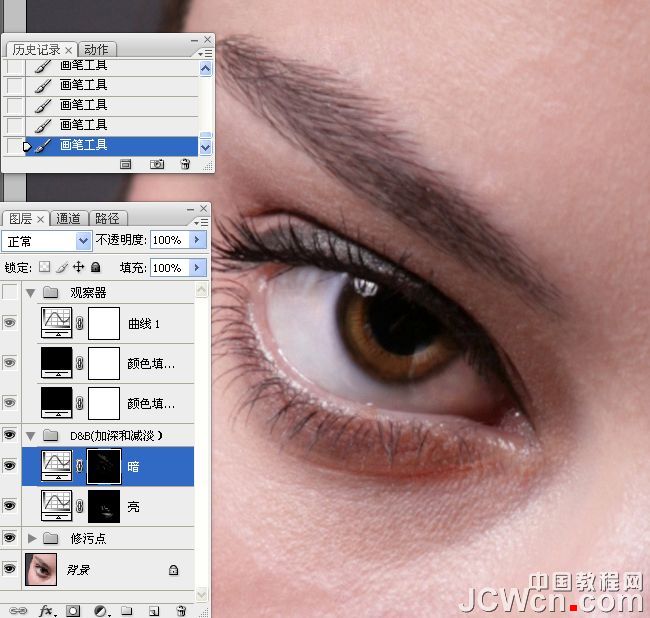
最终效果: