今天图老师小编给大家介绍下Photoshop制作唯美的艺术婚片,平时喜欢Photoshop制作唯美的艺术婚片的朋友赶紧收藏起来吧!记得点赞哦~
效果图看上去非常唯美,其实制作方法非常简单。大致思路:可以找一些唯美的素材合成自己喜欢的背景,然后把抠好的人物素材拖进来,简单溶图及润色即可。
原图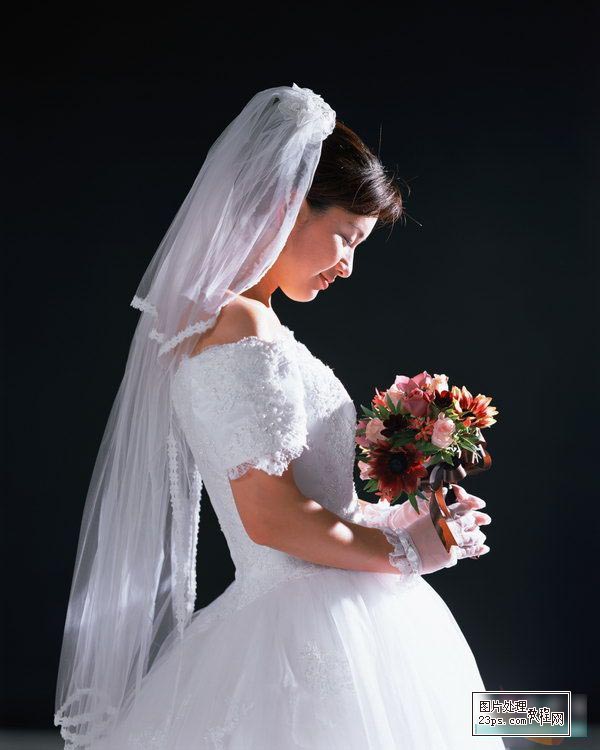
(本文来源于图老师网站,更多请访问https://m.tulaoshi.com/psxpcl/)最终效果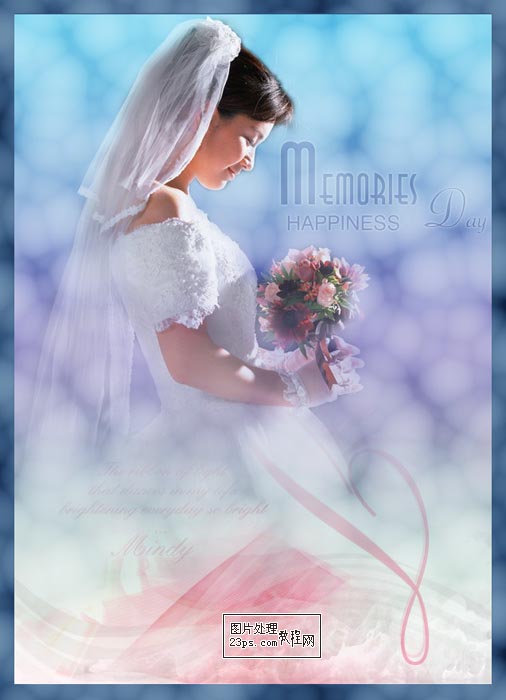
1、打开下图所示的背景素材,按Ctrl + J 把背景图层复制一层。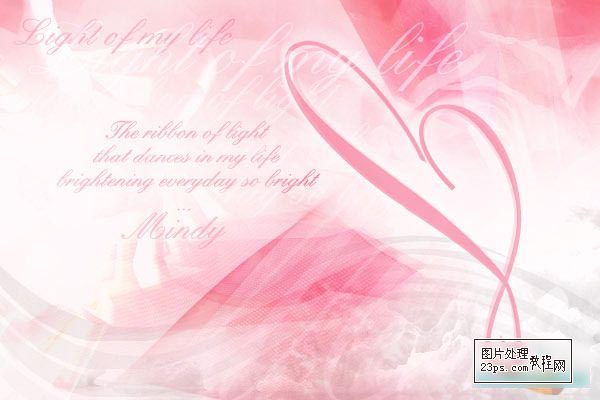

2、选择栽切工具,选择全部后,加大选择,如下图,按回车键确定。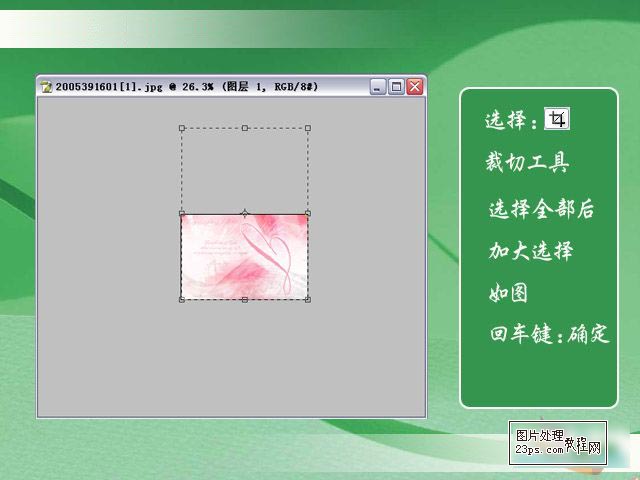
3、选择渐变工具,选择一个你喜欢的渐变,如下图。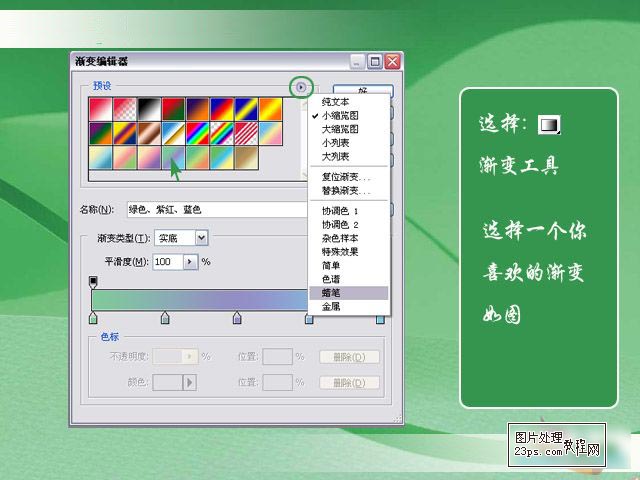
4、选择背景图层,从下至上拉,做渐变填充。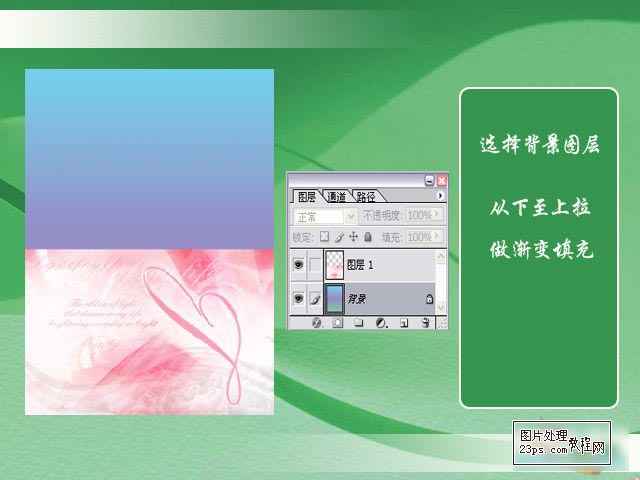
5、选择图层1,添加蒙版,选择由白至黑渐变,填充蒙版。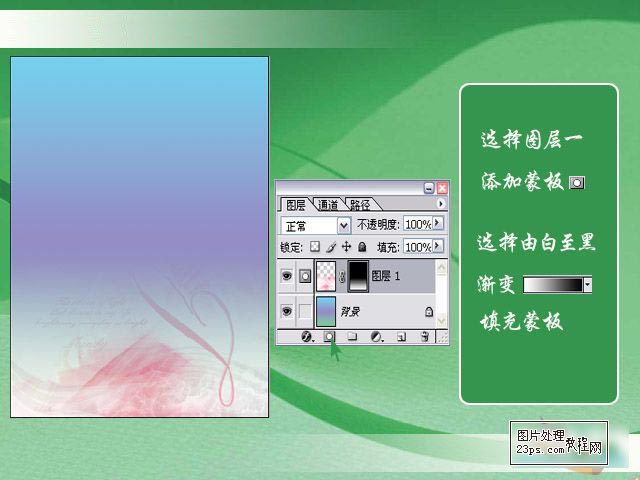
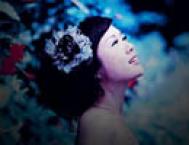
6、打开人物素材,拖进来,Ctrl+j复制图层,如下图。
(本文来源于图老师网站,更多请访问https://m.tulaoshi.com/psxpcl/)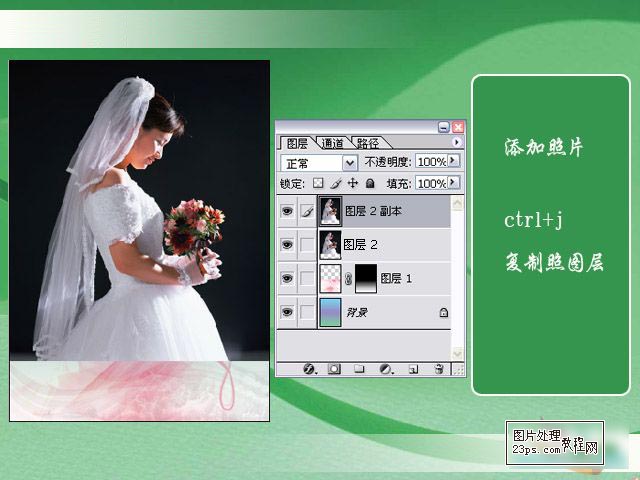
7、人物下层,混合模式为滤色,顶层添加蒙版,选择黑色画笔工具,把人物背景擦除,如下图。
8、右键点蒙版,应用蒙版,如下图。
9、分别加入蒙版,还是渐变填充。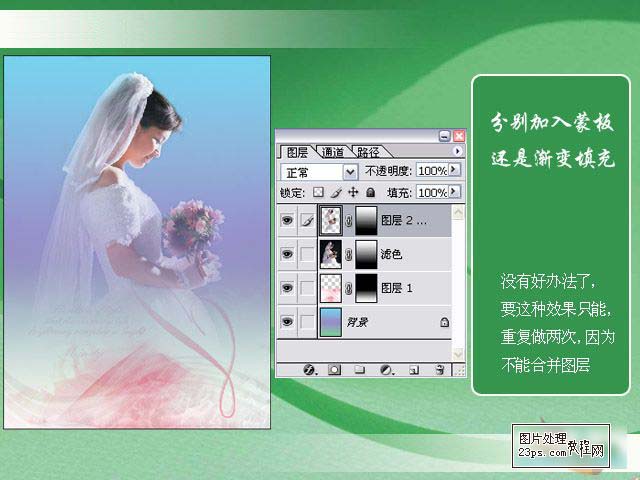
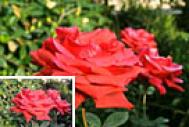
10、选择图层一,然后点击,调整图层,选择图案,如下图。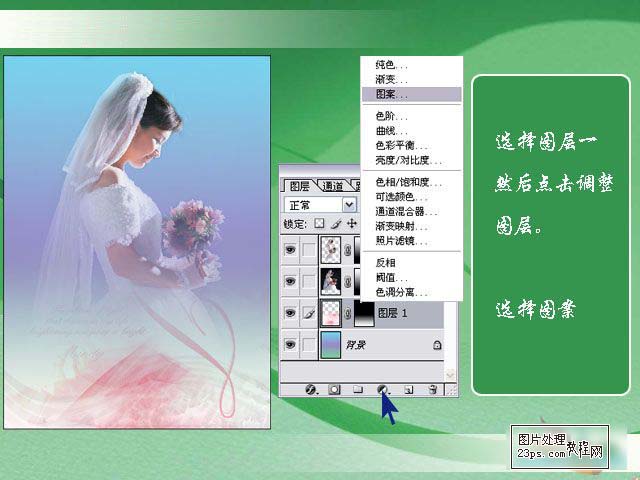
11、选择一个自己喜欢的图案,调整图案的大小。如下图。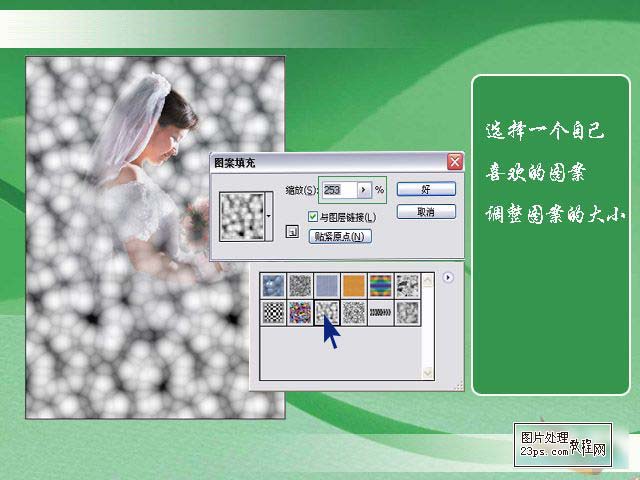
12、混合模式为柔光,感觉不太满意,换一下图次序。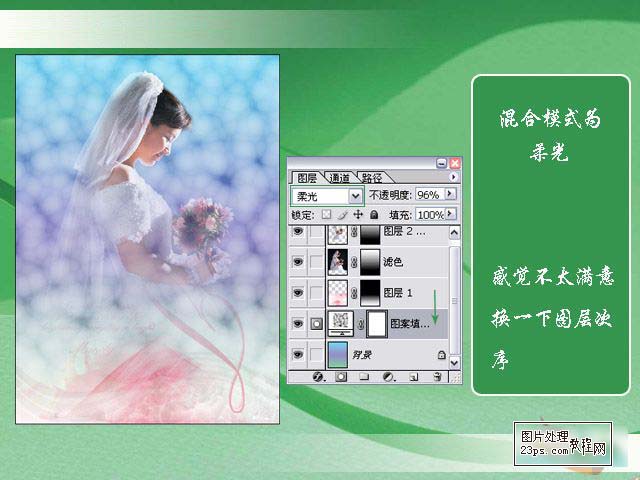
13、移动人物图层时,要连接图层移动后,会出现白边,用不透明度20-30%的黑色画笔在滤 色图层蒙版上擦除。添加字体装饰一下。如下图。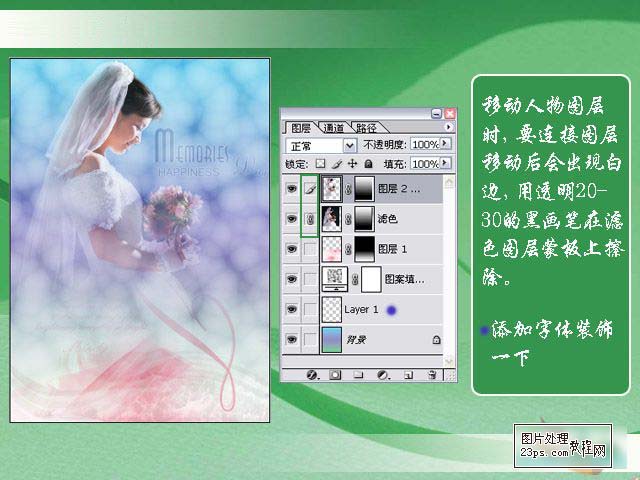
14、合并图层,还是栽切工具,怎么用你没忘吧,背景色选个你喜欢的颜色,按回车键确定。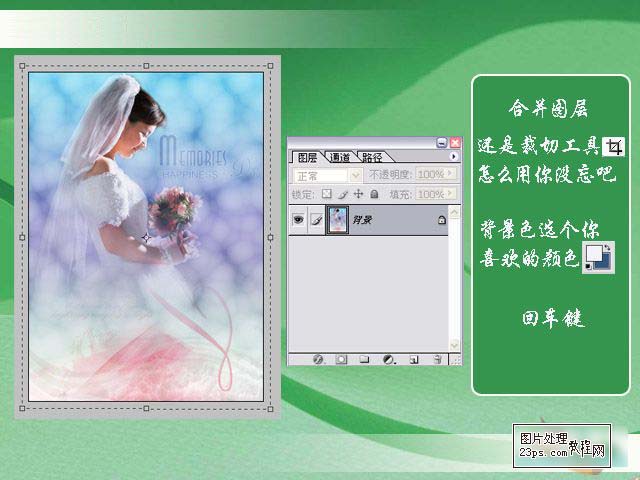
(本文来源于图老师网站,更多请访问https://m.tulaoshi.com/psxpcl/)15、图案填充,再来遍,用矩形选框工具,选择边缘,填充黑色,完成。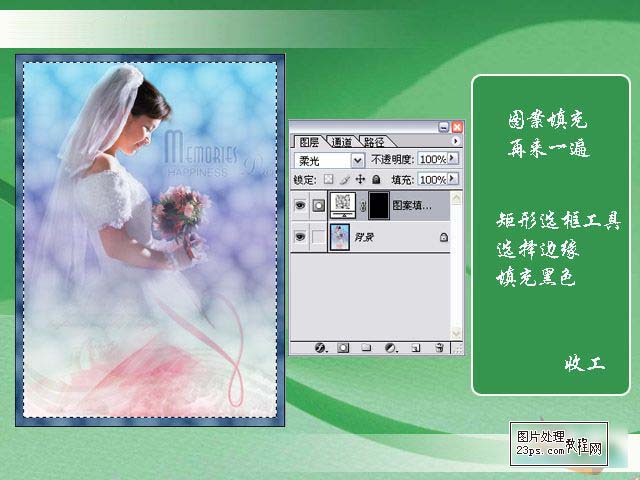
最终效果: