想要天天向上,就要懂得享受学习。图老师为大家推荐Photoshop制作贴在水珠上的文字,精彩的内容需要你们用心的阅读。还在等什么快点来看看吧!
本教程文字效果制作的非常清爽。文字用了白色并加了一点简单的图层样式,效果非常醒目。再配上一些水珠素材和渐变背景。效果就更加完美。
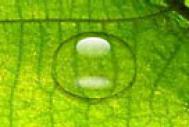
最终效果1 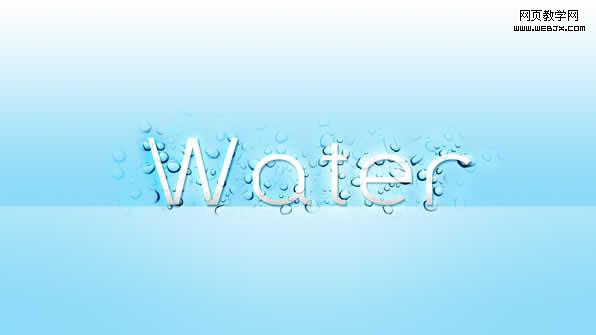
最终效果2
1、我们创建一个大小1920 * 1080px的文档,然后制作一个好看的背景。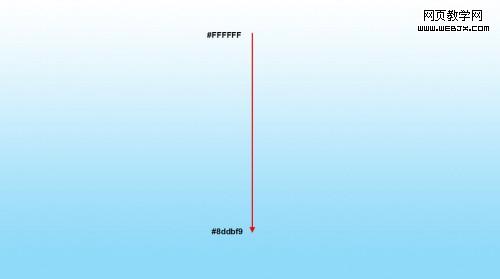
2、复制图层,然后按CTRL+T调整变形。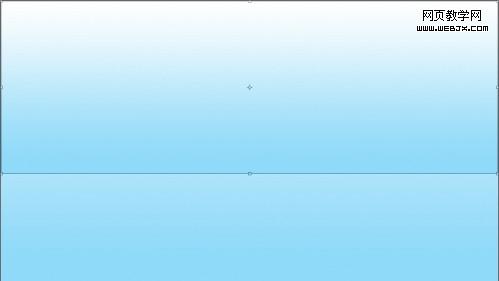
3、在复制图层和背景层中间创建一个新图层,命名为Light bottom,使用一个大的柔角笔刷(1600px, 0% hardness, 55% opacity)单击背景层。
4、然后再所有图层最上面创建一个新层命名为light top,同样的画笔描绘复制图层。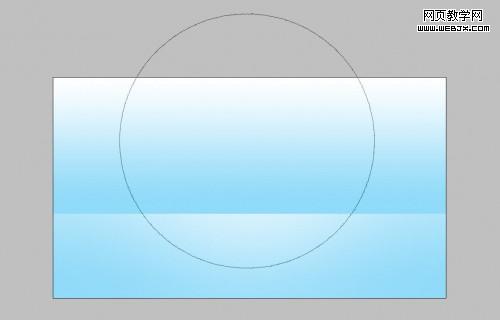
5、这时的效果如下。
6、然后使用文本工具,加载好刚才的字体,输入。
(本文来源于图老师网站,更多请访问https://m.tulaoshi.com/psxg/)7、然后设置图层样式: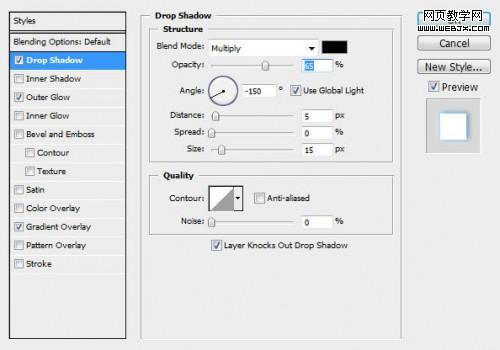
投影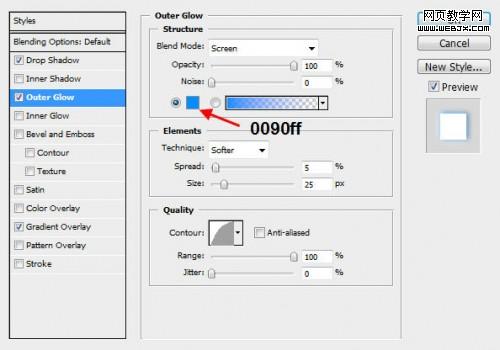
外发光 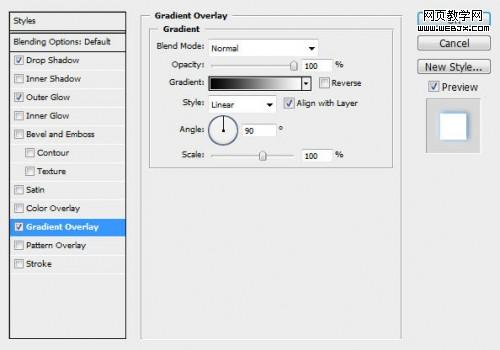
渐变叠加 
8、这时的图层面板如下图。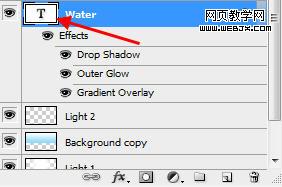
9、然后按CTRL键单击water图层,把文字选中。
10、这时选择矩形选区工具,把鼠标移到下面位置,呈现鼠标下有一个虚线框的情况。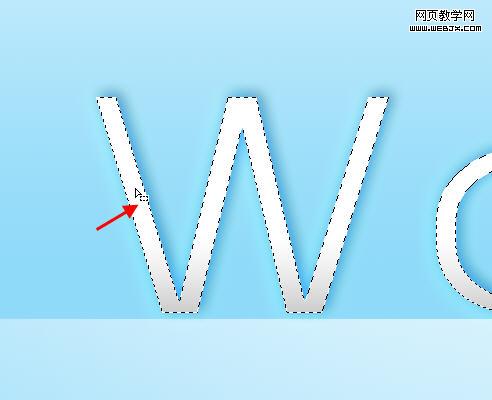
(本文来源于图老师网站,更多请访问https://m.tulaoshi.com/psxg/)11、拖拽选区到水珠图层中,效果如下。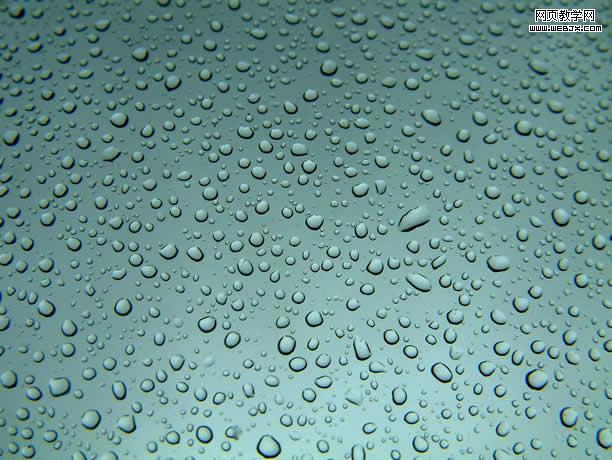
12、之后按 Ctrl + Alt + R,并且选择refine edge tool工具设置如下。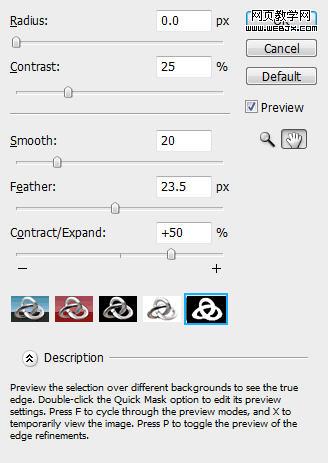
13、然后按CTRL+C复制选区,然后粘贴到当前图层中。
14、然后命名该图层名为water drop texture 1,设置图层模式为叠加模式。
15、之后我们复制图层,然后放到上面,设置图层不透明度为70%。
16、新建立一个色阶调整层。
17、添加图层模版,绘制下面图案。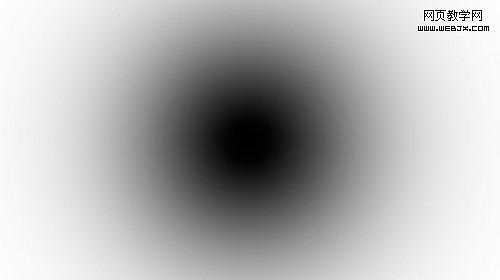
最终效果: