今天图老师小编给大家精心推荐个Photoshop打造非常剔透的水晶立体字教程,一起来看看过程究竟如何进行吧!喜欢还请点个赞哦~
本教程的水晶字制作的非常经典,尤其是文字的高光部分制作非常到位,把水晶字的剔透感变现的淋漓尽致。这些高光可能用图层样式不能完全做出来,还需要用手工加上去,这就是作者字体效果做得出色的原因所在,因为细节决定了文字的完美程度,细节做得越好,效果自然越漂亮。
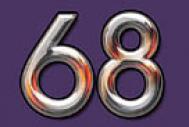
最终效果
1、新建文档 600x800px 如图: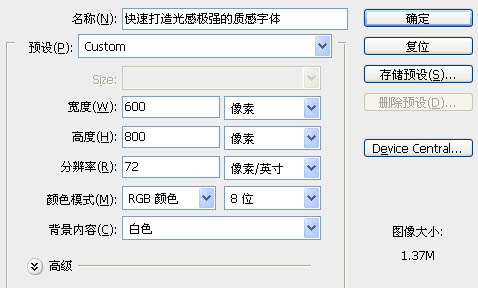
2、先选定颜色,把前景色和背景色设置好,如图:
3、背景效果达到我提供的效果或接近都可以,可以使用渐变,或背景填充刚才的前景色,新建一个图层填充背景色,加上图层蒙版,用黑色画笔把中间部分擦出来: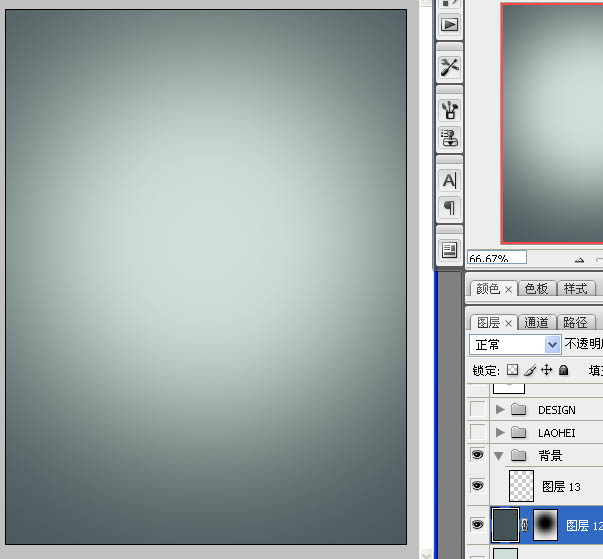
4、去网上下载一些水墨或喷溅笔刷,加上下图所属的背景纹理: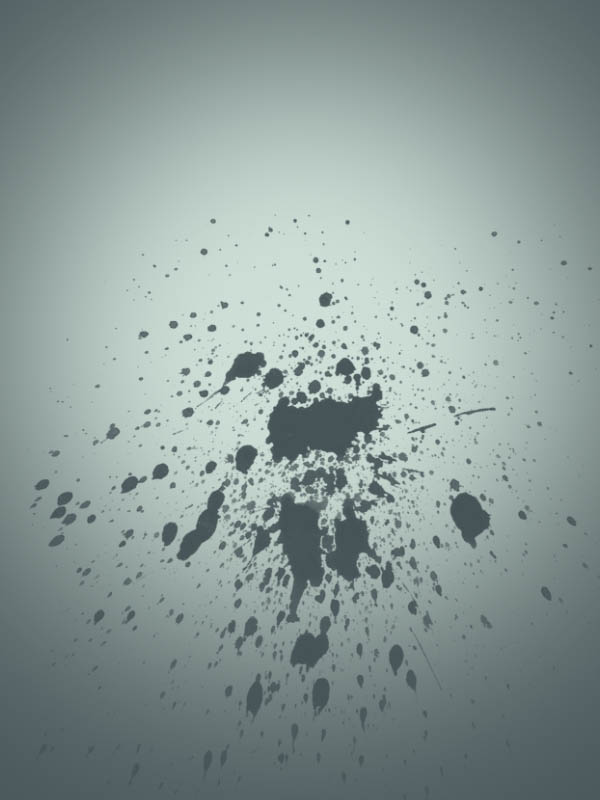
(本文来源于图老师网站,更多请访问https://m.tulaoshi.com/psxg/)
5、可以准备文字了,我使用的字体是:方正粗圆简体,把文字放置文档中间,我就可以开始调试图层样式了。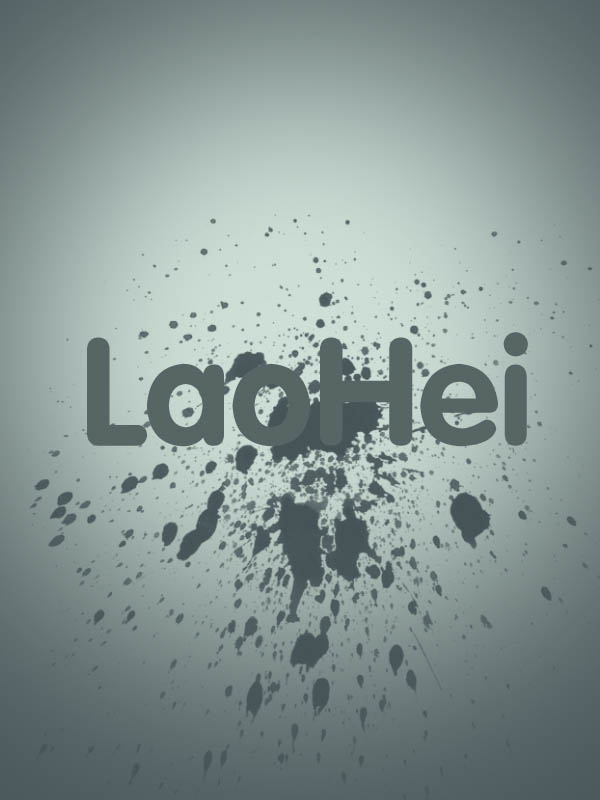
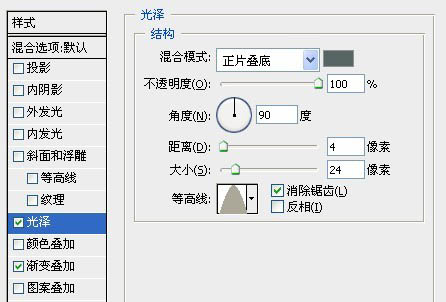
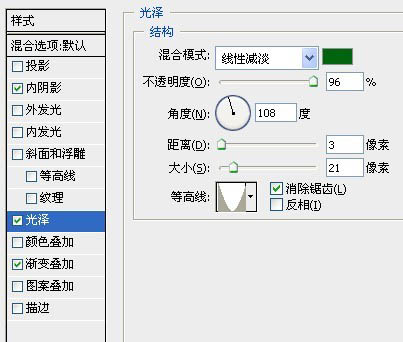
6、选择图层样式,添加渐变叠加及光泽,参数及效果如下图。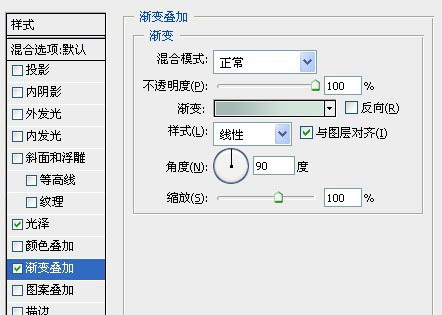
7、复制 laohei 图层向下移动次图层:如图:
8、这样看上去比较生硬,我们再使用滤镜-模糊-高斯模糊 把它变得更柔和: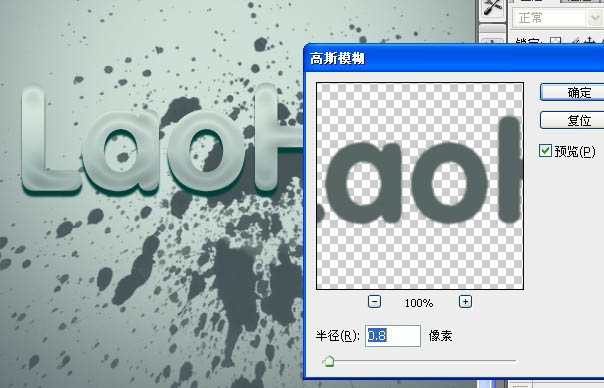
9、我们再次复制被高斯模糊过后的图层,在使用滤镜-模糊-动感模糊。
10、动感模糊后,我们向下移动位置,我们再复制几个动感模糊后的上下位置,得到很立体的效果,上面立体效果差不多了,接下来,我们要让它变得更加质感,在边缘加高光。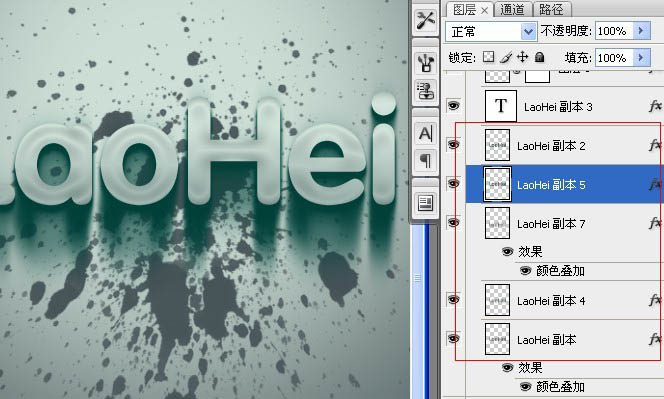
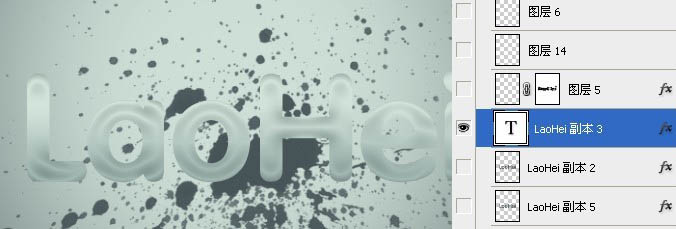
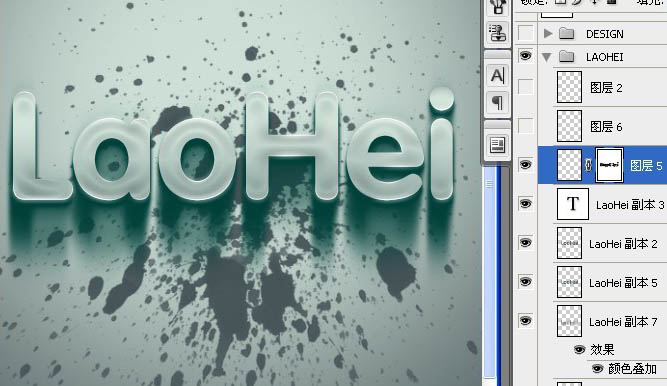
11、按住ctrl键用鼠标点击“laohei副本3”出现选区:
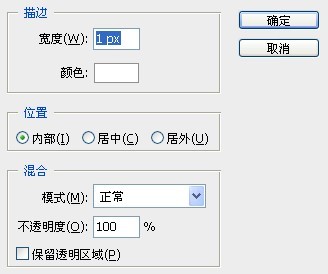
12、接下来,选择菜单:编辑 描边,参数及效果如下图: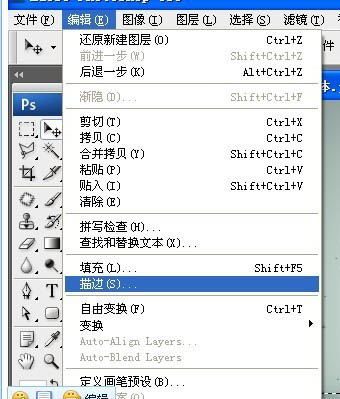

13、设置画笔:将用画笔抹掉不是高光的部分。在描过边的图层上添加蒙版,用画笔抹掉不是高光的部分: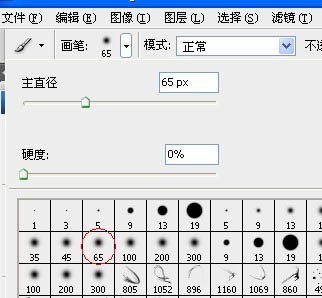
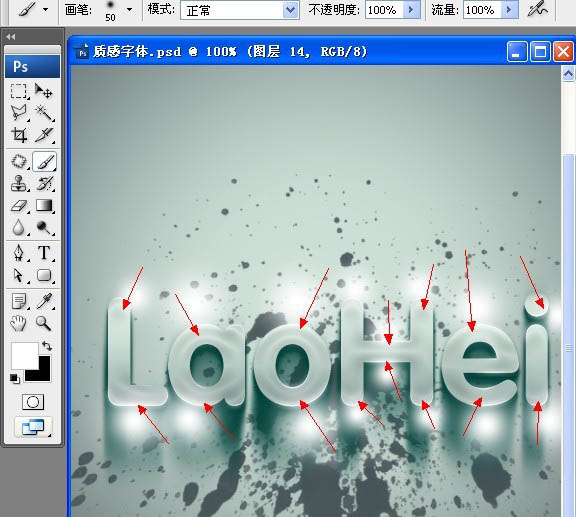
14、新建一个图层,把模式改成:柔光,用白色画笔在高光部分做上光效: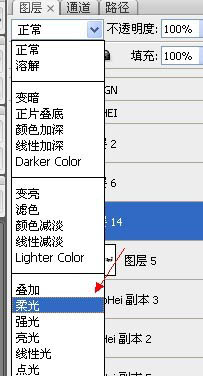
15、接下来,选中laohei选区后,按ctrl+shift+i 反选,删除字体以外不可用的部分。
16、这样以来就可以得到下面效果了: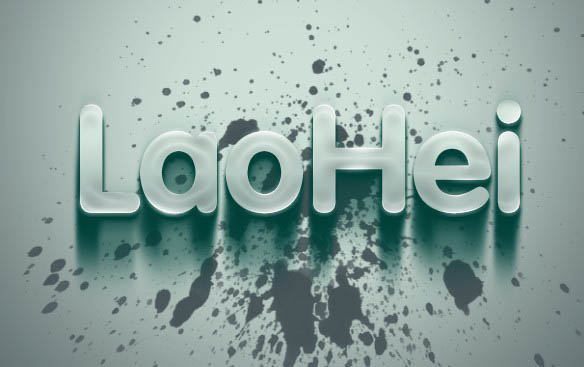
17、接下来设置深绿色的质感 Design 字体,方法和上面的方法一样,只是颜色上有改动。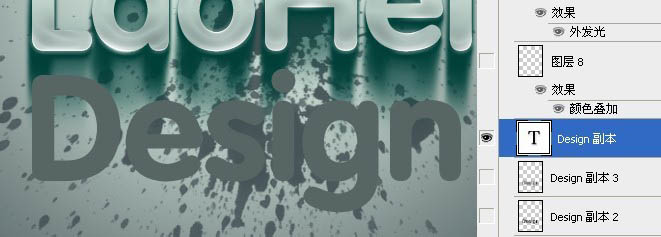
18、我们来看下样式参数:
注:这里的颜色 你可以用吸管工具来吸取颜色。
19、中间步骤我都省略了,这里要强调高光必须是绿色,而不是白色了,同样也设置成柔光: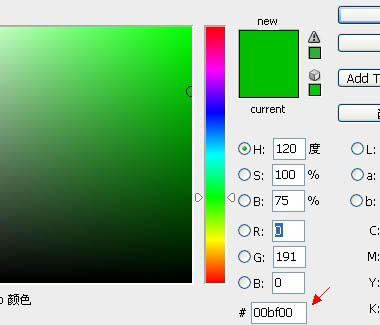
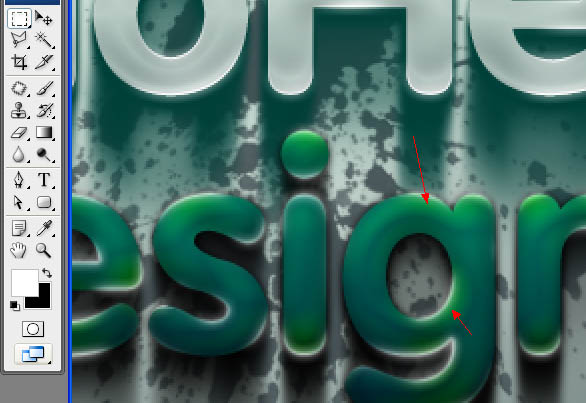
(本文来源于图老师网站,更多请访问https://m.tulaoshi.com/psxg/)
20、我们来看下整体效果:
21、字体质感已经表现得差不多了,但是整体排版,上面太空 ,我们需要加入一些文字来点缀下:
最终效果: