人生本是一个不断学习的过程,在这个过程中,图老师就是你们的好帮手,下面分享的Photoshop制作奇趣的水纹字懂PS的网友们快点来了解吧!
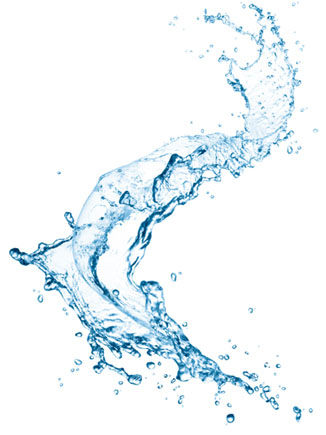
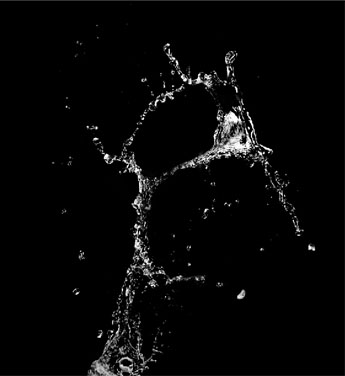
从效果图就可以看出水纹字由水纹素材变形叠加而成。制作之前需要需要准备一些水纹素材,然后按照自己的喜好把水纹变形成想要的文字,然后加上一些小鱼等装饰即可。
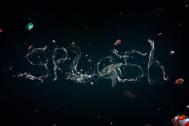
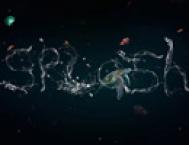
最终效果
1、首先我们需要创建一个新文档。 画布大小为3000 * 2000,图像完成之后,我们可以把尺寸降到1200 * 800。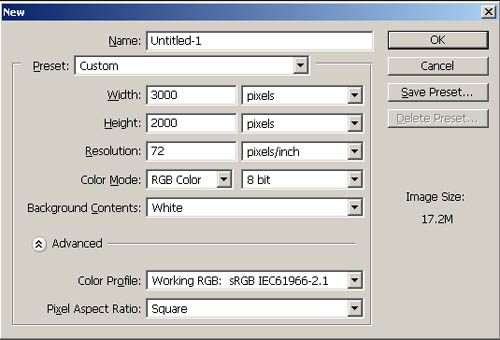
2、获得素材之后,你需要把它们改造成文字。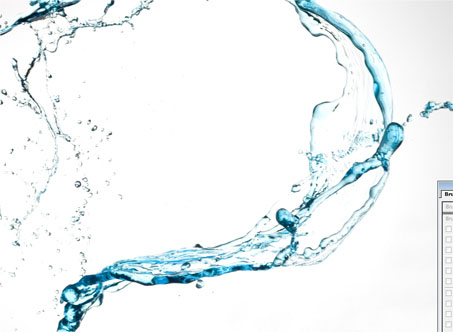

3、现在我把原始图像拖动到我的画布上。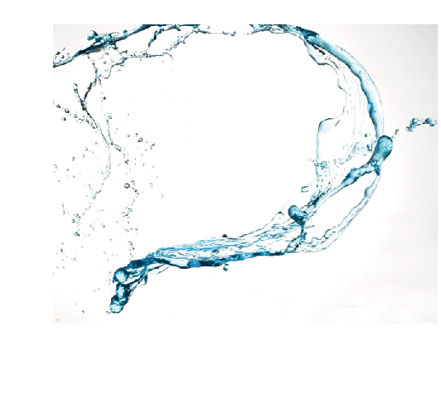
4、接下来,我复制它,然后旋转180度。拼合成一个S形状。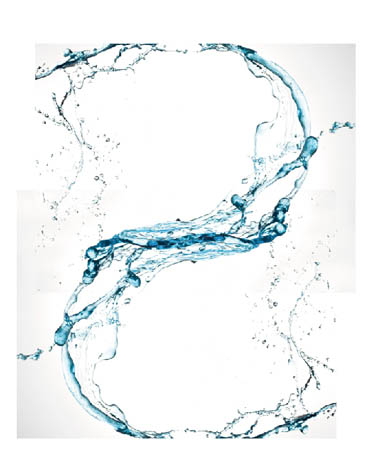
5、向下合并两个图层为一层,使用橡皮擦工具和色阶编辑器稍微修改它。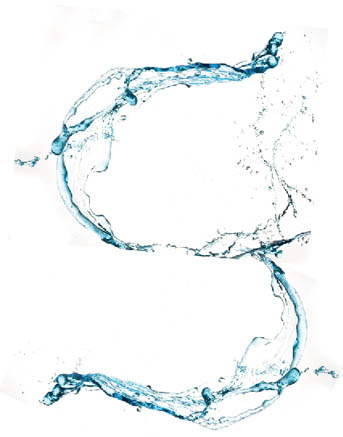
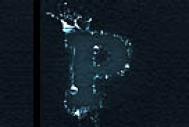
6、下一步我开始做P,素材图像,自由变换它,拉直,然后删除了一些部分,使它看起来像一个钩子。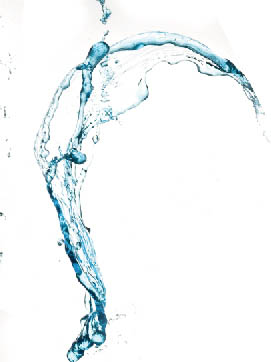
7、接下来,使用素材图像,旋转它,使它合成一个圆形,组成了P。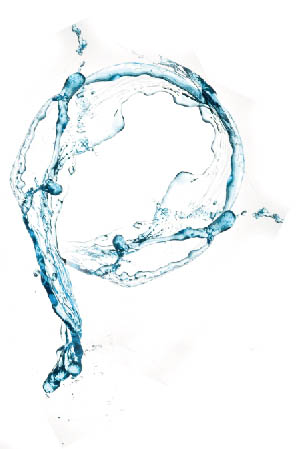
8、接下来,我使用同样的图像延长P的尾部。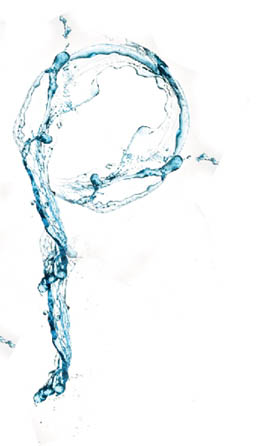
9、接下来,我使用一个单一的图像,构建L。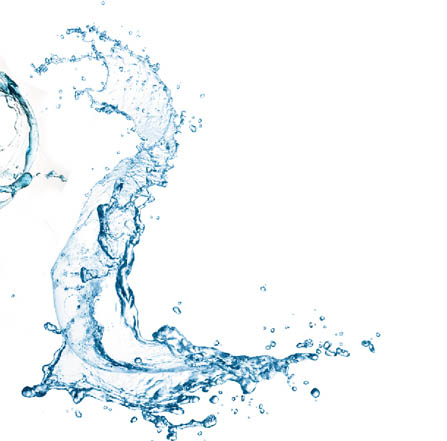
10、文字创建之后是时候开始考虑你的设计了。首先我们需要一些颜色。要做到这一点在飞溅图层的上方创建一个新层,用蓝色的笔刷描绘,任何笔刷都能做。
(本文来源于图老师网站,更多请访问https://m.tulaoshi.com/psxg/)11、现在应用两个高斯模糊,每个半径为250。 完成之后设置图层的不透明度为15%。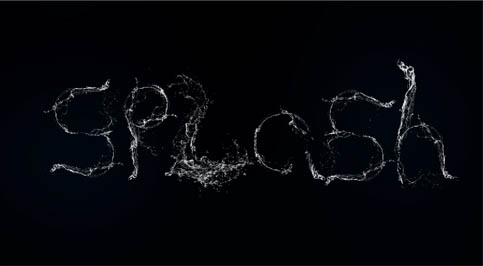
12、接下来在文字图层的下方创建一个新层,并重复这个过程。这一次使用淡蓝色,并设置不透明度比之前更高一些,这取决于你希望你的颜色有多亮。 我设置了约25%的不透明度。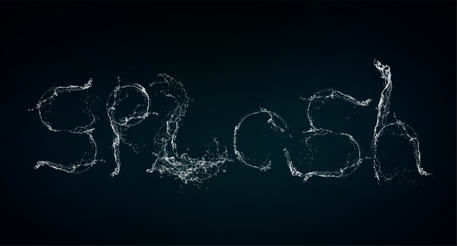
13、现在我们已经为我们的场景创建了基本的布局,我们要开始把它建立起来,有什么比水母更好的素材吗? 因此,我们现在打开一个水母图像。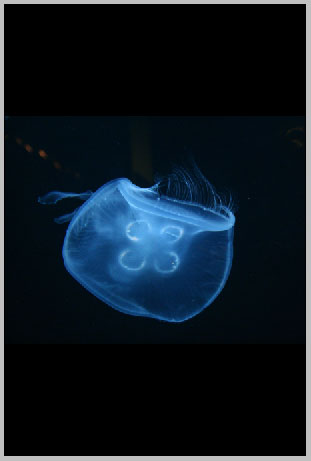
14、我们将首先执行一个自动色阶调整。这将调节它的亮度,暗度和对比度。
15、现在,我们在键盘上按E使用橡皮擦工具,右击并使用标准的300px的柔软笔刷,硬度为100%。设置好笔刷后,我们将擦除它周围漂浮的所有碎片,杂质。如下图。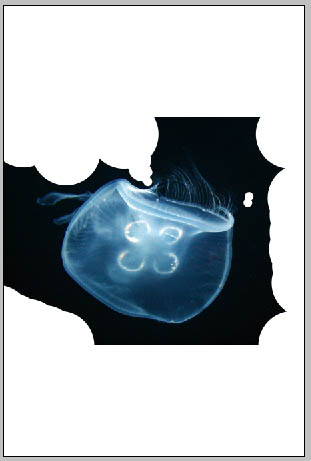
16、现在为了进一步增强水母,我们将编辑色阶。 要做到这一点,我们需要点击键盘上的Ctrl+L,向右侧移动一点最左边的三角形,然后按OK或Enter键。手工调整可以加深场景中所有的黑,并导致灰色变成漆黑。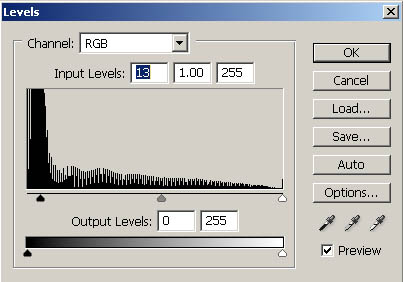
17、现在把它放在你的场景中,并设置图层为滤色。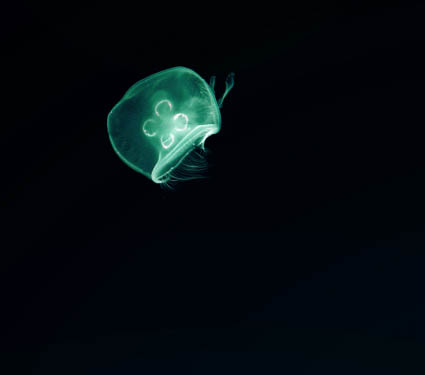
18、现在我们使用下面的图像重复这个步骤。
19、下一步我们将开始添加一些鱼。
20、现在我们可以使用魔术棒工具。按W键使用魔术棒工具,偏差为25%。在鱼周围点击创建选区,如下图。
21、现在使用一个图层蒙版,并反转,只让鱼可见。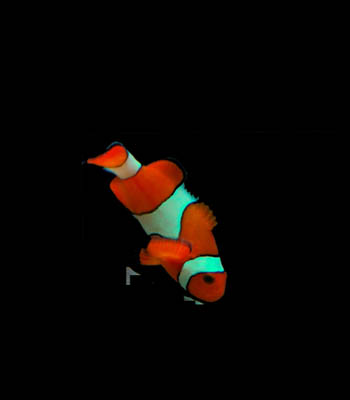
22、现在只要清理鱼的周围!它就被分离出来了。
23、现在,我们可以把它放到我们的飞溅字体周围。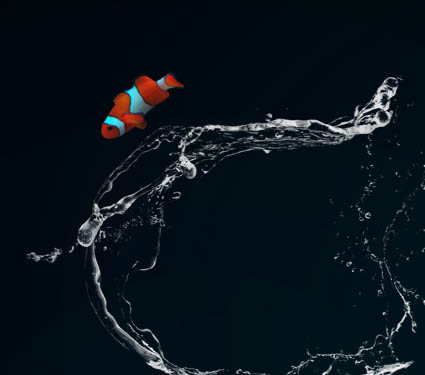
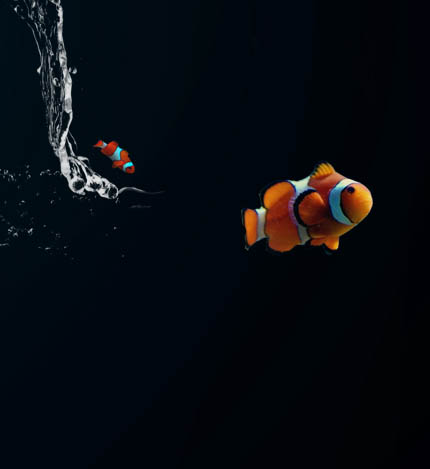
24、现在我们可以继续使用各种鱼类图像按喜好填充画布。下面是鱼的图像链接。


(本文来源于图老师网站,更多请访问https://m.tulaoshi.com/psxg/)
25、我还添加了一只海龟。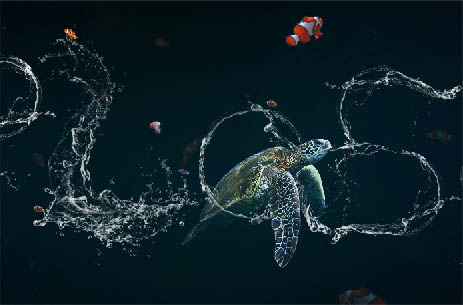

26、想补充一点额外的东东,因此我使用了这张图片。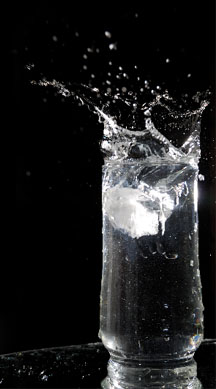
27、我们将设置图层为滤色,擦除一切只剩下顶部飞溅的水。现在复制它,变换它几次,完成了。
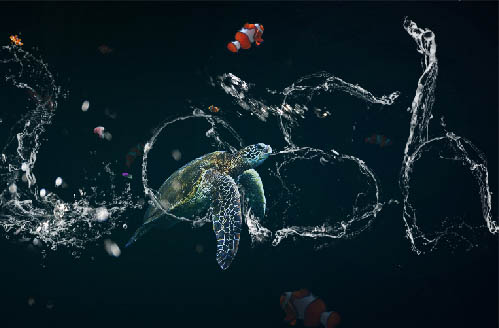

最终效果: