想不想get新技能酷炫一下,今天图老师小编就跟大家分享个简单的Photoshop制作带有浮雕花纹的玉石字教程,一起来看看吧!超容易上手~
玉石字制作方法有很多。不过本教程的制作方法是最为逼真,同时也是最为细腻的。作者的每一步都非常细致,从背景开始,到字体选择,再到文字质感及纹理制作等,每一步都非常到位。非常值得学习。
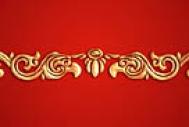
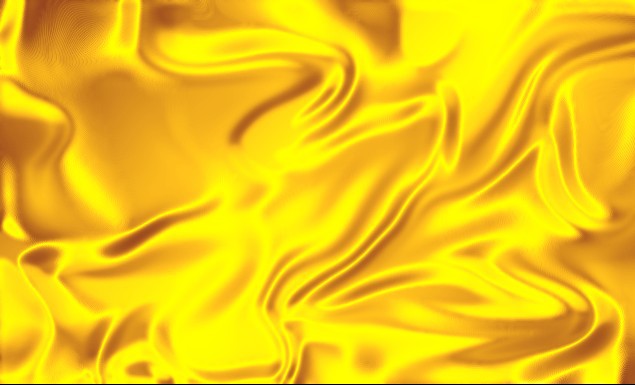
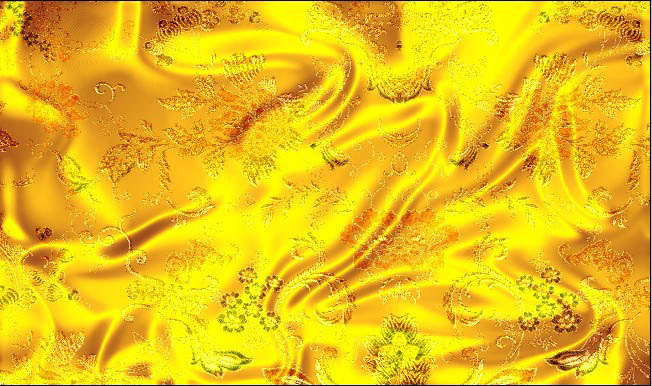
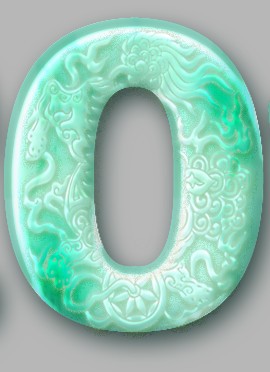
最终效果

1、新建文件。
2、默认前景黑,背景白,执行滤镜-渲染-云彩。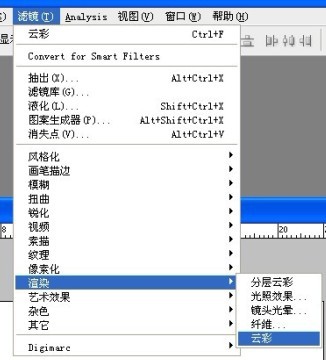
3、云彩效果:(如果不满意,可以重复执行)。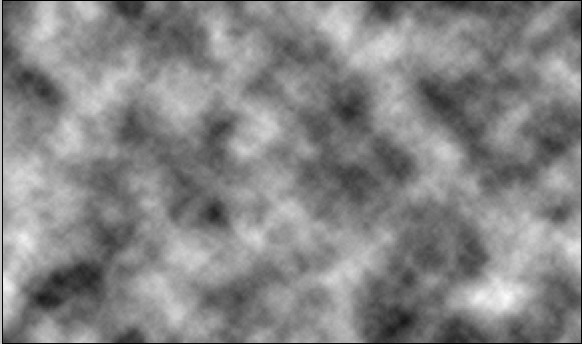
4、执行滤镜模糊-高斯模糊-设置如下。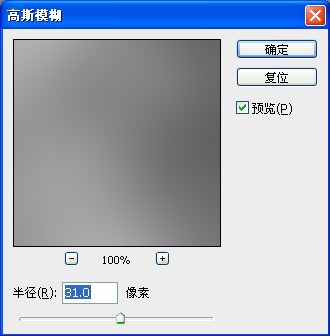
5、执行滤镜-液化命令。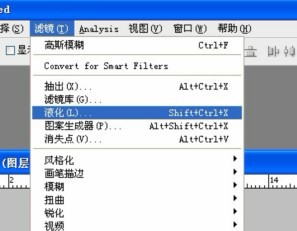
6、使用“向前变形工具”。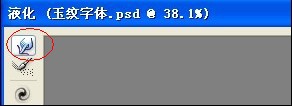
7、对向前变形设置参数如下。
8、用向前变形工具涂抹,涂抹效果如下。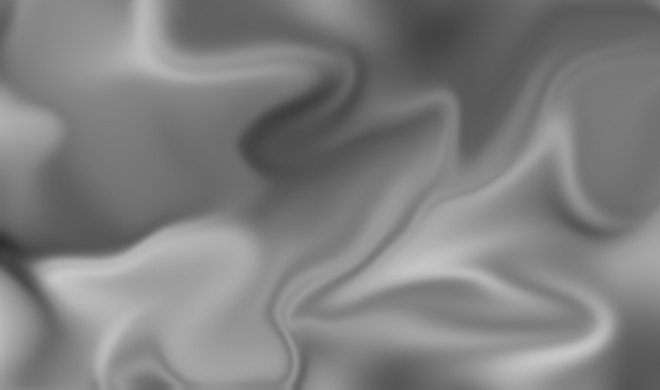
9、对涂抹完成后的效果进行色阶调整。
10、执行滤镜-素描-基底凸现命令。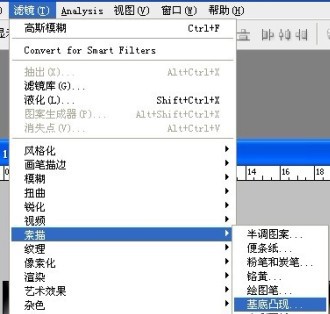
11、基底凸现的设置如下。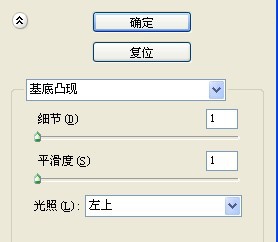
12、完成后,查看效果如下。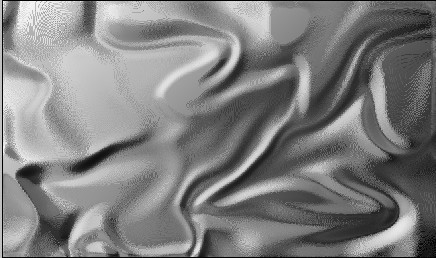
13、执行滤镜-模糊-表面模糊,参数如下。
14、如果不满意,还可以再执行一次命令。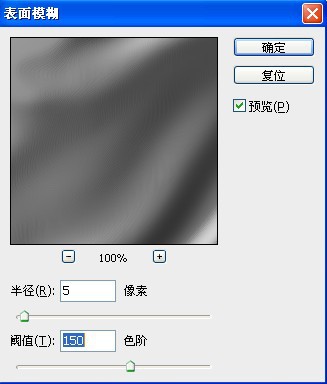

15、对此图层进行渐变映射设置。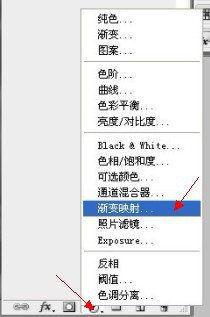
16、填充如下渐变映射:(金色渐变),当然如果你不喜欢金色,还可以用其他渐变。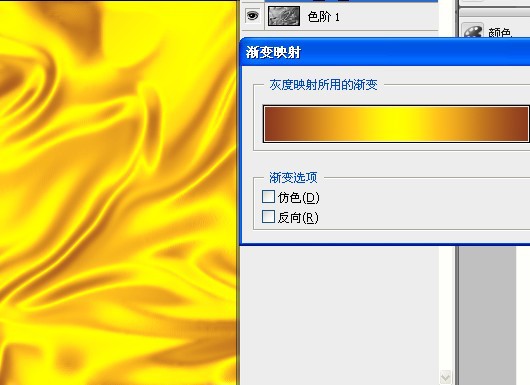
17、打开素材。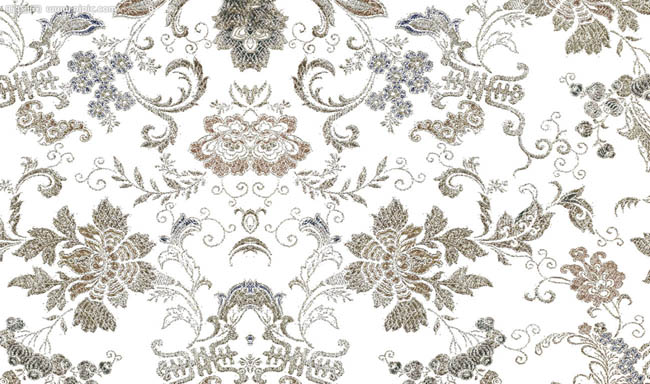
18、对素材进行背景删除。
19、拖到绸缎的上面(改变混合模式为:“线性光”。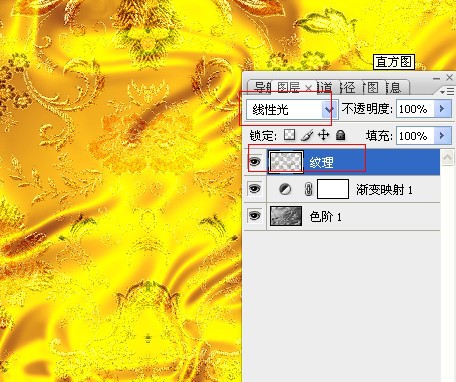
20、输入字体(华文琥珀)。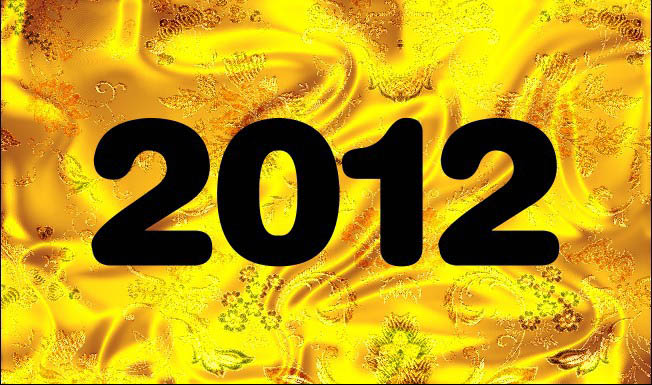
21、为了便于观察,我把绸缎的图层眼睛关闭,用个灰底来观察效果。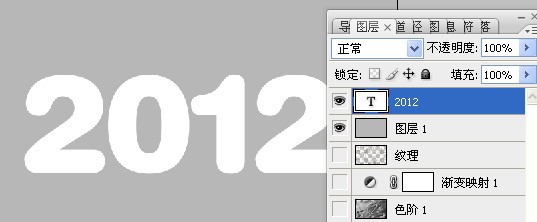
22、对字体进行颜色填充,颜色参数如下。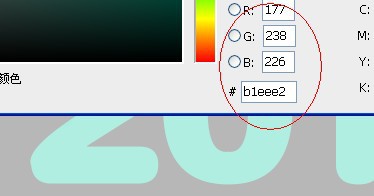
23、复制一个字体备用,并且把上面的字体栅格化。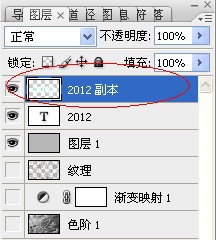
24、用加深、减淡工具,对栅格化的字体进行加深减淡涂抹。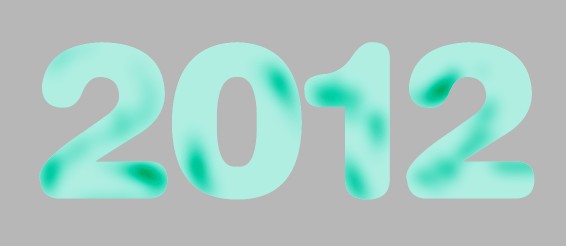
25、再复制一个图层出来(刚才涂抹后的字体图层)。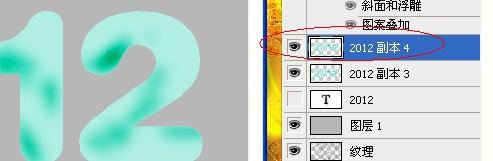
26、对复制的图层,载入文字的选区,执行滤镜-渲染-云彩操作。
27、再执行几次渲染云彩滤镜,以达到满意的效果。
28、打开玉石纹理素材。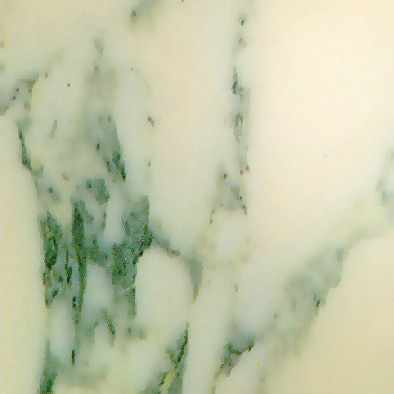
29、编辑-定义图案,把刚才的玉石纹理定义为图案。
(本文来源于图老师网站,更多请访问https://m.tulaoshi.com/psxg/)
30、对刚才我们复制出来的滤镜渲染云彩的文字图层进行如下设置。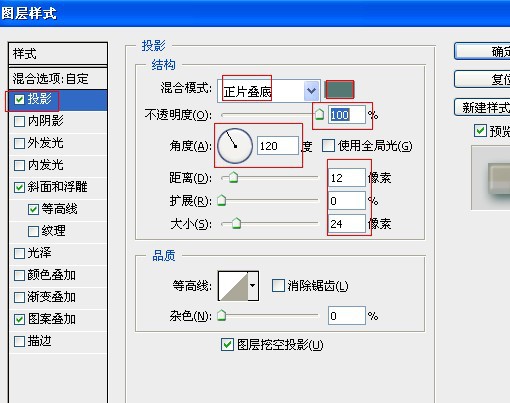
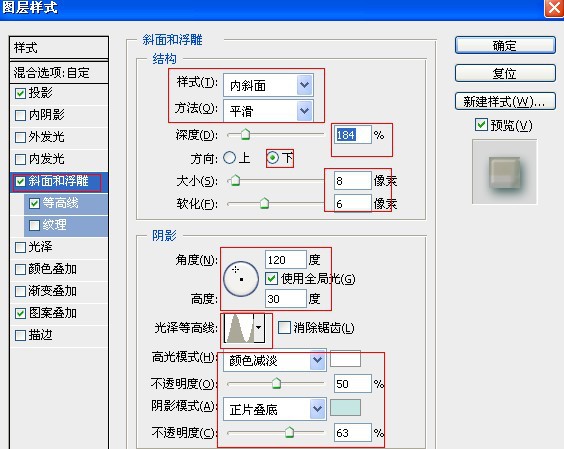
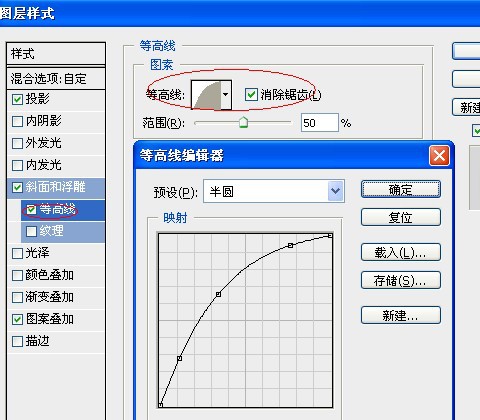
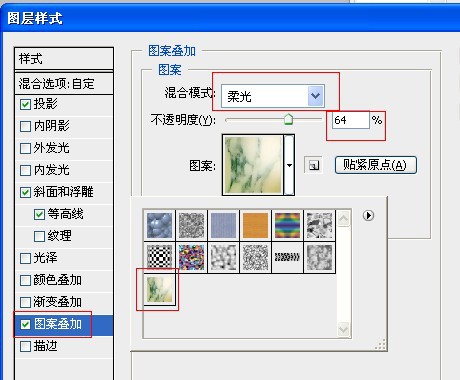
31、完成后,把此图层的混合模式改为“正片叠底”。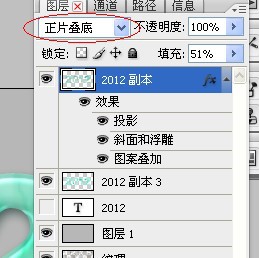
(本文来源于图老师网站,更多请访问https://m.tulaoshi.com/psxg/)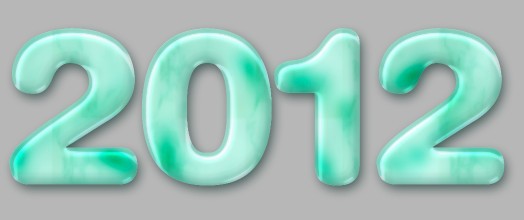
32、再复制一个同样的图层,混合模式为:“线性加深”。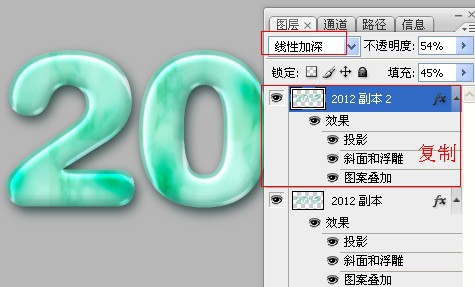
33、打开素材图片。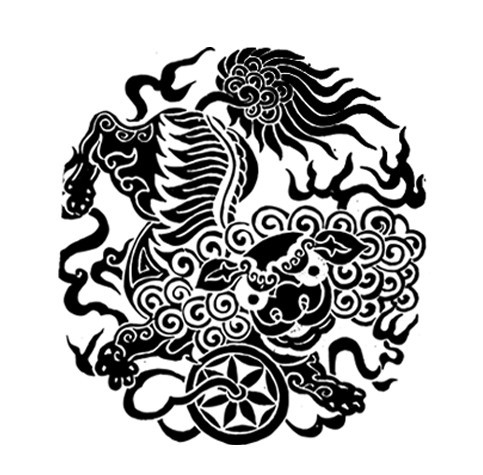
34、删除背景后,把图案拖到文字上面,使其符合文字大小。
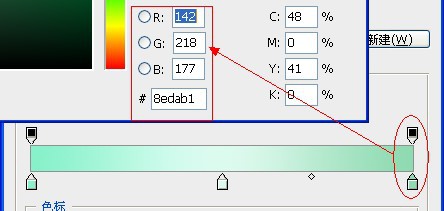
35、填充一个渐变色。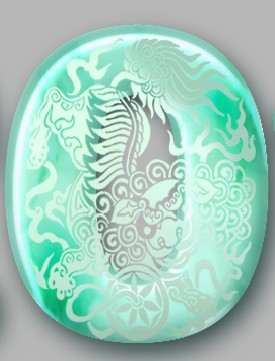
36、渐变色的参数如下。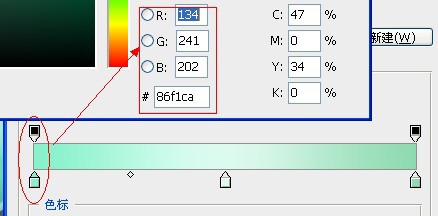
37、用蒙版把多余的部分擦除。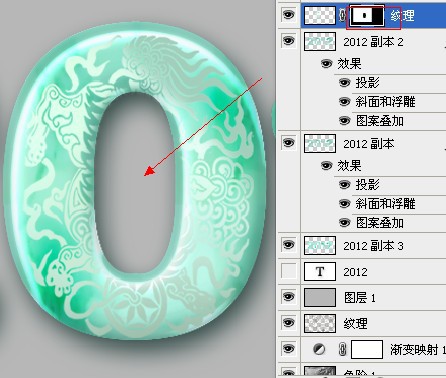
38、对麒麟图案进行如下设置。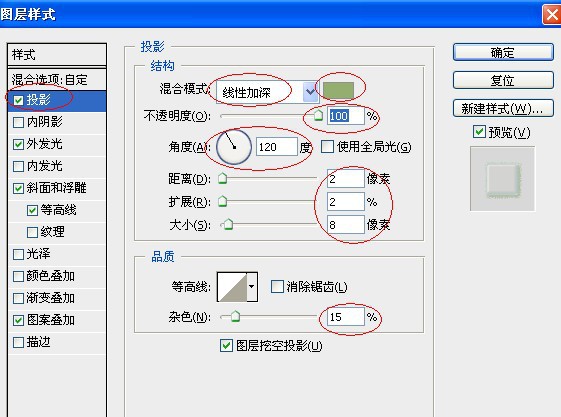


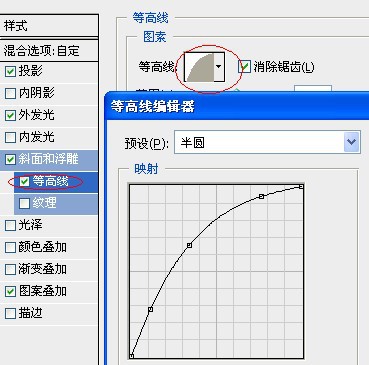
参数:(选择我们定义的图案)。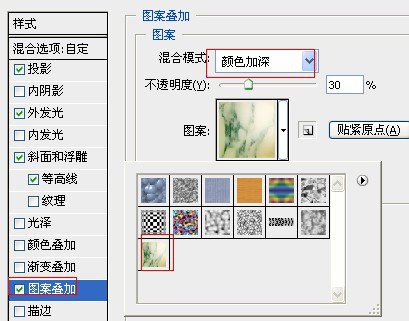
39、同上方法,把图案分布在每个字上面,多余的进行蒙版擦除。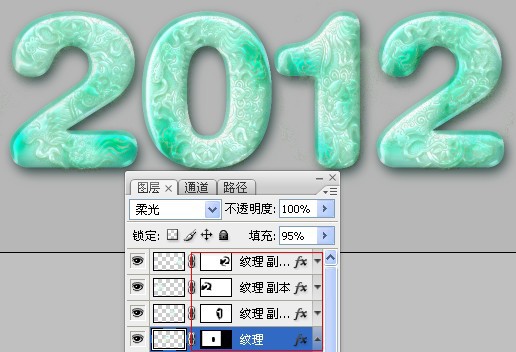
40、关闭灰色观察图层,效果如下。
可以灵活应用到很多设计当中。