图老师电脑网络栏目是一个分享最好最实用的教程的社区,我们拥有最用心的各种教程,今天就给大家分享Photoshop制作华丽的镶宝石金属字的教程,热爱PS的朋友们快点看过来吧!
本教程的字体效果也是用多图层叠加制作的。制作之前先打上自己需要的文字,然后复制几层,复制后的图层填充度都为0,再用不同的图层样式做出所需的浮雕及纹理等效果,后期添加装饰即可。
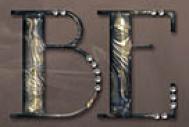
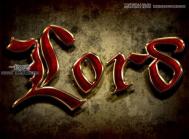
最终效果
1、创建一个1152*864像素的文档,如下图所示设置前景与背景色,选择“渐变工具”,点击“线性渐变”按钮,从上到下拉出渐变。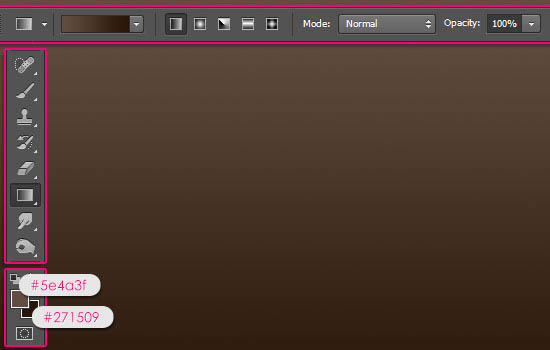
2、完成后我们在选择菜单中的“滤镜杂色添加杂色”,在弹出的对话框中设置数量为1,选择“高斯分布”。
3、在画布上输入文本“BEYOU”,并如下设置文本参数。
4、然后复制文本层,得到文本副本,将文本副本的填充设置为0%,再复制文本副本得到文本副本2。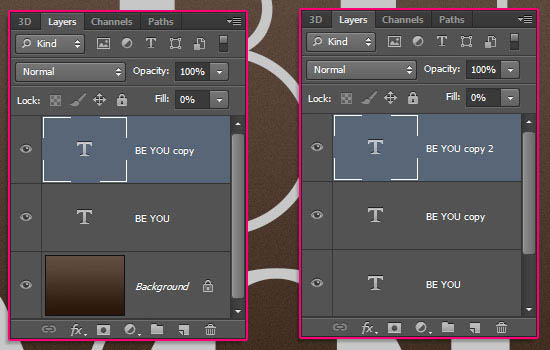
5、点这里下载图案,然后载入到PS中。双击文本层,调出“图层样式”设置如下选项。
斜面与浮雕 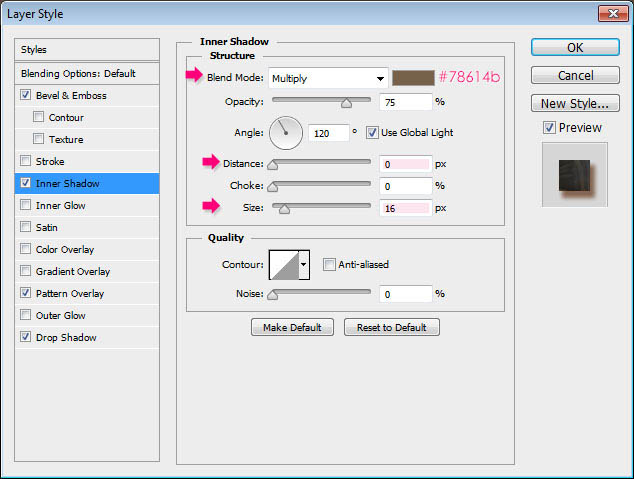
内阴影 
(本文来源于图老师网站,更多请访问https://m.tulaoshi.com/psxg/)
图案叠加 
投影 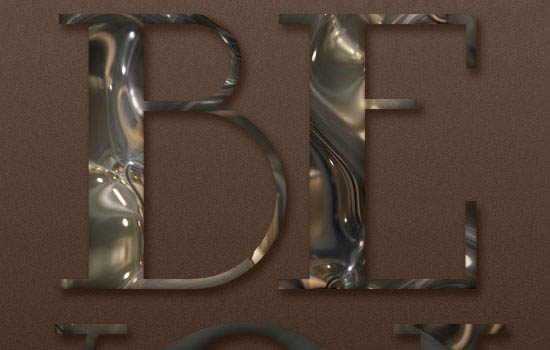
6、双击“文本副本”图层,调出“图层样式”,并如下设置图层样式选项。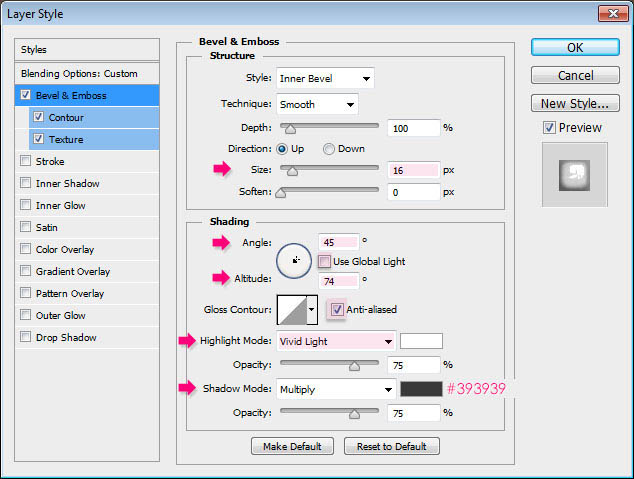
斜面与浮雕 
等高线 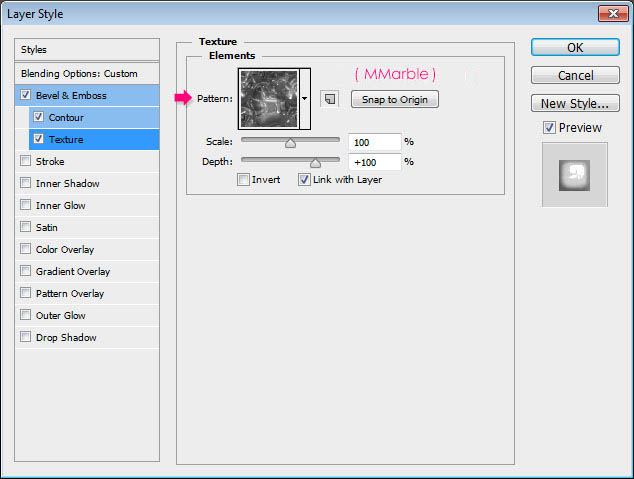
纹理 
7、在“文本副本”图层上点击鼠标右键,在弹出的菜单中选择“拷贝图层样式”,在选择“文本副本2”点击鼠标右键在弹出的菜单中选择“粘贴图层样式”。 完成后双击“文本副本2”图层,调出“图层样式”,选择“斜面与浮雕”,取消“纹理”选项,设置斜面与浮雕的参数,如下所示。
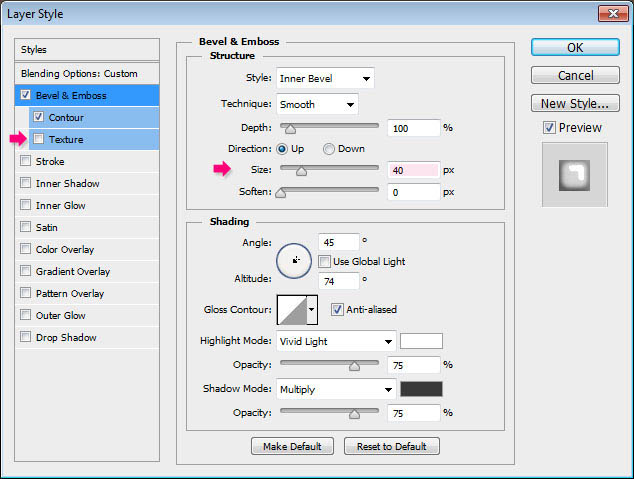
斜面与浮雕 
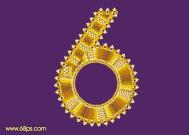
(本文来源于图老师网站,更多请访问https://m.tulaoshi.com/psxg/)8、选择“画笔工具”,选择一个“硬角”画笔,并设置大小为15px,如下设置前景色,并新建一个图层,命名为“钻石”。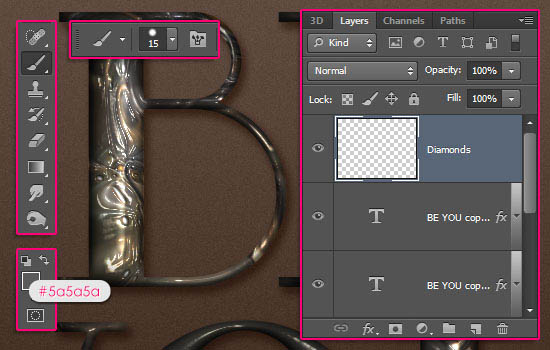
9、双击“钻石”图层缩略图调出“图层样式”我们应用下列“图层样式”选项。
设置图层样式之前需要先把下图所示的纹理定义成图案。
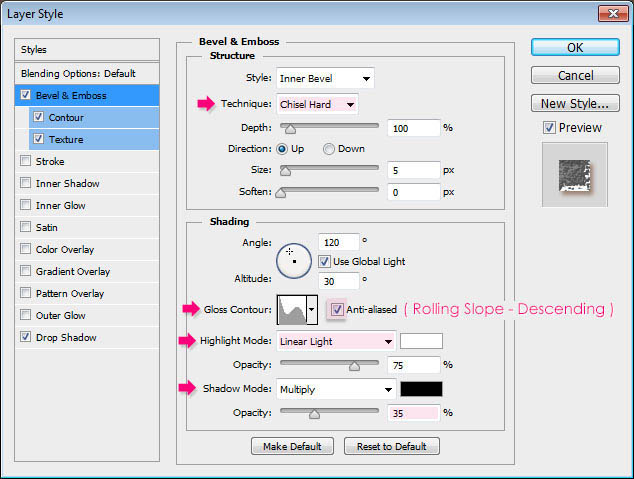
斜面与浮雕 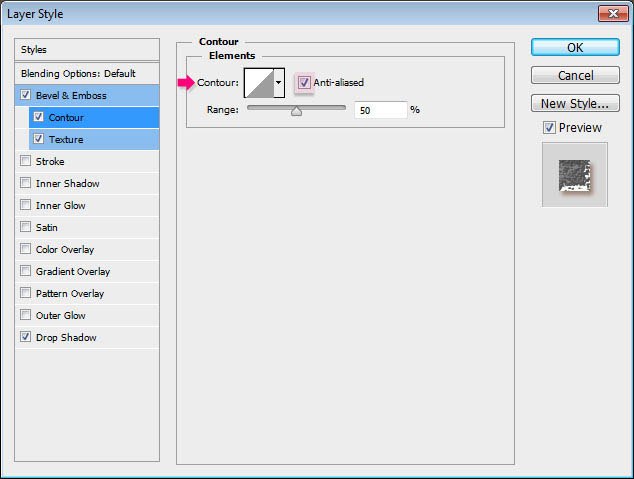
等高线 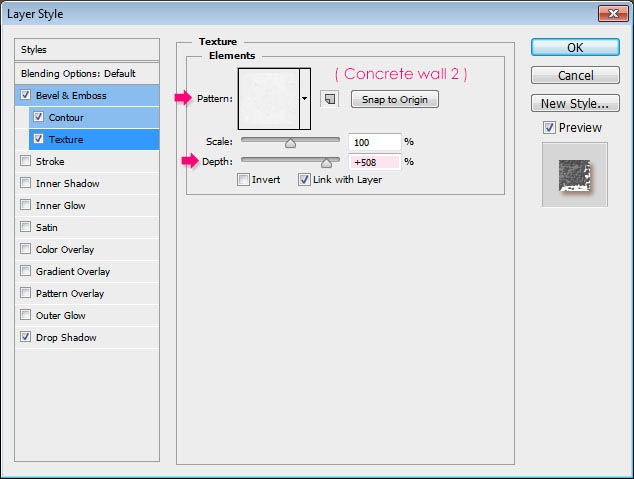
纹理 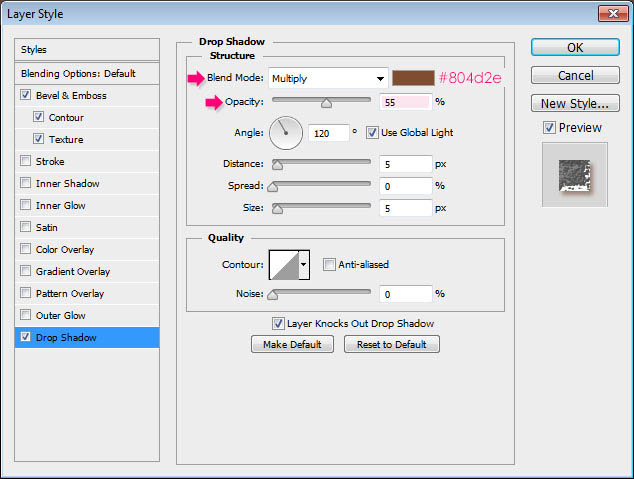
投影
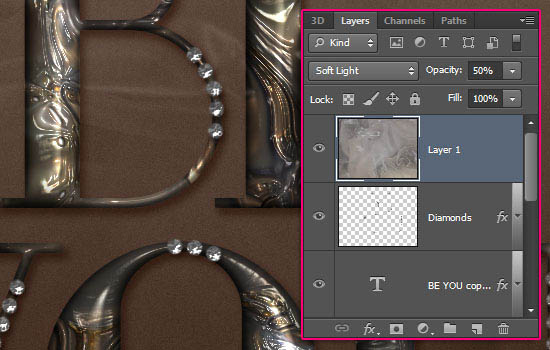
10、设置完成后,我们在文字上点击,当然这里要你自己的感觉,你认为在什么地方添加钻石好看便在那里添加,我如下添加钻石。
11、将纹理“塑料布”添加到画布上,按Ctrl+T调出“自由变换”调整大小,覆盖整个画布。然后将图层的混合模式设置为“柔光”,并将不透明度设置为50%。
12、点击图层面板下方的“创建新的填充或调整图层”按钮,在弹出的菜单中选择“渐变映射”。
13、这里面我们要选择“铭黄渐变”,便改变图层的混合模式为“柔光”,不透明度设置为45%。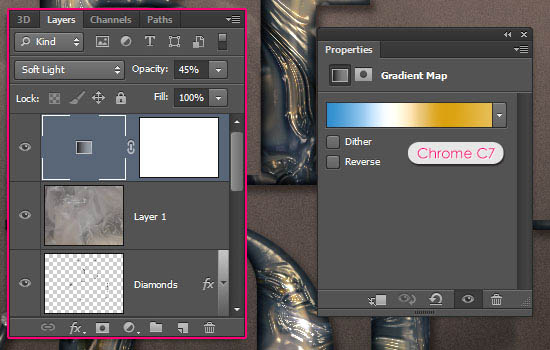
最终效果: