下面是个简单易学的Photoshop制作温馨的圣诞积雪字教程,图老师小编详细图解介绍包你轻松学会,喜欢的朋友赶紧get起来吧!
效果图中不仅有文字,还有星光及彩丝等装饰。文字部分制作相对要复杂一点,要用多种样式及纹理做出立体机积雪效果,然后用画笔装饰边缘部分。 最终效果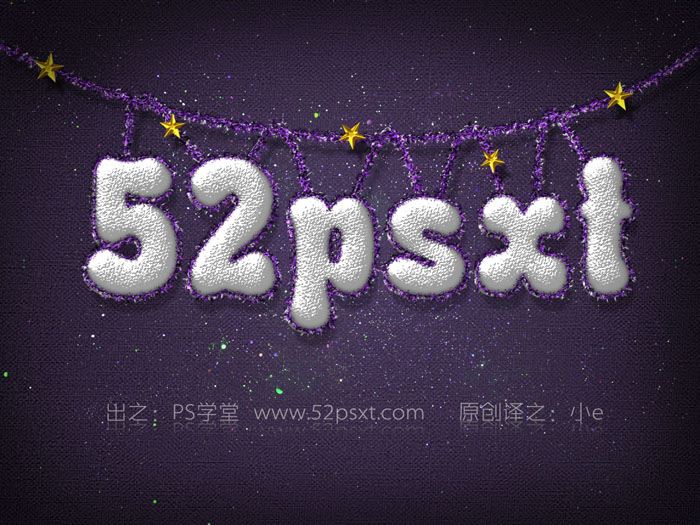
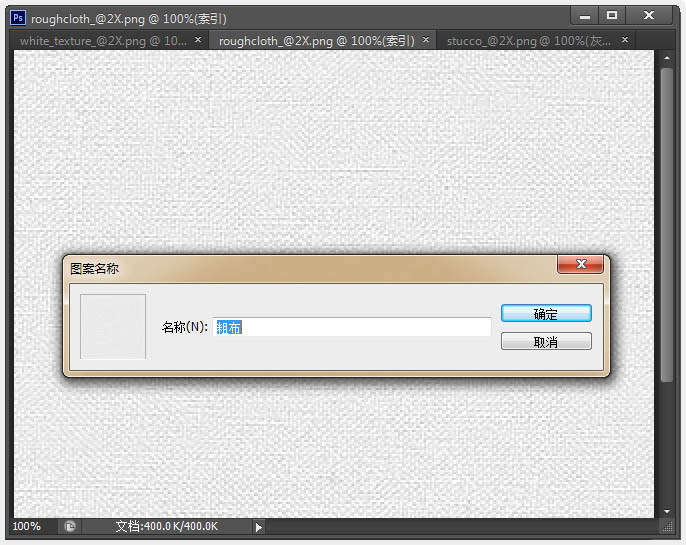
1、在开始前,先分别打开提供的三种纹理图片,并一一将他们自定义为图案资源,在定义是命名下,这样下面教程时方便寻找并使用。 

2、创建一个新的1152×864像素文件。设置前景色为#5b5b5b和背景颜色为#343434。选择渐变工具然后单击顶部选项栏中的“径向渐变”图标。然后,从中心往外拉出渐变背景,并复制背景层。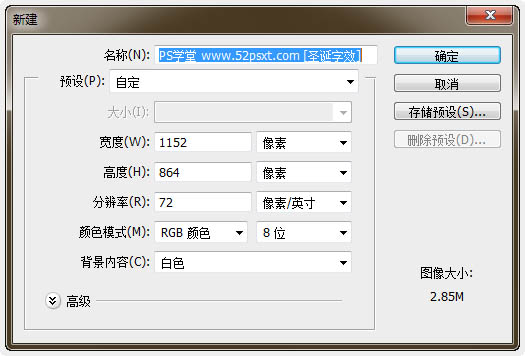
(本文来源于图老师网站,更多请访问https://m.tulaoshi.com/psxg/)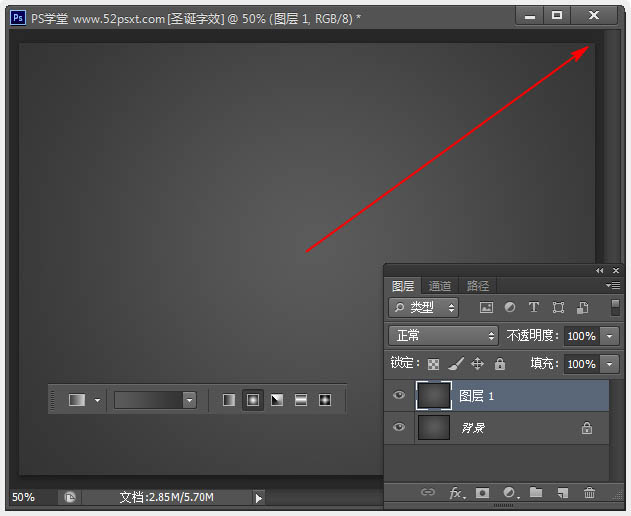
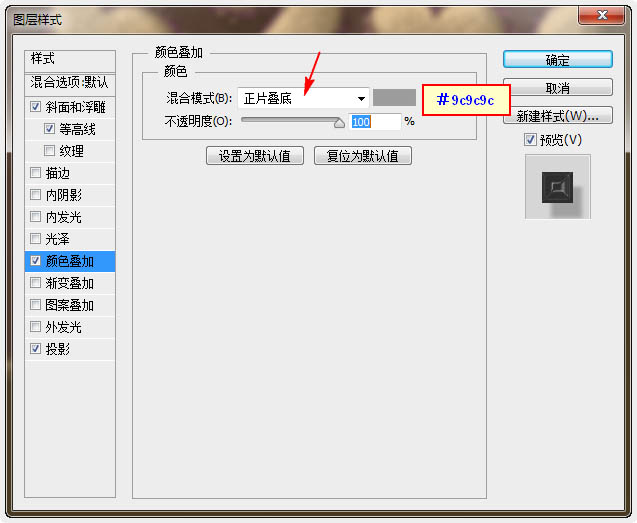
3、双击背景副本层,应用图案叠加效果,用“粗布”的纹理图案,然后改变混合模式为颜色加深。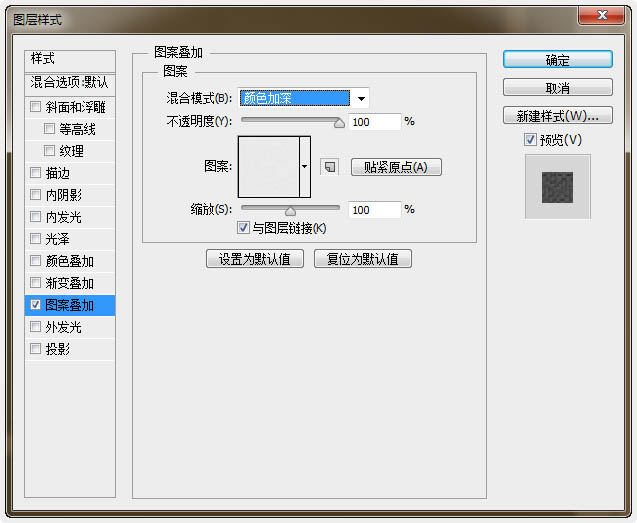
4、有质感的纹理背景出来了。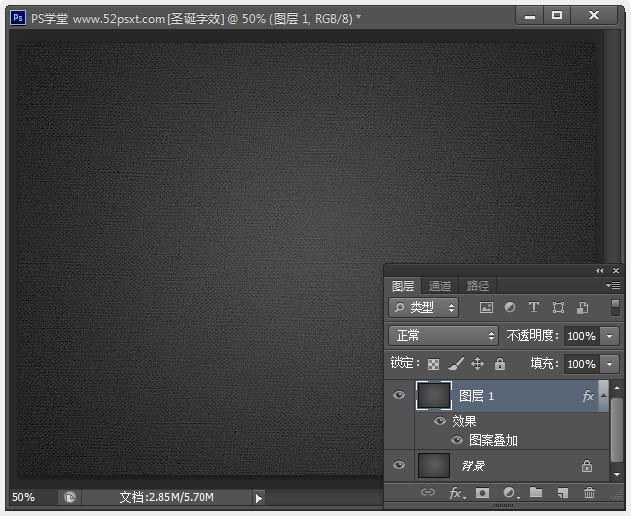
5、创建‘色相/饱和度’调整图层,勾选:着色,数值如下。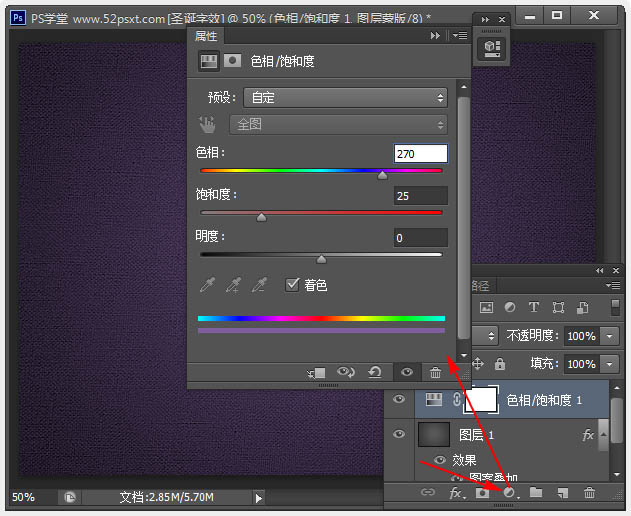
6、用提供的‘Rounded Informal’字体输入:52psxt,颜色:#e0e0e0,然后设置如下图中的字体参数。 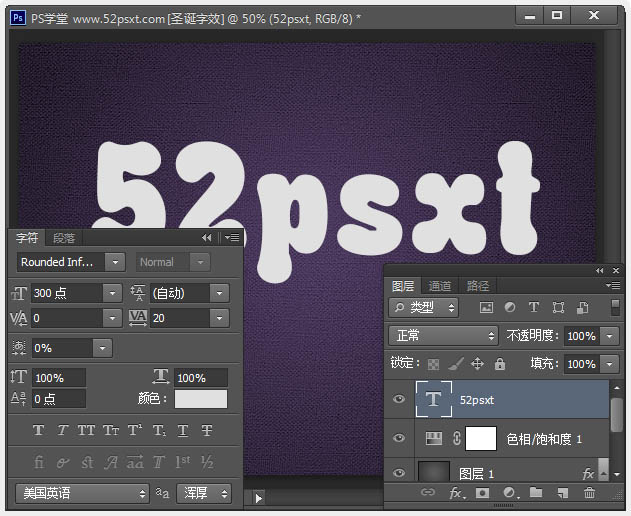
7、按Ctrl+J复制文字图层,得到52psxt 副本图层。 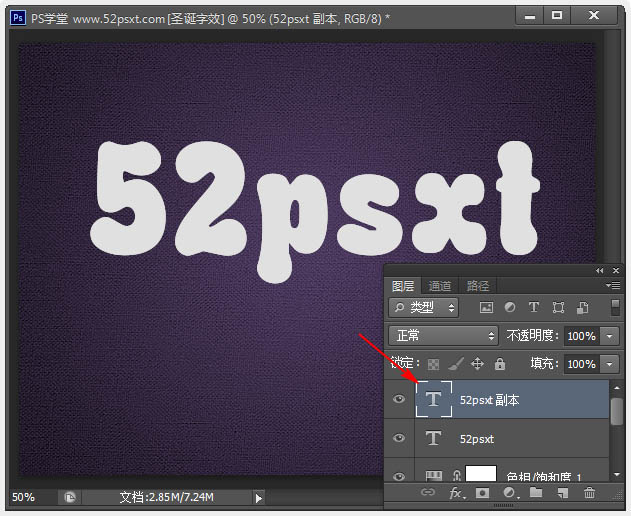
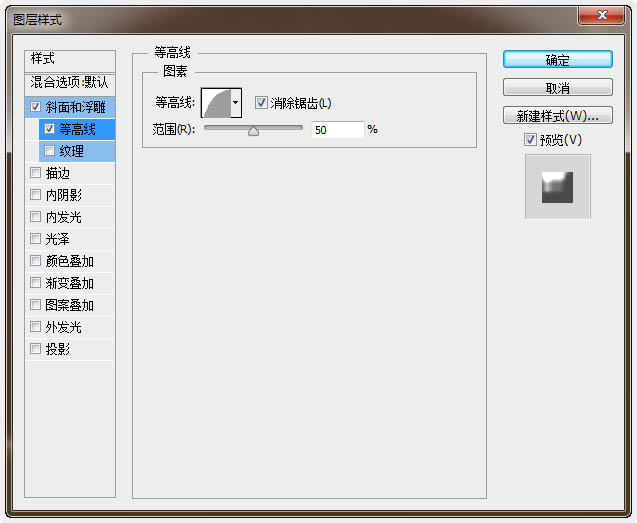
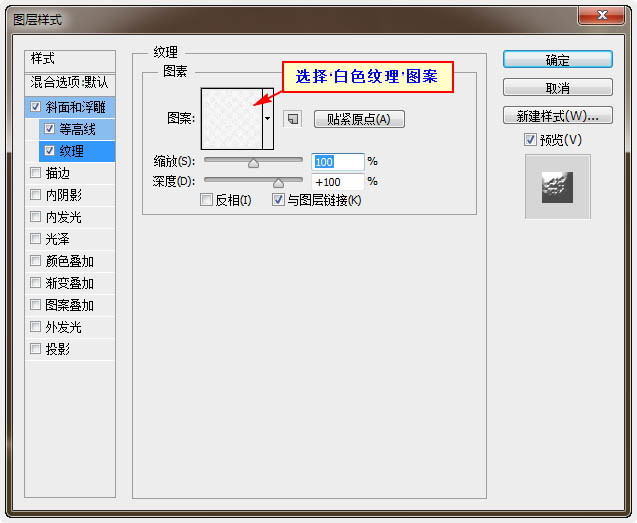
8、双击文字副本层,应用如下图层样式。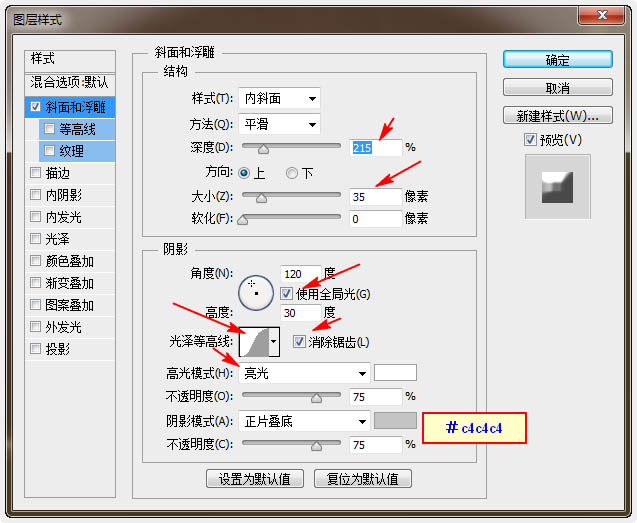
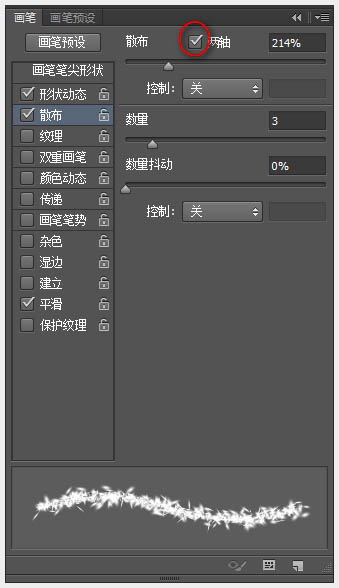
9、右键文字副本图层,选择-栅格化文字,然后选择画笔工具,打开画笔面板(窗口-刷)。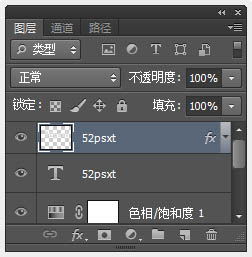
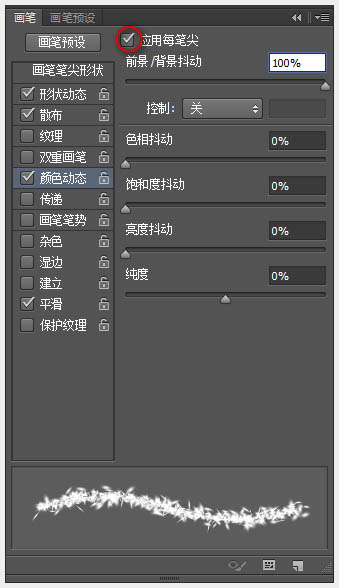
10、选择‘11号’画笔笔尖,并修改其设置如下。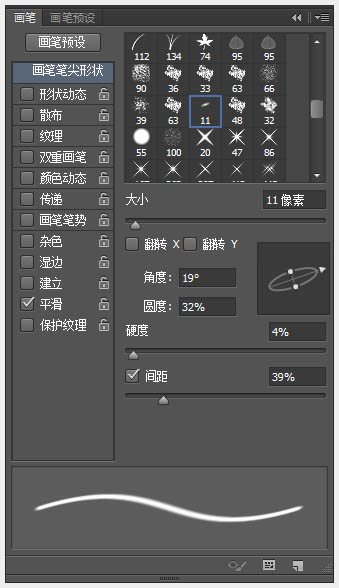
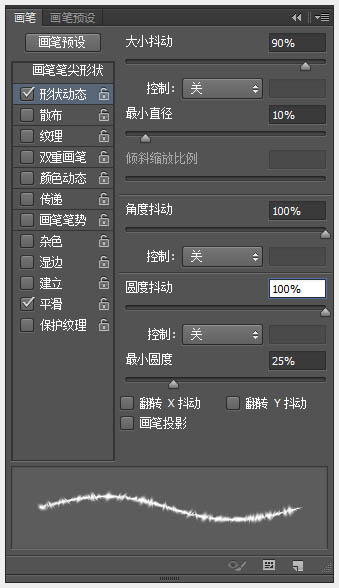
11、在画笔面板的底部,点击“创建新笔刷”图标,然后输入画笔的名称:雪元素笔刷,将其添加到笔刷资源里,这样后面就可以使用它。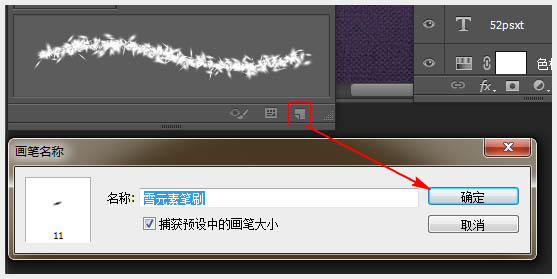
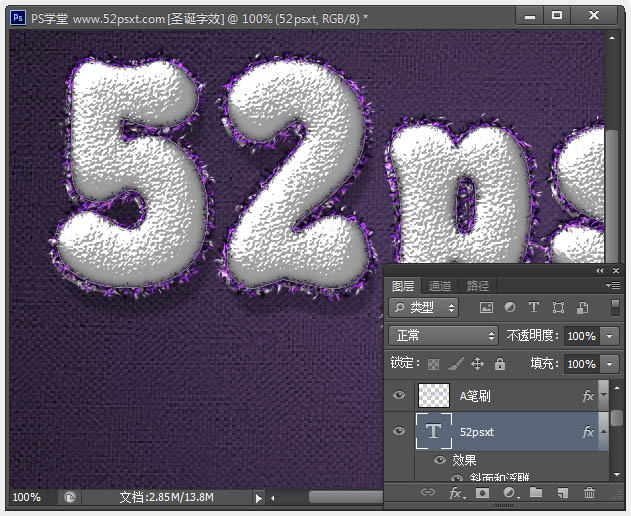
12、两个文字图层之间创建一个新层,并叫“A笔刷”。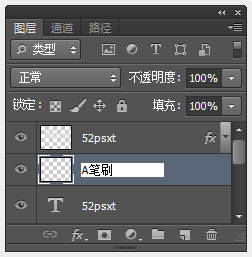
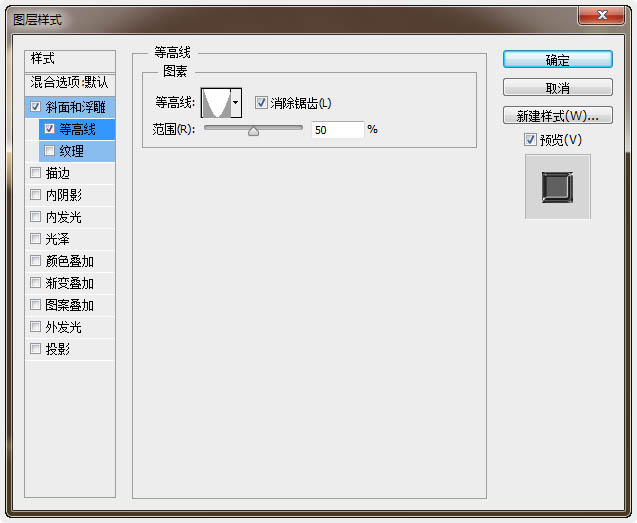
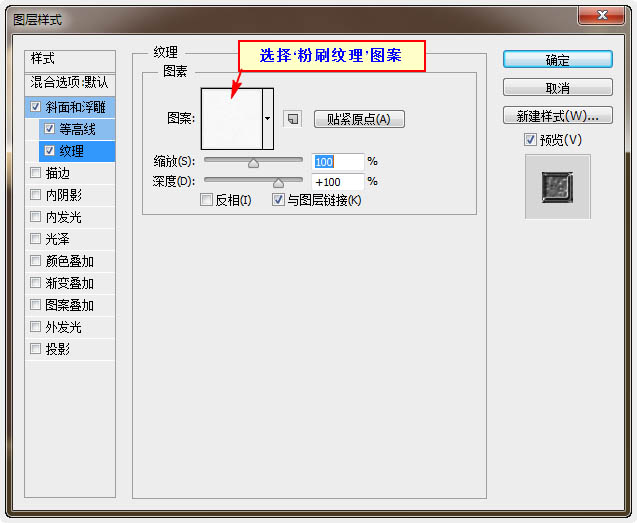
13、然后双击它应用下面的图层样式。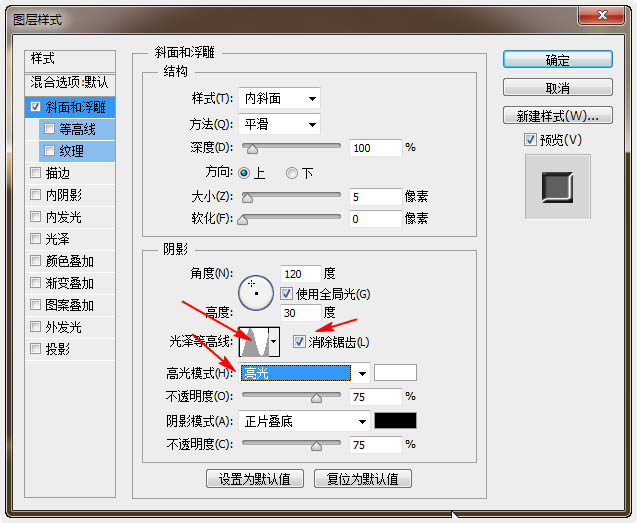
14、然后复制‘A笔刷’图层,并复制后的层更名为:B笔刷。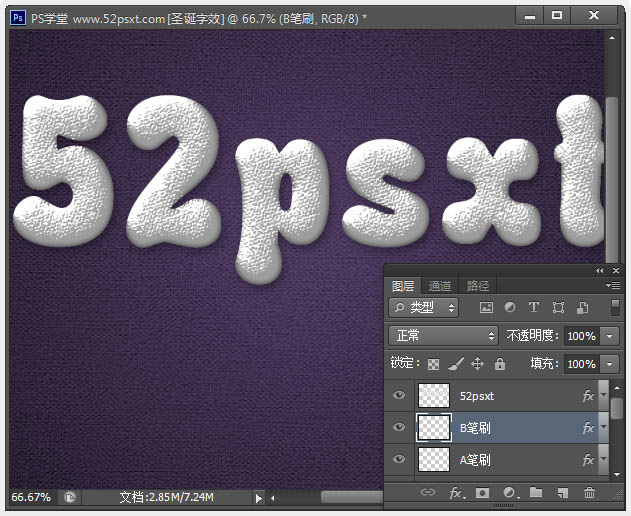
15、右键单击??原始52psxt文字层,并选择“创建工作路径。选择“A笔刷”图层,设置前景色为紫色#7c28ca,背景颜色为白色(#FFFFFF),并选择‘直接选择工具’。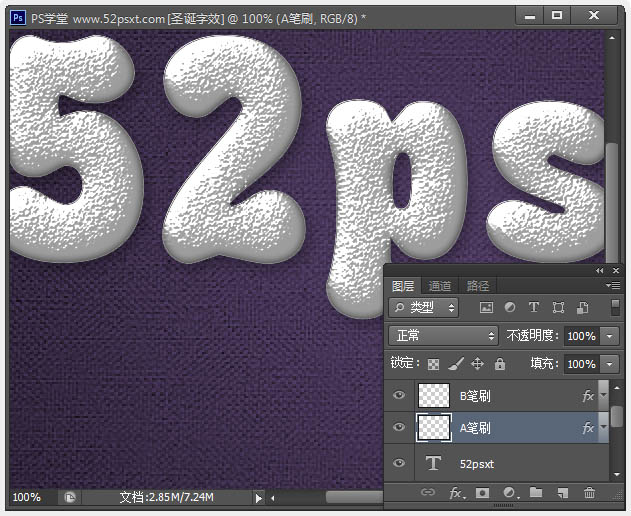
16、右键单击-工作路径,选择-描边路径。然后,下拉菜单选择画笔工具,不要勾选“模拟压力”,确定。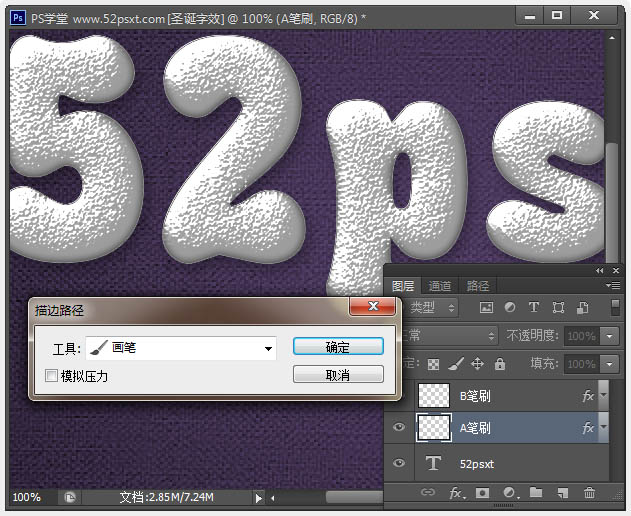
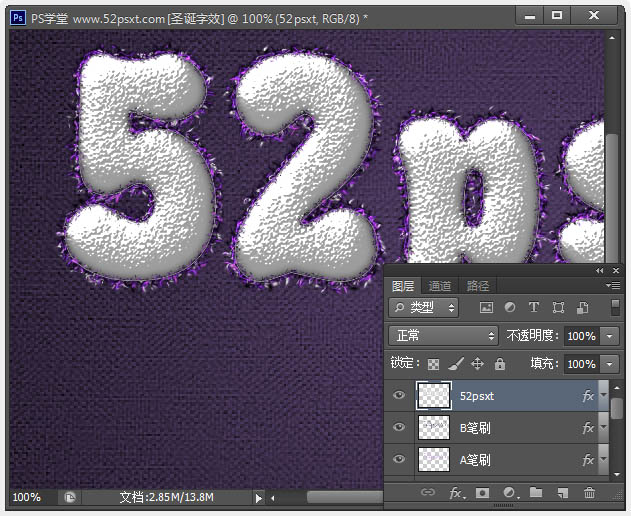
17、字体边得到紫色和白色相间的金属丝效果。 改变背景颜色为黑色(#000000),选择“B刷刷”层,然后跟上一步一样添加描边路径后,变成黑色和紫色相间的金属层,这样的效果会显的有些3D样。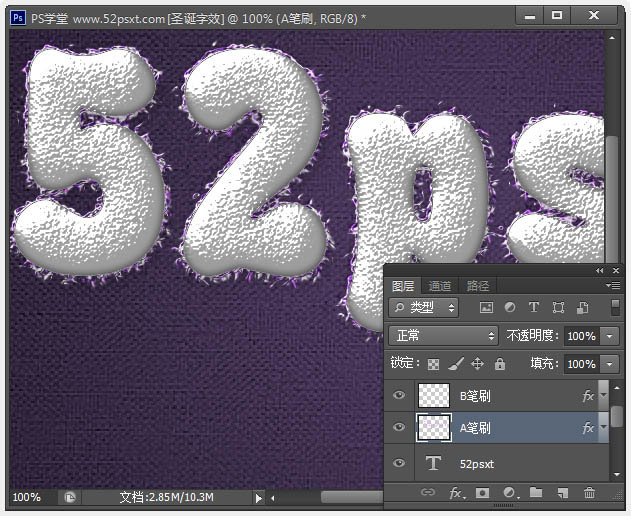
18、选择‘橡皮擦’工具,然后选择‘雪元素笔刷’,就是第5步中自定义的笔刷。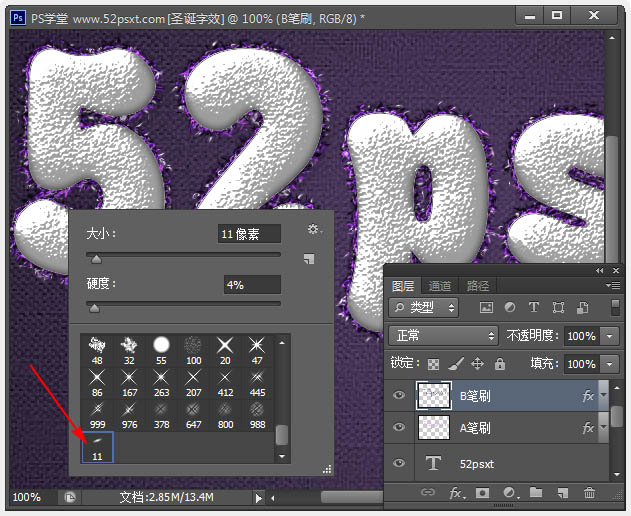
19、更改笔刷大小为:5像素,选择最上层的文字图层,选择‘直接选择工具’右键单击路径,再选择-描边路径,在跳出的窗口下拉选项中选择:橡皮擦,按确定。这样将使字体边被删除,同时现出杂乱的金属丝边。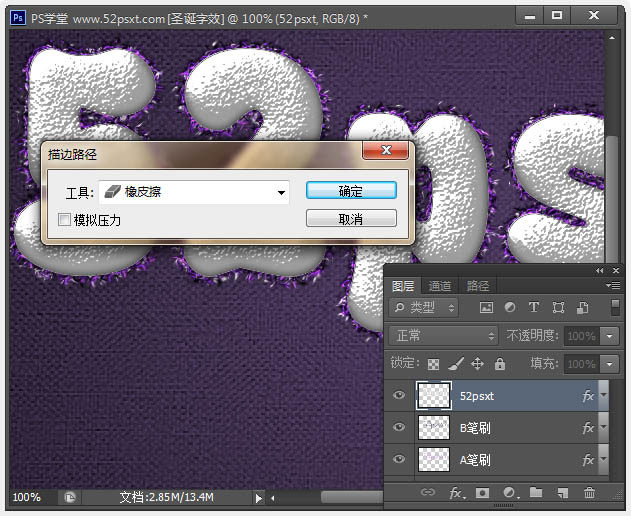
20、选择‘移动工具’,然后选择最原始的文字图层,使用键盘上的方向键向左和向下箭头,交叉着移动文字向左6像素和向下6像素(简单的说,就是按方向键左1下,下1下,重复6次),这样将使字体更加立体。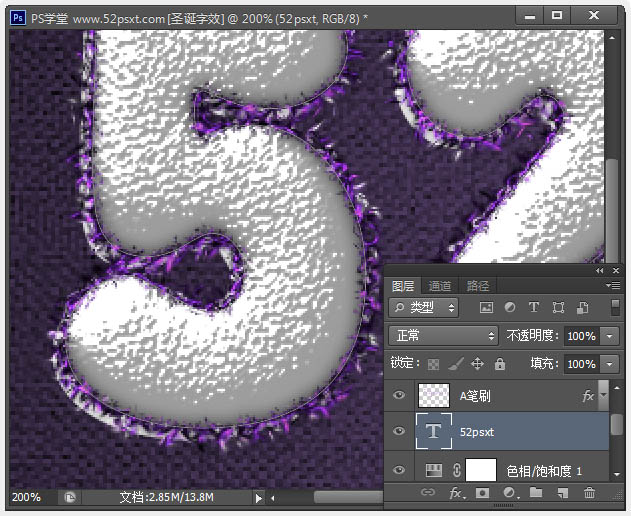
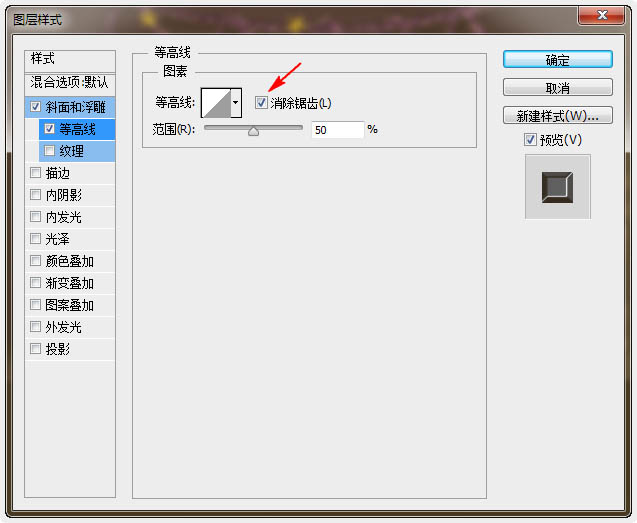
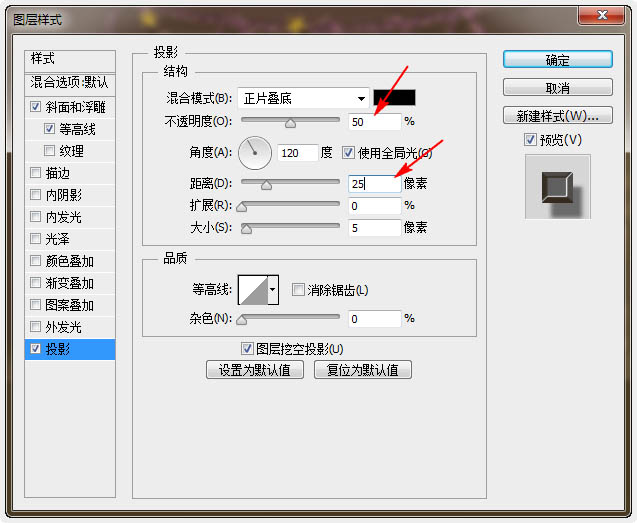
21、双击原始文字层,应用下面的图层样式。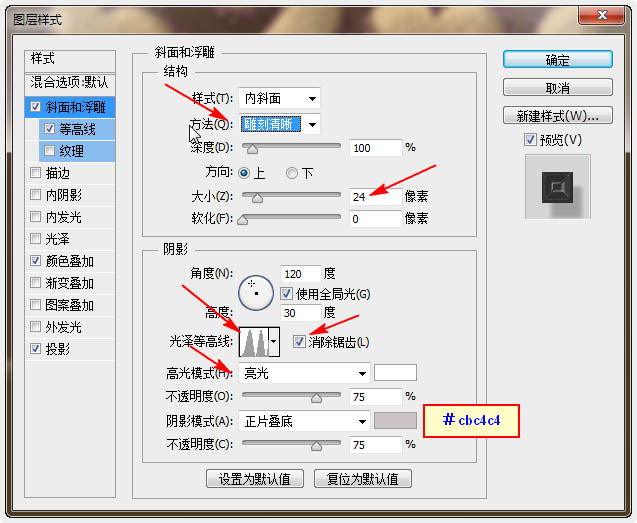

22、选择‘钢笔工具’,勾出如下图样子的曲线。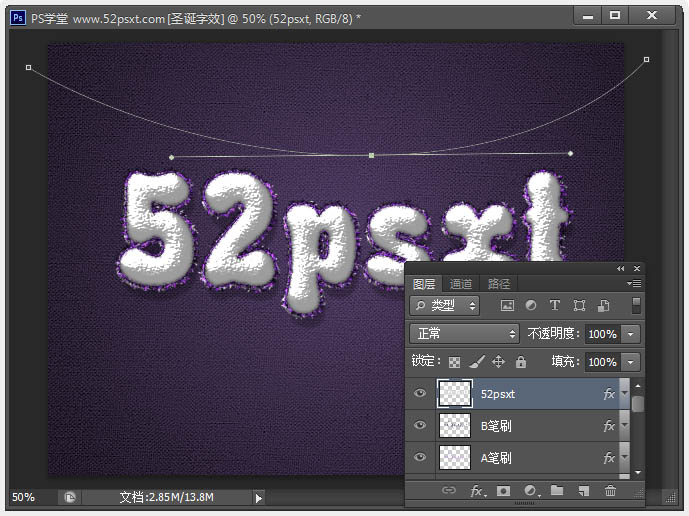
23、在‘色相/饱和度’图层上新建两个图层,并命名为:绳A和绳B。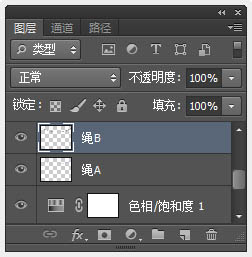
24、使用‘雪元素笔刷+描边路径’,跟上面给‘A笔刷和B笔刷’添加金属丝一样,也给‘绳A和绳B’加上金属丝,其中‘绳A’为紫色和白色颜色,‘绳B’为紫色和黑色颜色。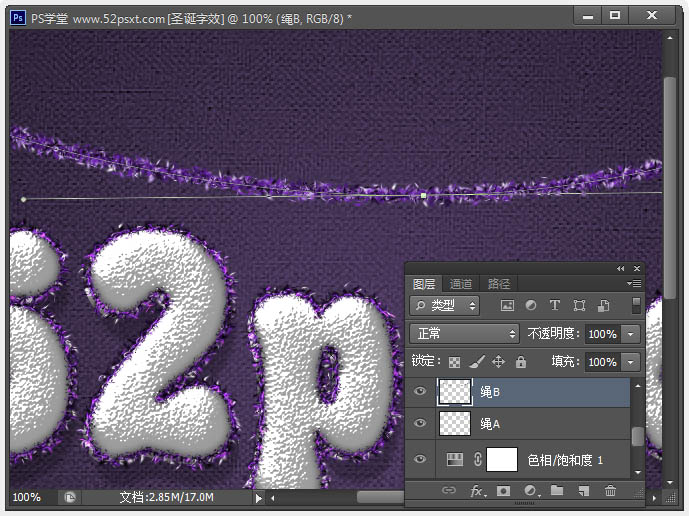
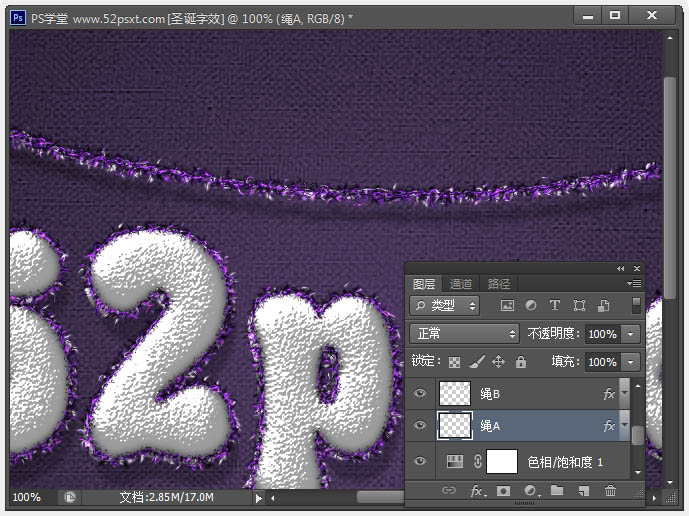
25、按确定键取消路径,右键单击‘A笔刷’图层 - 选择 复制图层样式,然后右键单击两个绳图层,选择-粘贴图层样式。 
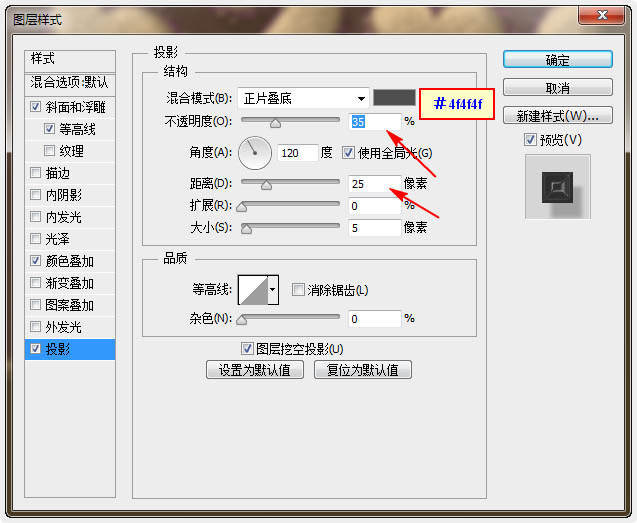
26、双击‘绳A’图层添加图层样式:阴影。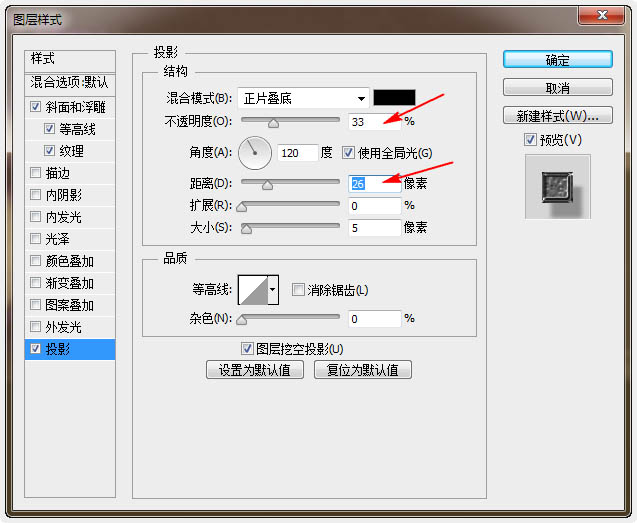
27、下面这步有些复杂,请认真看清楚了。在‘绳A’层下面新建两个图层,并命名为‘绳2A后’和‘绳2B后’;再在‘绳B’层上面新建两个图层,并命名为‘绳2A前’和‘绳2B前’。图层的顺序对比如下。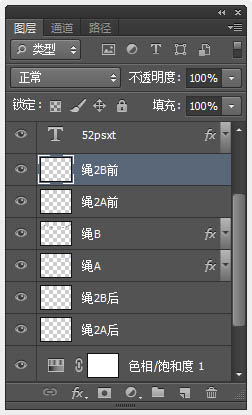
28、右键‘绳B’-选择拷贝图层样式,粘贴到刚才新创建的四个图层中,然后右键‘绳A’-选择拷贝图层样式,粘贴到‘绳2A后’。
29、接下来是要给上面这些前前后后添加上金属丝。
我们先用钢笔勾出个线路图来做参考,特别注意是参考,参考过后会删除此路线图,如下图,用钢笔勾出路径(多试几次),然后描边路径-出现红线,将红色载入选区,用蓝色画笔画出部分蓝色线,虚线可以用查橡皮擦工具擦出来。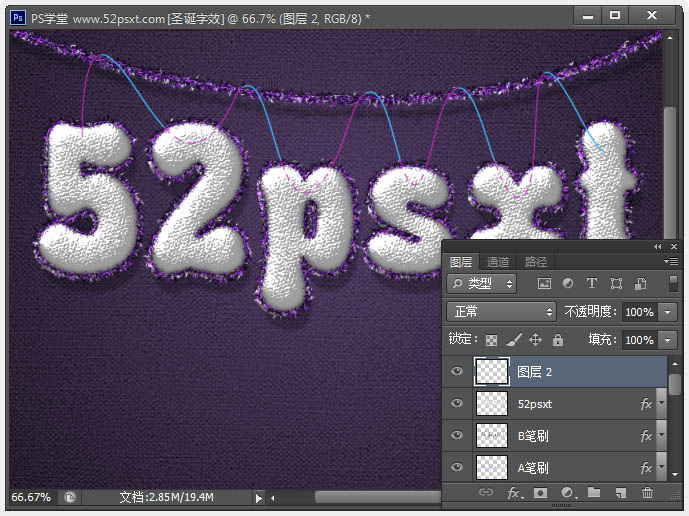
30、下面解说下这个参考线的作用,红色代表了由下往上串的线,蓝色代表由上往下串的线,虚线部分实际上是不能看见的,也不用去理它。
了角参考线的作用后,就用钢笔勾出红色路线,选择‘雪元素笔刷’用前景色紫色和背景白色,选择‘绳2A后’图层,右键-描边路径。 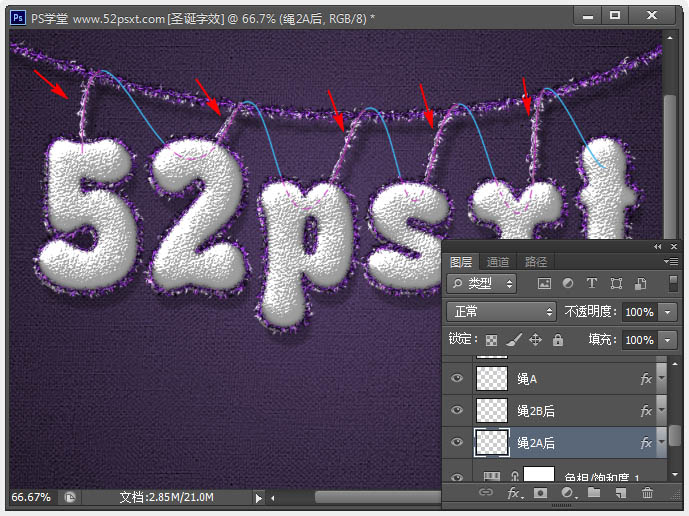
31、再同样勾出蓝色路径,选择‘绳2A前’图层,创建前端部分。隐藏参考线图层,效果如下。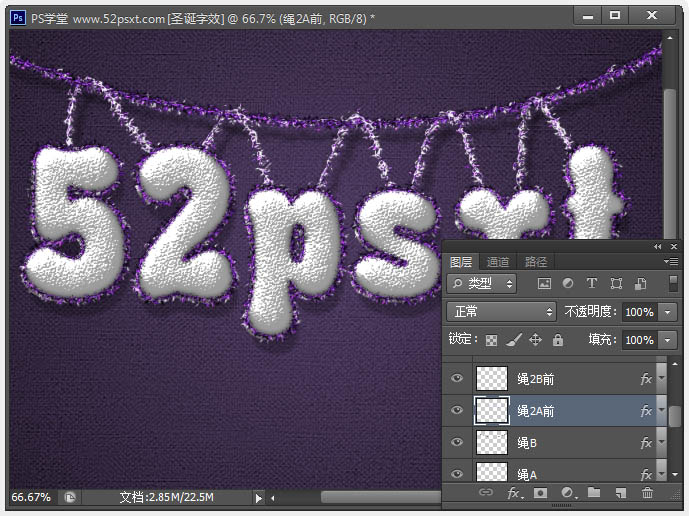
32、完成后,重复上面步骤,用前景紫色和背景黑色继续描边刚才的那些部分,注意:一定要选择‘绳2B后’和‘绳2B前’。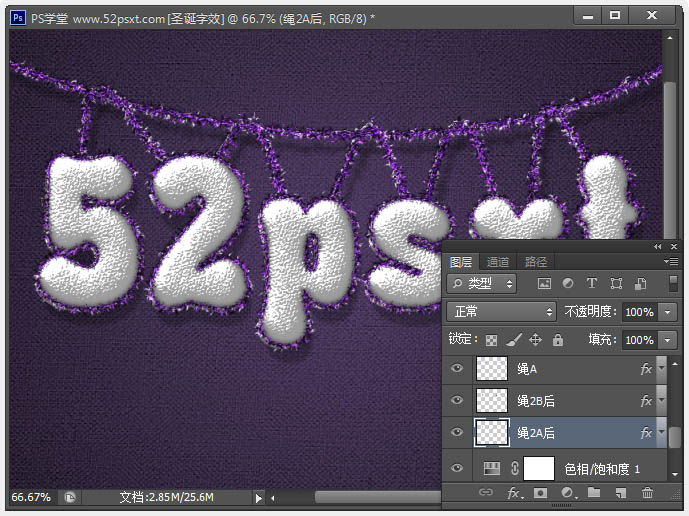
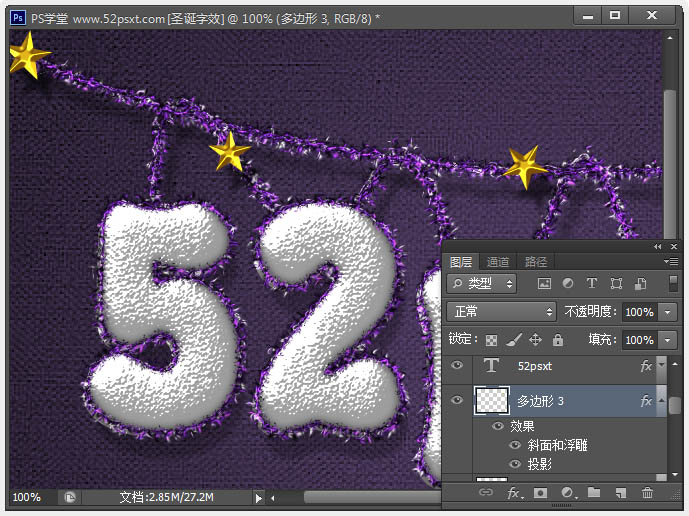
33、选择‘多边形工具’,在顶部的选项栏中设置如下。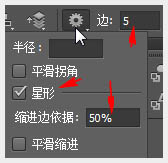
34、在原始文字图层下面创建一个新图层,并命名为:星星,将前景色设为#d4aa19。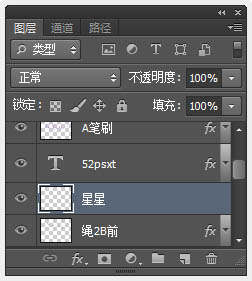
35、点击并拖动在金属丝上创建小星星,然后在选项栏中选择-组合形状。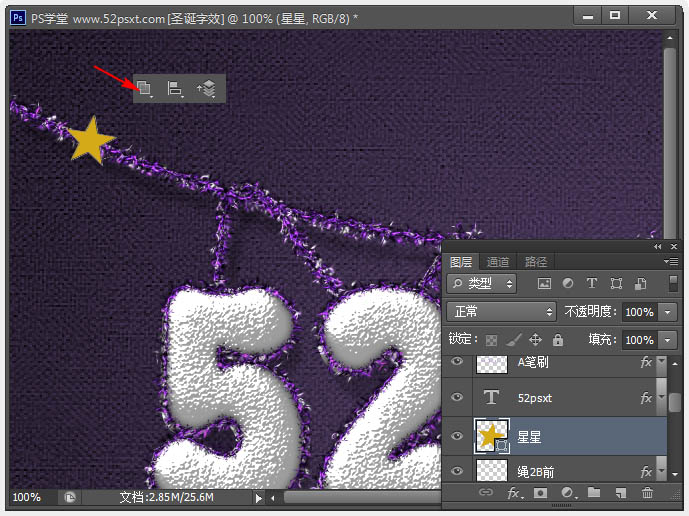
36、迎着这条金属丝不断创建更多的小星星。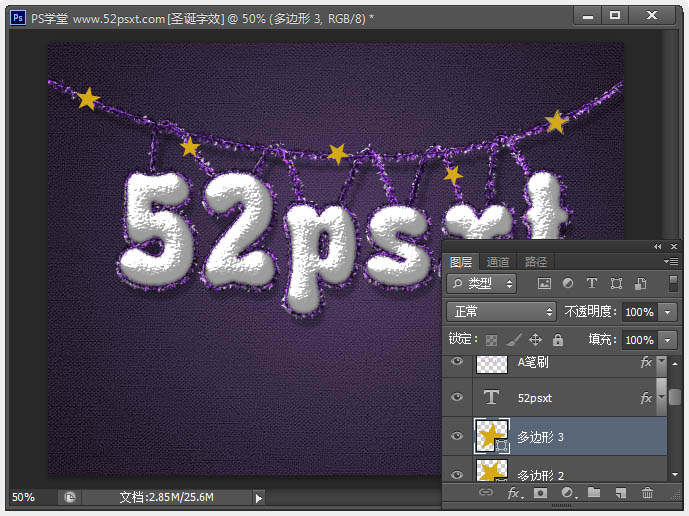
37、双击星星图层(如果有几个星星图层,请先将它们合并),应用如下图层样式。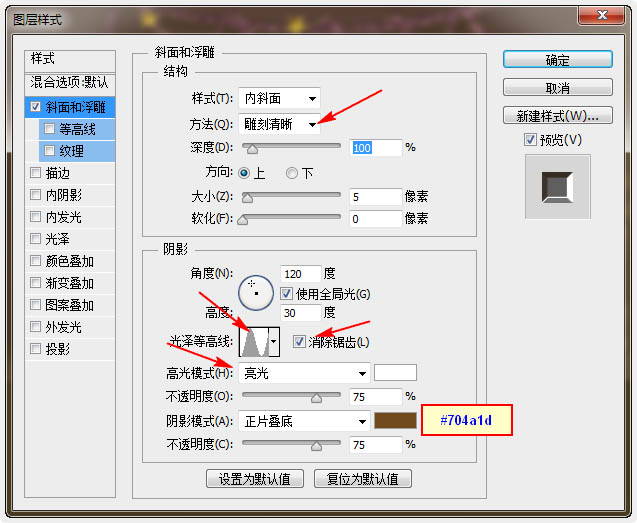
(本文来源于图老师网站,更多请访问https://m.tulaoshi.com/psxg/)
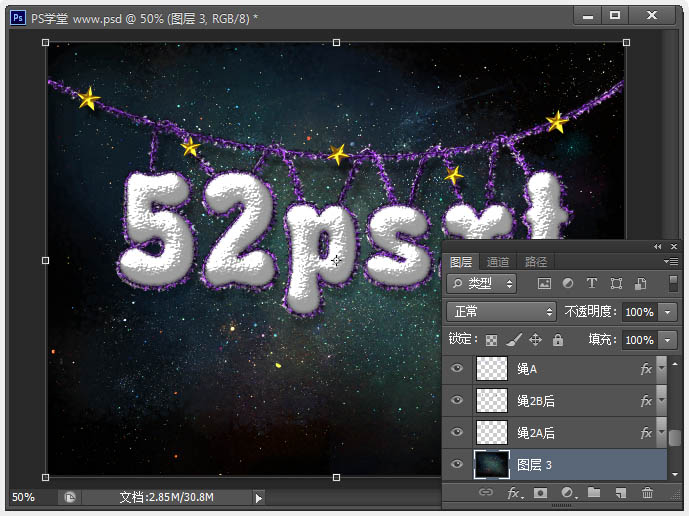
38、打开‘星空璀璨’素材图,移到‘色相/饱和度’图层的上面,调整好大小。 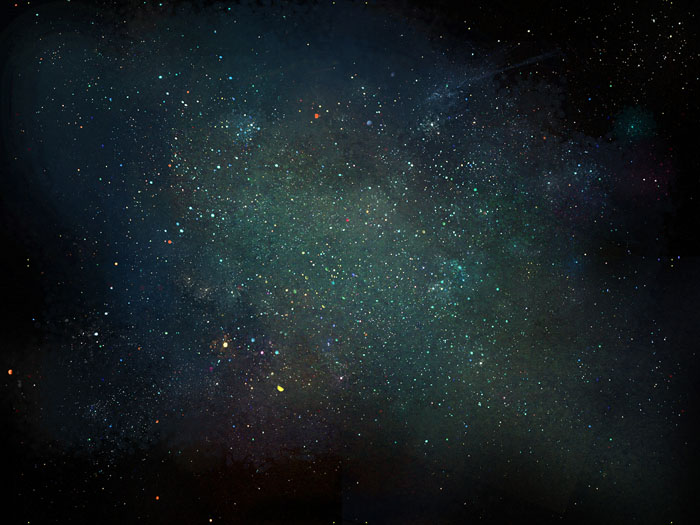
39、按Ctrl+U打开色相/饱和度命令,更改色相值为:75。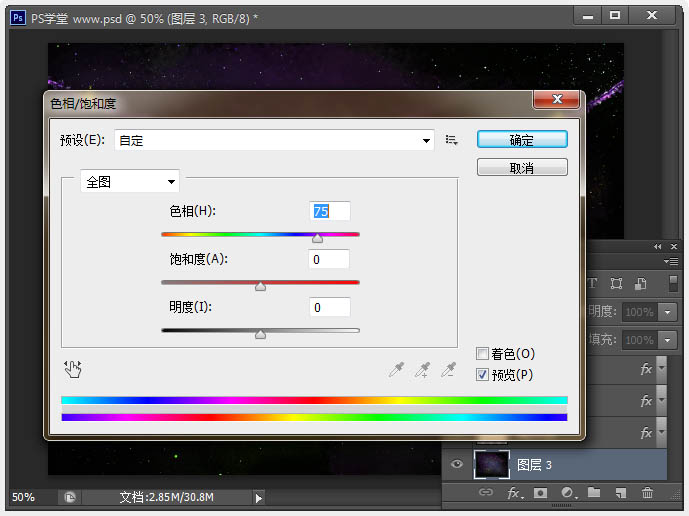
40、更改图层混合模式为:变亮。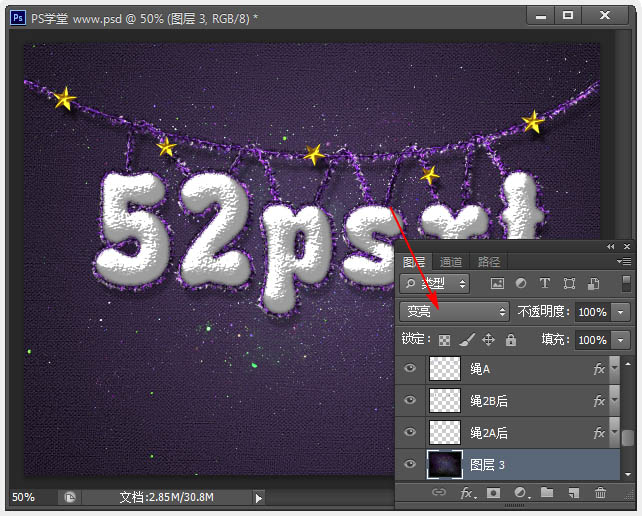
41、在所有图层上新建图层,命名为:边缘,用360像素的黑色柔角笔刷,在边上四周刷上黑色,再调整图 层不透明度:50左右,这个根据自己喜欢来做。 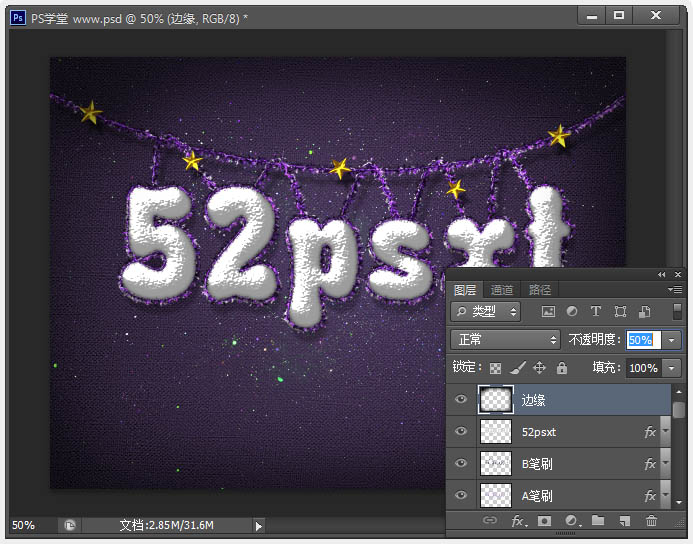
最终效果: