效果图看上去非常有创意,其实这些都是用最简单的工具来完成的,关键就是要注意细节,把图形的每一个部分都做到完美。
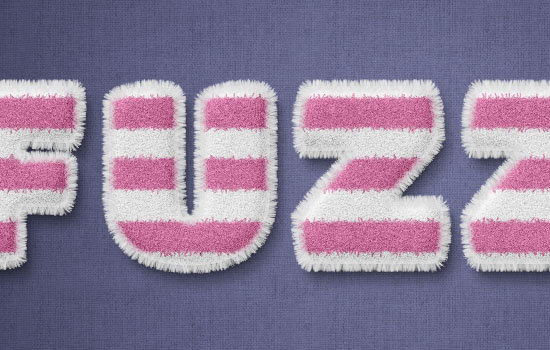
最终效果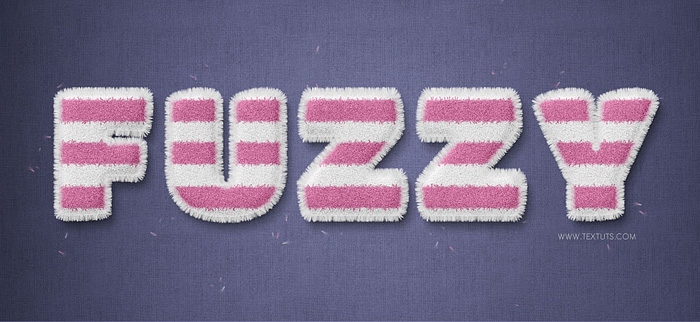
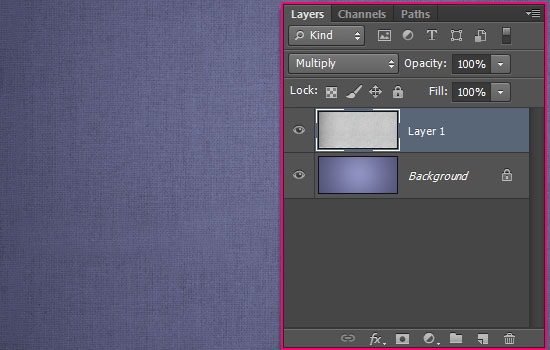
1、建1000 *460 px大小的新文件,前景色设置:#9193c3,背景色设置:#525578。使用渐变工具——径向渐变,从中心拉到角落,默认的前景色到背景色的渐变就行,效果如下。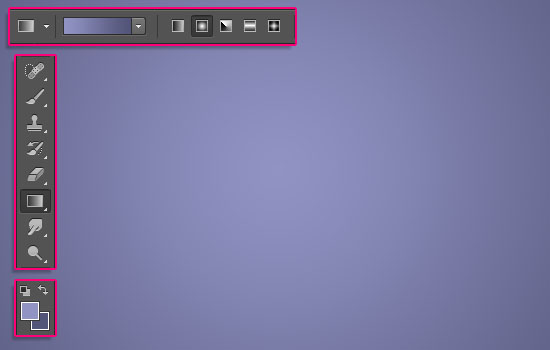
2、把「麻袋纹理」拖进去,图层模式改为「正片叠底」,调整大小到你觉得好看就行。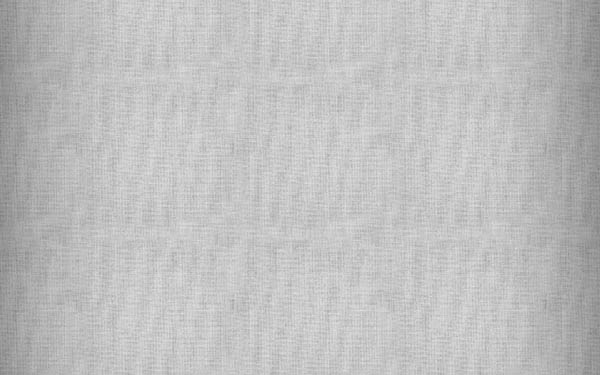
3、安装好字体后,打开字体的设置面板,参数如下:颜色#d8d8d8,大小250pt,字符间距50,字体随喜。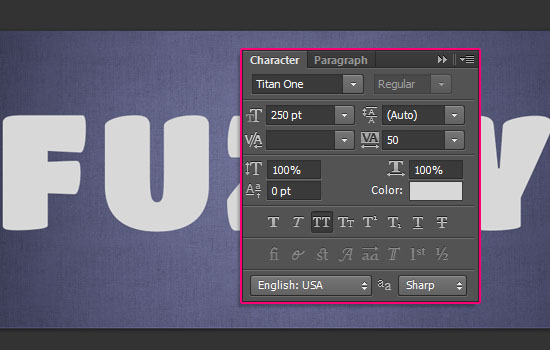
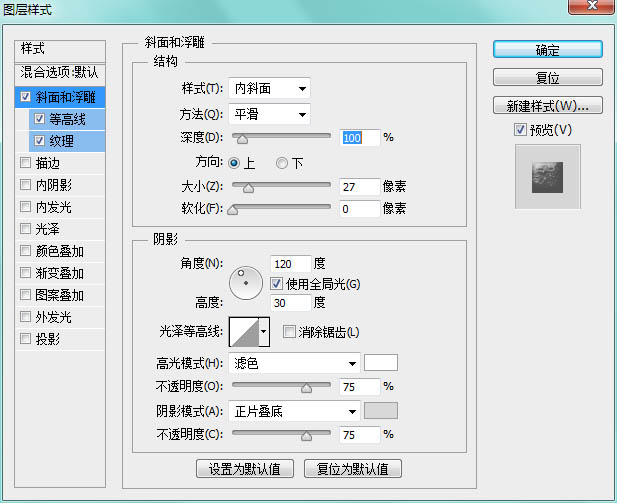
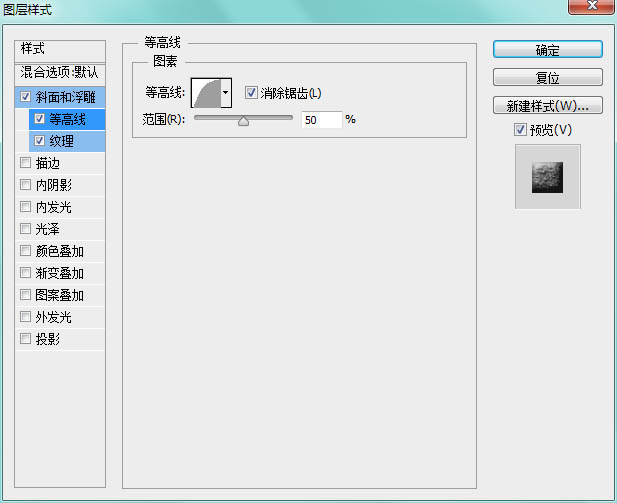
4、为文字添加图层样式,参数如下: 阴影模式的颜色参数是:#d8d8d8。
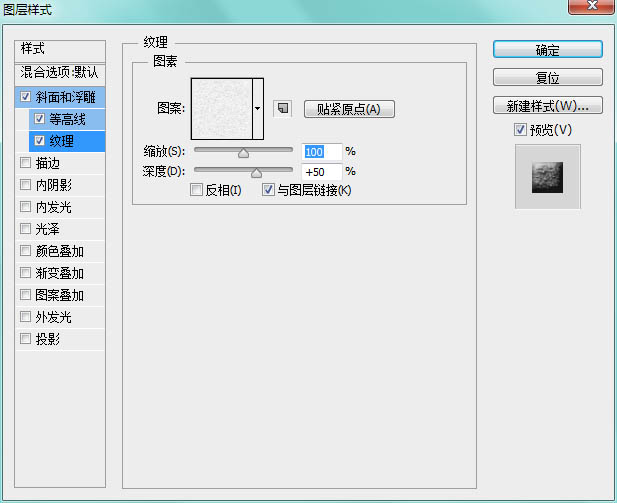
纹理,加载素材里的「白色纹理图案」。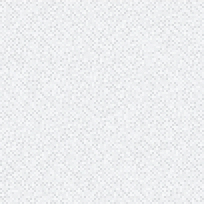
添加内阴影,颜色参数:#b5b5b5,其他如图: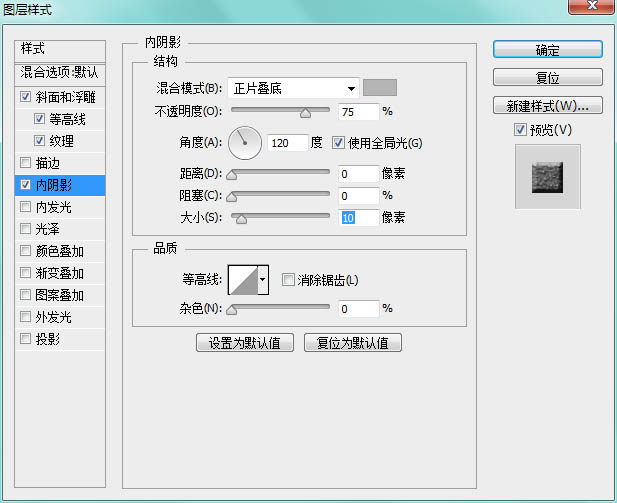
添加投影,参数如图: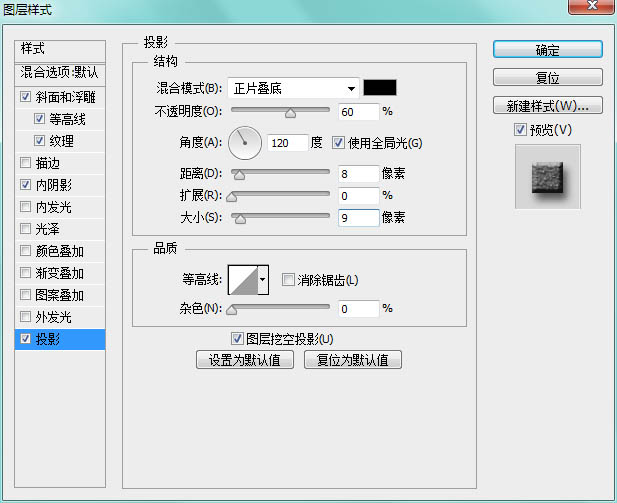
完成效果如下,有3D的效果呦:
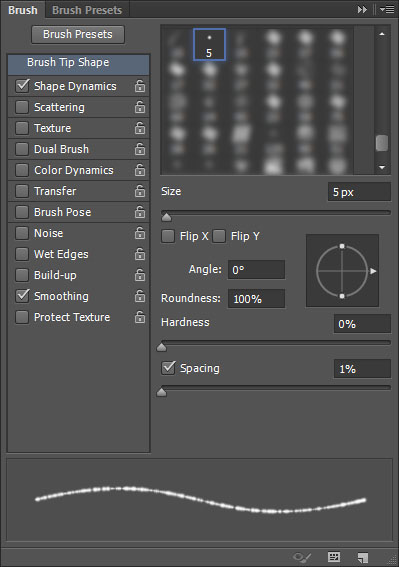
5、调出画笔窗口,设置如下。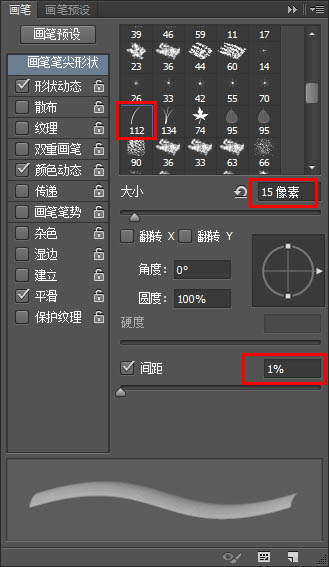
6、设置稍繁琐,究竟要干嘛,接下来: 右击文字图层——创建工作路径,然后新建图层,命名为「笔画」,此时工具栏应停在「画笔」处。
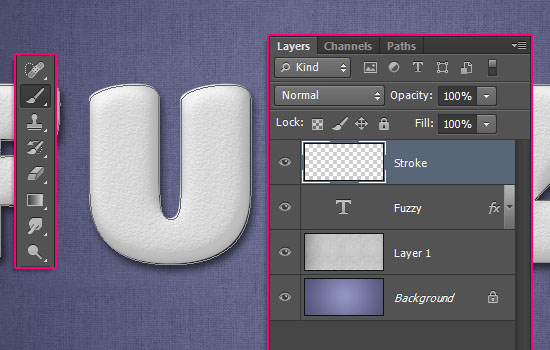
7、设置前景色#cdcdcd,背景色#f3f3f3,敲「Enter」键 5——7次 ,给文字添加描边路径,如果你想看下效果,摁快捷键「A」到直接选择工具,然后回车,路径木有了。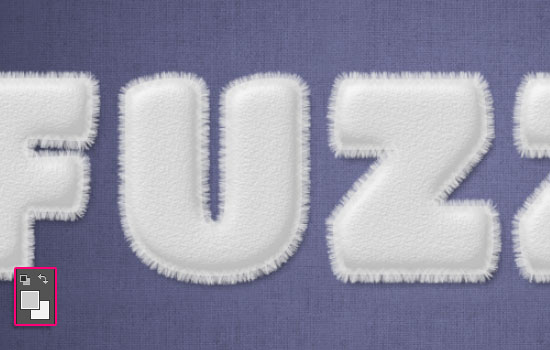
8、Ctrl+单击文字图层缩略图,得到选区。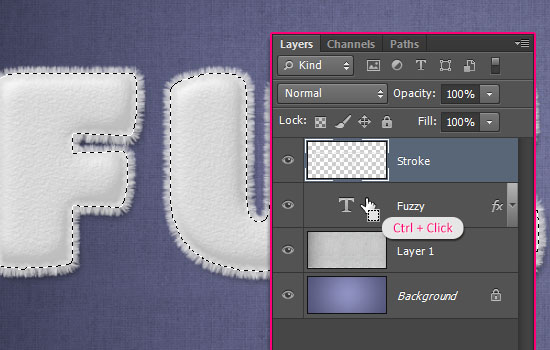
9、创建一个新图层,命名「纹理」,改变前景色#d8d8d8,背景色#858585,然后滤镜渲染 分层云彩。 Ctrl/Cmd + D 取消选区。
(本文来源于图老师网站,更多请访问https://m.tulaoshi.com/psxg/)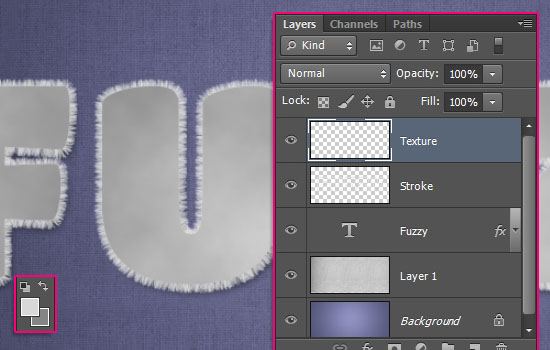
10、滤镜 杂色 添加杂色,参数如图。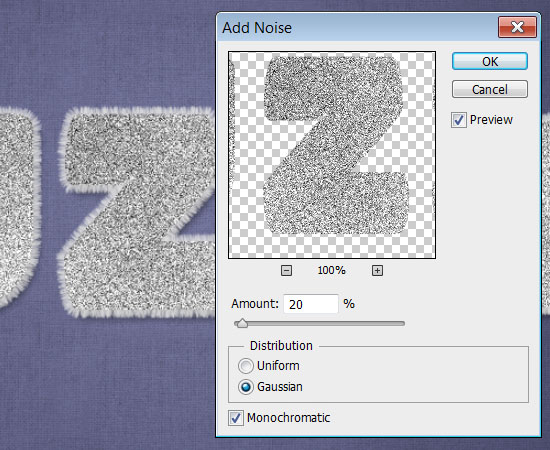
11、把这个图层的混合模式改为柔光,有益渲染模糊效果。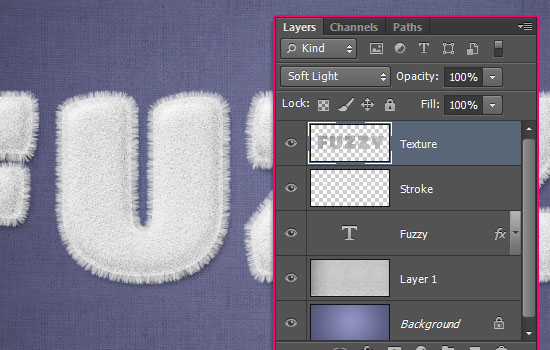
12、依刚才的方法选中文字选区,新建图层,命名:条纹。图层混合模式改为线性加深。
13、设置你喜欢的前景色,这里是#e890b9。选择硬边圆画笔,大小随喜。摁住「Shift」从左到右拖过去,以此类推继续下一个条纹,你可以重新调整画笔大小,这样不会太单调。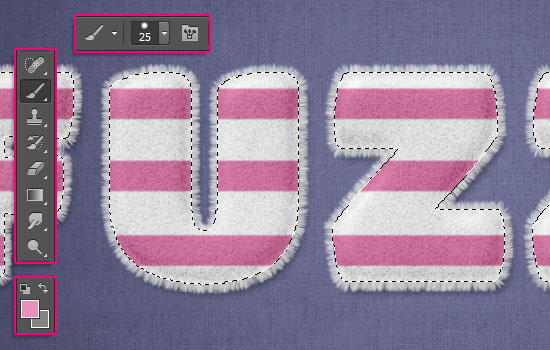
14、选择钢笔工具,注意选项栏是路径。绘制路径,如图。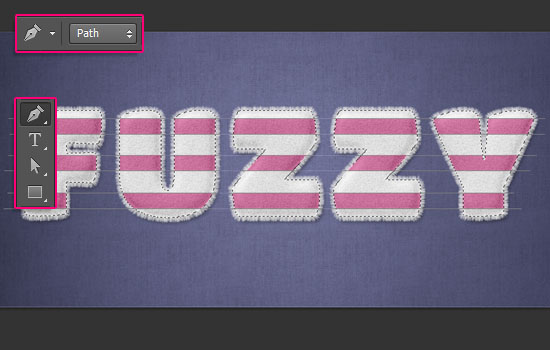
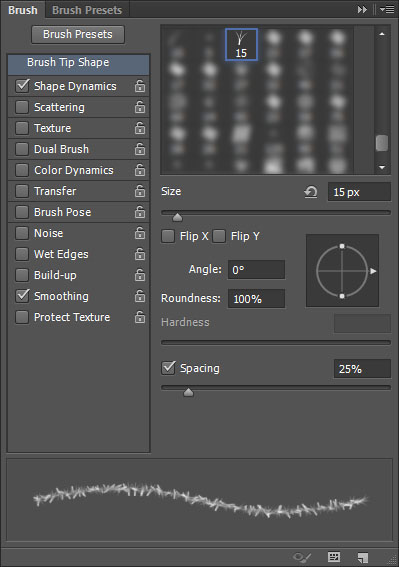
15、选择橡皮擦工具,调出画笔面板,设置如图。 画笔笔尖形状:
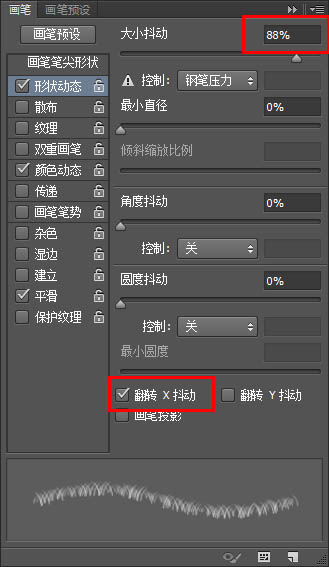
形状动态:
(本文来源于图老师网站,更多请访问https://m.tulaoshi.com/psxg/)
16、看一下工具栏选择的是不是橡皮擦工具,确认了,摁一下回车,给条纹添加柔和的边缘。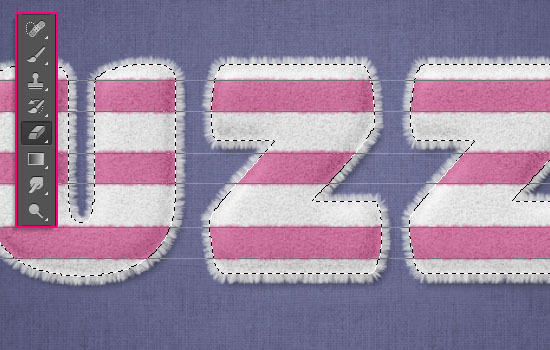
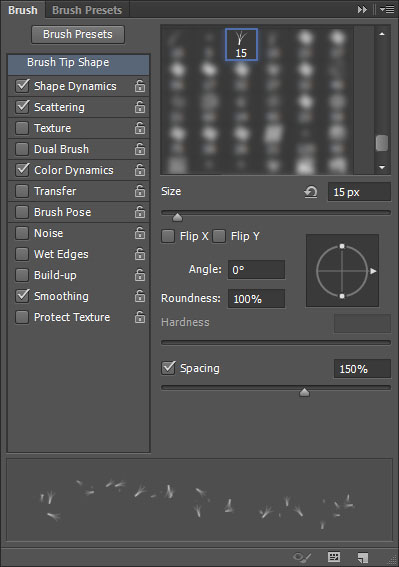
17、调出画笔面板,选择小草图案,设置如下。 画笔笔尖形状:
形状动态: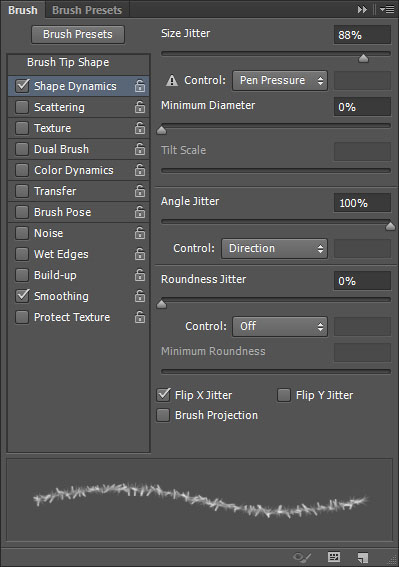
18、新建一个图层,命名为「条纹边缘」,确认前景色是条纹的颜色,之后敲3——5下回车,加强边缘效果: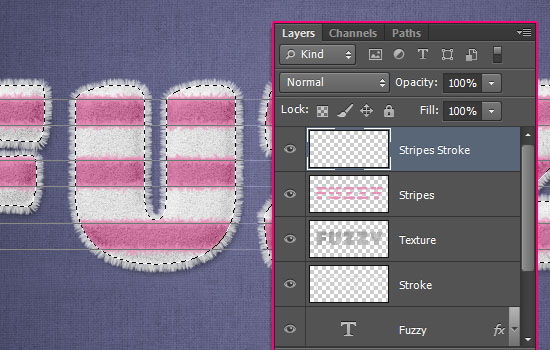
19、成果看起来满意了之后,取消路径选择,打开滤镜 锐化 锐化边缘。改变条纹的图层混合模式为正常。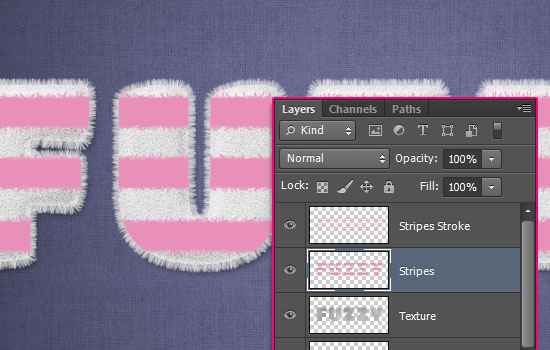
20、同时选中条纹和条纹边缘两个图层,合并图层(Ctrl+E),改变图层混合模式为线性加深。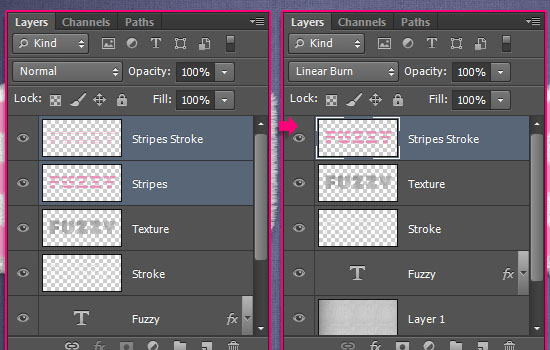
21、此时,确认前景色是条纹颜色,背景色改为白色。确认完毕后,选择滤镜 杂色 添加杂色,参数如下。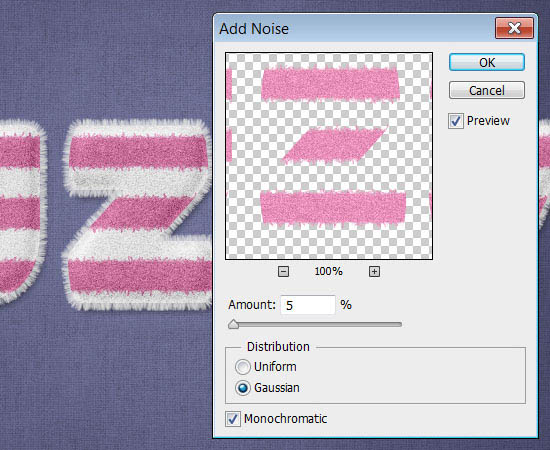
22、把笔画图层拖到顶部。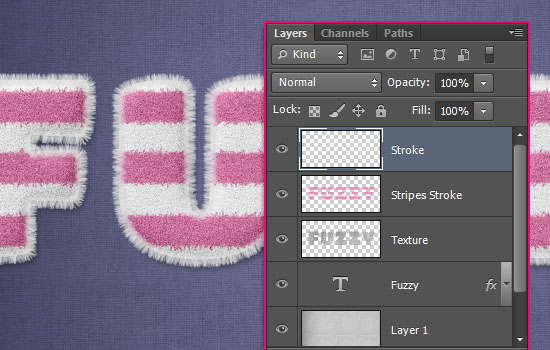
23、复制文字图层和笔画图层,之后选中原文字图层,右击 清除图层样式。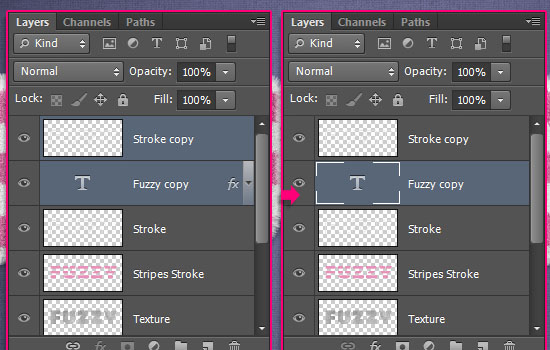
24、合并复制的两个图层,命名为:阴影,将图层拖到如下位置。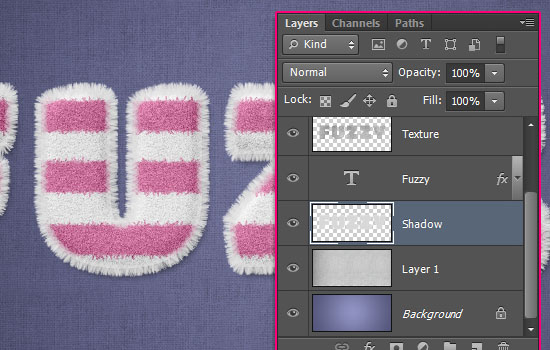
25、为阴影图层添加样式,参数如下。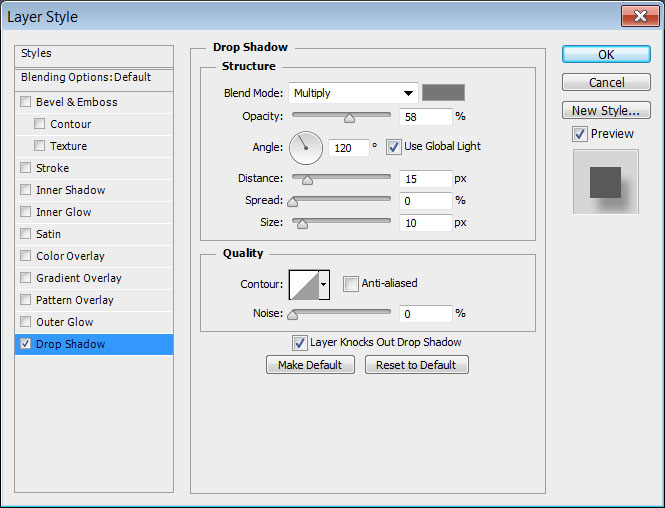
26、选择画笔面板,设置如下。 画笔笔尖形状:
形状动态: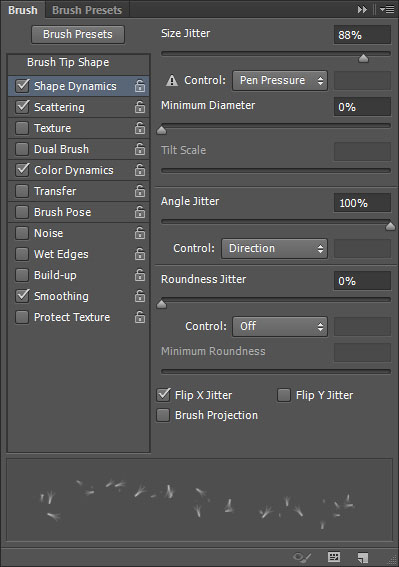
散布: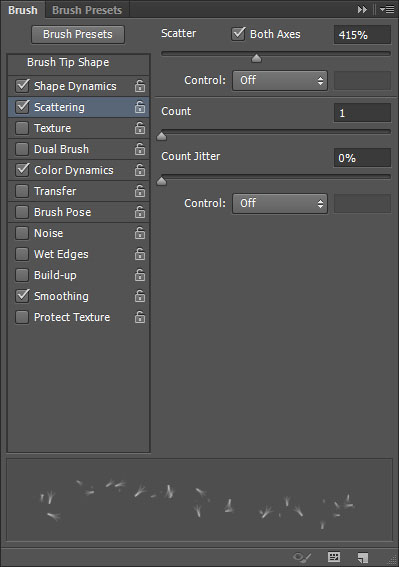
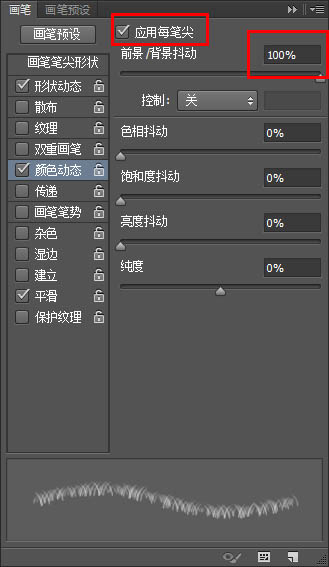
颜色动态: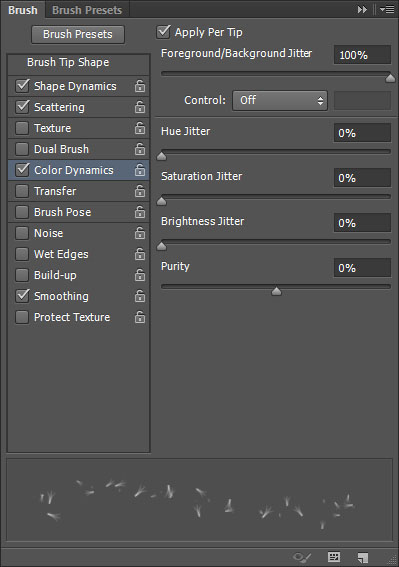
27、重复确认前景色是条纹颜色,背景色是白色。然后在阴影图层下新建一个图层,命名为碎絮。在文字周围添加一些碎絮,完成最终效果。