阿明112461
2016-01-31 12:44
有一种朋友不在生活里,却在生命力;有一种陪伴不在身边,却在心间。图老师即在大家的生活中又在身边。这么贴心的服务你感受到了吗?话不多说下面就和大家分享利用滤镜及色彩叠加制作漂亮的放射光束文字吧。
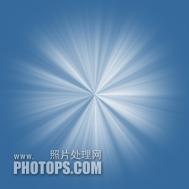
教程中的文字效果主要分为两个大的过程:首先需要用滤镜等给文字加上放射效果;然后用渐变或色彩叠加给整体加上色彩即可。
最终效果

(本文来源于图老师网站,更多请访问https://m.tulaoshi.com/psxg/)
1、新建文件输入文本,如图。 
2、按ctrl键点击文字图层小窗口,调出选区,点击菜单选择---修改---边界如图。
3、新建图层填充白色,将图层模式改成溶解。
4、将文字图层移到顶层,改成黑色如图。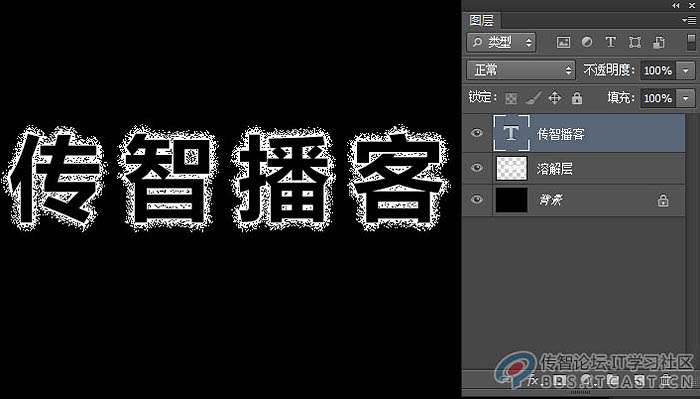
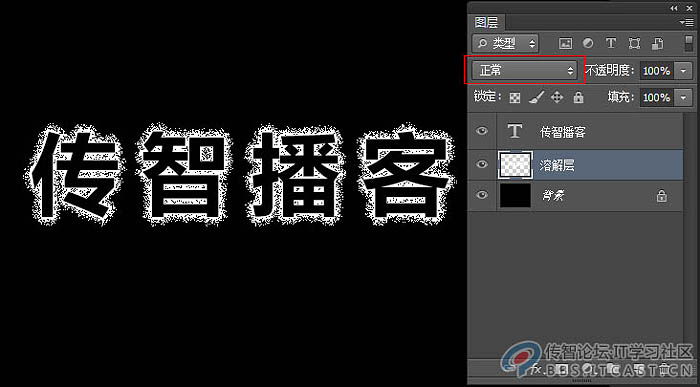
5、新建图层放置溶解层下层,然后ctrl+E进行合并(目的,让溶解层变成正常图层)。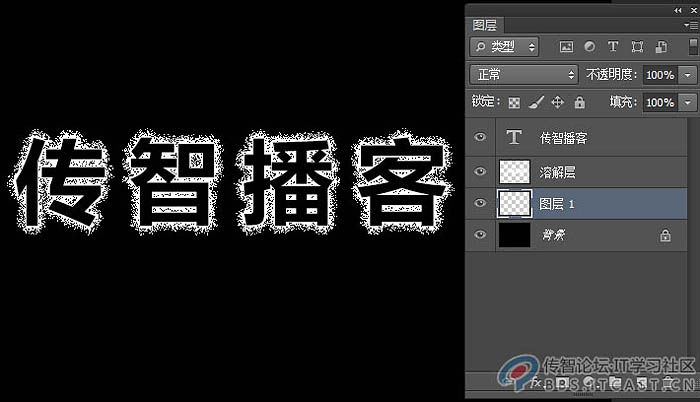
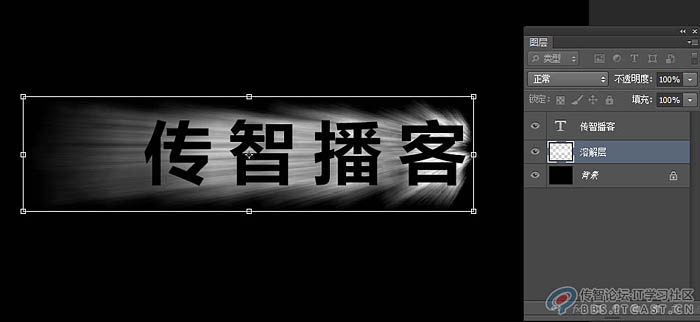
6、选择溶解层,点击滤镜--模糊--径向模糊,ctrl+t自由变换在调整一下。如图。
7、新建图层,绘制选区填充径向渐变,如图。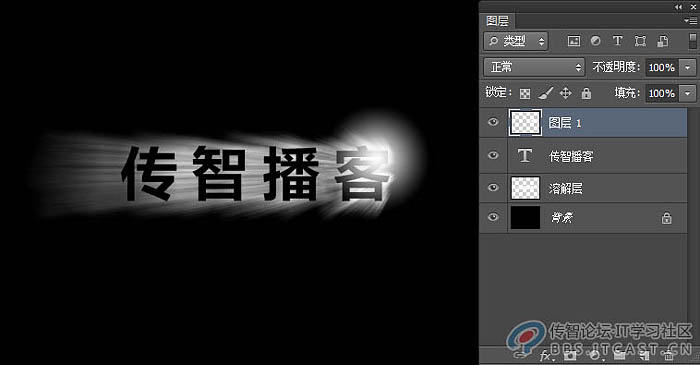
(本文来源于图老师网站,更多请访问https://m.tulaoshi.com/psxg/)
8、文字从新复制一层,栅格化,ctrl+T自由变换,调出透视如图。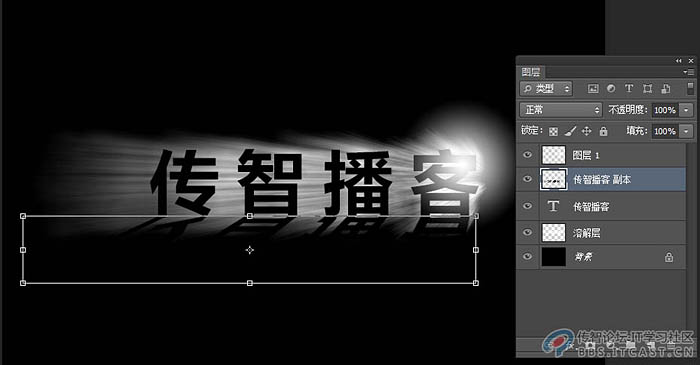
9、点击滤镜模糊高斯模糊,设置如图。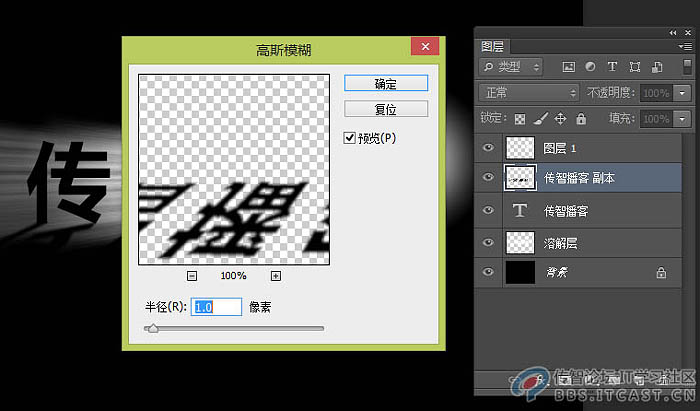
10、选择文字图层,打开图层样式,混合颜色带,做出透光效果,设置如图。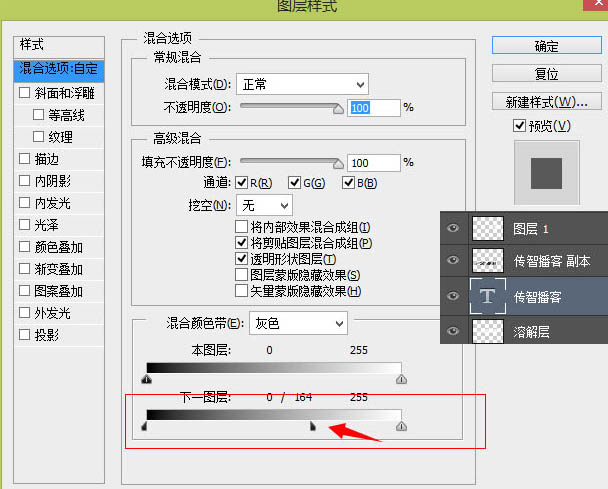
11、将圆形进行压缩,多复制些,让光更强烈些。如图。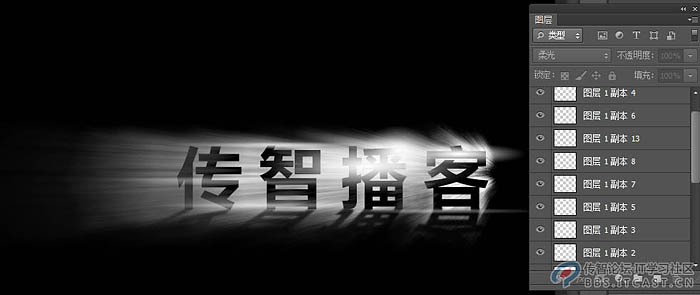
12、在背景层上新建图层,用画笔绘制出如图蓝色背景,(画笔最好用边缘比较圆滑的)。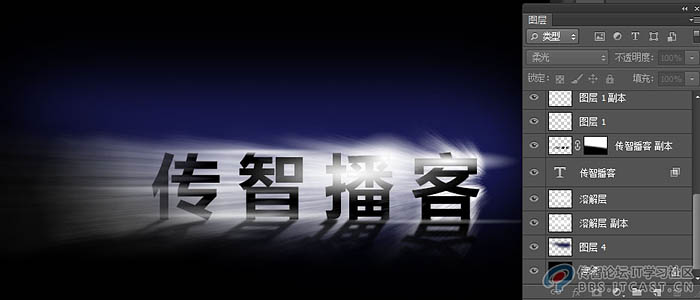
13、在最上层新建图层,用画笔绘制如图,(这个的目的是通过图层混合模式来调出文字的质感)。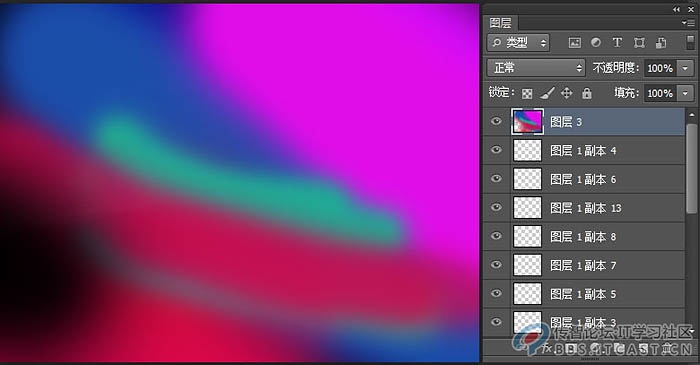
14、将图层模式改成柔光如图。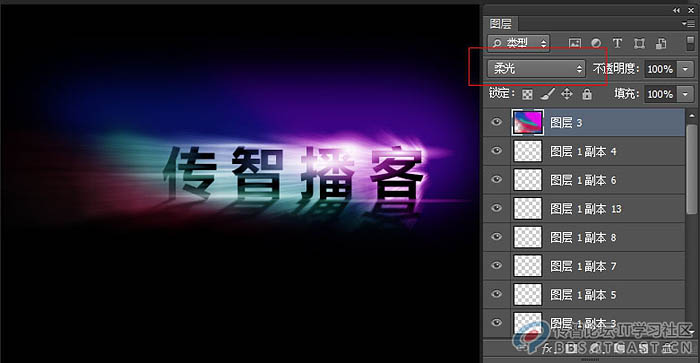
15、三键+E盖印一层,点击菜单滤镜--杂色--添加杂色。如图。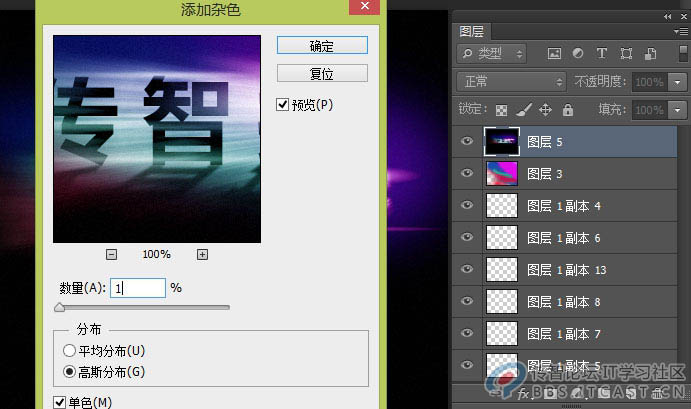
16、点击菜单--滤镜--锐化--锐化边缘,如图。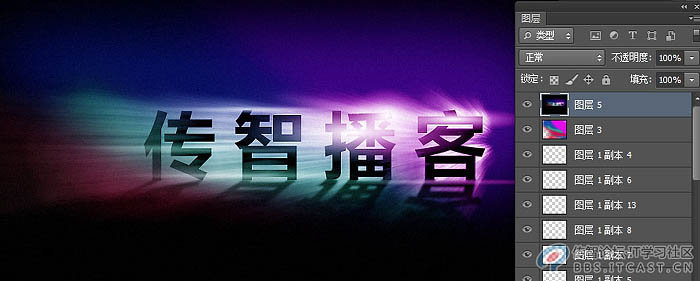
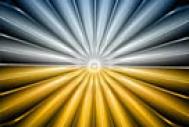
也可以给文字换颜色哦。
(本文来源于图老师网站,更多请访问https://m.tulaoshi.com/psxg/)