今天给大家分享的是由图老师小编精心为您推荐的利用图层样式制作细腻的金色金属抽丝字,喜欢的朋友可以分享一下,也算是给小编一份支持,大家都不容易啊!
像这种质感浮雕文字特效一般我的做法是将文字图层多复制几层,把填充改为0,然后再分别添加不同的图层样式。最后将各个图层叠加起来,这样整体效果就出来了,剩下的就是做一些修饰和细节的修改。
最终效果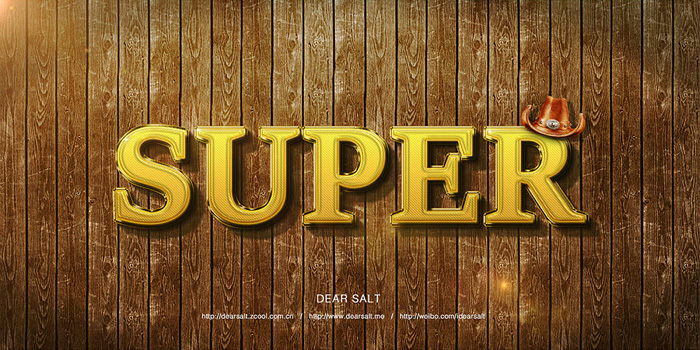
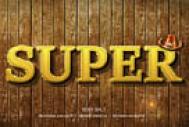
1、新建1280 * 720的画布,将背景图导入到画布中。在画布中间打上文字,字号不易过大,位置放置在中间偏上即可。将文字图层复制两层,分别命名为“super-1”,“super_2”。

2、双击“super_1”图层,设置图层样式,如下图。


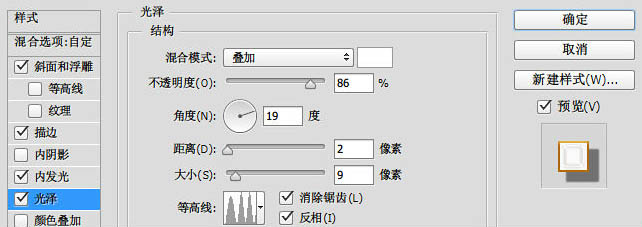
3、双击“super_2”图层,设置图层样式,如下图。

(本文来源于图老师网站,更多请访问https://m.tulaoshi.com/psxg/)

4、制作文字外围的金属效果:
调出文字的选区,然后执行:选择 修改 扩展,扩大选区范围,然后任意填充色块,将此层的填充改为:0%,双击打开图层样式修改。


5、阴影效果:
这两层的样式设置好后,文字的大概效果已经出来了,但立体感不强,在这里可以用制作长阴影的方法制作阴影,原理是向某一角度不断移动。
首先按住Ctrl键再点击文字图层调出文字选区,使用油漆桶工具填充黑色。
按住Ctrl + Alt再依次不断的按向下及向右方向键复制图层。
合并图层,并执行高斯模糊操作,然后适当降低图层不透明度即可。
6、添加光源:
将高光素材拖入到画布中去,然后把图层模式改为“滤色”,再适当调整位置和不透明度即可。

为了配合光源,我们需要在文字的边缘添加一层白色的光源,具体方法是调出文字选区,然后执行:编辑 描边,位置居中,大小为2px,颜色为白色;更改此图层模式为“叠加”,然后适当降低不透明度,根据光源方向结合蒙版工具擦除多余部分。
(本文来源于图老师网站,更多请访问https://m.tulaoshi.com/psxg/)7、在这里我是添加了一个色彩平衡调整整体的色彩,还加了一个小牛仔帽子,在此就不做演示了,大家可以发挥自己的想象力装饰整件作品。
最终效果: