今天图老师小编要跟大家分享Photoshop给逆光人物加上柔和的透射阳光,精心挑选的过程简单易学,喜欢的朋友一起来学习吧!
逆光拍摄人物需要选好时机,霞光或暮色的阳光下拍摄是最完美的,阳光透过人物轮廓透露出漂亮的光晕,非常有艺术感。如果拍摄的图片不够完美,可以后期慢慢渲染。
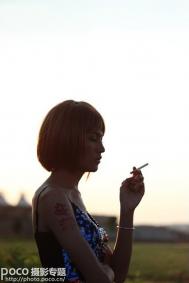
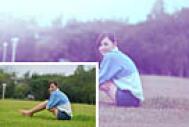
原图
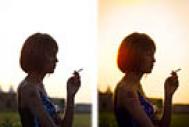
最终效果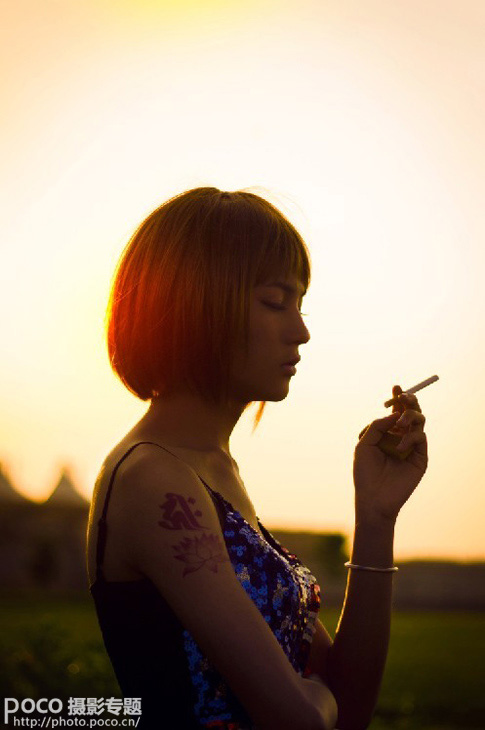
1、RAW格式打开后进行第一部微调,色温往后拉,使其变为暖色调。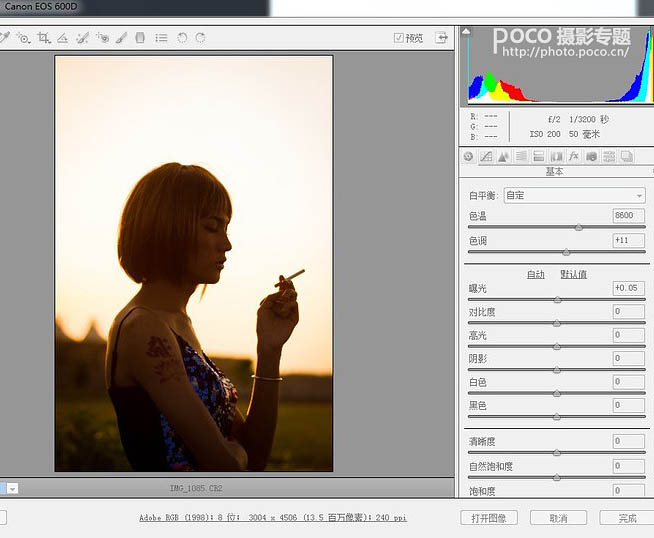
2、饱和度将橙色、黄色、绿色的饱和度加高。
3、效果——剪裁后晕影——数量减少,加个暗角使画面视觉更加集中,参数如下图所示,然后点完成,接着在PS里面再进一步调整。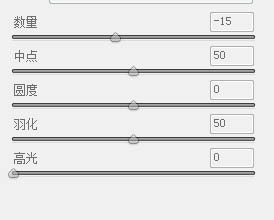
4、可选颜色——黑色——黄色减少,具体参数如下图,数值可以根据自己喜好调整。我个人喜欢暗部稍微偏一点点紫色。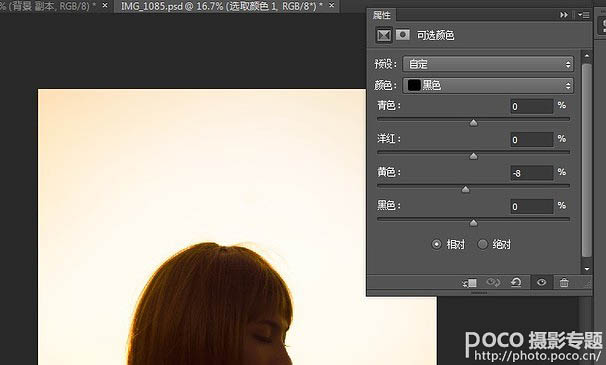
(本文来源于图老师网站,更多请访问https://m.tulaoshi.com/psxpcl/)
白色——红色进行调整,具体参数如下图。这一步主要是让天空更加暖,烘托出夕阳的感觉。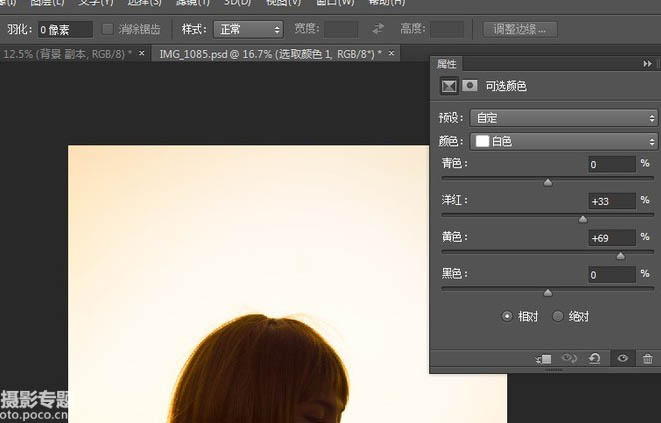
黄色也进行一个稍微的调整,具体参数如下图。这一步的作用同样是烘托照片的暖色气氛,使照片看起来更有色彩感。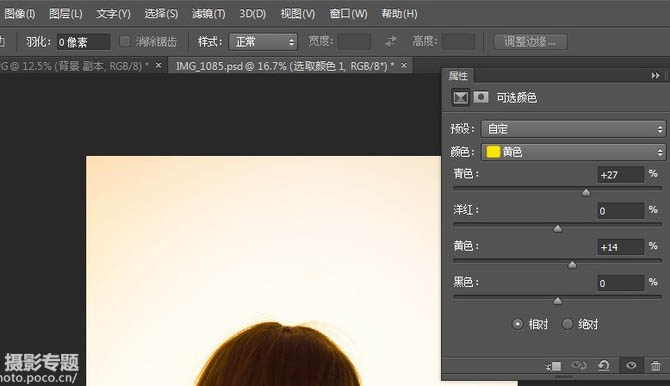

5、接下来新建一个图层,颜色选择这个,#d19332。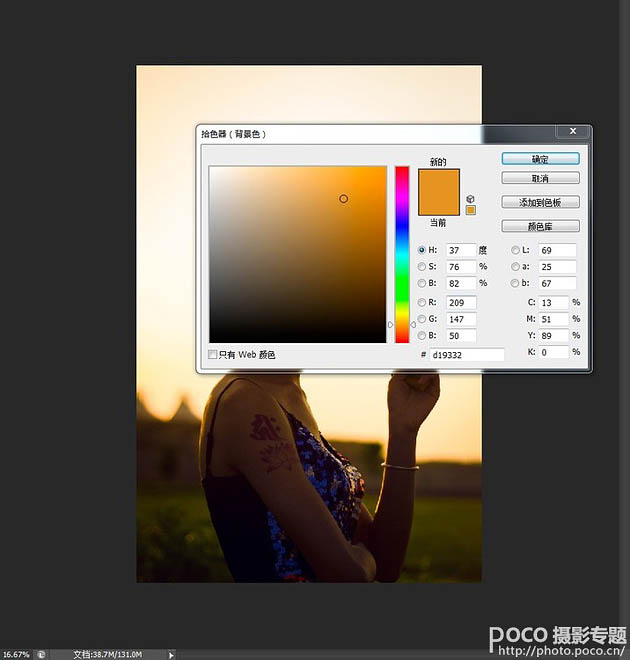
6、确定后在头发这个位置画一下,注意笔刷一定要选柔和的,不然效果做出来很死板,不自然。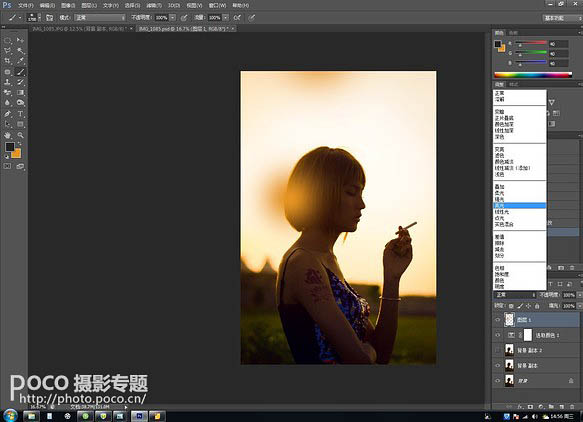
(本文来源于图老师网站,更多请访问https://m.tulaoshi.com/psxpcl/)7、如图所示,把图层模式选择为“亮光”,不透明度调至83%。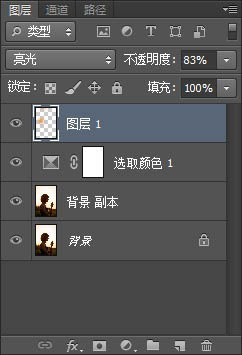
8、新建图层,拾色器颜色选择灰色,确定。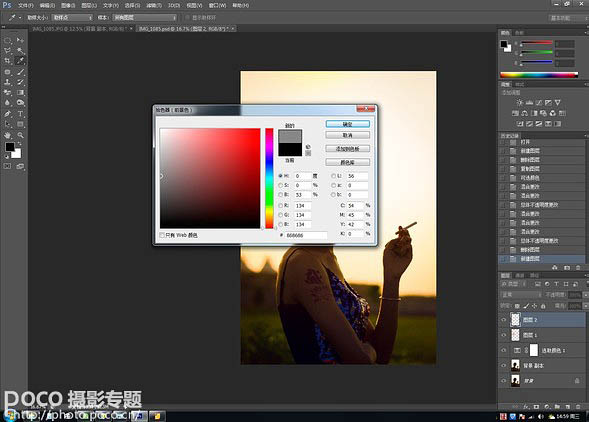
9、填充——前景色,确定。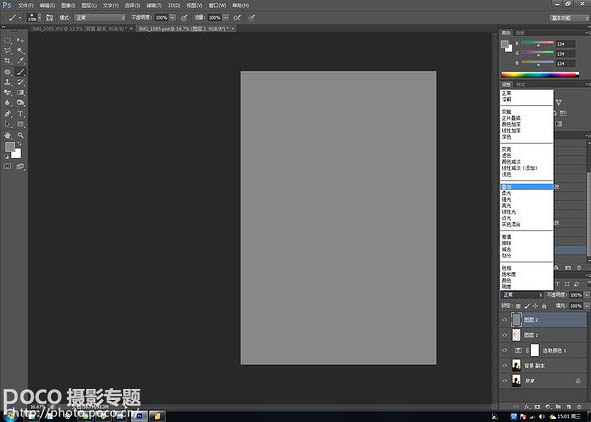
10、如图所示,图层模式改为“叠加”。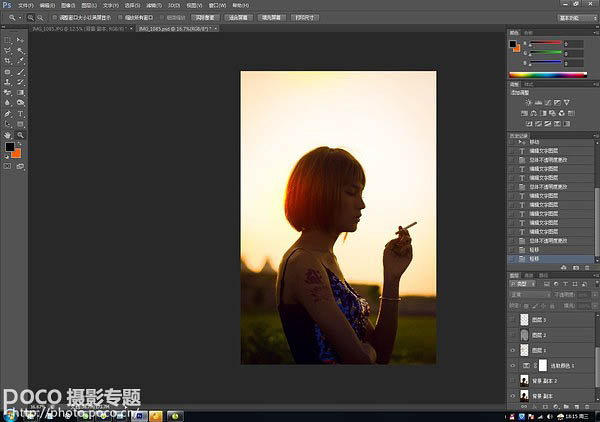
11、颜色重新选为黑白,用黑色和白色画笔开始对人物进行明暗调整。如同素描里面的“铺调子”。注意这里要调整画笔的不透明度和流量,才能使画面自然。
最终效果: