有了下面这个Photoshop把图片做成抽象的万花筒效果教程,不懂Photoshop把图片做成抽象的万花筒效果的也能装懂了,赶紧get起来装逼一下吧!
作者介绍的过程非常详细,新建的文件也比较多,初学者操作上要非常细心。
过程:先定义一个正三角形图像,然后拼接成一个六边形,再对接成图案即可。操作上其实有非常简便的方法,1分钟就可以做好,自己可以去摸索。
最终效果
作者没有提供素材,可以用下面的素材!

1、打开想要的素材图片,在图片中裁剪出感兴趣的局部。
2、按照刚才裁剪的图片的像素值,新建一个背景是透明的正方形文件。
3、回到裁剪图片的文件,在背景图层点击右键,选择“复制图层”。
4、在复制图层的对话框中选择目标为“未标题-1”文件。
5、选择图像 图像旋转 任意角度。
6、在“旋转画布”对话框中输入角度30,选逆时针。
7、旋转后,把图片放大到300%,然后用矩形选框工具选取右角,细致的对齐图片左上角的顶角尖,往图片左下角拉满,选取图片左侧。
8、图片旋转后的效果,以及用矩形选框工具的选取效果。
9、点击“Delete”键删除。
10、点选:图像 图像旋转,在对话框中输入角度60,选择逆时针。
11、旋转后,把图片放大到400%,然后用矩形选框工具,从右上角的顶角尖往图片右角拉满,选取图片右侧。
12、按“Delte”键删除。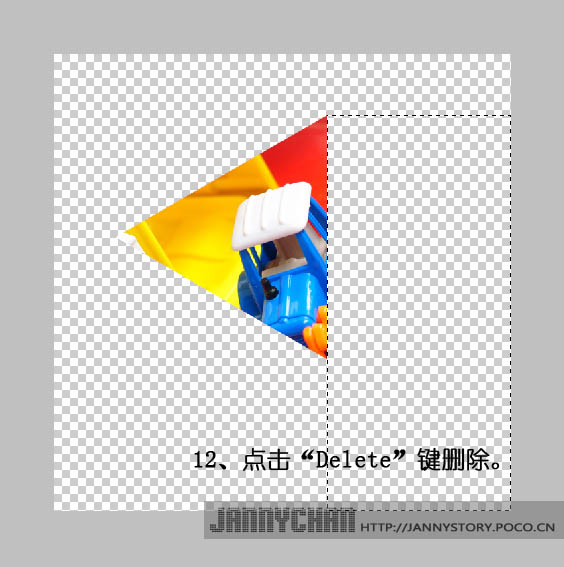
(本文来源于图老师网站,更多请访问https://m.tulaoshi.com/psxpcl/)13、把图片多余的画布裁去。
14、把处理好图片存储为PSD格式,输入文件名“基本图形01”。
15、查看基本形01文件的图像大小,记住宽度和高度的像素值。
16、新建文件,输入名称“基本形群组01”,宽度和高度的像素值是“基本形01”的2倍,背景为透明。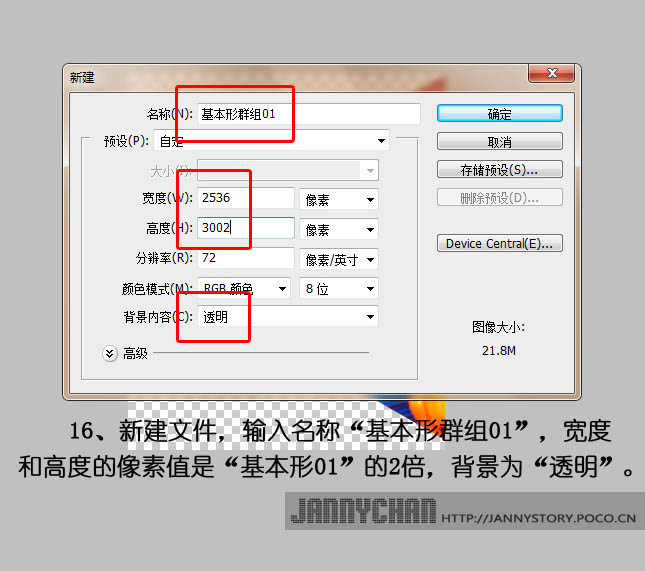
(本文来源于图老师网站,更多请访问https://m.tulaoshi.com/psxpcl/)17、回到基本形01文件,把背景图层复制到基本形群组01文件中。
18、在基本形01文件中,点选图像 图像旋转 水平翻转画布。
19、把翻转后的背景图像复制到基本形群组01文件中。
20、复制后的效果。
21、用移动工具把基本形摆好,效果如下图。
22、回到基本形01文件中选择:图像 图像旋转 垂直翻转。
23、选择:图像 图像旋转 任意角度,数值为60,逆时针。
24、把旋转后的图形复制到基本形群组01文件中。
25、用移动工具把复制过来的图形摆好。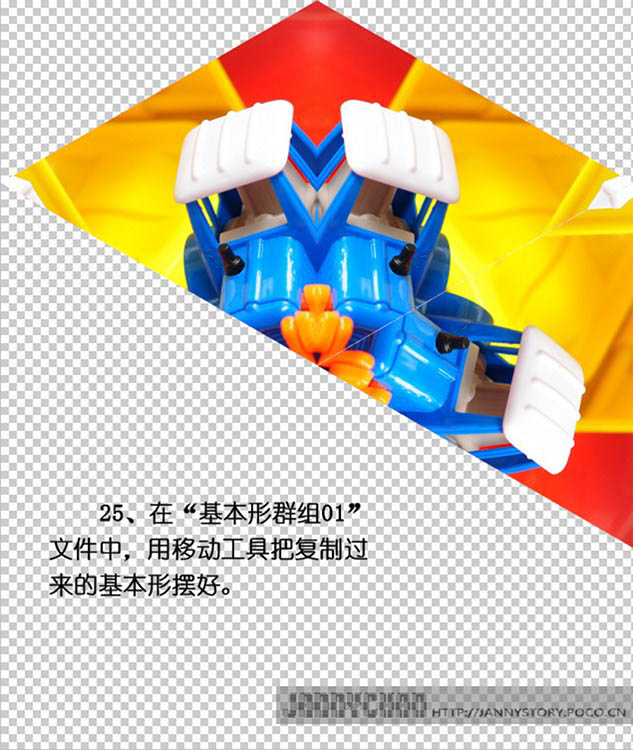
26、回到基本形01文件中,水平翻转一次。
27、把翻转好的图形复制进来。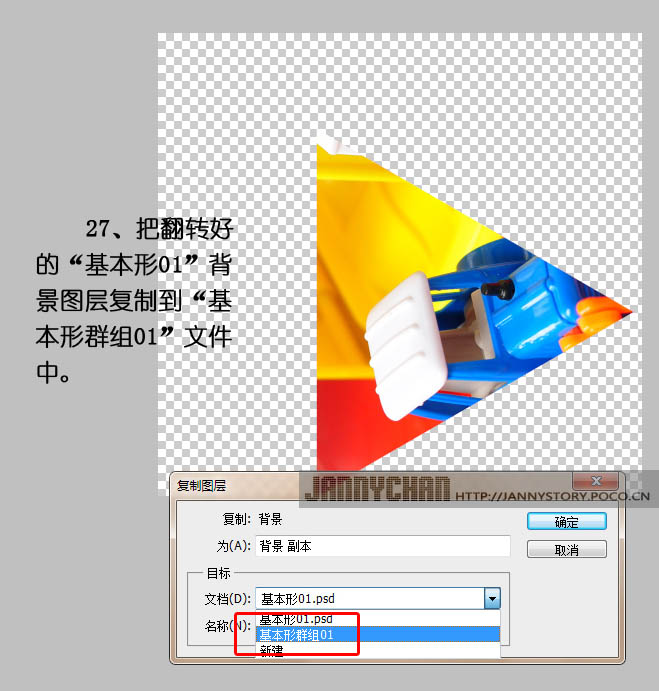
28、再垂直旋转。
29、旋转60度。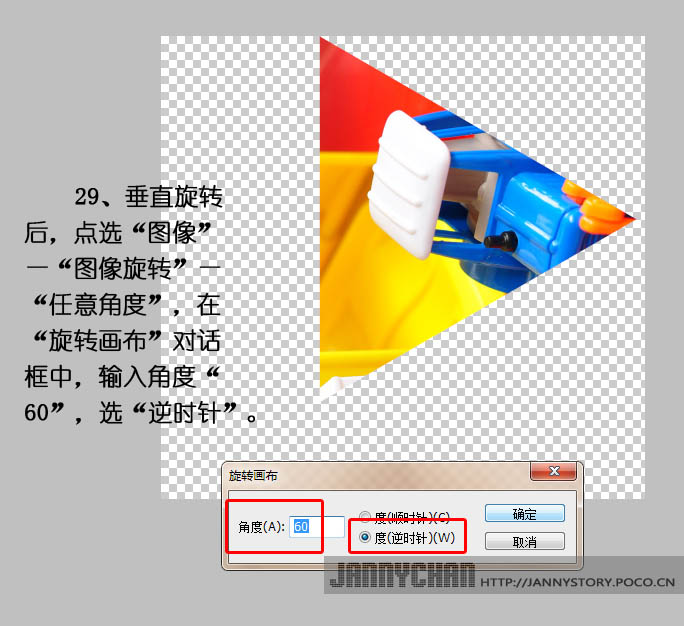
30、复制到基本形群组01中。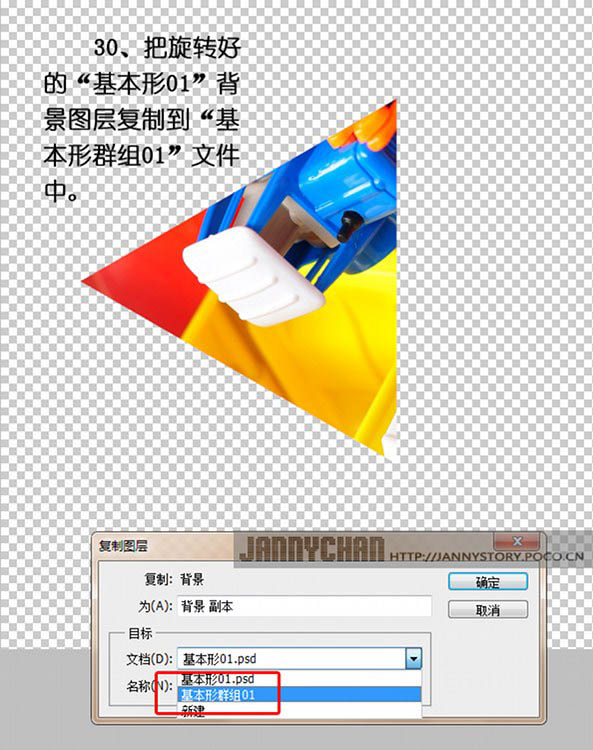
31、摆好位置。
32、同样水平翻转一次。
33、复制进来。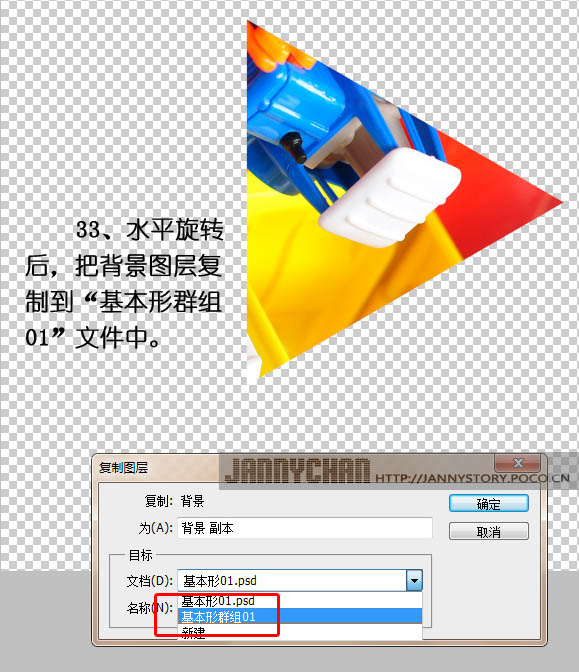
34、群组完成后的效果。
35、把所有图层合并。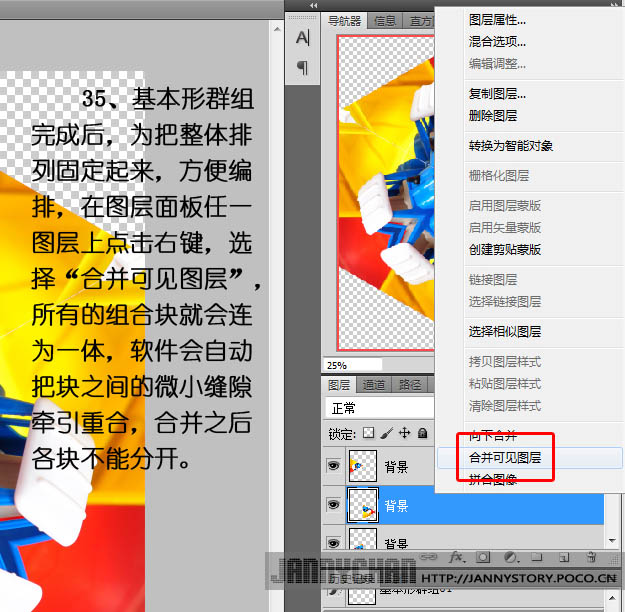
36、保存文件。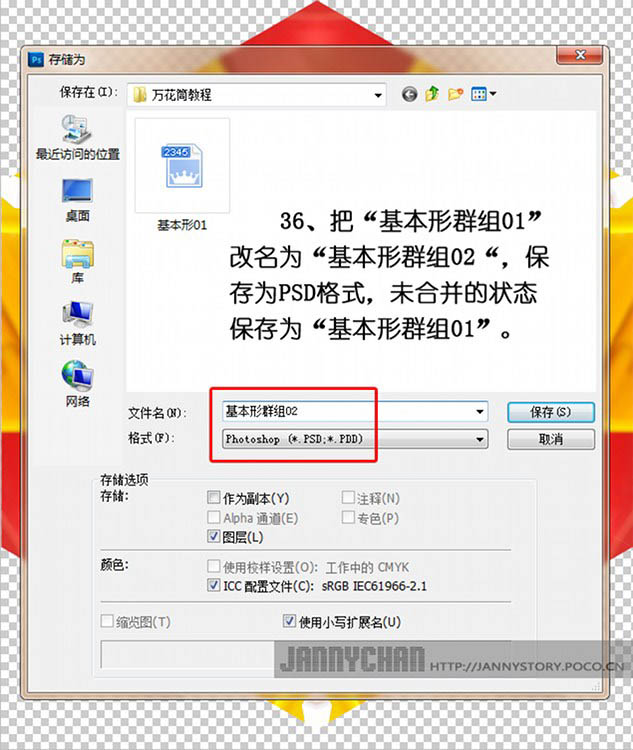
37、新建文件。
38、把做好的图案复制进来。
39、继续复制。
40、多复制一些。
41、排列完成。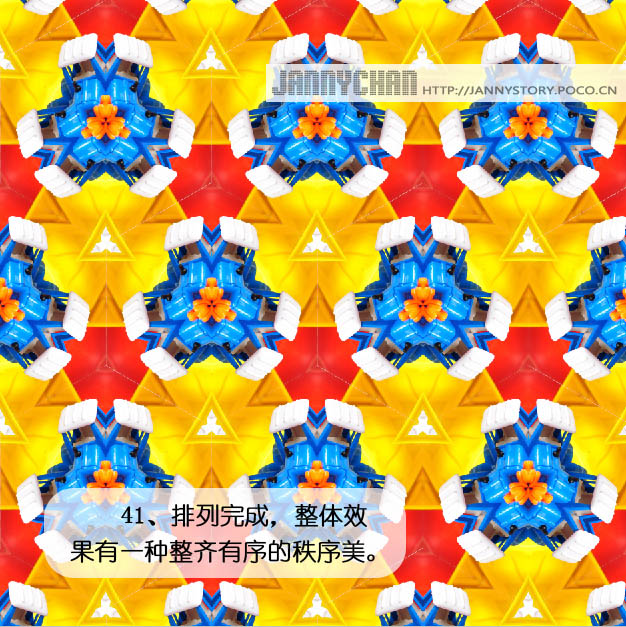
最终效果: