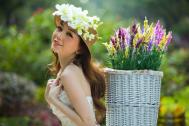
原图

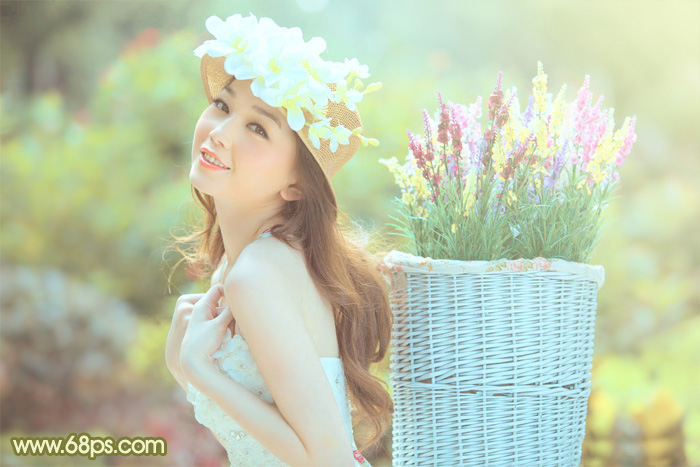
最终效果
1、打开素材图片,创建曲线调整图层,对RGB通道进行调整,稍微把暗部调亮一点,参数及效果如下图。
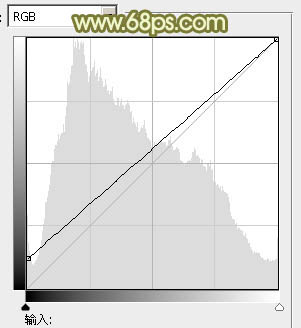
图1

图2 2、创建可选颜色调整图层,对黄、绿、中性、黑进行调整,参数设置如图3 - 6,效果如图7。这一步把背景部分的绿色转为柔和的黄绿色。

图3

图4

图5

图6
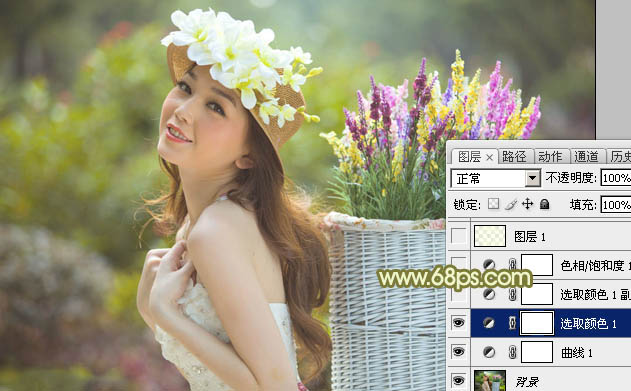
图7
3、按Ctrl + J 把当前可选颜色调整图层复制一层,不透明度改为:50%,效果如下图。
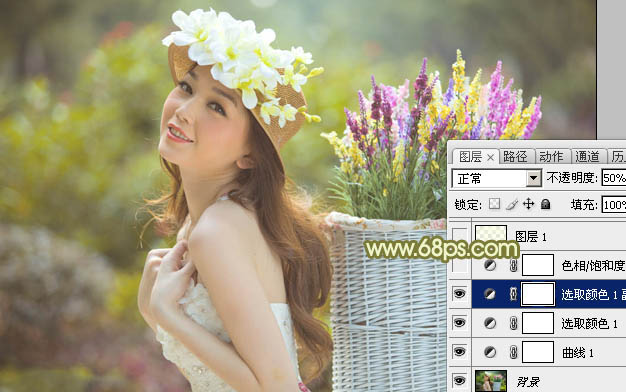
图8 4、创建色相/饱和度调整图层,对黄色进行调整,参数及效果如下图。这一步适当增加图片中黄色的亮度。
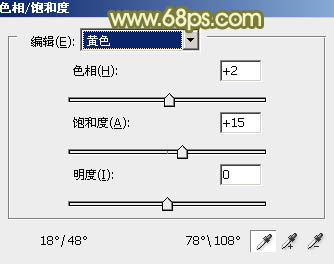
图9
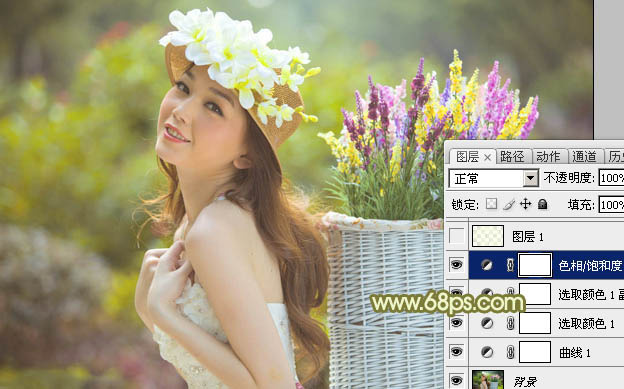
图10 5、按Ctrl + Alt + 2调出高光选区,新建一个图层填充淡黄色:#FAFFE1,混合模式改为“柔光”,不透明度改为:60%,效果如下图。这一步给图片增加淡黄色。
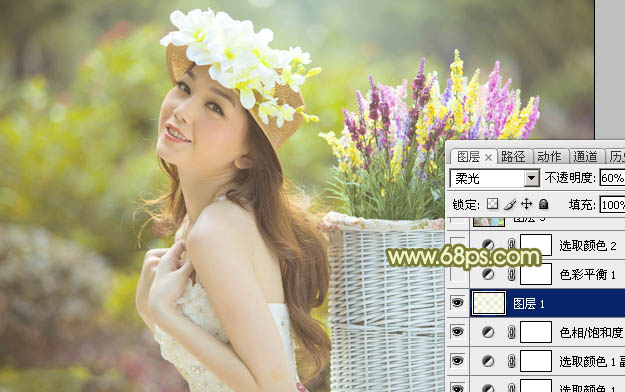
图11
6、创建色彩平衡调整图层,对阴影、中间调、高光进行调整,参数设置如图12 - 14,效果如图15。这一步加强图片暗部及高光部分的颜色。

图12
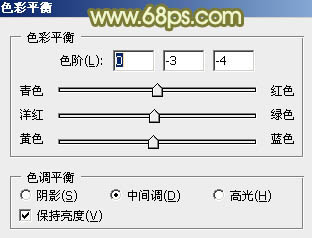
图13
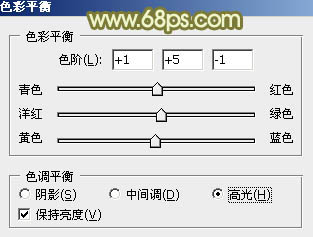
图14

图15 7、创建可选颜色调整图层,对红、黄、绿、白、中性色进行调整,参数设置如图16 - 20,效果如图21。这一步把图片中的黄色及中性色部分调淡。
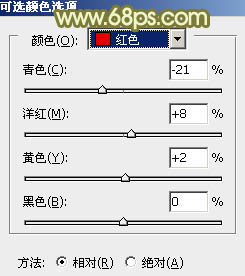
图16
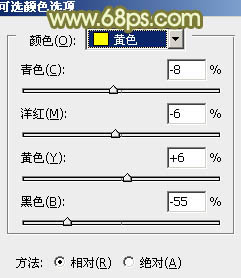
图17
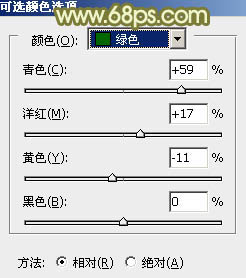
图18
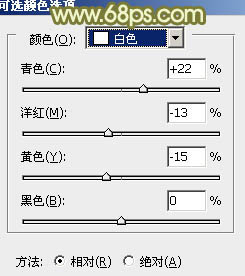
图19
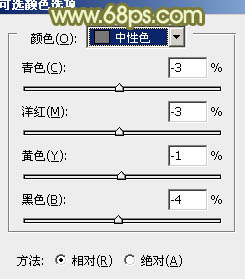
图20

图21
8、合并所有图层,选择菜单:图像 模式 Lab颜色,确定后创建曲线调整图层,对明度、a、b通道进行调整,参数及效果如下图。这一步给图片增加淡青色。
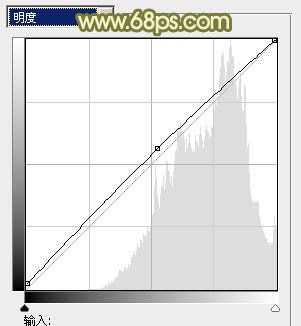
图22
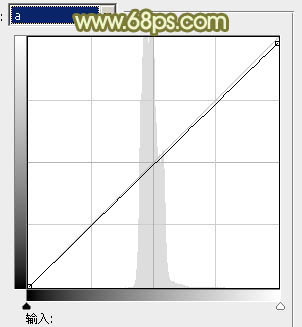
图23
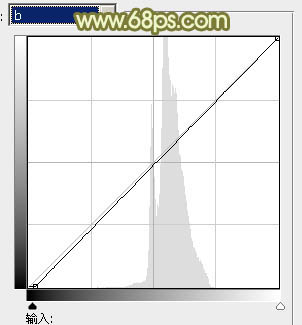
图24
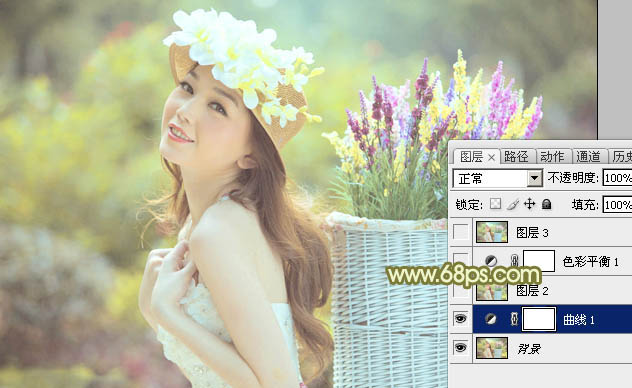
图25 9、新建一个图层,按Ctrl + Alt + Shift + E 盖印图层,执行:图像 应用图像,参数及效果如下图。这一步给图片增加红色。
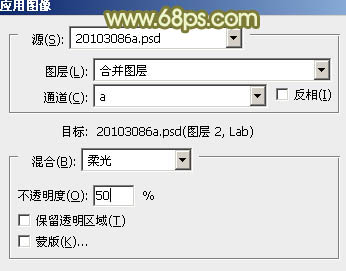
图26

图27
10、创建色彩平衡调整图层,对高光进行调整,参数及效果如下图。确定后合并所有图层,选择菜单:图像 模式 RGB颜色。
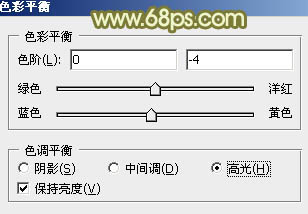
图28
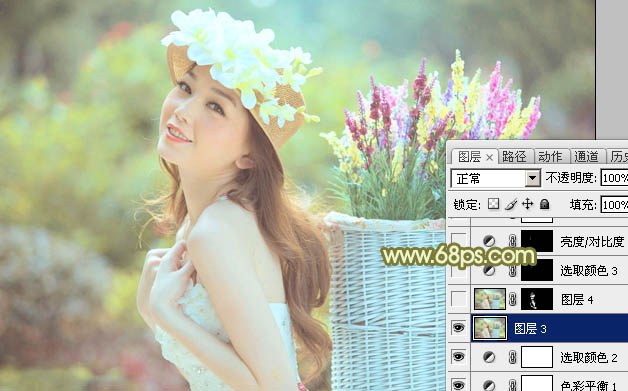
图29 11、新建一个图层,盖印图层,简单给人物磨一下皮,再用减淡工具把肤色高光部分涂亮一点,效果如下图。
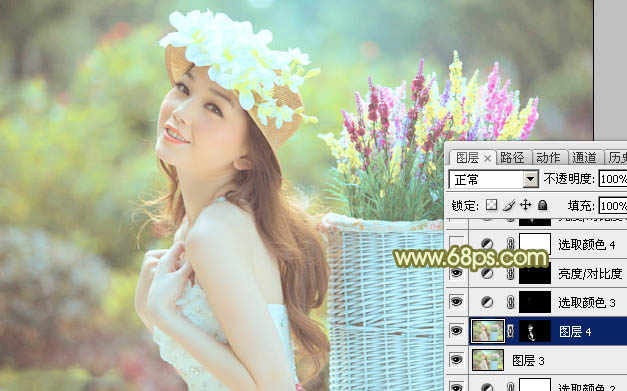
图30 12、创建可选颜色调整图层,对红、黄、绿、白进行调整,参数设置如图31 - 34,效果如图35。这一步微调人物肤色,并加强高光部分的颜色。
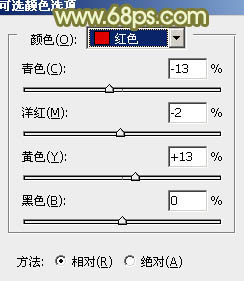
图31
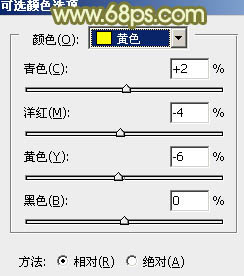
图32
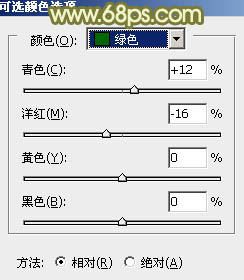
图33
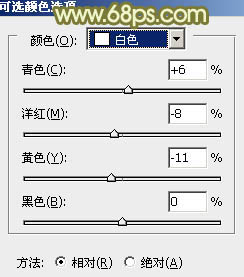
图34
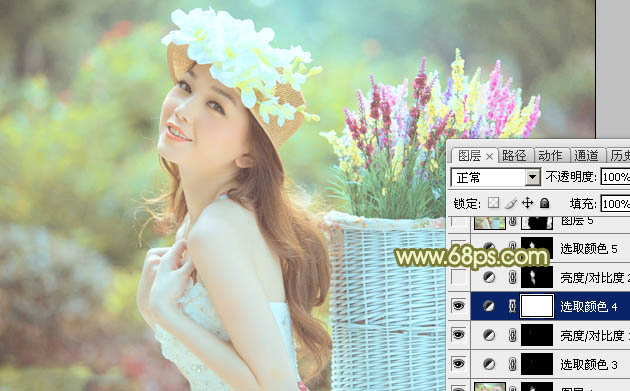
图35 13、新建一个图层,添加淡绿色:#C0D380,混合模式改为“滤色”,添加图层蒙版,用黑白渐变由右上角只左下角拉出白色至黑色线性渐变,效果如下图。
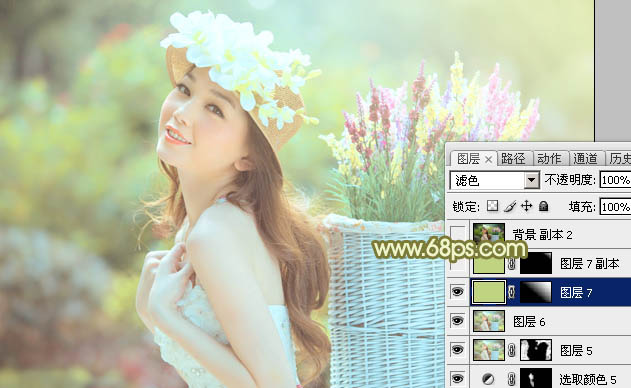
图36 最后微调一下颜色,完成最终效果。