PS怎么制作复古插画效果
原图如下:
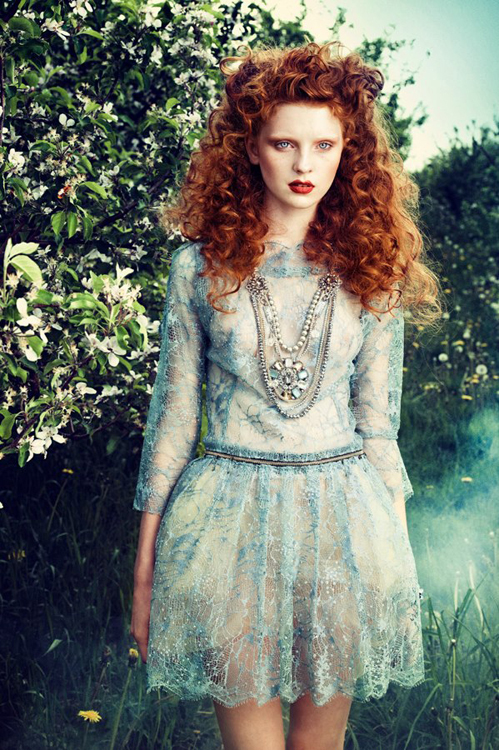
step1
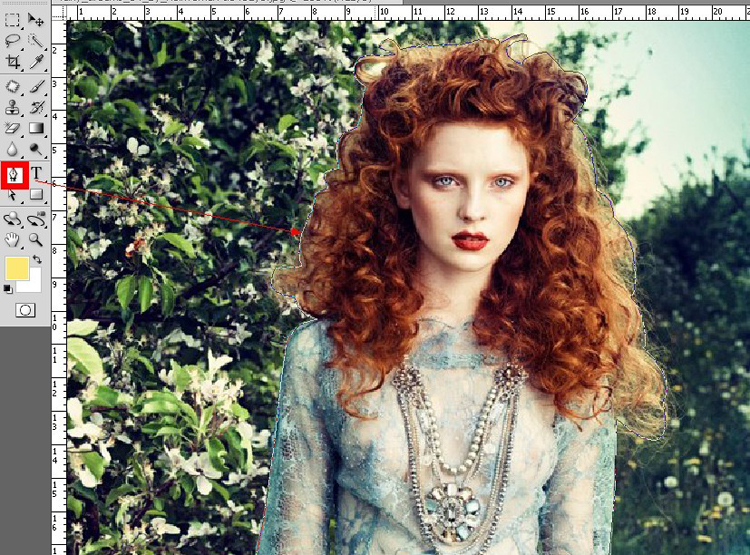
把图片在PS里打开,习惯性的先复制一个图层。然后我们要做的是把人物抠出来,因为背景比较凌乱复杂,用魔棒和快速选择工具
难以实现满意的效果,所以我们要耐心的用钢笔工具描出路径.
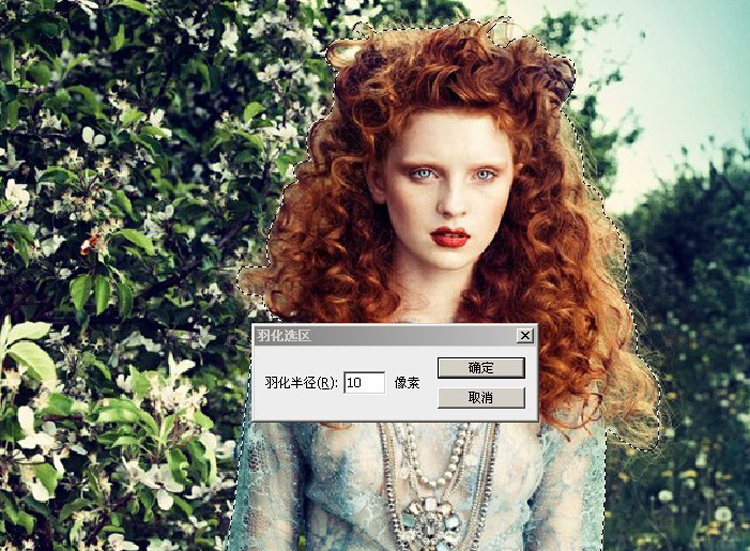
Step2
这时候路径全部描好后,crtl+回车 把路径转化为选区,然后快捷键shift+f6 进行羽化,羽化半径为10像素
Step3
这时候ctrl+J拷贝选区内容如图所示:
(本文来源于图老师网站,更多请访问http://m.tulaoshi.com/photoshop/)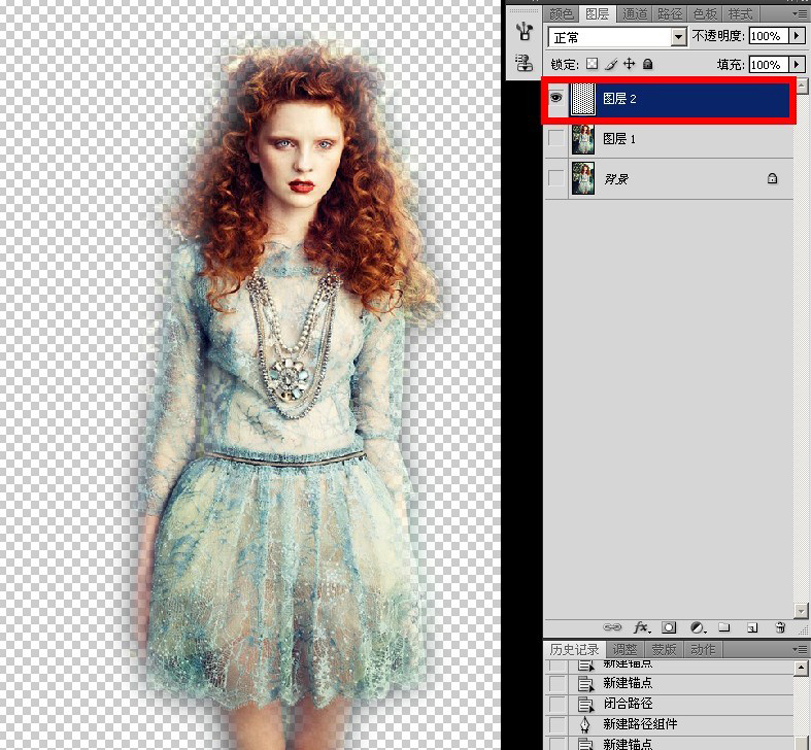
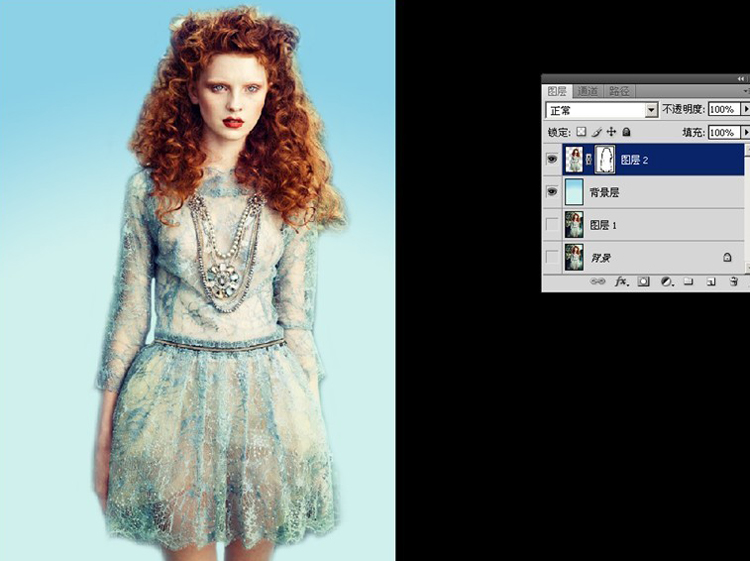
Step4
接下来我们需要一个渐变的背景,crtl+alt+shift+N 创建新图层,记住图层顺序要颠倒一下.我们选择天空蓝,大家在实际操作中也可以选择你偏爱的颜色哦,多尝试总是没坏处滴
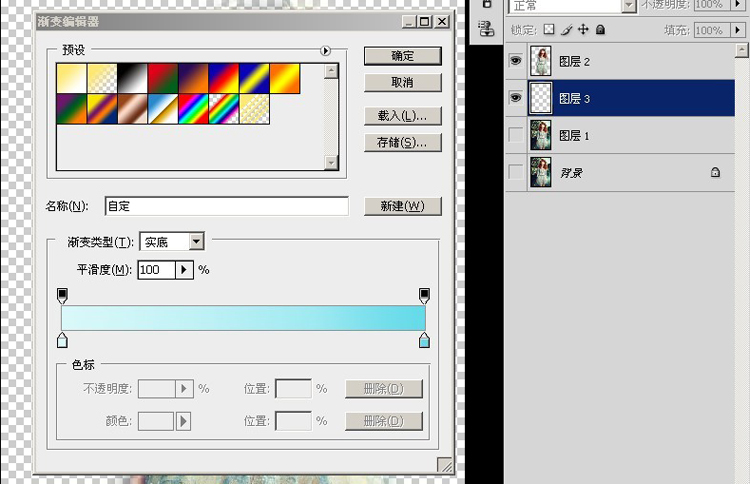
在背景层刷上渐变就OK啦
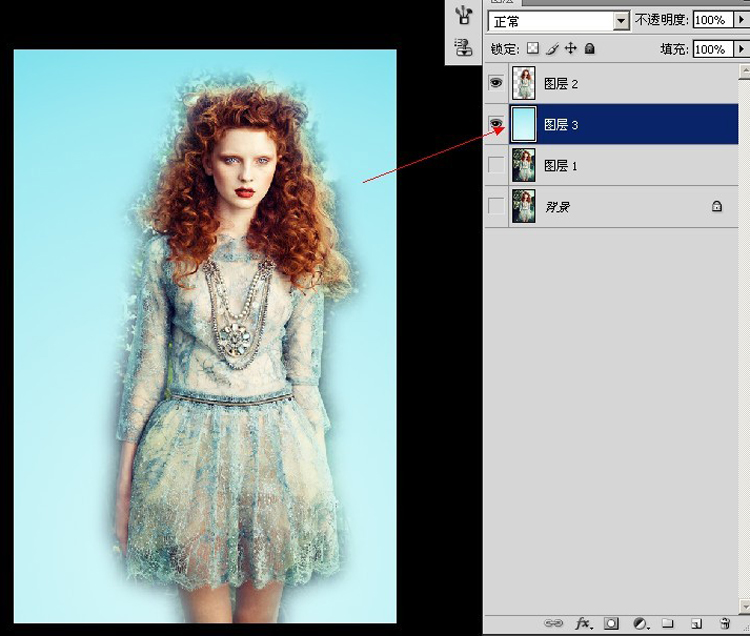
Step5
这时候我们放大已经看出模特的边缘并没有处理干净,这时候我们就要对此图层进一步的修整了

Step6
建立蒙版,进行边缘的修饰
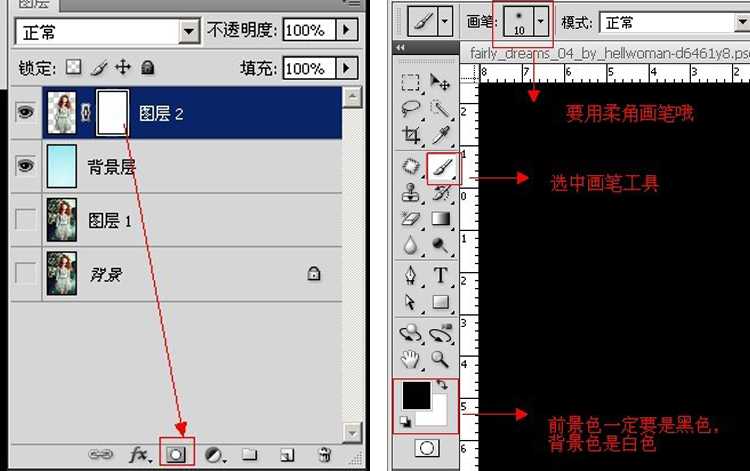
修整后如下图显示:
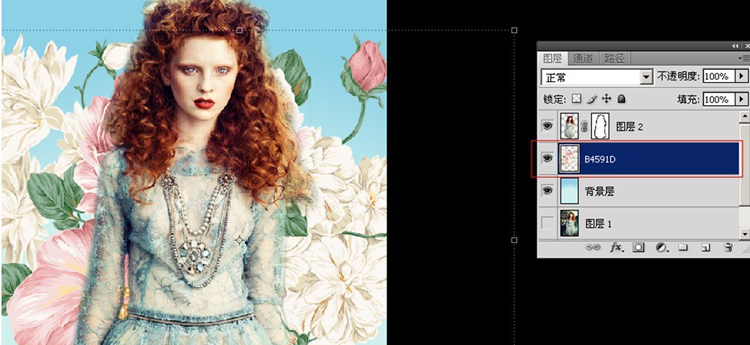
Step7
为了使画面生动增添复古气息,我们不得不去找来素材填充画面,把花朵图层放到人像图层下面.
Step8
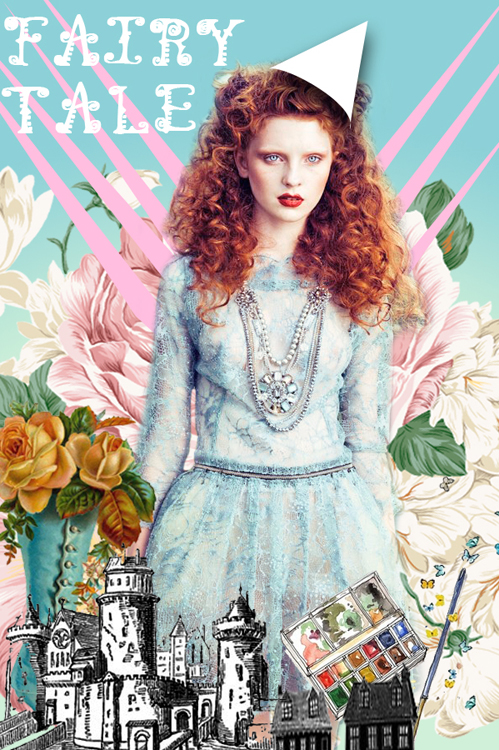
(本文来源于图老师网站,更多请访问http://m.tulaoshi.com/photoshop/)如果觉得画面还不够充实,我们可以增加一些图形和复古素材,发挥你的想象力去堆叠吧,用三角形给模特戴了顶帽子,哈哈, 很有趣吧!
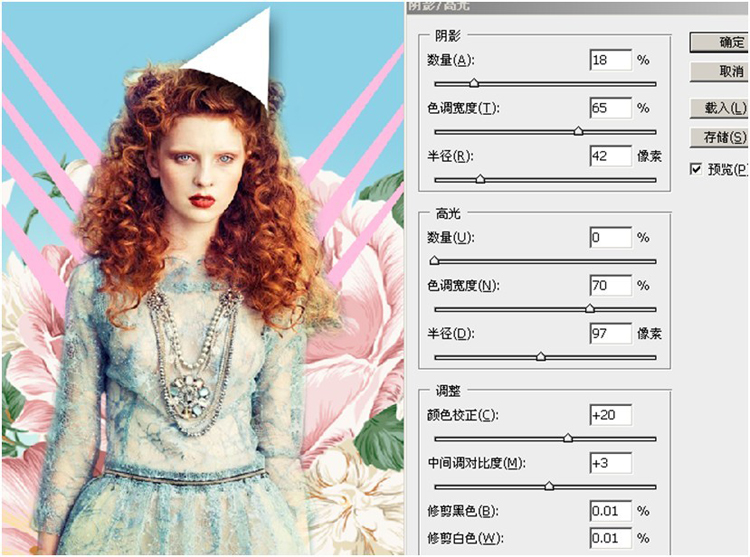
Step9
对模特还要进行微调整使整个色调和谐统一,我们先来调整阴影与高光.请见上图.接下来是可选颜色的调整.

调整后,效果如下:
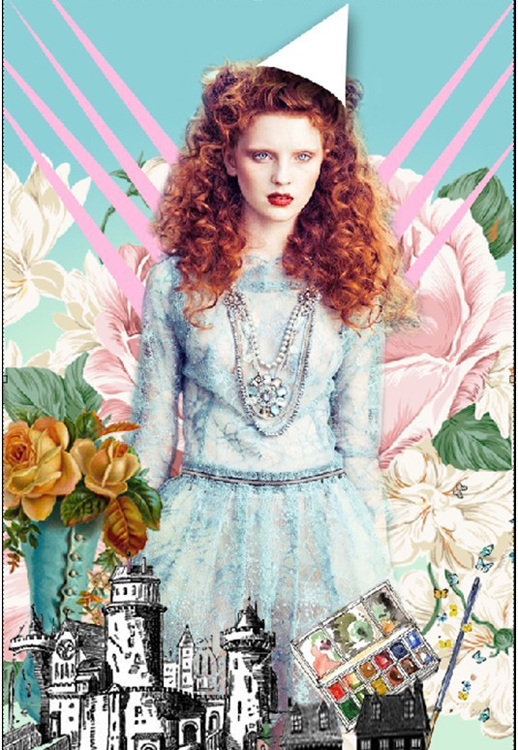
最后我们再加上合适的字体,作品就出炉咯~