Photoshop CS6怎么打造旧标牌
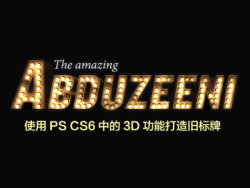
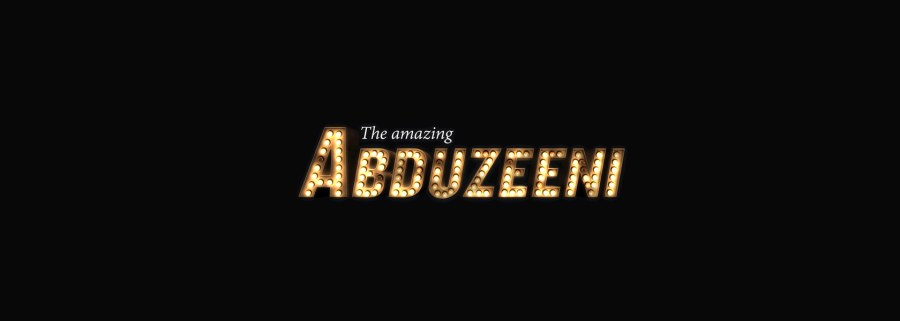
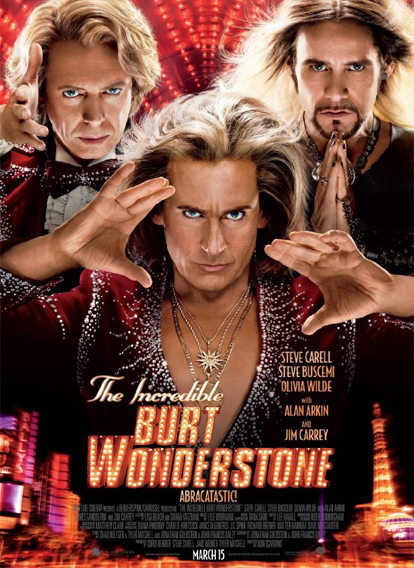
以下系列教程灵感来自电影海报,今天我们给你带来一个简单的图像,来源于新金凯瑞和斯蒂夫卡雷尔的电影,《令人难以置信的BURT-Wonderstone伯特》。海报和电视广告显示一个非常好的旧标牌效果,这是电影的标题。像往常一样,这是个Photoshop的完美教程,也可以创建一个漂亮的gif动画。因此,在本教程中,我们将告诉你如何使用Photoshop和照片来创建一个漂亮的旧标牌效果。整个过程是很简单,但最终的结果是相当不错的。我们还将创建一个简单的gif动画。
效果展示:
(本文来源于图老师网站,更多请访问http://m.tulaoshi.com/photoshop/)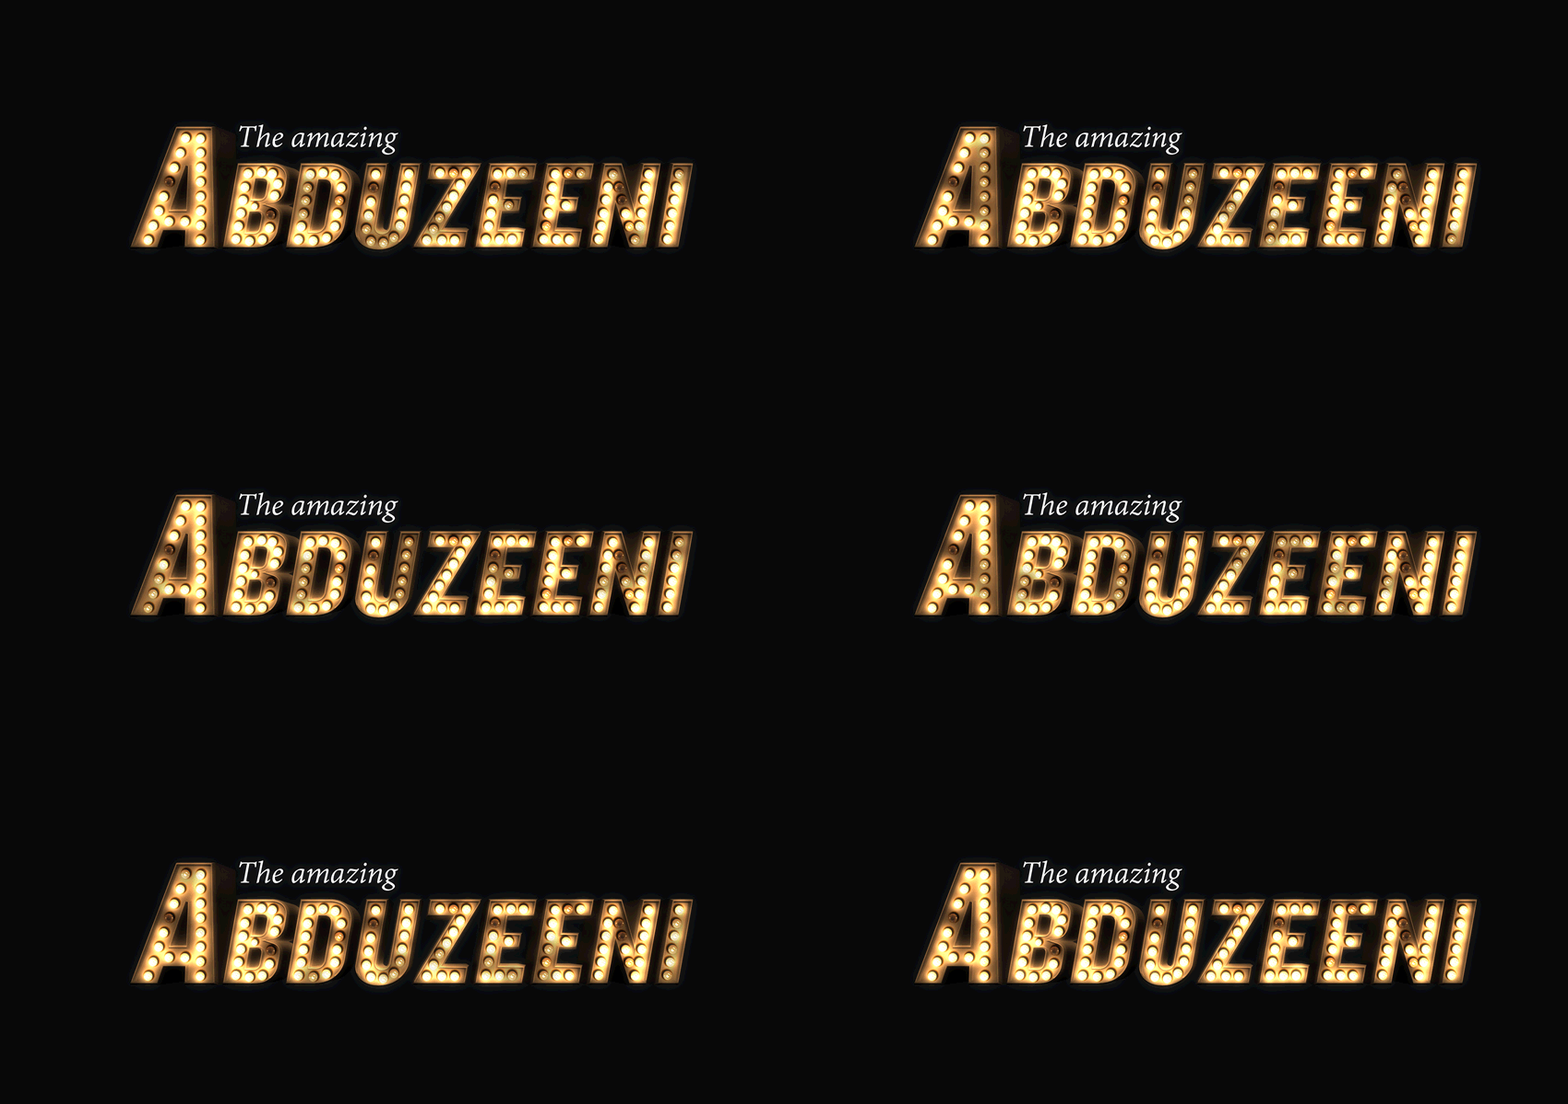
Step 1
Open Photoshop and create a new document. I am using 2880x1800 because it's the resolution I need for a nice wallpaper. Make sure that your background color is black.
打开Photoshop,创建一个新的文档。我使用2880x1800的分辨率,因为我需要一个漂亮的壁纸,确保你的背景色为黑色。

Step 2
Let's add the text that will be the base of the design. The concept is inspired by the movie The Incredible Burt Wonderstone, it's about two magicians so it has all that Las Vegas style. For the font I used Knockout for the "Abduzeeni" and Adobe Devanagari for the "The amazing". Position the text like the image below.
让我们添加文本,这是设计的基础。这个想法来源于《令人难以置信的Wonderstone伯特》的电影,它是关于两个魔术师的,所以它具有所有的拉斯维加斯风格。我用的字体是淘汰的Abduzeeni和Adobe梵文字母的The amazing。文字的排版像以下图片展示的一样。

Step 3
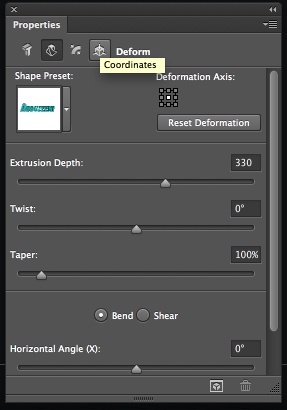
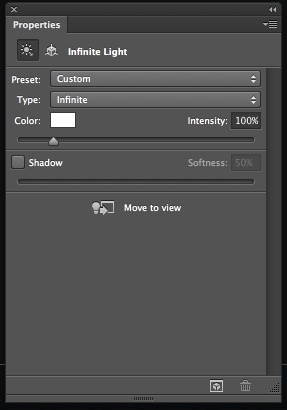
Let's use some 3D in Photoshop. Adobe has been working hard to give to Photoshop users a better 3D tool and I have to say, it's getting better. It's not as slow for basic 3D objects and it is also more intuitive. So To create our 3D text, just select the layer with the text you want to apply the 3D and go to 3DNew 3D Extrusion from Selected Layer . After that you the 3D panel will open and you will see the layers of the 3D. By clicking on the different layers: Scene, Current View, Text Extrusion, Infinite Light 1 and Default Camera , you will be able to change their properties. The images below show some of these properties.
让我们使用Photoshop中的3D功能。 Adobe已经很努力的为Photoshop用户创造一个更好的3D工具,我不得不说,它变得更好用了。对于基本的3D物体设计,也更直观了。因此要创建我们的3D文字,只需要选择你想要创建的3D的文字层,然后应用 3D 从选定层挤压3D功能。之后,你将打开3D面板,你会看到3D的图层。通过点击不同的层次:场景、当前视图、文本挤出、无限灯光1、默认的摄像头,您将能够改变它们的属性。下面的图片显示其中的某些属性。


Step 4
Once you have your 3D settings adjusted, go to 3DRender to render your 3D layer. You will have something like the image below.
一旦你对3D数值进行调整,然后点击3D渲染到渲染3D图层,你将看到以下图片内容。

Step 5
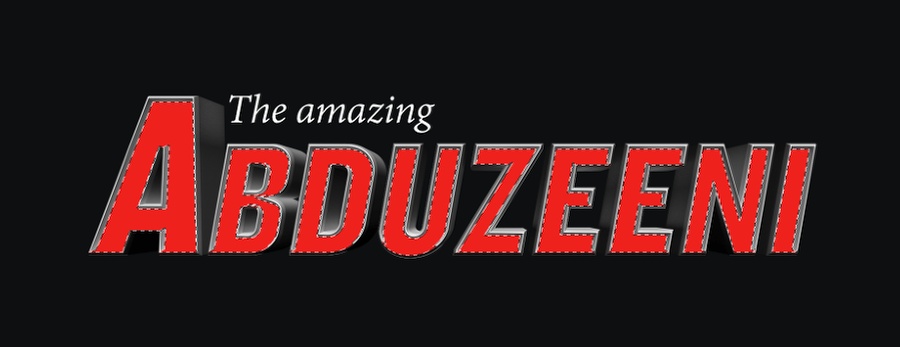
Select the faceof the 3D object and create a new layer from it. Fill this layer with red. Go toLayerCreate Clipping Mask.
选择3D对象的面并从它创建一个新层。这层填充为红色。转到图层创建剪贴蒙版。
Step 6
Go to LayerNewAdjustment LayerHue and Saturation. Use 30 forthe Hue, 30 for the Saturation and -50 for the Lightness. Make sure that this layer is alsousing clipping mask (Go to LayerCreate Clipping Mask) so the effect only applies to the 3Dlayer.
转到图层新建调整图层色相和饱和。使用色相:30,饱和度:30和亮度:-50。确保这层也使用剪贴蒙版(转到图层创建剪贴蒙版),所以这个效果只适用于三维层。

Step 7
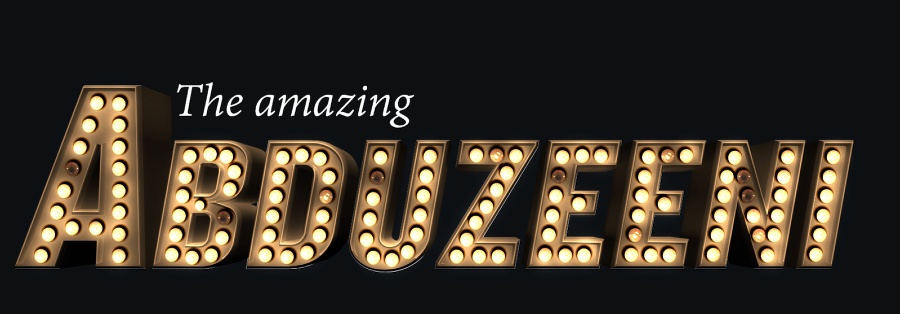
To create thelight bulbs, let's use a real image. The one I am using is courtesy of Shutterstock and it's calledNeon casino entrance sign by MaxFX. Copy one light bulb that is not completelly on and anotherthat is off. Paste these 2 lights to your composition and start filling thespace on the letters. Notice that I am using a shadow to give some depth. Youcan do that using layer styles. Another tip is change the direction of theshadow for the letters that are on the left or right, that way we make sureit's a little bit more realistic.
为了创建灯泡,我们用一个真实的图像。我使用的是Shutterstock的礼貌,它被称为MAXFX霓虹灯的赌场入口标志。复制一盏并不是完全亮的灯泡,另一个则是关闭的。粘贴这2个灯文字组合中,然后在英文字母的空间处开始填充。请注意,我使用阴影效果表示一定的深度。你可以使用图层样式做到这一点。另一个技巧是更改英文字母阴影的方向,左边部分灯泡投影投向右侧和右边部分灯光投影投向左侧,这种方式确保它更逼真。

Step 8
(本文来源于图老师网站,更多请访问http://m.tulaoshi.com/photoshop/)Add a layer ontop of the others and group it so it will be in a folder. Change the BlendMode of the folder toColor Dodge . Select the layer inside of this folderand then with the Brush Tool (B), select a very soft and rounded brushwith white for the color. Resize the brush so it is a 30% bigger than the light bulb. Paint in theselect layer with white on top of the light bulbs you want to turn on.
在所有图层的最上层新增一个图层,然后创建一个新组将该图层置于中。更改组的混合模式为颜色减淡。选中组中的图层,然后用画笔工具,选用白色且非常柔软和圆润的刷几下。调整画笔,选用比灯泡大30%的画笔,用白色在灯泡的最上层,刷上你想亮的灯。

Step 9
Repeat the sameprocess to the other light bulbs.
在其它灯泡上,使用同样的操作
Conclusion
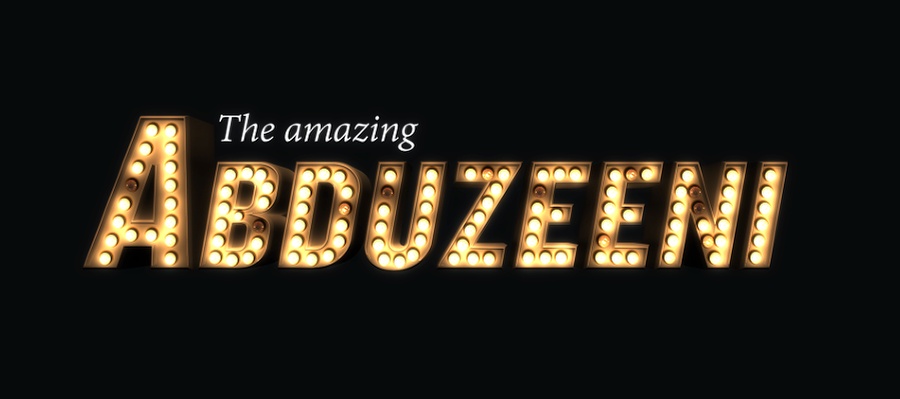
Duplicate alllayers and merge the new layers into one. Go to FilterBlurGaussianBlur . Use 10pixels for the radius . Change the Blend Mode of this layer to Screenat 20% . Duplicate thislayer again and change theBlend Mode to Overlay at 50% . Move the folder with the layer thathas the white spots (previous step) so this layer is on top of all otherlayers. After all these steps you are good to go. You can make some adjustmentsand improve the design for sure, but that's the whole idea of the tutorial, togive you some directions, now it's up to you.
复制所有图层,并合并成一个新层。转到滤镜模糊高斯模糊。使用10像素的半径。这层的混合模式改为滤色,透明度20%。再次复制这一层和改变混合模式为叠加,透明度50%。移动有白色斑点的图层组(前一步的操作),使他在所有图层的顶部。所有这些步骤之后,你成功了。你可以做一些调整,最好再完善一下设计,这是教程的整体思路,给你一些方向,现在轮到你了。
Animation(动画)
To create theanimation is pretty simple, just create a few different versions with somelights on and off. After that using a app that can create animated gifs, justimport all this images. I used Fireworks and for each state I used one of theversions.
要创建动画是相当简单的,只需创建几个不同的版本和关闭一些灯。
