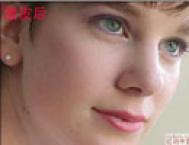
Photoshop给偏暗的少女模特图层磨皮美白
原图
(本文来源于图老师网站,更多请访问http://m.tulaoshi.com/photoshop/)
Photoshop CS6中文版效果图

1、Photoshop CS6中文版打开素材原图,复制背景图层,图层样式设置为滤色如下图

2、创建曲线图层,对RGB进行调整。参数设置如下图


3、盖印图层,选择仿制图章工具,把少女面部的痘痘去掉,如下图


4、选择滤镜-portraituer 进行调整。Photoshop CS6中文版参数设置如下图


5、创建色彩平衡图层,对高光、中间调和阴影进行调整。参数设置如下图


6、Photoshop CS6中文版创建可选颜色图层,对红、黄色进行调整。参数设置如下图


7、Photoshop CS6中文版最终效果如下图

Photoshop利用外挂滤镜快速简单给少女磨皮美白去斑
原图
(本文来源于图老师网站,更多请访问http://m.tulaoshi.com/photoshop/)
Photoshop CS6中文版效果图www.Tulaoshi.com

TuLaoShi.com1、Photoshop CS6中文版打开素材原图,复制背景图层,图层样式设置为滤色不透明度为50%


2、创建曲线图层,对RGB进行调整,参数设置如下图


3、创建可选颜色图层,红、黄和中性色进行调整。参数设置如下图


4、盖印图层,扫行外挂滤镜-portraiture 进行调整。Phowww.Tulaoshi.comtoshop CS6中文版参数设置如下图


5、选择-仿制图章工具 把少女面部的痣和斑点去掉。如下图
(本文来源于图老师网站,更多请访问http://m.tulaoshi.com/photoshop/)
去痣和斑前后对比 如下图


6、调出高光区,再次创建曲线图层,对RGB进行调整。Photoshop CS6中文版如下图


7、最终效果如下图

Photoshop给偏暗的少女打造灵动的亮肤效果
原图
(本文来源于图老师网站,更多请访问http://m.tulaoshi.com/photoshop/)
Photoshop CC中文版效果图

1、Photoshop CC中文版打开素材原图,复制背景图层。图层样式设置为滤色如下图


2、创建可选颜色图层,对红、黄和白色进行调整。参数设置如下图


3、盖印图层,执行滤镜-人像磨皮滤镜 Photoshop CC中文版参数设置如下图


4、Photoshop CC中文版创建曲线图层,对RGB进行调整。 参数设置如下图


5、执行色彩平衡图层,对高光、中间调和阴影进行调整。参数设置如下图


6、Photoshop CC中文版最终效果如下图

Photoshop简单四步高效给人物打造光滑细腻皮肤
原图
(本文来源于图老师网站,更多请访问http://m.tulaoshi.com/photoshop/)
Photoshop CC中文版效果图

1、打开素材原图,人物脸部偏黑,把底图复制多一层。图层样式设置为滤色提亮肤色如下图


2、Photoshop CC中文版创建可选颜色图层,对红、黄进行调整。把人物偏黄的肤色调整过来。如下图


3、Photoshop CC中文版创建曲线图层,对RGB进行调整。给人物调整对比度,使脸部更立体。如下图


4、盖印图层,执行滤镜噪点洁具(外挂滤镜)对其进行调整。如下图


5、Photoshop CC中文版最终效果如下图

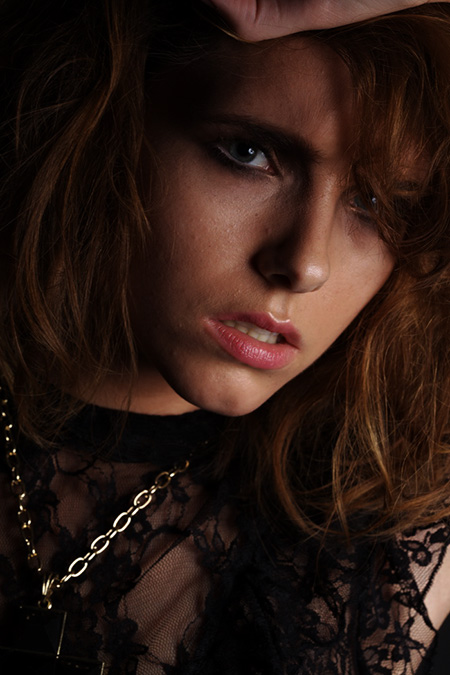
Photoshop人像磨皮外挂滤镜给后期打造精红皮肤质感
原图
(本文来源于图老师网站,更多请访问http://m.tulaoshi.com/photoshop/)
Photoshop CC中文版效果图

1、Photoshop CC中文版打开素材原图,复制背景图层,图层样式设置为滤色不透明度为50%如下图


2、盖印图层,选择污点修复画笔工具 把人物头部的痘印去除。如下图


3、创建曲线图层,对RGB进行调整。Photoshop CC中文版参数设置如下图


4、Photoshop CC中文版创建可选颜色图层,对红和黄色进行调整。参数设置如下图


5、痘印图层,执行滤镜人像磨皮 参数设置如下图


6、Photoshop CC中文图老师版最终效果如下图

Photoshop给室内模特打造漂亮的脸部细节
原图
(本文来源于图老师网站,更多请访问http://m.tulaoshi.com/photoshop/)
Photoshop CC中文版效果图

1、打开素材原图,复制背景图层。创建亮度/对比度图层,对其进行调整。Photoshop CC中文版参数设置如下图


2、盖印图层,执行图像调整黑白 对其进行调整。不透明度设置为40% 如下图


3、Photoshop CC中文版执行滤镜锐化效果,连续执行两次,效果如下图


4、创建通道混合器,对蓝色进行调整。参数设置如下图


5、Photoshop CC中文版创建色阶图层,对其进行调整。参数设置如下图


6、最终效果如下图