PS给美女腰部合成真实的立体海豚纹身效果教程
教程学习如何用Photoshop合成具有立体感的海豚纹身效果,主要用到了图章,蒙版,笔刷和光照滤镜,下面就让我们一起来学习吧。
图老师推荐:photoshop7.0迷你版免费下载 | Photoshop CS5 中文免费下载 | photoshop免费下载 查看更多PS教程
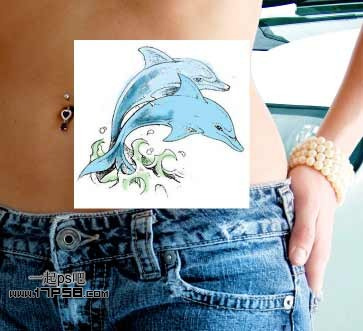
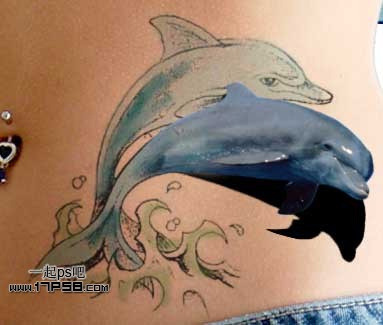
先看效果图。

打开素材,复制背景层。
(本文来源于图老师网站,更多请访问http://m.tulaoshi.com/ps/)
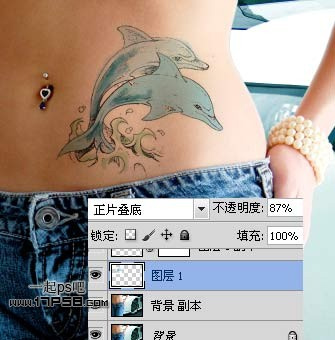
导入卡通海豚图片,位置如下。
图层模式正片叠底,不透明度87%(图老师整理)。
PS给美女腰部合成真实的立体海豚纹身效果教程(2)
高斯模糊0.3像素。
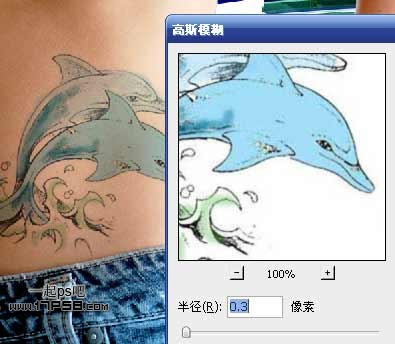
添加蒙版,用笔刷把海豚周围的虚边和斑点去除。
效果如下。
(本文来源于图老师网站,更多请访问http://m.tulaoshi.com/ps/)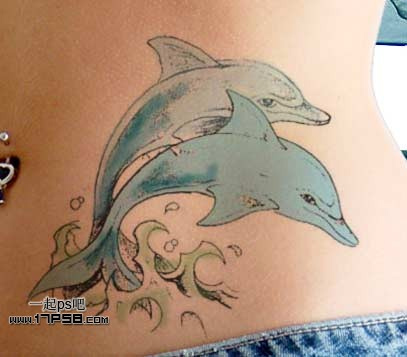
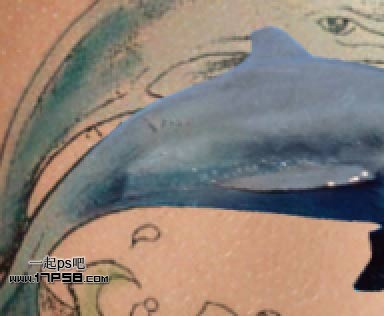
打开海豚素材用钢笔抠出。
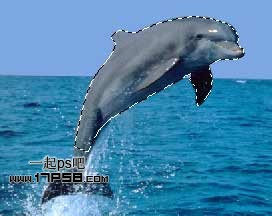
拖入文档中,旋转缩放,位置如下。
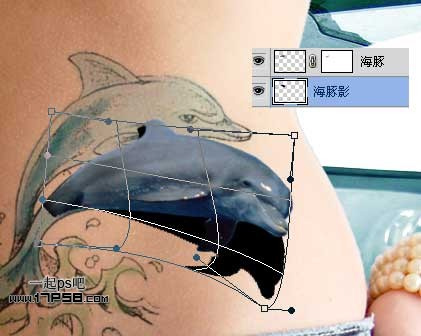
Ctrl+T变形,使海豚尾部与底层海豚尾部吻合。
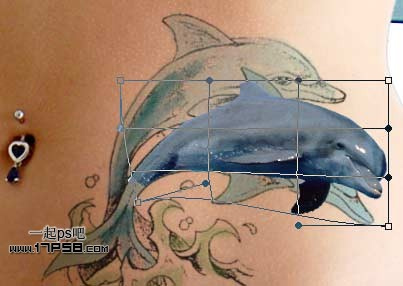
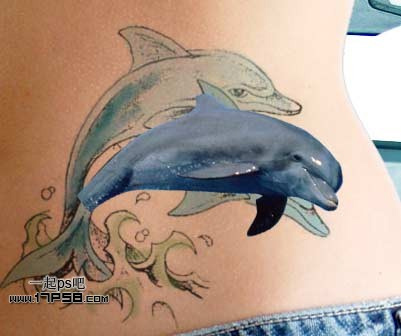
回车确认变形,选择纹身层,用笔刷涂抹蒙版,将底部去掉。

选择图章工具把多余的鱼鳍去掉,和上图对比一下。

选择海豚层,添加蒙版用黑色柔角笔刷涂抹尾部。

降低笔刷不透明度,涂抹其它部位,呈半透明显示。
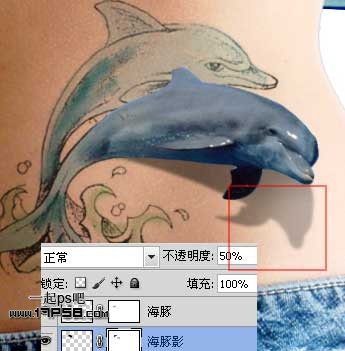
海豚底部建新层,调出海豚选区,填充黑色,ctrl+T变形。
海豚影层添加蒙版,用笔刷把尾部和海豚身体半透明部分涂抹掉。
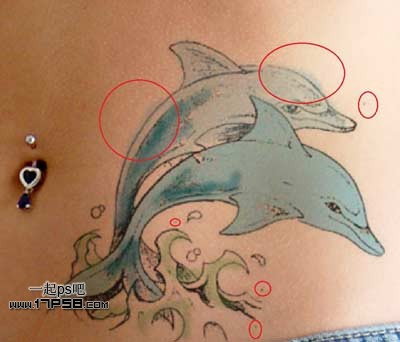
高斯模糊1.4像素,图层不透明度改为50%,并用10%左右不透明度的笔刷涂抹头部和鳍部,红框部分。
盖印层,滤镜渲染光照效果。
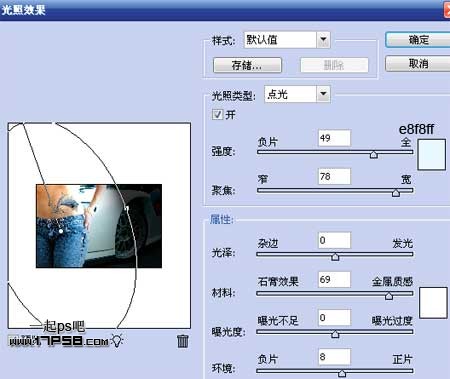
最后用减淡工具在海豚身体上涂抹,加一些高光,最终效果如下。


