Photoshop怎么给人物换衣服
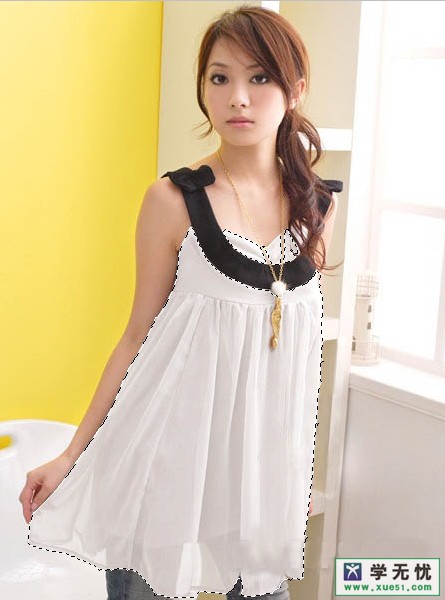
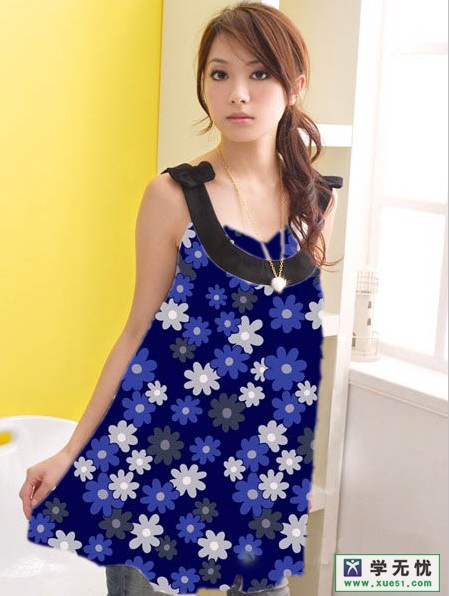
原图:

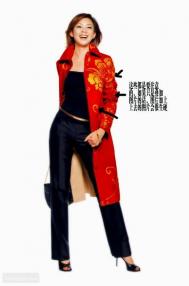
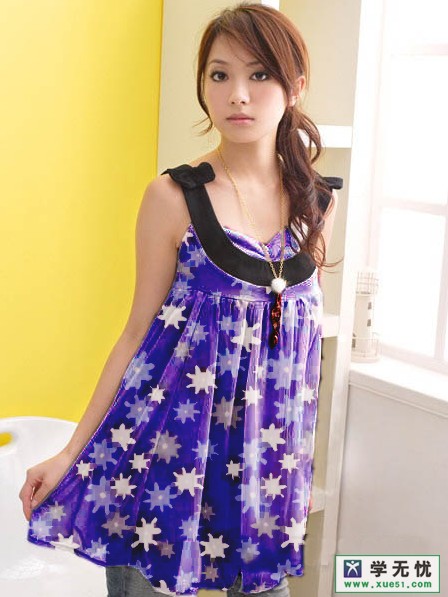
效果图:
开图老师始进入Photoshop怎么给人物换衣服的制作流程,具体如下:
(本文来源于图老师网站,更多请访问http://m.tulaoshi.com/ps/)步骤1、 打开原图素材,把按住Ctrl+J将背景层复制一份,得到背景副本。
步骤2、 用套索工具选取人物衣服的白色部分(比较细小的区域可以用魔棒工具单击进行选取)
步骤3、 把选区羽化(1像素)。
(本文来源于图老师网站,更多请访问http://m.tulaoshi.com/ps/)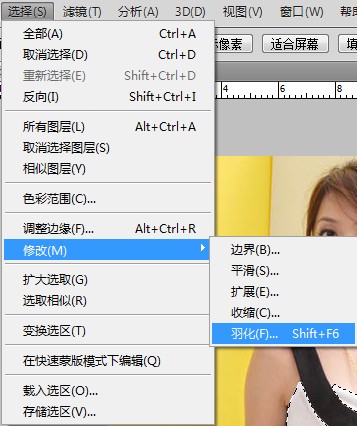
步骤4、 打开素材图片花布。

步骤5、 CTRL+A全选,再按下CTRL+C复制。
步骤6、 选择m001图片,点击编辑--选择性粘贴-贴入。(编辑菜单下的贴入,可以把图片贴入到选区内部) 此时在图层面板自己生成图层2。效果如下图:
步骤7、 此时还可以调节花布的大小
步骤8、 把图层2的混合模式改为颜色加深,不透明度为87%。

步骤9、执行滤镜其它最小值(2像素)(最小值:扩大黑色区域,缩小白色区域。)
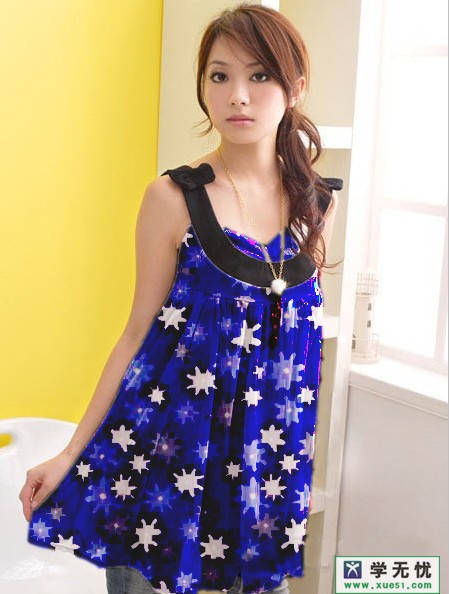
步骤10、按下CTRL+U,打开色相/饱和度对话框,参数(色相:0,饱和度:0,明度:+15)最终效果: