【PS文字特效】PS制作可爱蕾丝花边文字
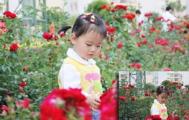
教程向图老师的朋友们介绍利用PS制作可爱蕾丝花边文字,制作好的效果很可爱,女孩子应该很喜欢,话不多说,我们先来看下最终效果:

下面是制作步骤:
第一步: 打开花纹素材,让设置前景色为#atuLaoShi.com9834f。
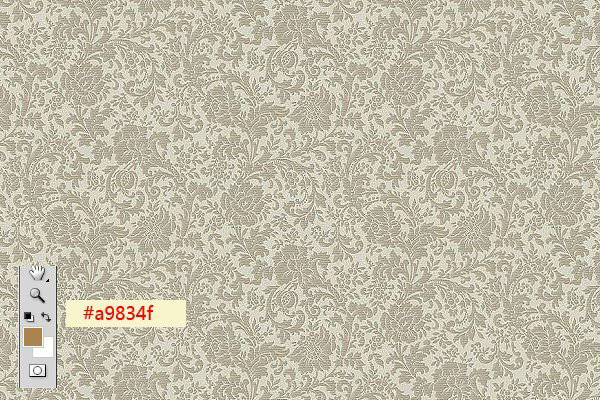
然后我们按CTRL+U,调整色相/饱和度。设置如下:

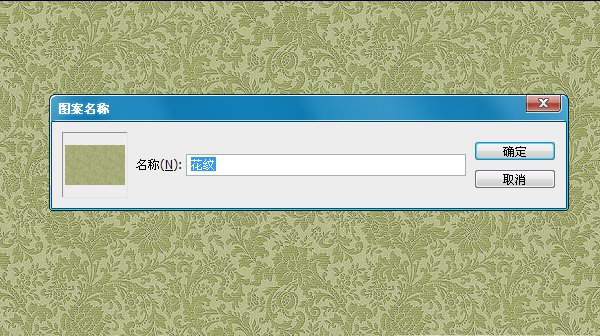
然后到编辑定义图案。自己设置个名字。
【PS文字特效】PS制作可爱蕾丝花边文字(2)
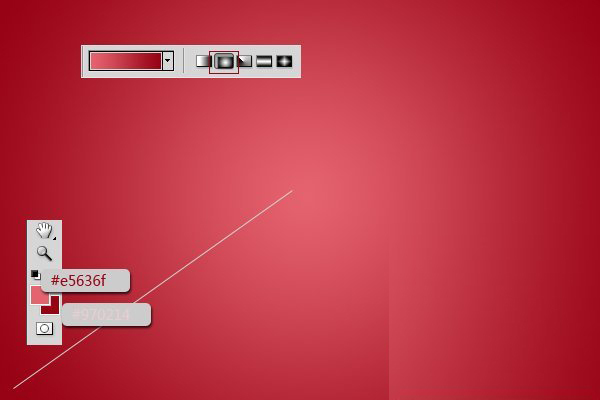
第二步: 新建一个画布,我这里设置是600X400像素的。设置前景色为#e5636f ,背景色为#970214。使用径向渐变从中间往外面拉。
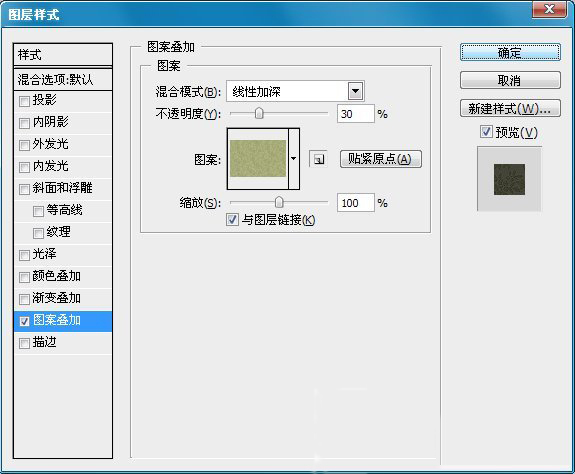
双击渐变图层,然后设置图案叠加,选择我们第一步制作的图案。设置如下:
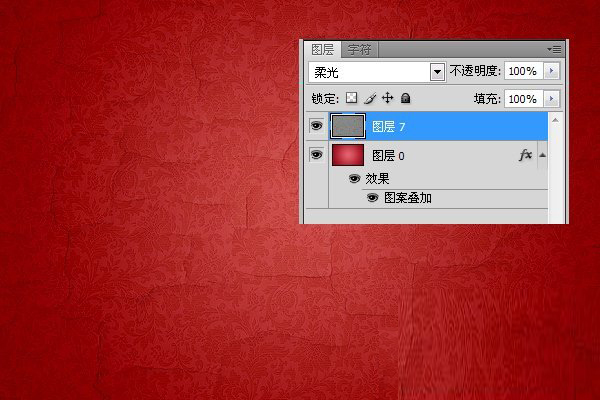
背景应该是这样的:

然后我们把裂开的墙面拖入到画布,设置混合选项为柔光。
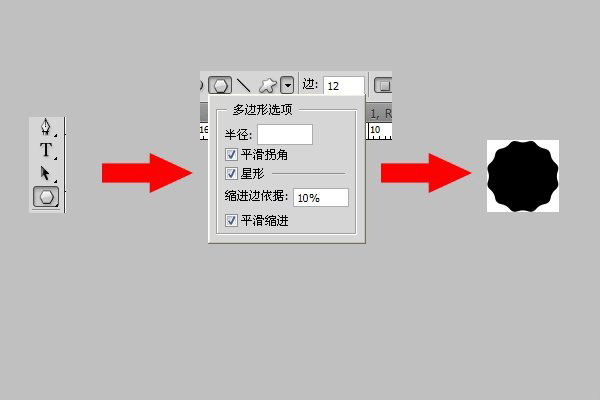
第三步: 现在我们要制作一个花边,这个是重点,大家要仔细看了。 创建一个新文件,大小为270PX。然后选择自定义工具,选择多变形工具,设置如下:拉圆的时候要注意。从中间开始
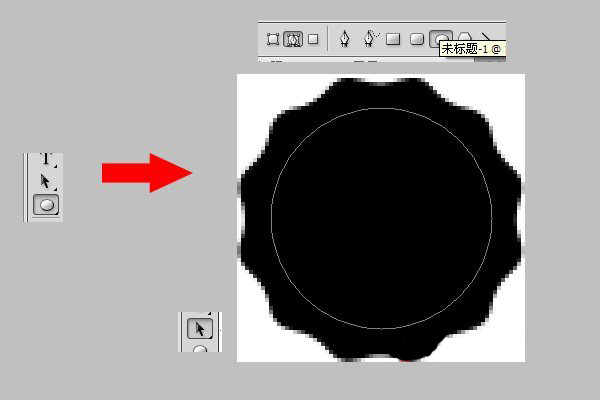
选择图形工具,然后绘制一个路径圆,是正圆,按住CTRL绘制,如果圆没有在图形中间,可以只用路径选择工具调整。
现在选择笔刷工具。然后到窗口画笔,设置如下:
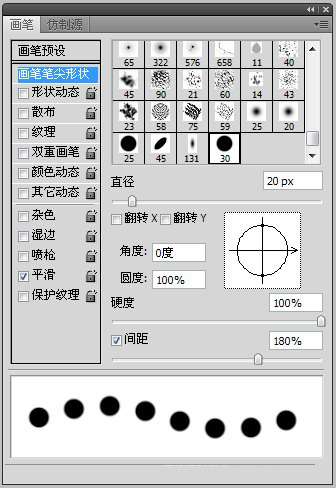
然后我们回到画布,右键路径选择描边路径在选择画笔。(那个模拟压力框别选上)。
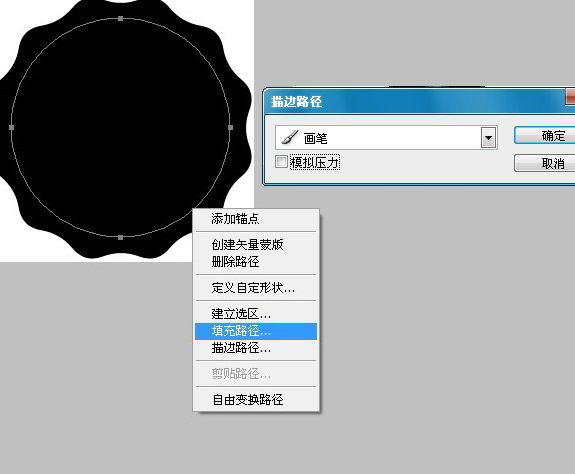
做完后效果是这样的。(记得把路径删掉)
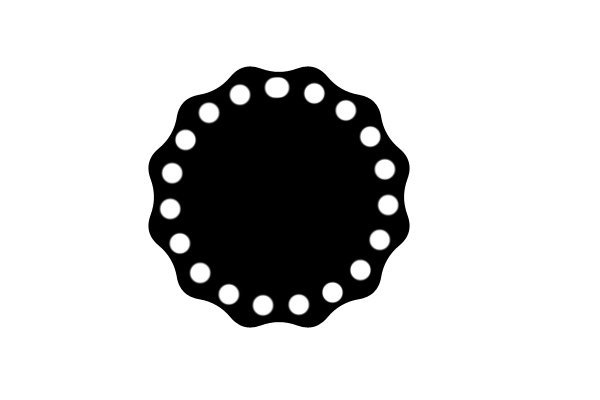
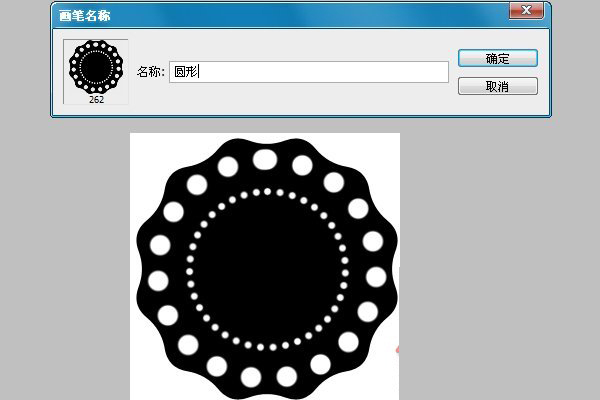
然后我们在话一个圆形路径,比以前那个小一点。在设置笔刷属性,如下: 制作上面那个是一样的。
(本文来源于图老师网站,更多请访问http://m.tulaoshi.com)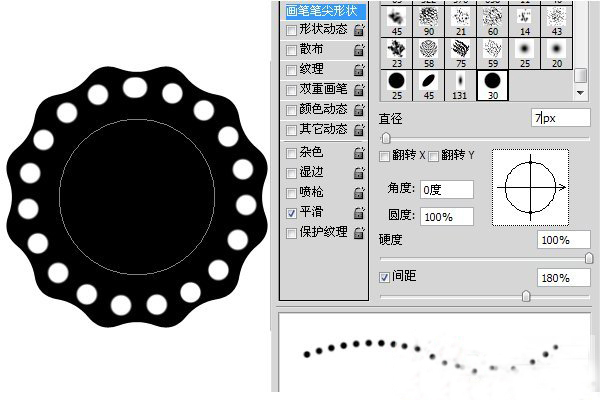
然后在到编辑定义画笔,自己设置个名字。
第四步: 回来原来的画布。输入我们想要的文字。字体上面有下载。设置字体颜色为:#ae1616。这里我设置了字体间距,先设置为-100,在选择后面3个,改成0。

选择文字,右键选择创建工作路径。

现在使用画笔工具,选择我们刚才制作出来的圆形画笔,然后窗口画笔,设置画笔属性,设置如下:

设置前景色为:#f5f4e6,在文字下面新建一个图层,选择直接选择工具,右键选择描边路径tulaoshi.com(模拟压力框别选上)。做完后应该是下面的效果。

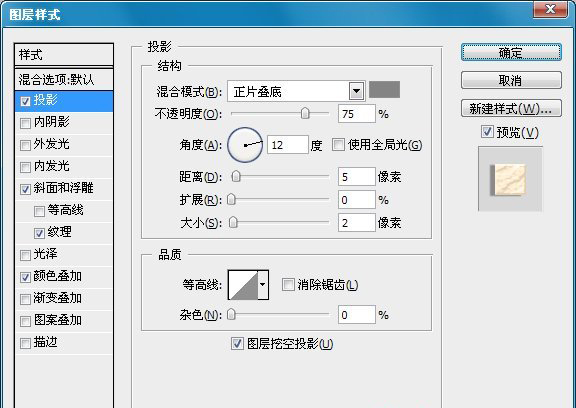
第五步: 现在我们制作图案的样式,具体的如下: -阴影:注意那个使用全局光的框要去掉。颜色为#848484。
-浮雕与斜面:高光颜色为:#9c4545 ,阴影颜色为#cc7a7a。
(本文来源于图老师网站,更多请访问http://m.tulaoshi.com)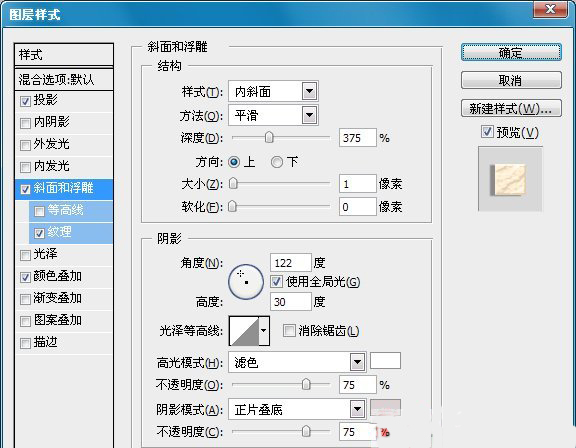
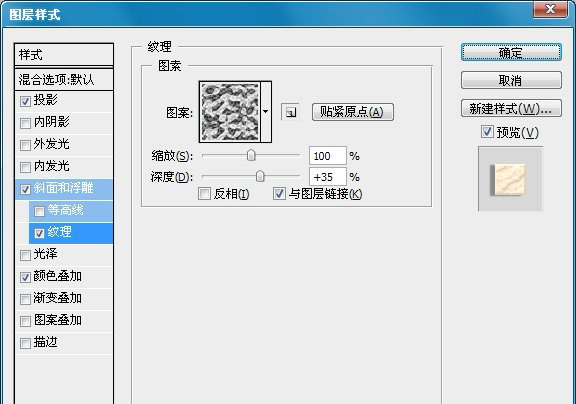
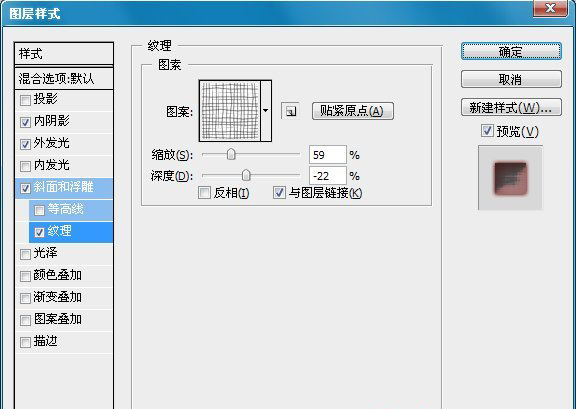
-纹理:这里要加载一个我们提供的纹理,上面有下载,名字是加载纹理。
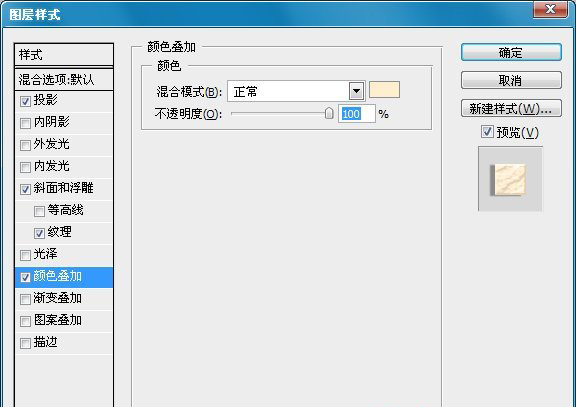
-颜色叠加:颜色为#ffeed0。
做完后应该是这样的效果:

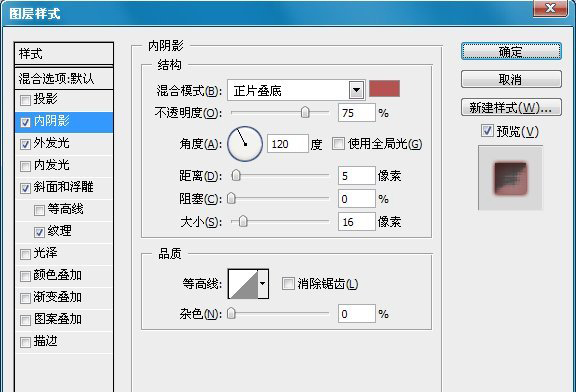
第六步: 制作文字样式,具体的还是跟着下面做吧:-内阴影:颜色为:#b65252。
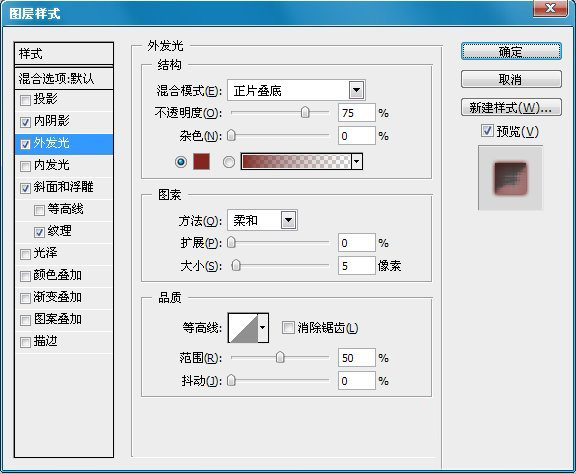
-外发光:颜色为:#84261f。
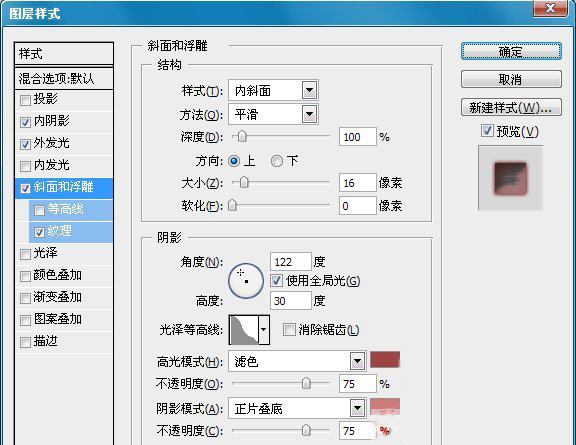
浮雕与斜面:高光颜色为:#9c4545 ,阴影颜色为#cc7a7a。
-纹理:这里要加载纹理,选择默认的艺术表面。
最终完成效果: