最终效果

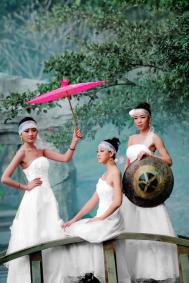
原图

第一步:复制图层,然后选择通道,点击图片
下面左边的“将通道作为选区载入”

第二步:回到图层,按快捷键“shift+ctrl+i”反向选择,tulaoshi.com再按“ctrl+j”复制图层,最后在图层里面选择“滤色”,这时候整张图片会变得透亮很多。

第三步:点击面板创建新的填充和调整图层,弹出下图,
这时候我们重点调整模特的衣服为白色
第四步:在“编辑”里面选择红色,然后把明度调大,直到模特的衣服变白为止,边调整变观察图片上面的色彩变化,如果还有红色没有变白,
可以使用中间的吸管进行点击该红色部分。确定退出。

第五步:回到软件界面,找到“图像——调整——反向

反向后得到如下图(注意观看右边的图层变化)反向后多出了
“色相饱和度的图层”这个是为我们调整模特衣服准备的。

第六步:找到软件左下角如下按钮,设置前景为白色后景为黑色

然后找到画笔工具,主直径调大,硬度适当调小一点点。
(这个是为了把模特粉红色衣服画成白色做准备)

第七步:放大图片,用画笔在模特衣服上涂抹
(本文来源于图老师网站,更多请访问http://m.tulaoshi.com/ps/)(把红色涂成白色,也可以理解为去色)
这一步要仔细涂抹,因为是最关键的一个步骤,决定着最后出片的整体效果。

第八步:去色后整体效果。
(个人喜好,自己认为整体OK了就不必调整,这里我对背景在进行适当的色彩调整)接着重复第三步到第七步的步骤,对模特以外的景色进行调色,
调整方法都差不多,你喜欢什么色调就调成什么色。
所有步骤做完后,合并图层。保存。收工!

完成最终效果如下
(本文来源于图老师网站,更多请访问http://m.tulaoshi.com/ps/)