高阳一颗钉year
2016-03-18 04:09
想要天天向上,就要懂得享受学习。图老师为大家推荐Photoshop制作逼真的巧克力液面文字,精彩的内容需要你们用心的阅读。还在等什么快点来看看吧!
来源:PS联盟 作者:大眼仔~旭
本教程重点介绍巧克力液面的制作方法。主要是利用一些特殊的纹理和扭曲滤镜来制作类似液面的效果,然后再调成暗褐色即可。方法简单实用。
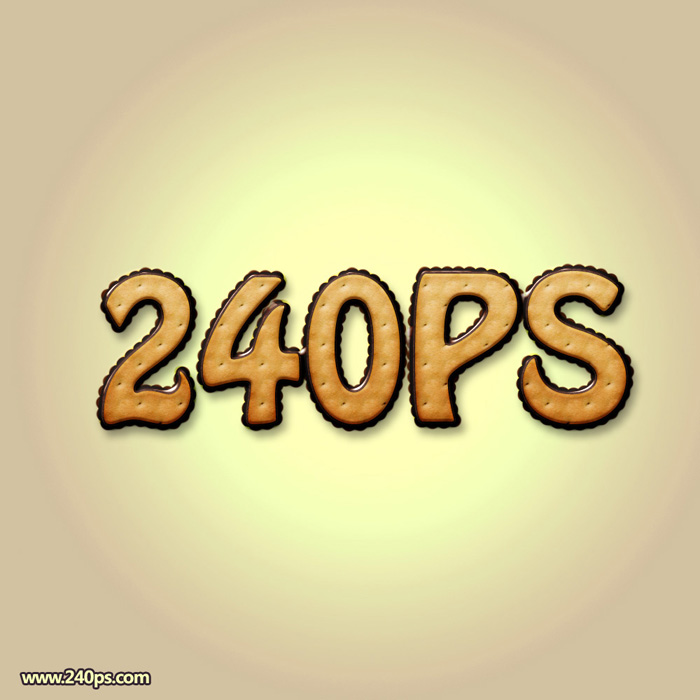
最终效果

1、新建一个600 * 400像素的文档,具体参数设置如下图。

把背景填充黑色,执行:滤镜 渲染 镜头光晕,参数设置如下图。

2、执行:滤镜 扭曲 波浪,参数设置如下图。

3、再对背景执行:滤镜 素描 铬黄,参数设置如下图。

(本文来源于图老师网站,更多请访问http://m.tulaoshi.com/ps/)
4、执行:滤镜 扭曲 旋转扭曲,参数设置如下图。

5、按Ctrl + B 调整色彩平衡,对中间调进行调整,参数设置如下图,大致调成巧克力的颜色。


(本文来源于图老师网站,更多请访问http://m.tulaoshi.com/ps/)
6、新建一个图层,命名为“巧克力”,用矩形选框工具画出下图所示的矩形选区,填充颜色:#3c2319。


7、对当前图层执行:图层 图层样式 斜面和浮雕,参数设置如下图。

8、新建一个图层,命名为“内层”,用矩形选框工具画出下图所示的选区,填充颜色:#3c2319,然后再执行:图层 图层样式 斜面和浮雕,参数设置如下图。


9、用同样的方法添加文字,并设置图层样式。再处理下细节,完成最终效果。

最终效果:


