get新技能是需要付出行动的,即使看得再多也还是要动手试一试。今天图老师小编跟大家分享的是PS合成燃烧的飞弹,一起来学习了解下吧!
合成是PS里面一项较高级别的操作。需要较强的创意思维和PS扎实功底。尤其在处理细节的时候,一定要做到近乎完美,不能有任何瑕疵的地方。
最终效果 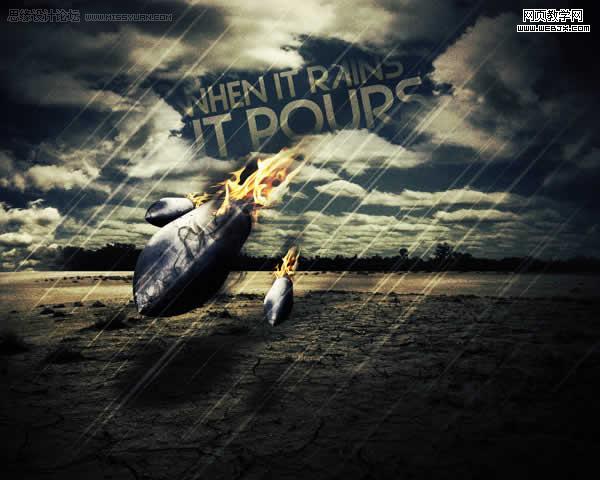
1、新建立Photoshop文档。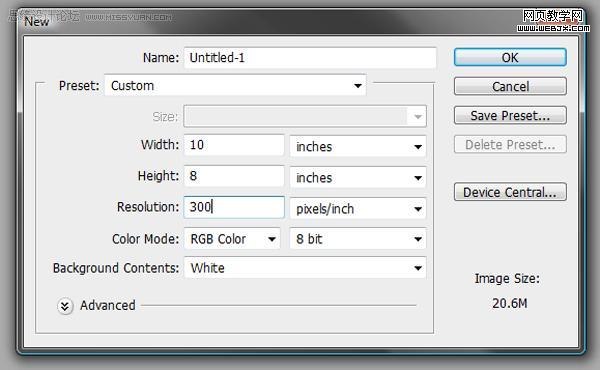
2、创建3个渐变调整图层。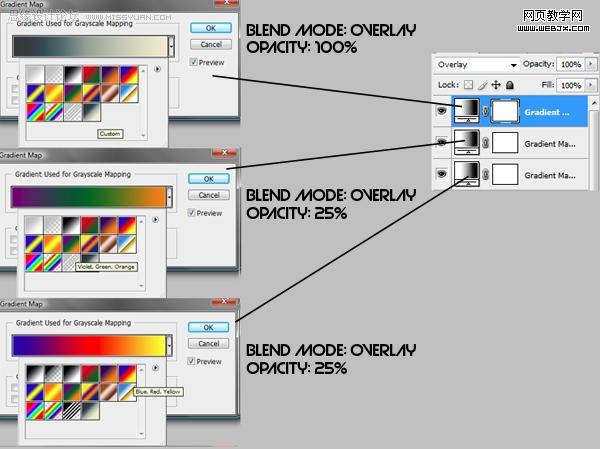
3、新建立图层,填充为50%灰色,然后添加杂色,设置Amount: 400, Gaussian, Monochromatic,图层模式调整为叠加,不透明度调整到40%,效果如下。
4、我们群组这些图层。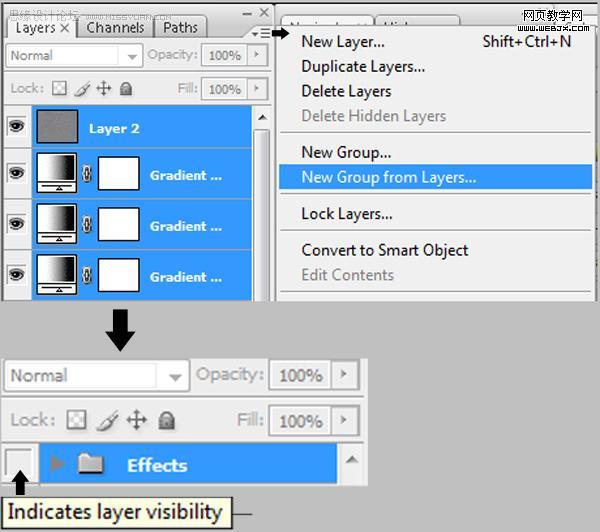
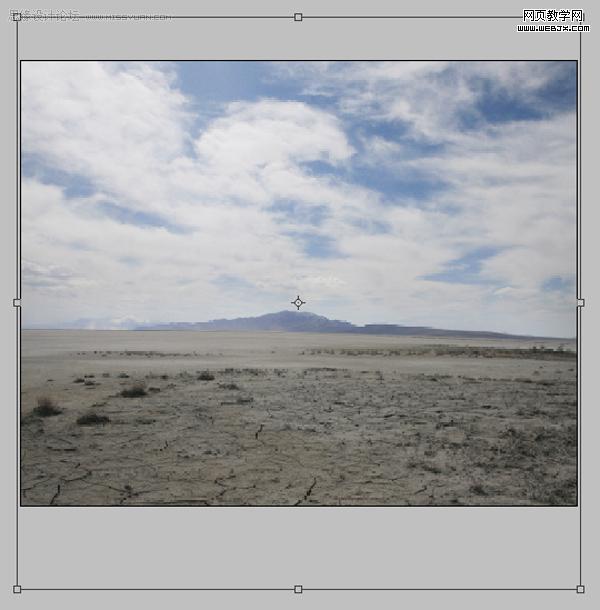
5、打开图片素材,拖进来按CTRL+T变形。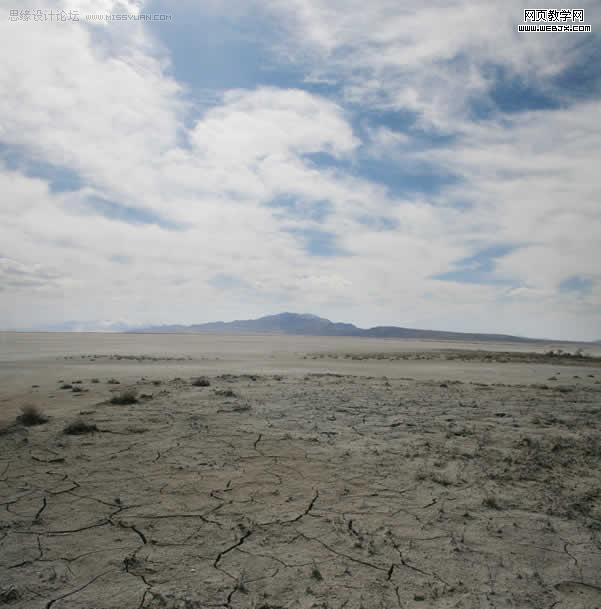
6、拉一条参考线。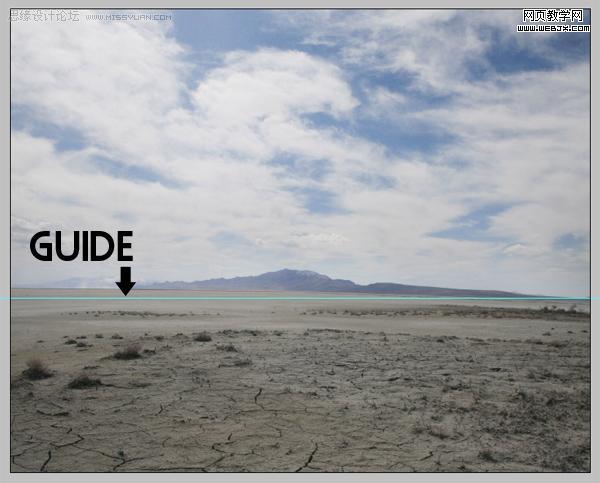
7、继续调整。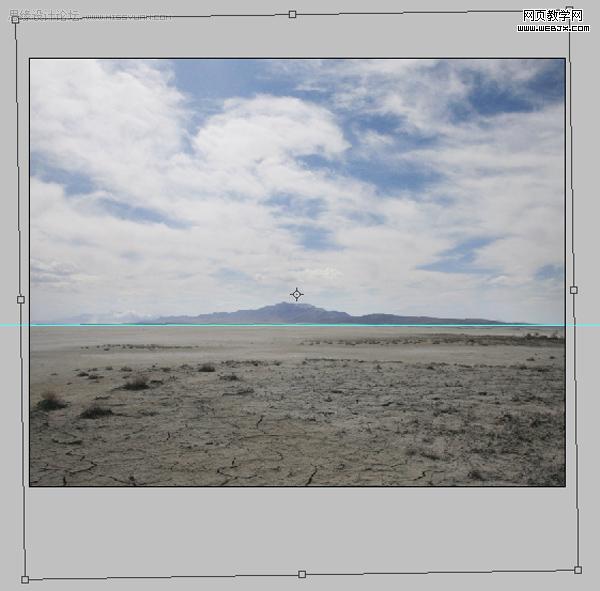
8、选区工具制作矩形选区。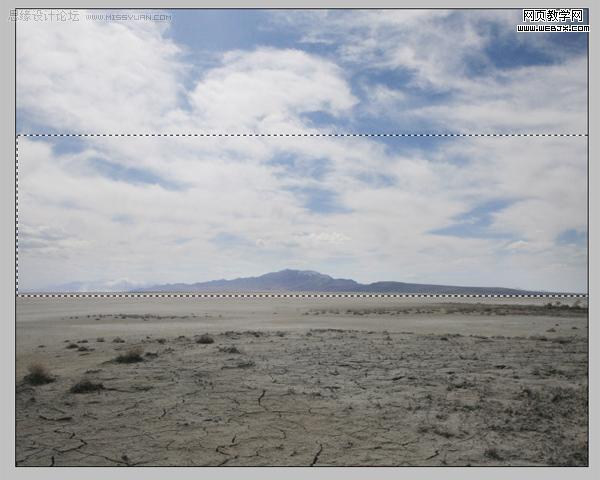
9、用克隆图章工具,克隆天空使云彩不同。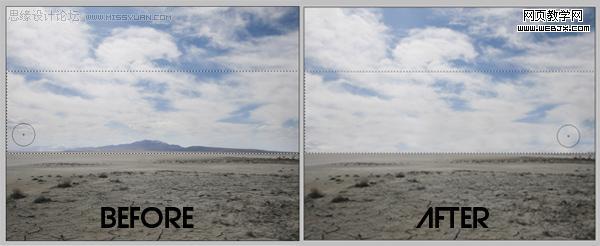
10、创建曲线调整层。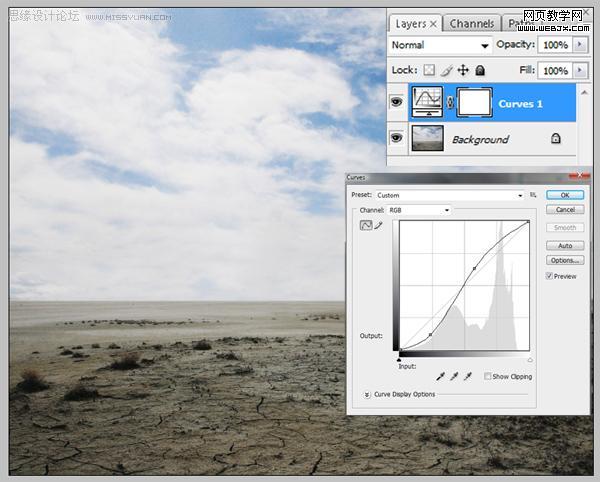
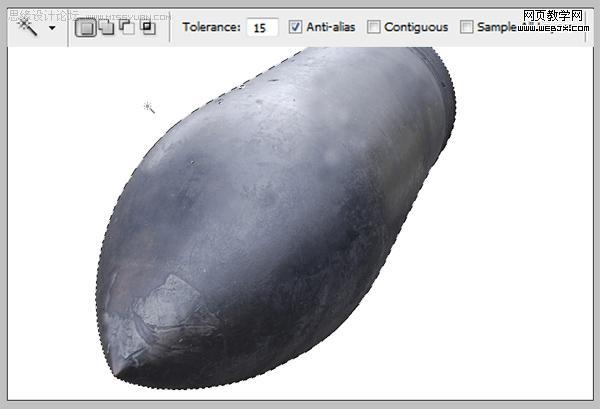
11、飞弹素材,然后打开选择飞弹,用魔术棒工具勾选出来。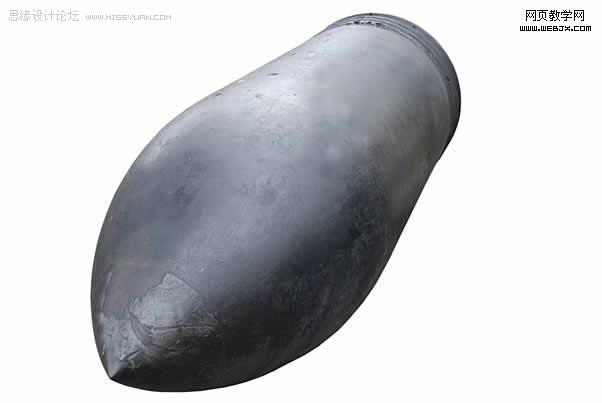
12、调整到合适大小和合适位置。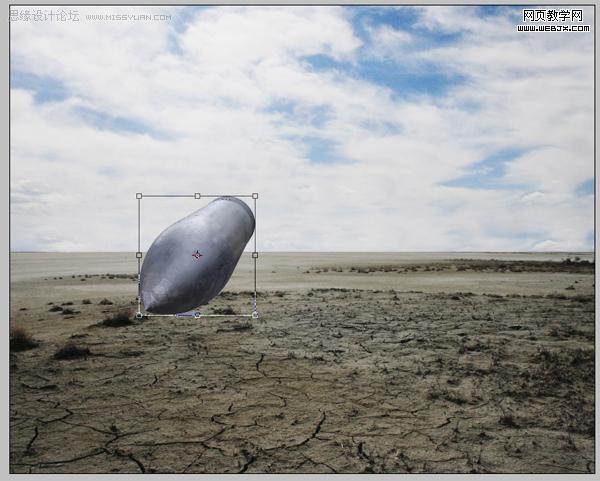
13、再次创建曲线调整图层。参数设置如下图,确定后按Ctrl + Alt G 与前一图层编组。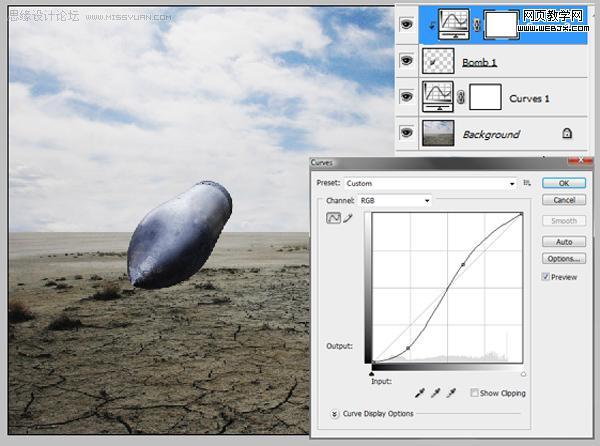
14、同样再制作几个小的飞弹。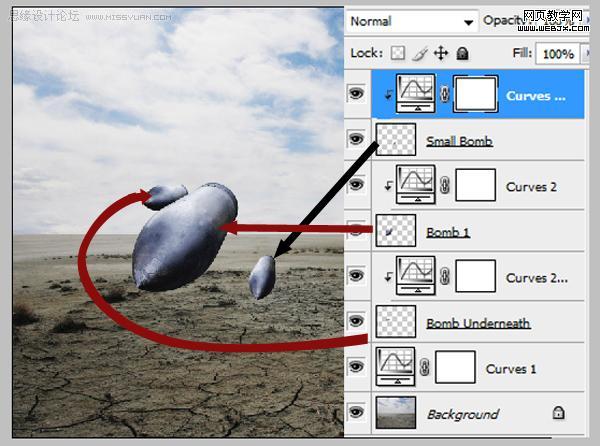
15、设置画笔。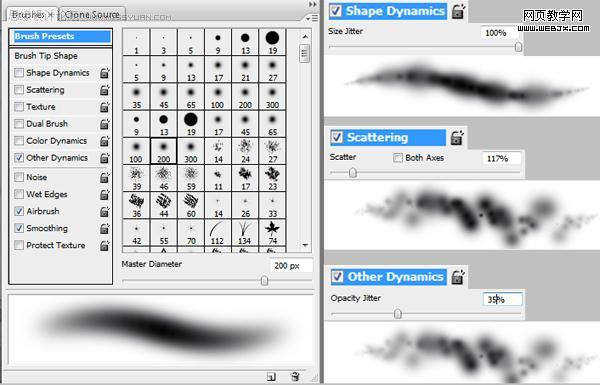
16、把图层不透明度调整到70%,使用画笔绘制烟雾。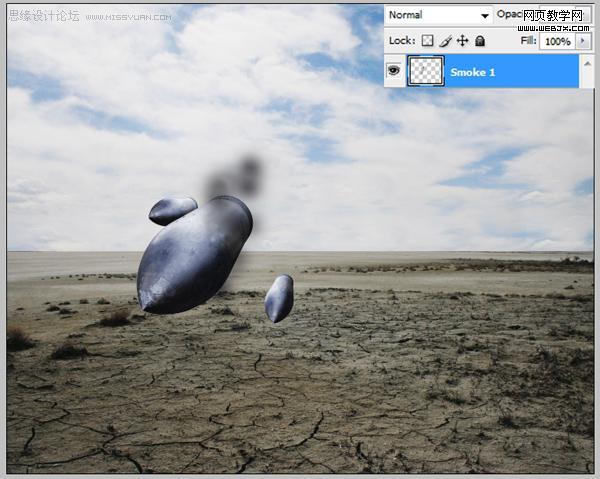
17、复制烟雾图层,然后执行动感模糊。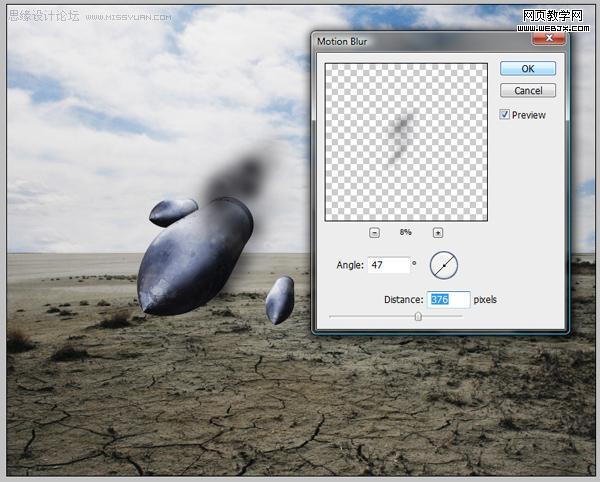
18、拼合烟雾图层。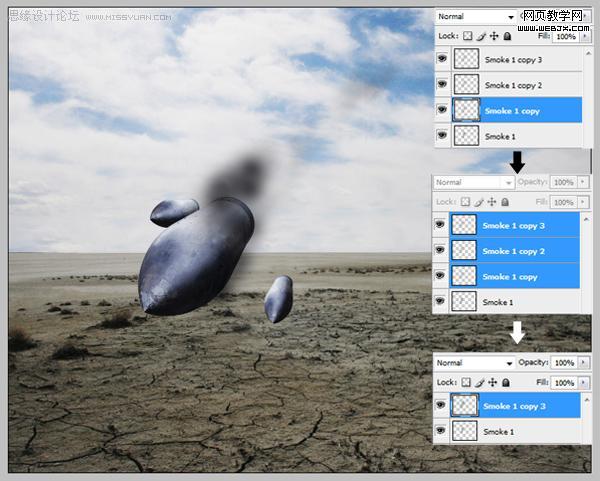
19、自由变换,然后把图透明度调整为50%,效果如下。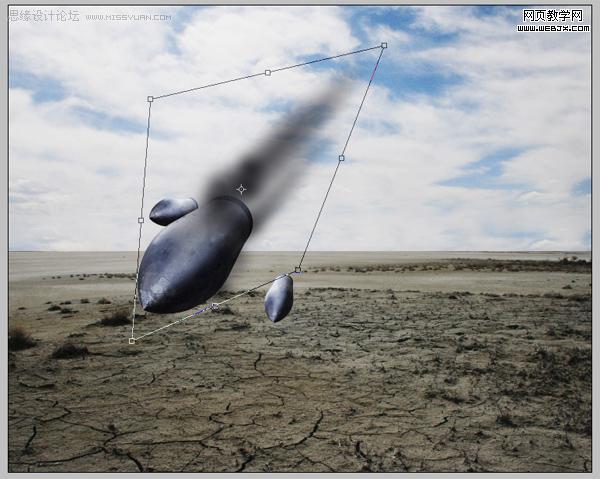
20、拼合在一起。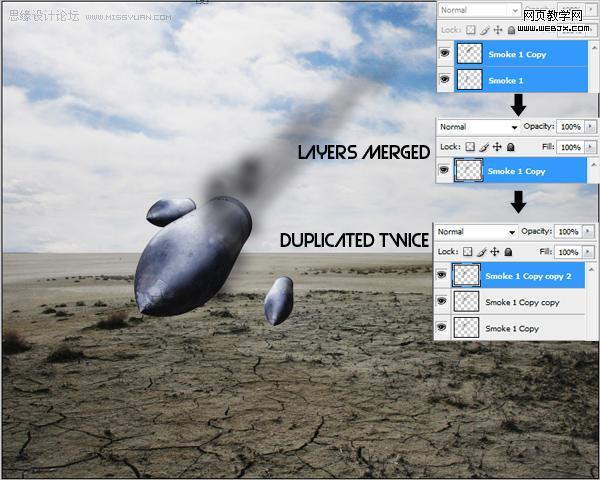
21、小的飞弹制作烟雾特效。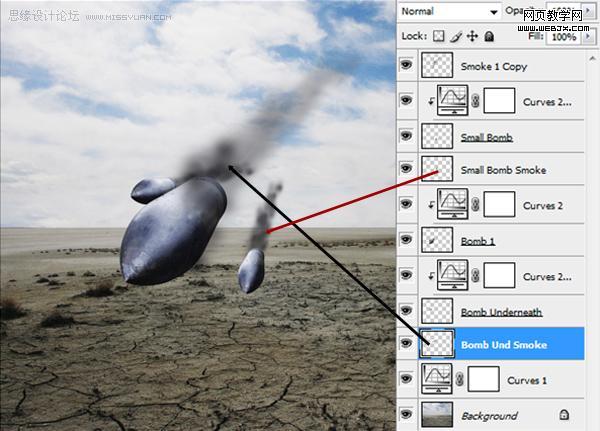
22、添加调整图层,操作蒙板。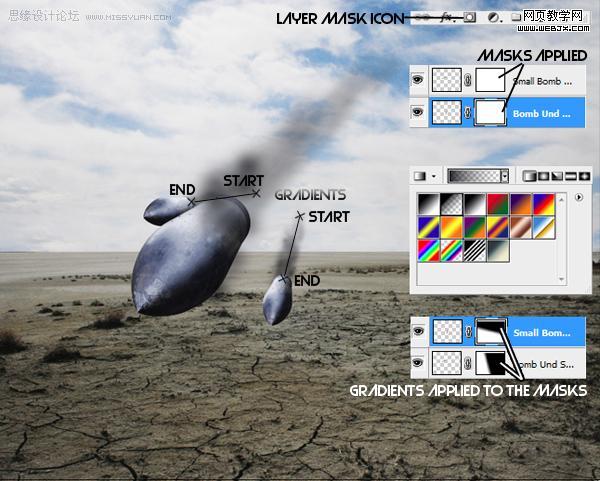
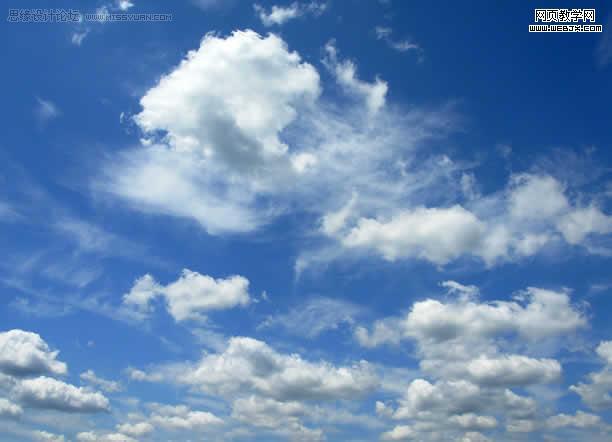
23、打开两个云的图片素材,然后调整大小。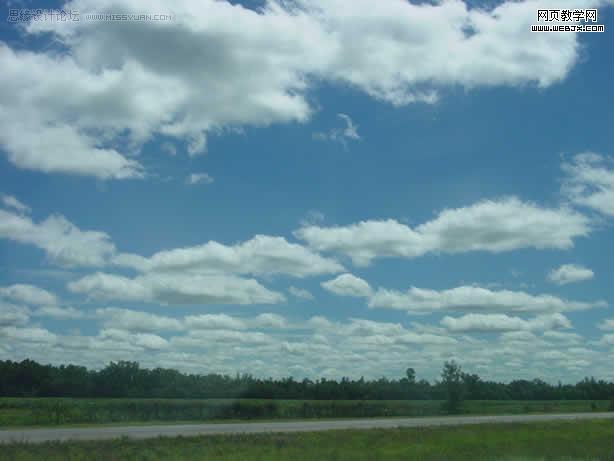

24、添加几个调整层:色相/饱和度调整层、色彩平衡调整图层、曲线调整图层。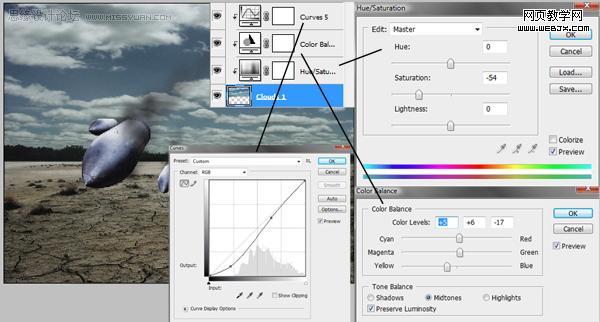
25、复制刚才调整好的云图层,放到调整图层上面,调整位置,然后创建蒙板,使用画笔涂抹。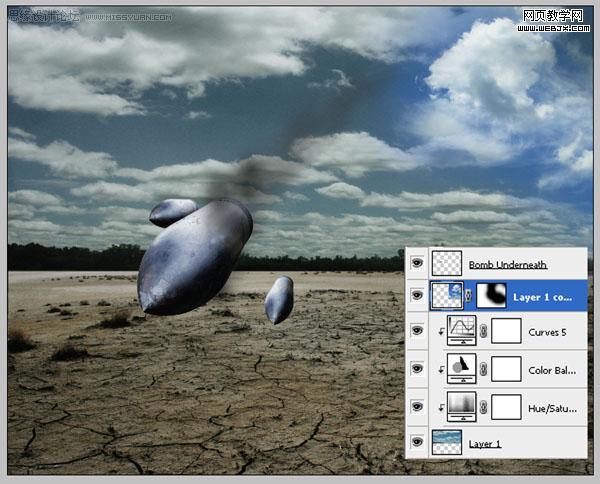
26、创建3个调整图层。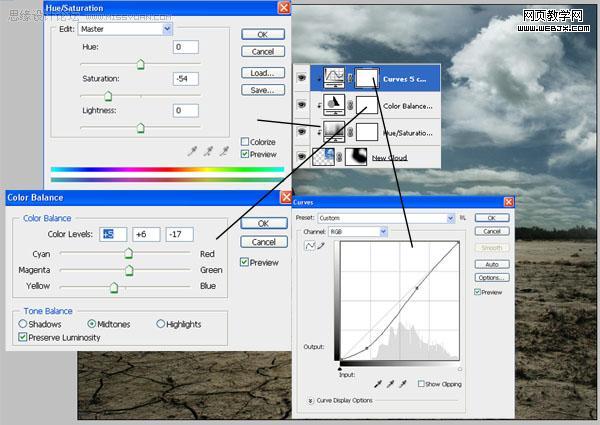
27、选择云图层和3个调整图层,然后复制,按CTRL+T调整大小,然后右击水平翻转。
(本文来源于图老师网站,更多请访问http://m.tulaoshi.com/pskoutu/)28、再次用画笔涂抹云的蒙板。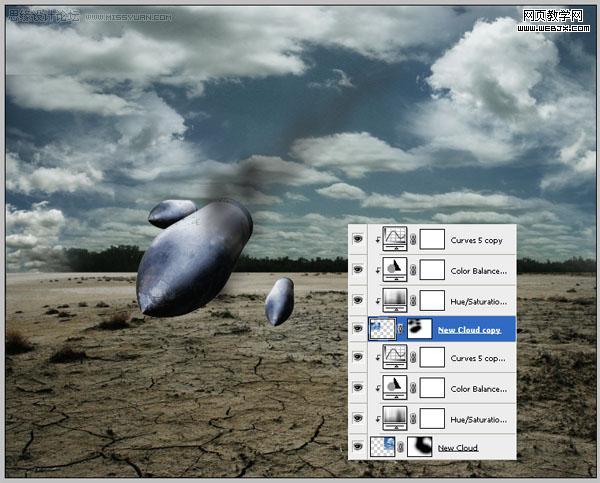
29、这时的效果。
30、在云彩的中间添加文字,然后设置图层样式。图层不透明度设置为35%,效果如下。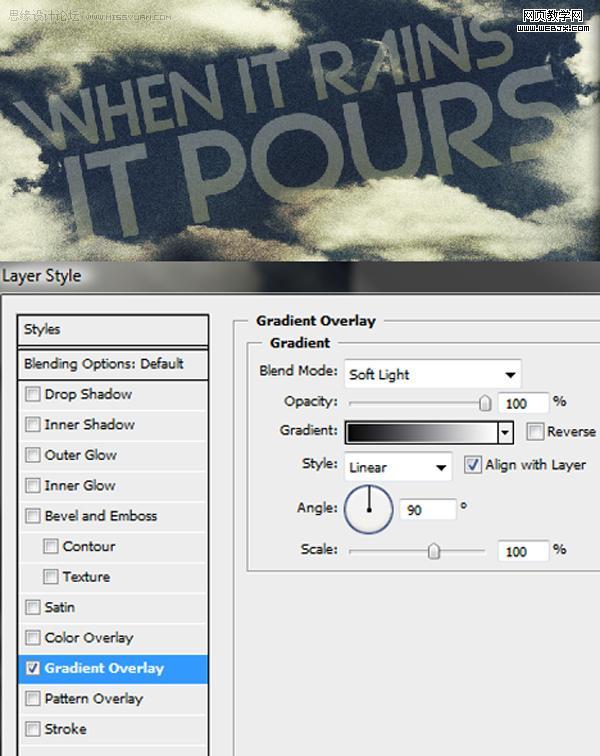
31、下面我们添加火效果。打开火的素材,调整大小,设置图层模式为滤色。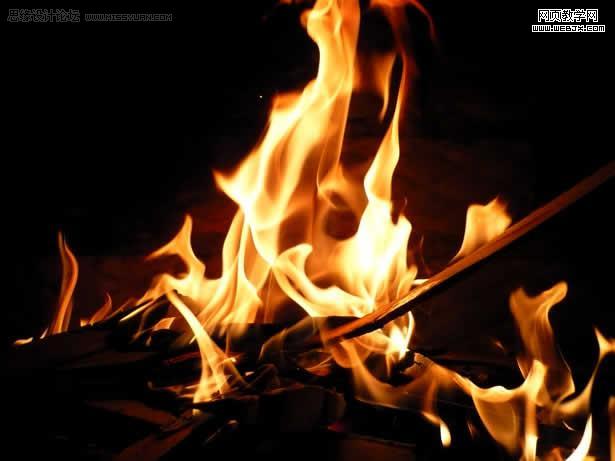
(本文来源于图老师网站,更多请访问http://m.tulaoshi.com/pskoutu/)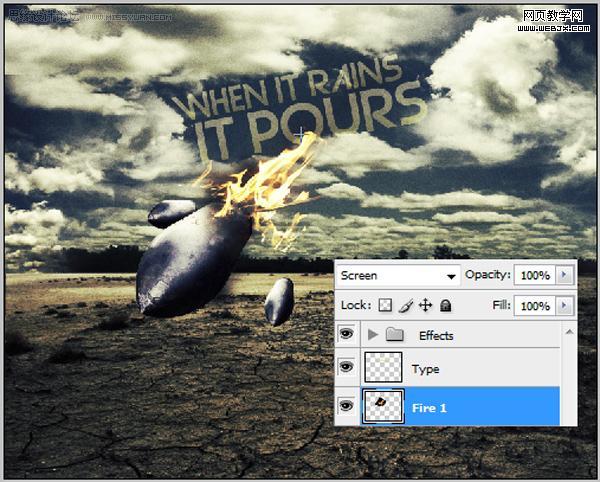
32、创建曲线调整图层。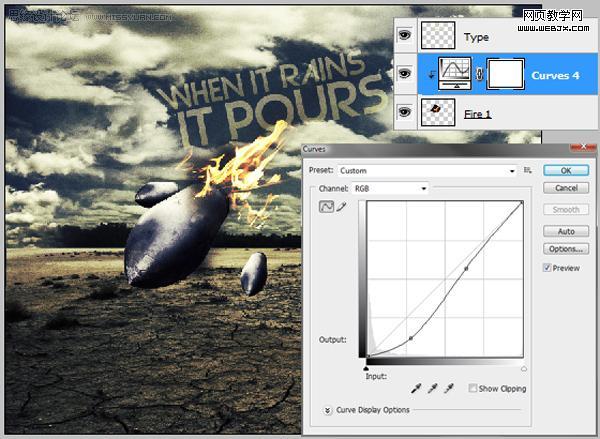
33、复制火图层,然后调整图层位置到小飞弹图层之上。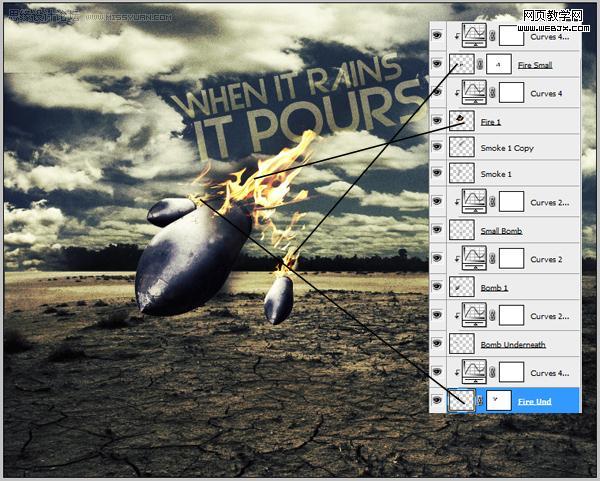
34、添加图层蒙板,画笔涂抹蒙板。
35、添加烟的效果,打开烟素材,然后按CTRL+T调整大小。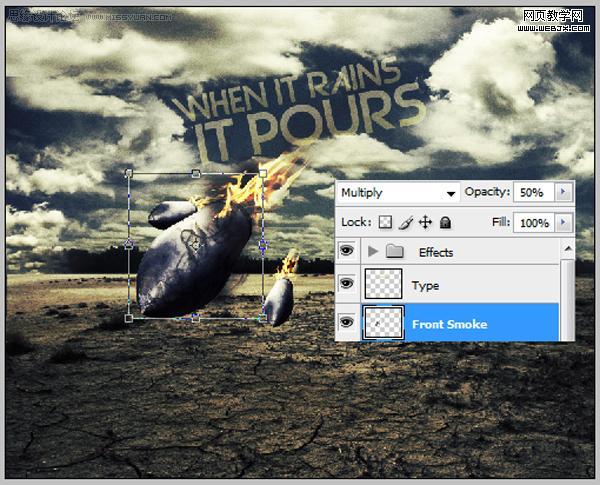
36、下面我们添加雨的特效,设置一个斜的白色的矩形。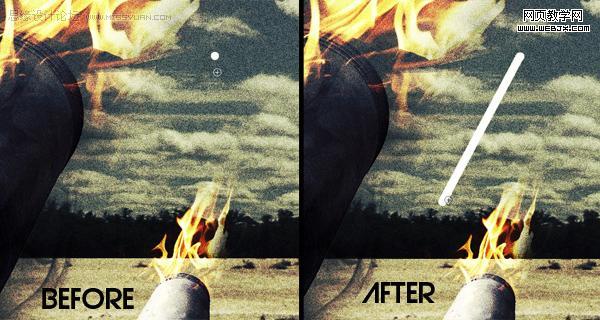
37、动感模糊。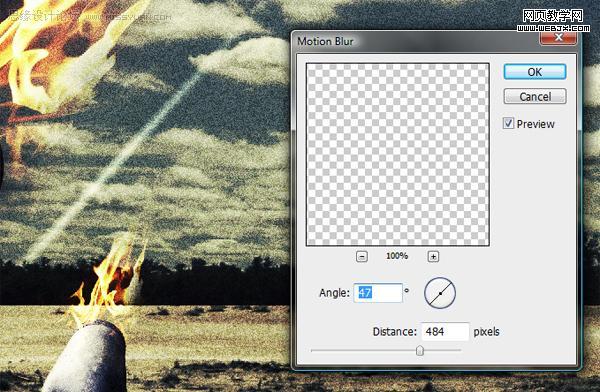
38、同样方法重复多次,调整大小和位置。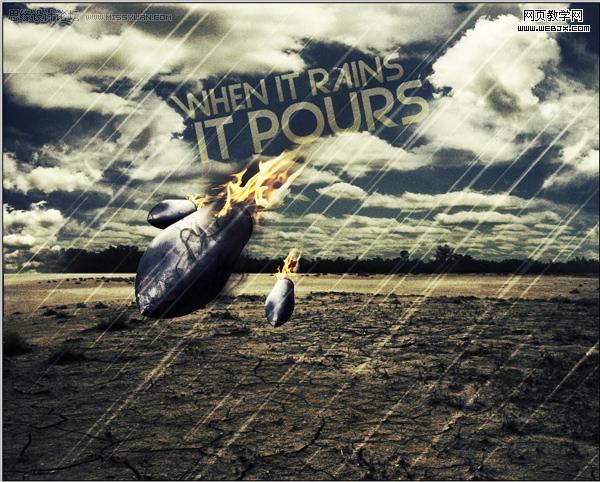
39、然后添加一个渐变特效。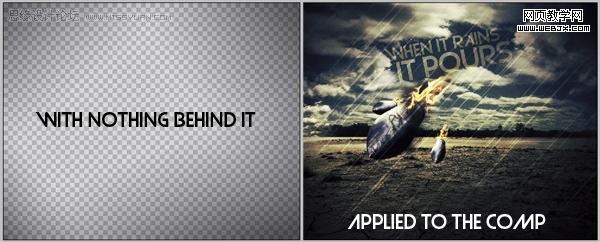
40、然后创建图层蒙板,擦除一些不需要的部分。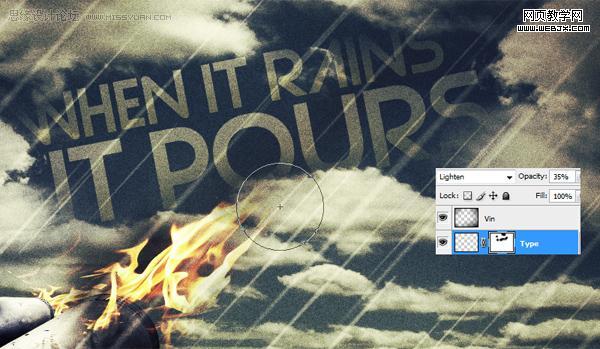
41、最后给飞弹添加阴影,这个就简单了。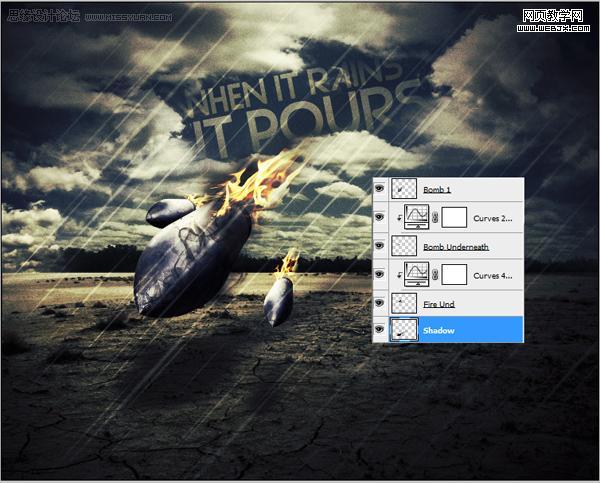
最终效果。


