Kangyaozhen66
2016-02-02 11:12
今天图老师小编要向大家分享个PS合成颓废的艺术壁纸教程,过程简单易学,相信聪明的你一定能轻松get!
图片合成需要一定的溶图技巧。因为不同的素材需要组合在一起,颜色及细节方面需要做大量的处理。制作的时候需要有耐心。本教程没有提供相关的素材,需要自己去网上下载。
最终效果 
(本文来源于图老师网站,更多请访问http://m.tulaoshi.com/pskoutu/)1、打开素材图。
2、选择菜单:图层/新建调整图层/色相饱和度,参数设置如下图。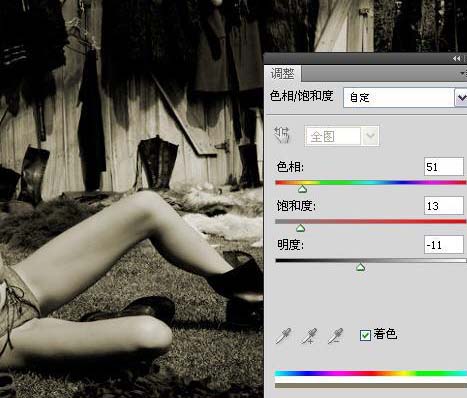
3、新建一个图层,盖应图层(Ctrl + Alt + Shift + E),Ctrl + I反相图像,图层模式:色相。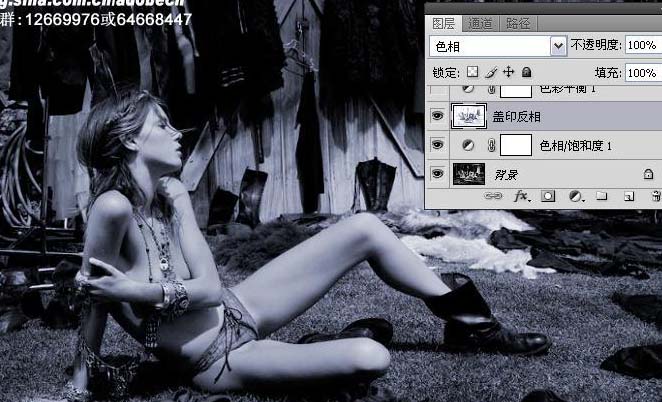
4、图层/新建调整图层/色彩平衡。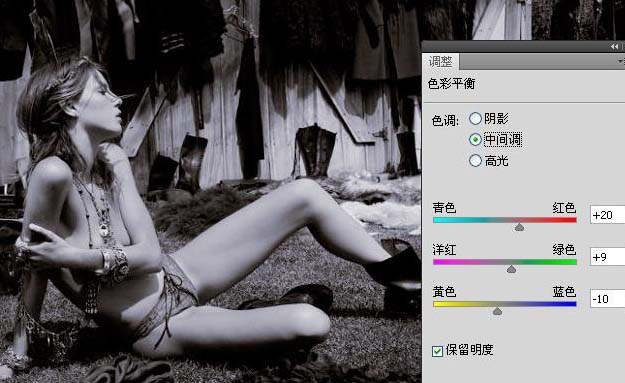
5、新建一个图层,盖因图层,滤镜/模糊/高斯模糊,数值自定,确定后添加图层蒙板,使用黑色画笔将人物涂抹出来。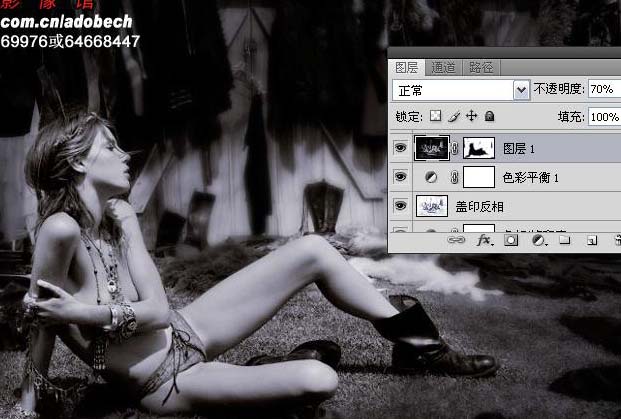
6、打开素材并移至过来(可以去网上下载类似素材),使用黑色涂抹。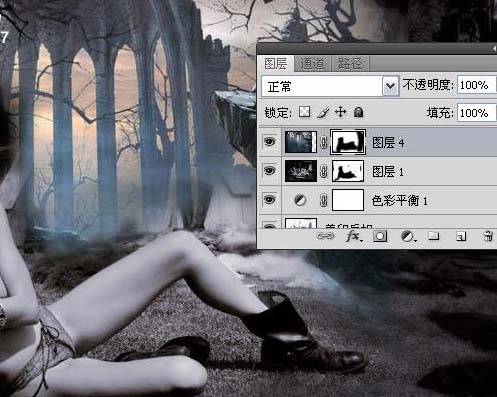
(本文来源于图老师网站,更多请访问http://m.tulaoshi.com/pskoutu/)7、层/新建调整图层/曲线,使用黑色软画笔在中间点击,如下图图层所示。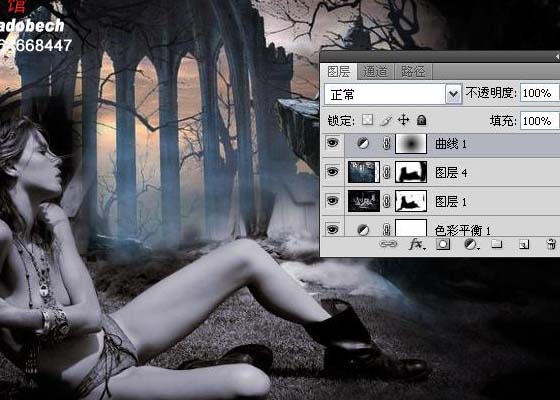
8、图层/新建调整图层/曲线。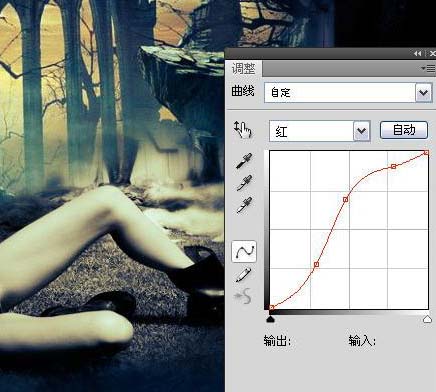

9、打开装饰花纹素材(需要去网上下载相关素材),拖进来放好位置,模式:滤色。 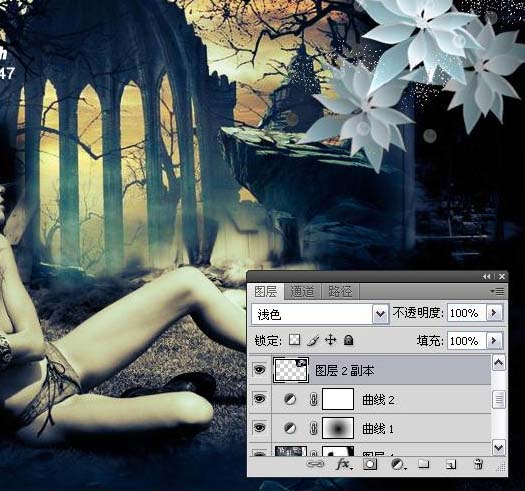
10、新建层,四周用黑色画笔涂抹压暗。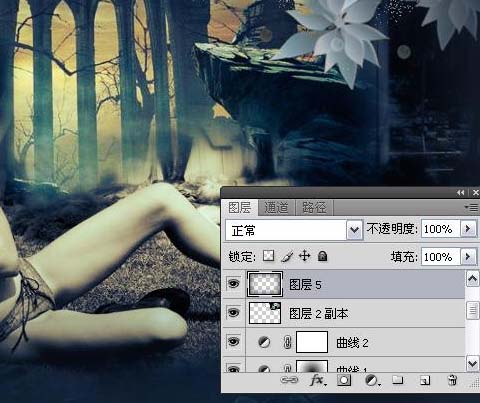
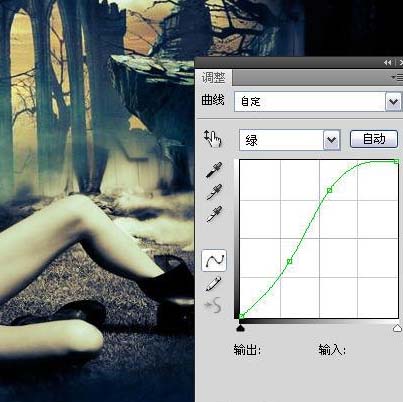
11、图层/新建调整图层/曲线。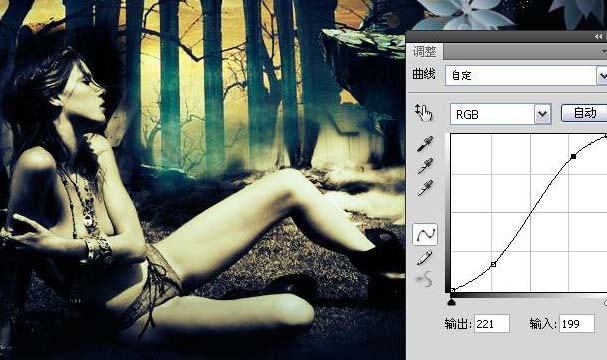
最终效果:
(本文来源于图老师网站,更多请访问http://m.tulaoshi.com/pskoutu/) 


