tianjinbaozhi
2016-02-02 10:14
下面图老师小编要向大家介绍下利用画笔及滤镜制作绚丽的高光漩涡,看起来复杂实则是简单的,掌握好技巧就OK,喜欢就赶紧收藏起来吧!
漩涡的制作有很多教程都介绍过,不过本教程再细节方法把握的非常到位。大致过程:新建好背景后,用设置好的画笔涂上一些不规则的小点,再用风,极坐标,旋转扭曲等滤镜做出漩涡效果,后期再调色可以用多层不同颜色图层叠加做出自己喜欢的颜色。
最终效果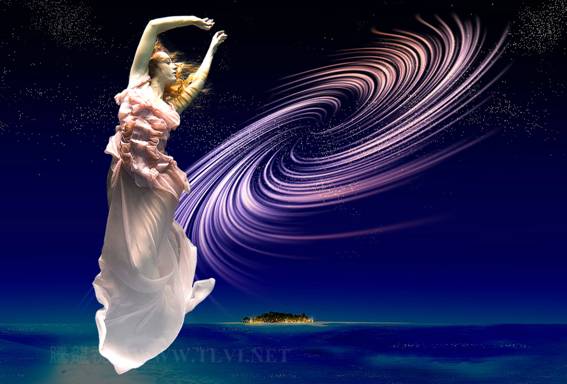
1、运行Photoshop,执行“文件”→“新建”命令,新建“光晕”文档。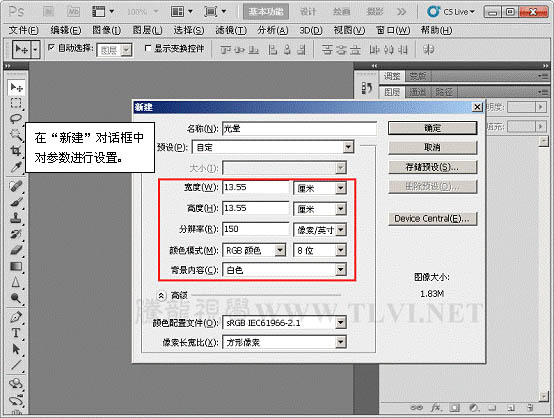
2、将“背景”图层填充为黑色。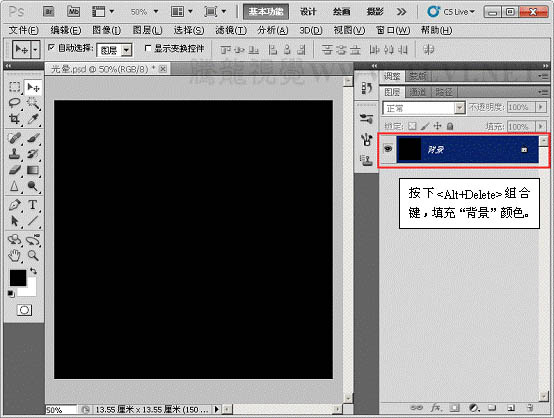
3、选择“画笔”工具,并对其运行设置。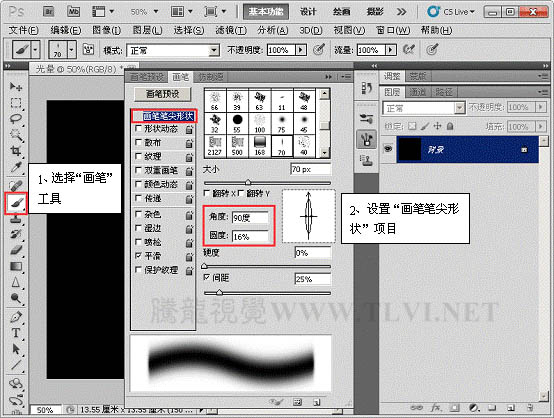
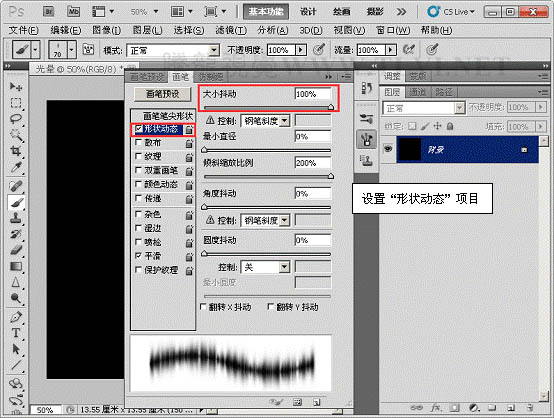
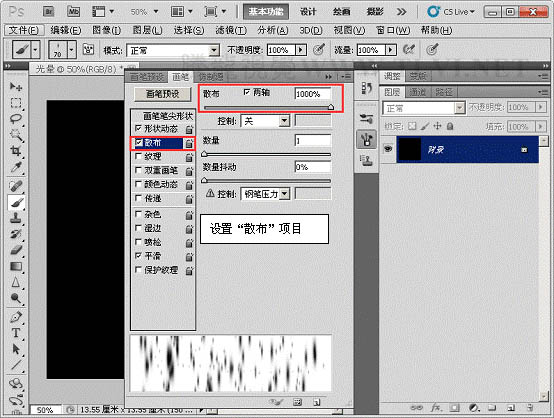
4、设置前景色,使用“画笔”工具运行绘制。
5、执行“图像”→“图像旋转”→“90度顺时针、”命令。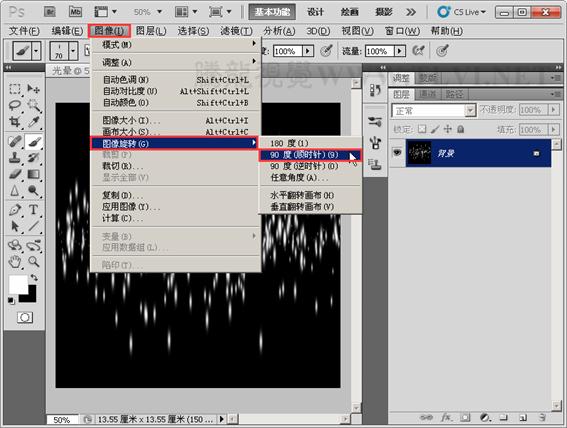
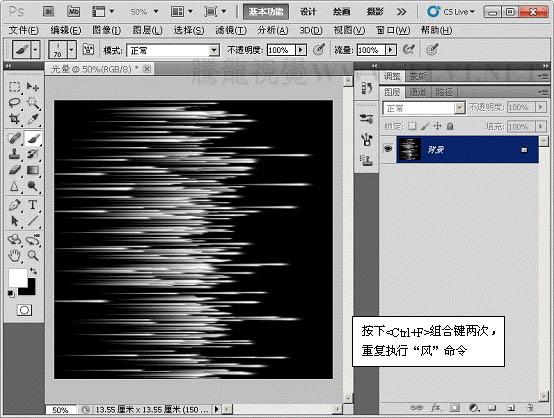
6、执行“滤镜”→“风格化”→“风”滤镜命令。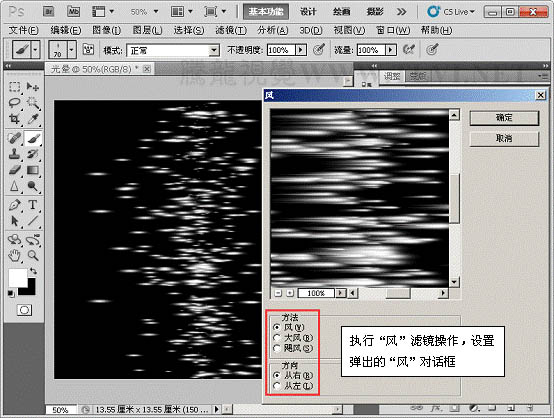
7、执行“图像”→“图像旋转”→“90度顺时针、”命令。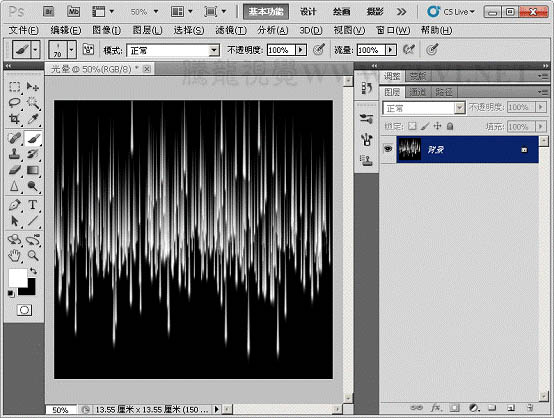
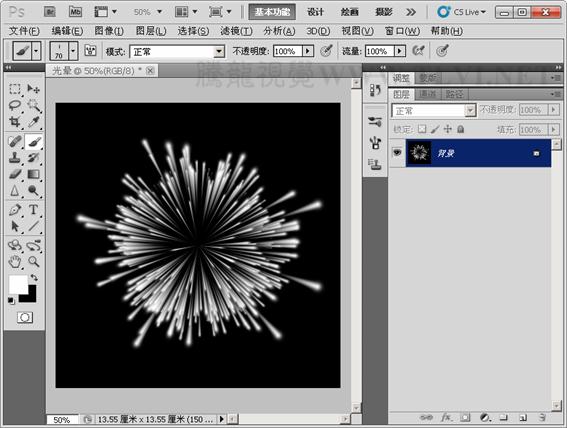
8、执行“滤镜”→“扭曲”→“极坐标”命令。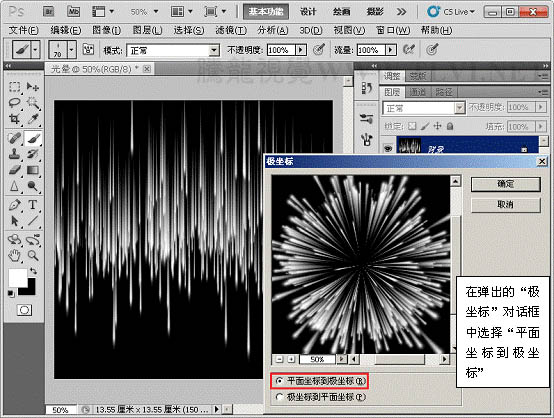
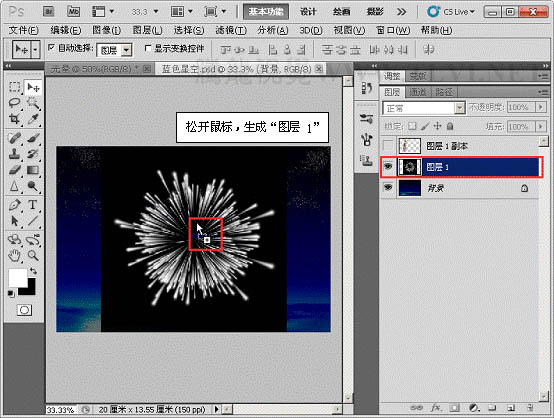
9、打开下图所示的背景,将“光晕”背景图层移到。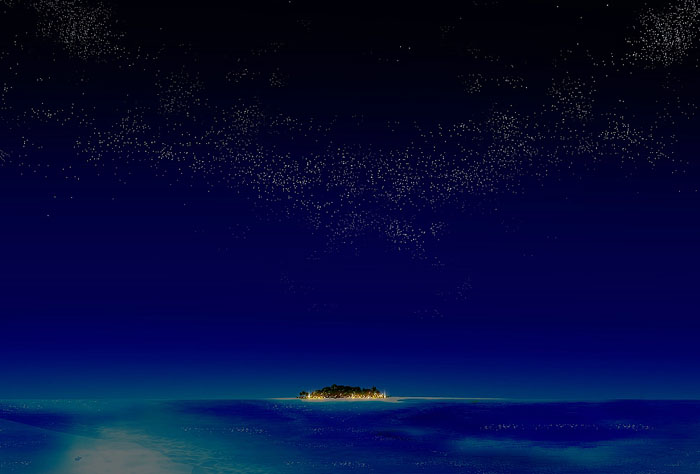
(本文来源于图老师网站,更多请访问http://m.tulaoshi.com)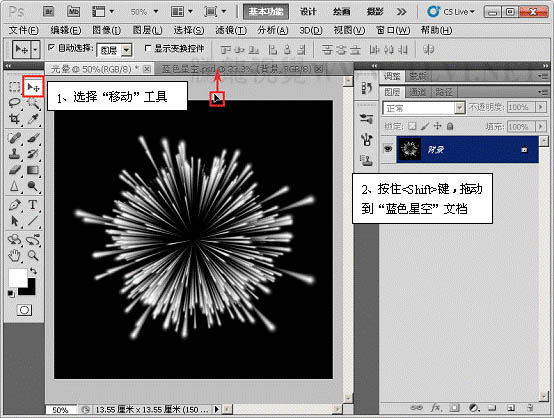
10、执行“滤镜”→“模糊”→“径向模糊”命令。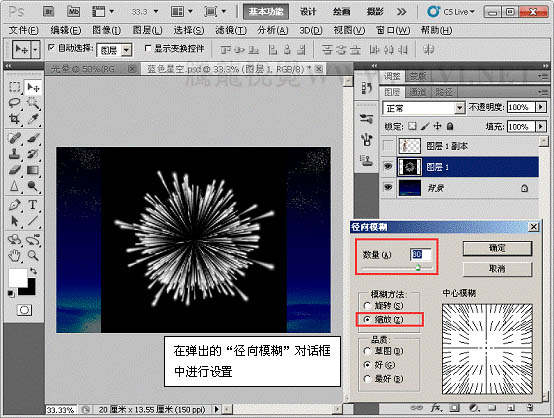
11、执行“滤镜”→“扭曲”→“旋转扭曲”命令。
(本文来源于图老师网站,更多请访问http://m.tulaoshi.com)12、对“图层 1”运行“自由变换”操作。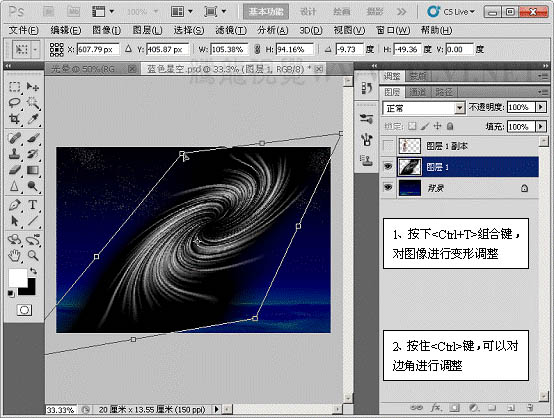
13、执行“图像”→“调整”→“色相/饱和度”命令。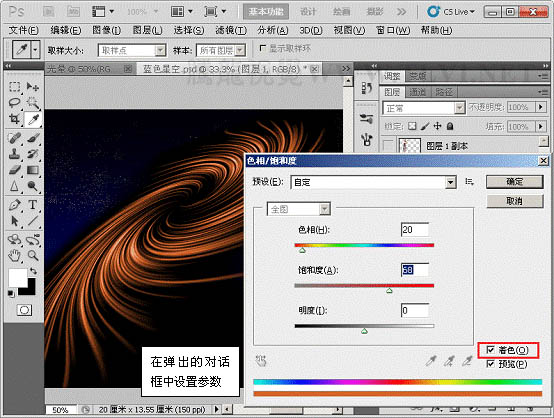
14、复制“图层 1”,并执行“图像”→“调整”→“色相/饱和度”命令。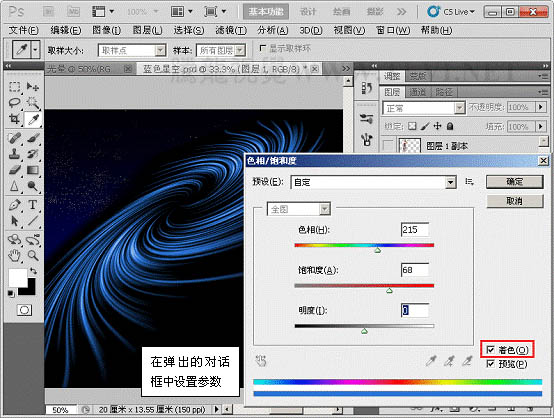
15、更改“图层 1”与“图层 1 副本 2”的混合模式为“线性减淡添加、”模式。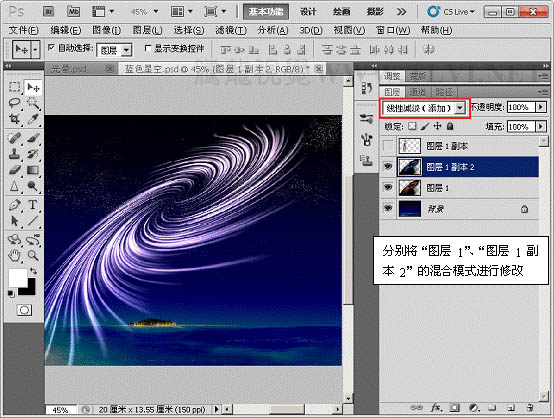
16、为“图层 1”、“图层 1 副本 2”添加“蒙版”效果。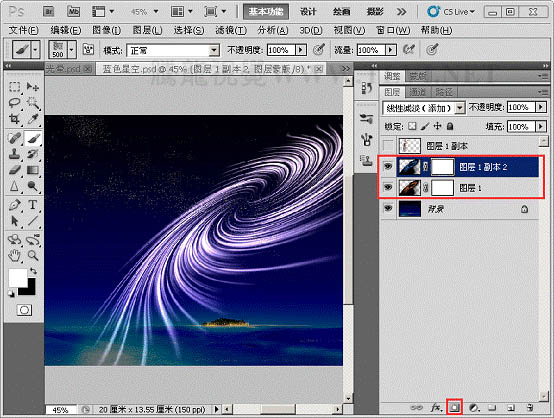
17、使用“画笔”工具在蒙版上对图像边缘修整。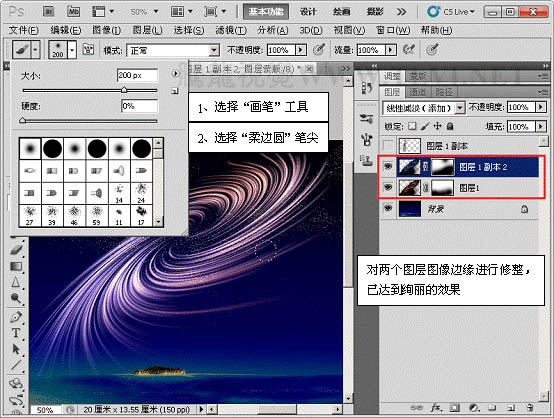
18、显示所有图层,完成实例做。


