在这个颜值当道,屌丝闪边的时代,拼不过颜值拼内涵,只有知识丰富才能提升一个人的内在气质和修养,所谓人丑就要多学习,今天图老师给大家分享利用滤镜制作漂亮的火焰菊花,希望可以对大家能有小小的帮助。
本教程的效果有点类似烟花的制作,不过在利用极坐标滤镜的时候变换的角度不同,只需要做成花朵的形状。然后用局部的花瓣等做成花蕊即可,颜色可以任意选择。
最终效果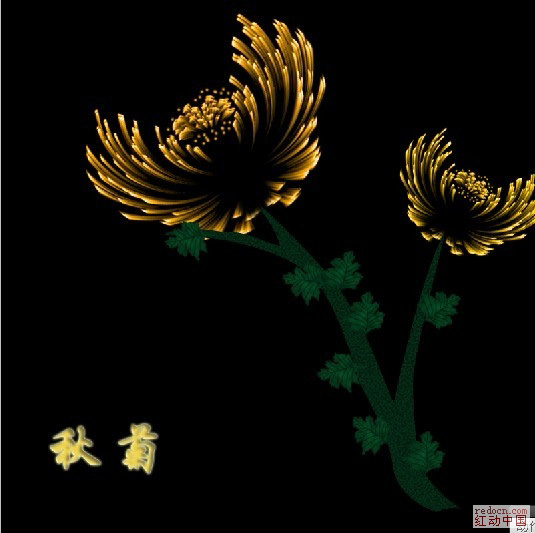
1、新建一个800 * 800像素,分辨率为150像素/英寸的文档,背景填充黑色。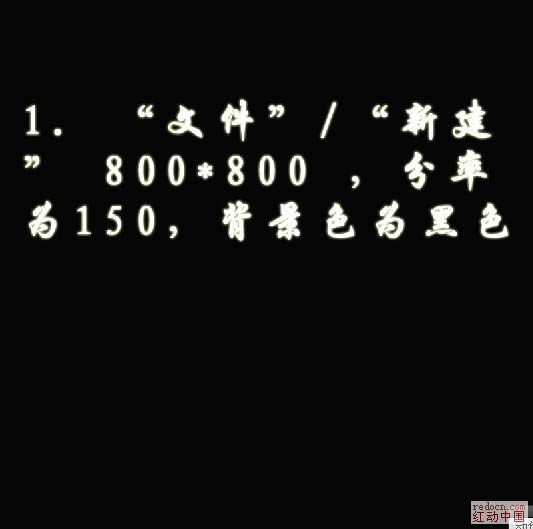
2、新建一个图层,得到“图1”,选择画笔工具,笔刷大小设置为9像素,不透明度设置为:100%,在图中随意画些白点,效果如下图。
3、执行:滤镜 风格化 风,设置为默认,确定后按Ctrl + F 加强几次,效果如下图。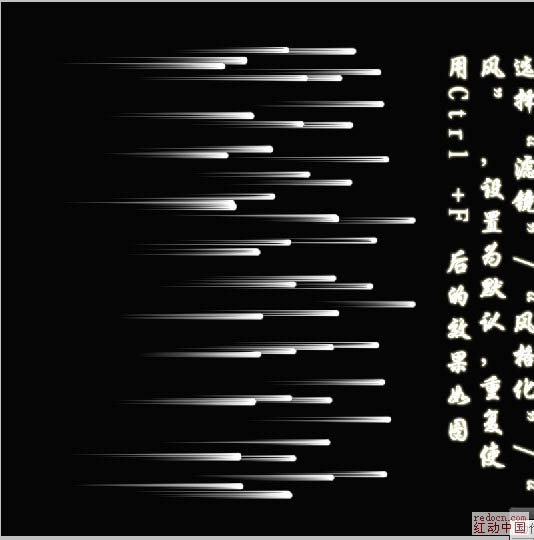
4、选择菜单:图像 旋转画布 顺时针90度。然后执行:滤镜 扭曲 极坐标,选择“平面坐标到极坐标”,确定后按Ctrl + F 加强一次,效果如下图。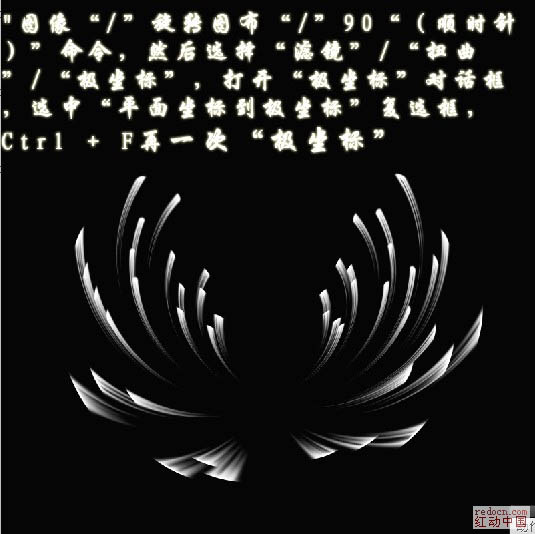
5、把“图层1”复制一层,得到“图层1副本”,选中副本图层,执行:编辑 变换 水平翻转,以创建对立的两朵花瓣,如下图。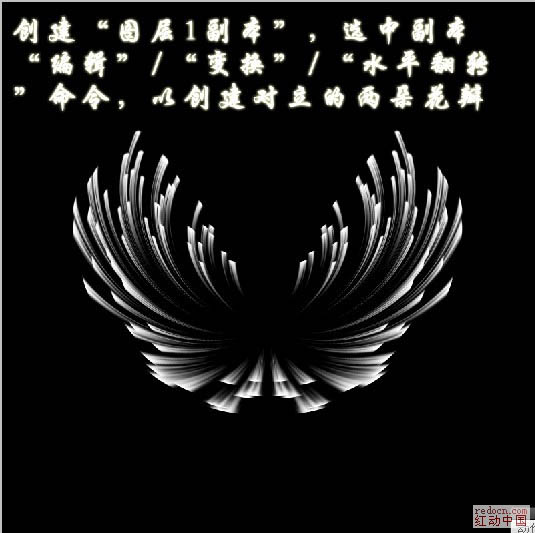
6、新建一个图层,选择多边形套索工具,建立选区,并设置渐变方式从橘黄色到黄色的径向渐变,效果如下图。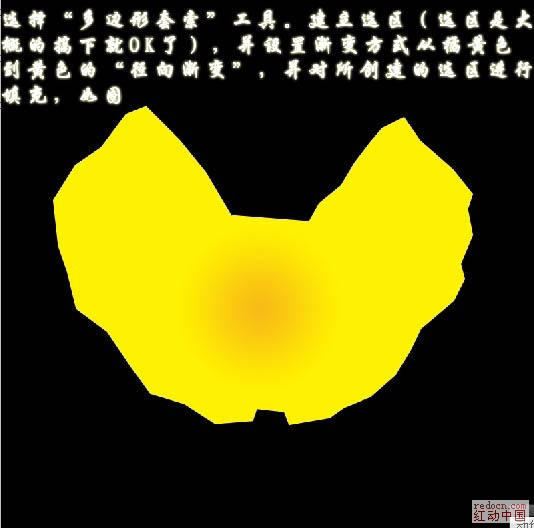
7、把图层混合模式改为“颜色”,效果如下图。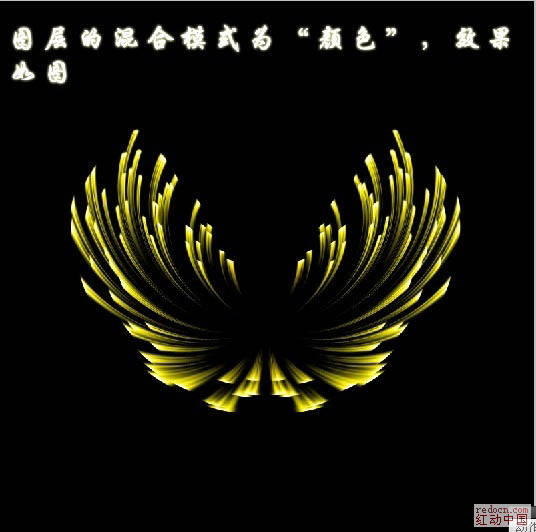
8、新建一个图层,按Ctrl + Alt + Shift + E 盖印图层。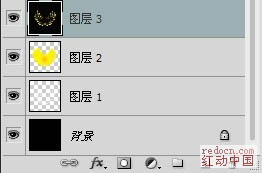
9、再次使用多边形套索工具,创建如图所示的选区。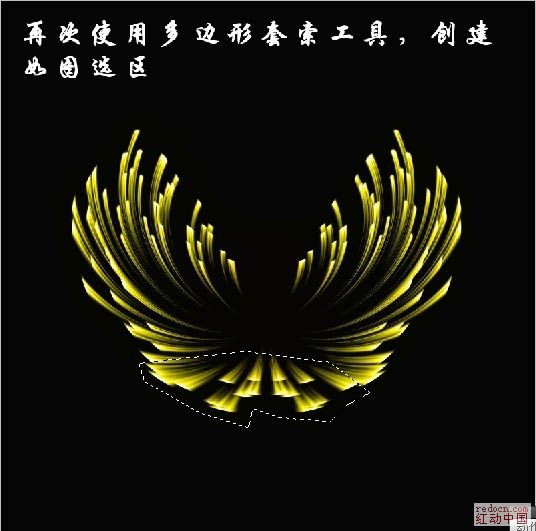
(本文来源于图老师网站,更多请访问http://m.tulaoshi.com)10、按Ctrl + J 把选区部分的图像复制到新的图层,得到“图层5”,将“图层5”垂直翻转,并将其移到花蕊部分。适当缩小尺寸进行旋转,效果如下图。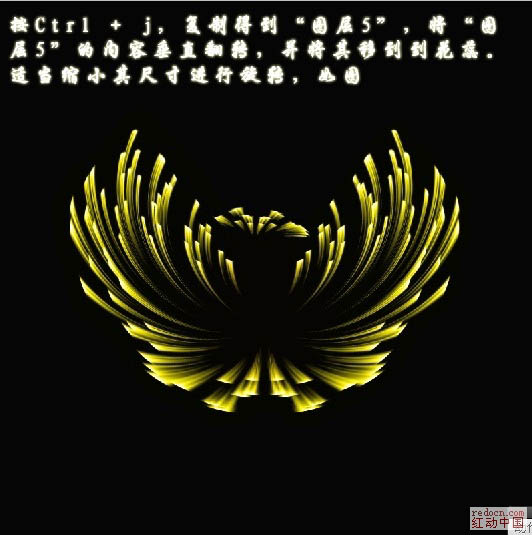
11、使用画笔工具适当画一些“蓓蕾”。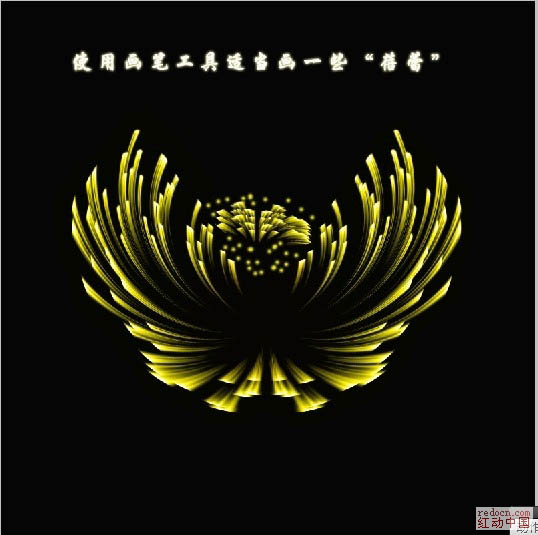
12、复制“图层4”,分别使用缩小,移动,选择等工具对它们进行调整,并排列如图效果,可以进行自己喜欢的颜色调整,并隐藏1,2,3图层。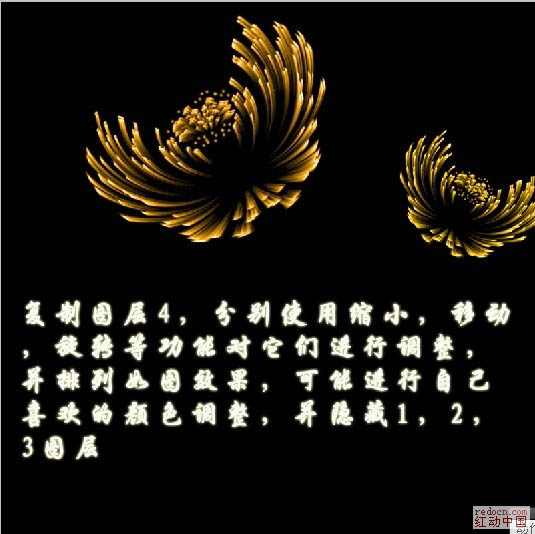
13、接下来就是画花朵的茎,自己随意画。
(本文来源于图老师网站,更多请访问http://m.tulaoshi.com)14、自己画上叶子,并用加深,减淡工具画出叶子的脉络和明暗分布。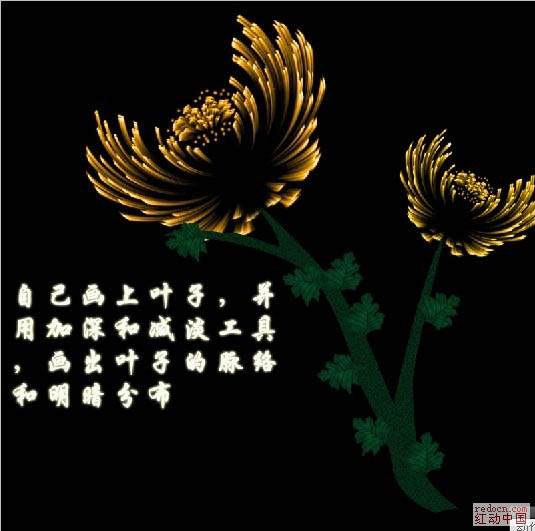
15、最后加上文字,完成最终效果。
最终效果: