本教程的创作思路及图片渲染方法非常值得学习。教程中用到的都是非常绚丽的素材,其中有很多是背景素材,需要自己慢慢去溶图和调色。大致的素材都安排好后,还需要大量的渲染工作,要把人物及背景都融合起来。工作量还是很大的。教程中大多数素材需要自己去下载,不一定要用相同的,类似的都可以。 最终效果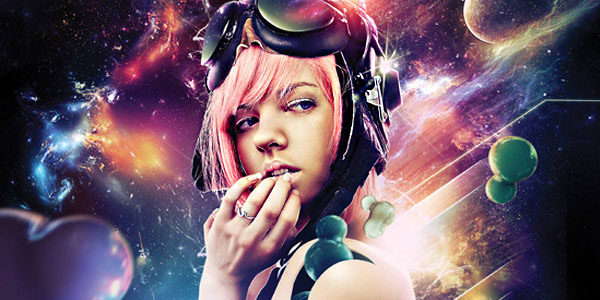
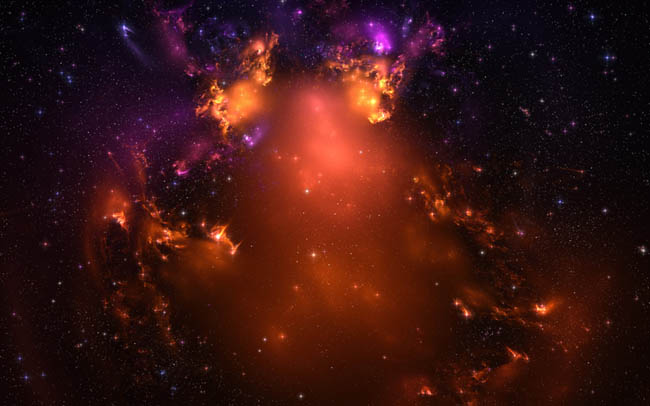
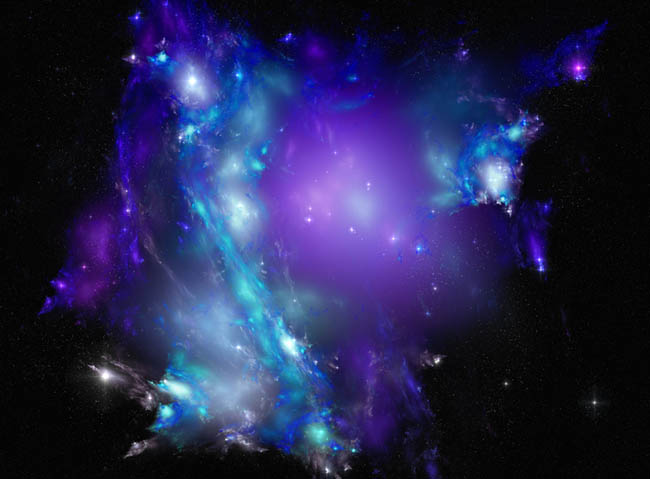
1、首先打开一个4200 × 5100像素的新文件,300 DPI。素材图片已经压缩,实际新建的画面要小一点。 我们将使用http://moonchilde-stock.deviantart.com/的星空图片。


2、我们将添加更多的光。使用色阶(Cmd/Ctrl + L),设置为(9 – 1.00 – 255),改变混合模式为滤色。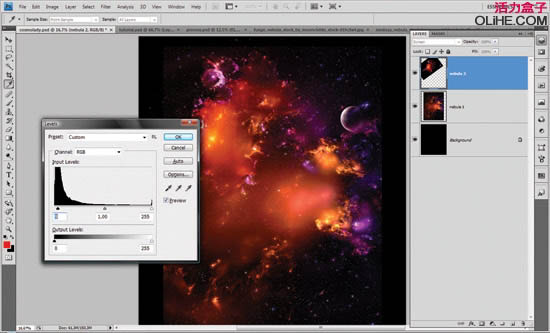
3、为了混合背景与图片的边缘,选择200 px的笔刷(不能选硬边的笔刷),在我们工作的图层上创建图层蒙版,打开笔刷设置。设置散布为121%,关闭控制,数量为1,数量抖动为1%。其他动态:不透明度抖动:0%,流量抖动:0%,两个的控制都是0, 数值自己看着设置就OK。(从这里往下到步揍5,其实没必要做的像教程里这样麻烦,自己试试,有很多方法可以达到这样的效果。)
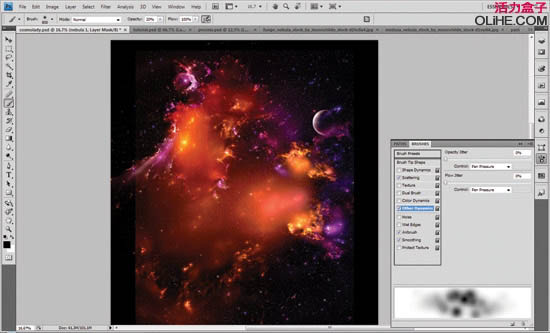
4、去图层蒙版,使用黑色的20%不透明度的笔刷涂抹图像底部的边缘,使其与我们的黑色背景融合。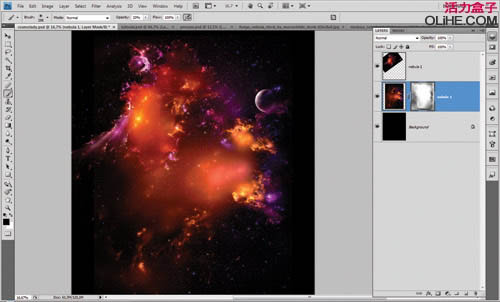
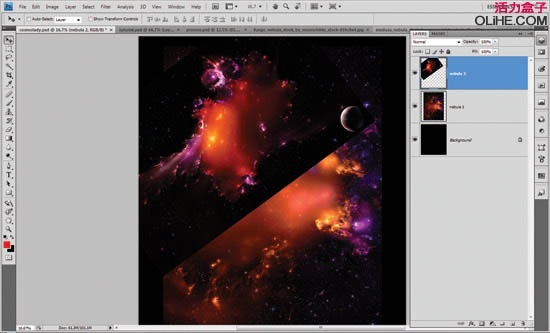
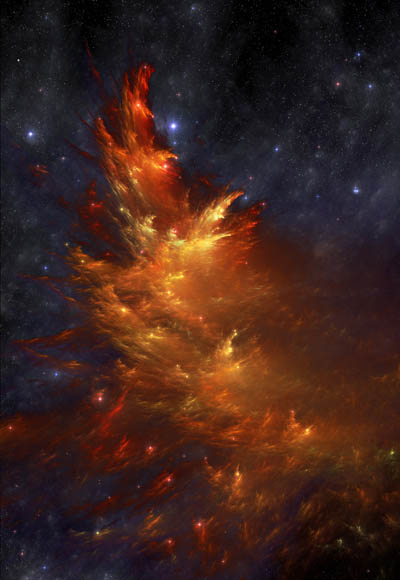
5、在图层顶部添加更多的星云图片,重复前面3个步骤。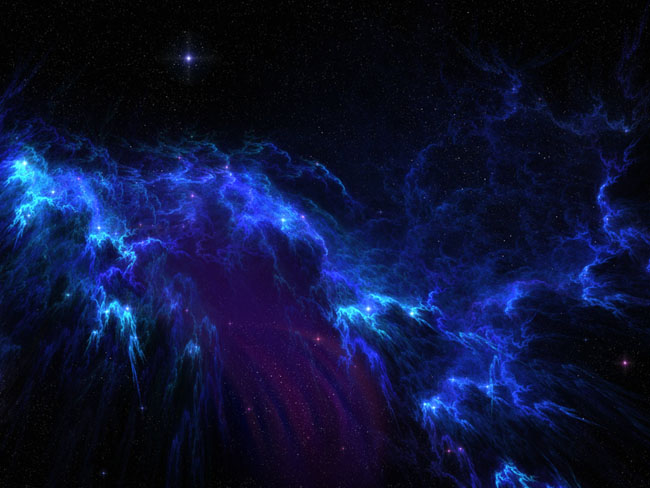
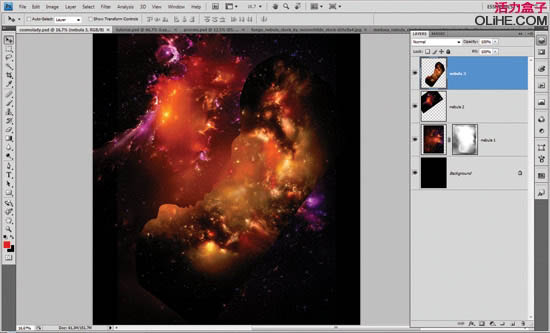
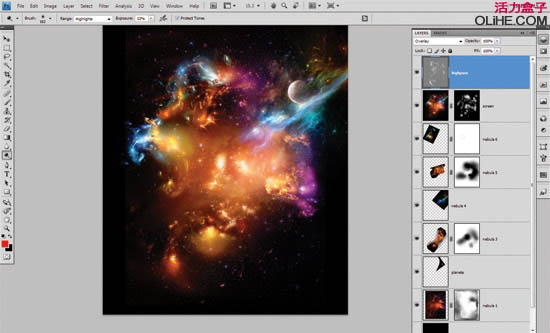
6、现在选择全部(Cmd / Ctrl + A)和(Cmd / Ctrl + Shift+ C)复制并粘贴到图层的顶端,设置混合模式为滤色,使用图层蒙版并用黑色填充它。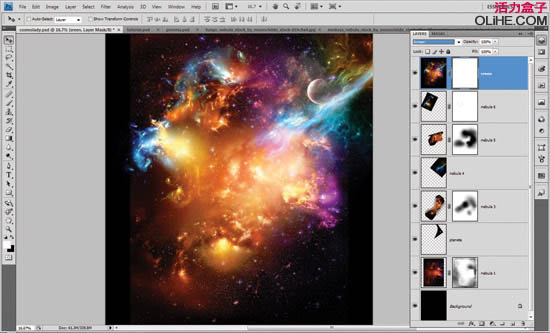
7、使用100像素的圆形笔刷(笔刷的大小可以依据你要显示的区域来改变),用20%不透明度的笔刷涂抹,这步所作的就是突出星云主体,减少星云周边的一些亮度。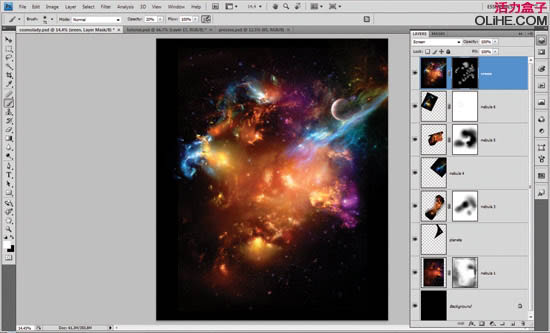
8、复制图层,右键-删除图层蒙版,设置混合模式为正常。去滤镜-其他-高反差保留,半径6。.设置图层为叠加。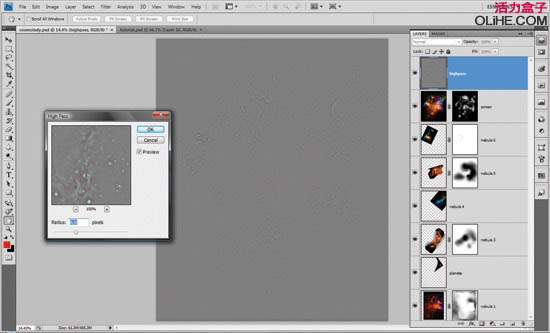
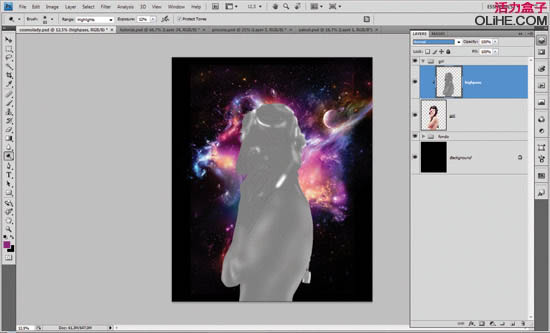
9、我们希望图片更亮,所以使用减淡工具,高光设置为12%,使用182 px的笔刷开始涂抹高光区域。(笔刷大小可以依据你要显示的区域来改变)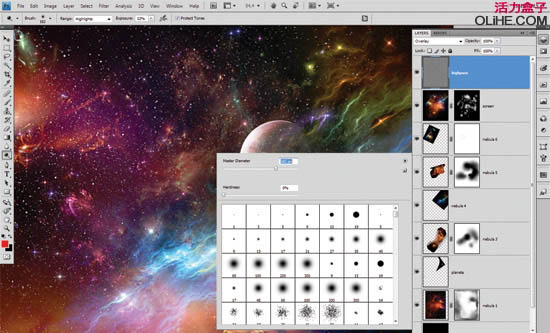
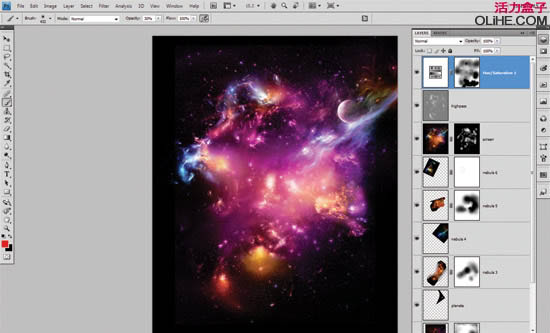
10、去调整图层,添加色相饱和度为图片带来一些新颜色。你可以使用笔刷和图层蒙版运用与之前相同的技术来实现。使用你最喜欢的颜色,尝试不同的调整。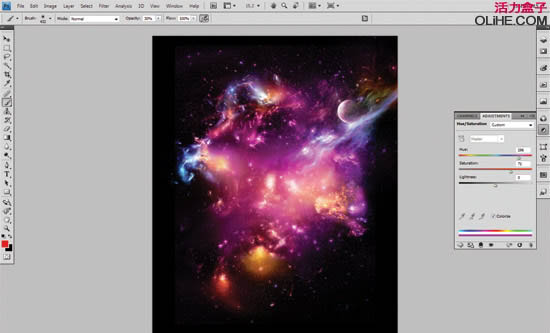
11、你也可以使用原站提供的图片 http://www.artjunks.com/exclusive-freebie-2-hq-model-stock-photos/ 进去后点击图片即可下载。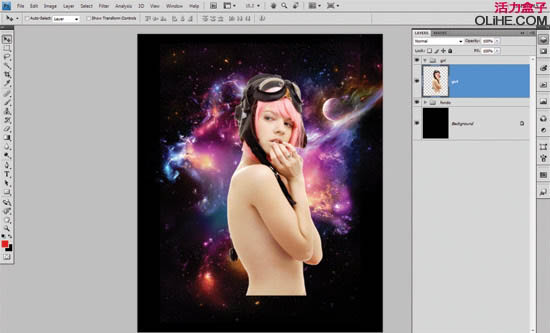
12、把女人图像反转后去滤镜-锐化- USM锐化,按下图设置。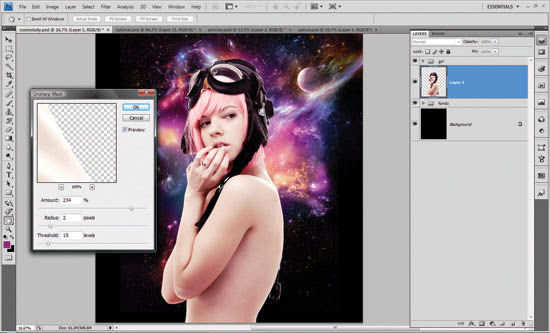
13、复制图层并应用滤镜-高反差保留效果,使用与步骤8相同的技术。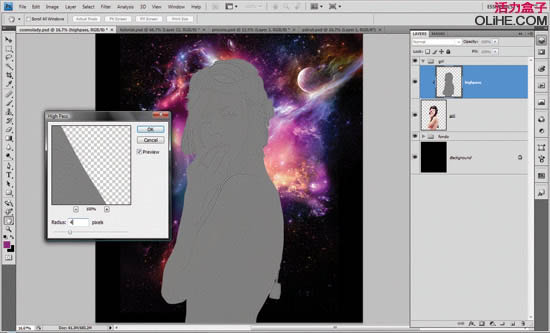
(本文来源于图老师网站,更多请访问http://m.tulaoshi.com/ps/)14、这一步我们需要使用钢笔工具选取眼镜,使用背景的一部分填充它们来创建眼镜的环境光。使用渐变工具制作发光。自己琢磨。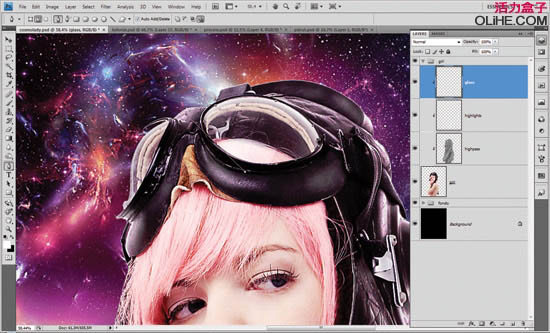


15、添加一个新的色相/饱和度调整层,使用黑色填充蒙版,如图所示在区域里显示新颜色使其与背景很好的融合。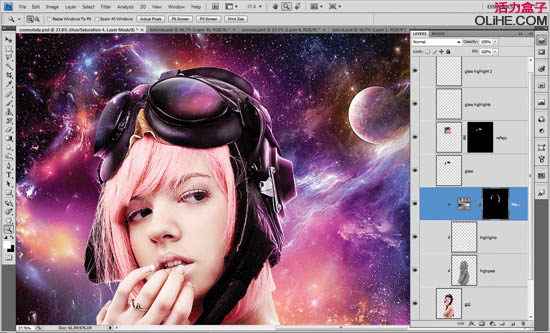
(本文来源于图老师网站,更多请访问http://m.tulaoshi.com/ps/)16、在女孩周围使用不同大小的笔刷添加一些闪光。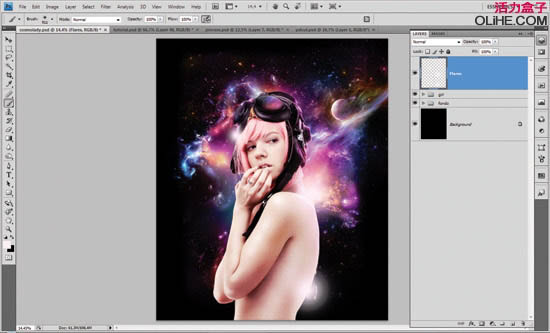
17、现在去图像—复制文件。开始在美女身上创作。删除星云背景,合并所有女孩图层(Cmd / Ctrl + E),使用钢笔工具创建一些形状。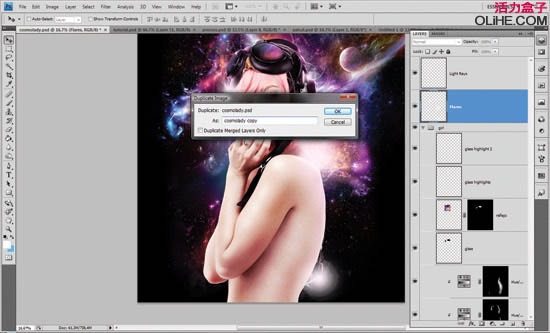
18、使用钢笔工具创建路径,转换成选区并用黑色填充,在美女的手臂上创建黑洞。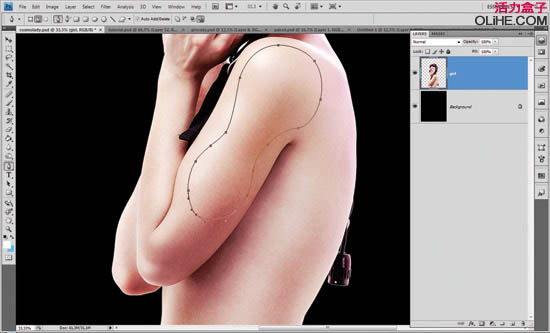
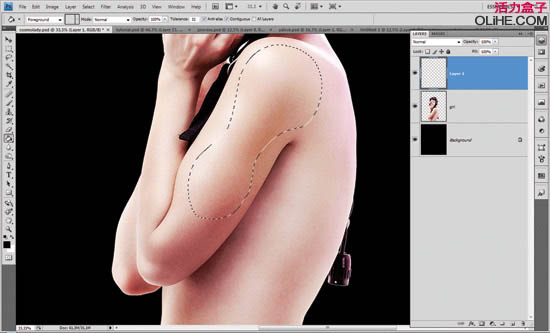
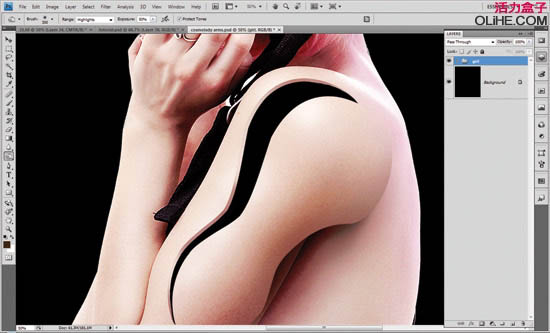
19、然后使用相同的选区来复制女孩手臂上的形状,使用(Cmd + Ctrl + J)把这层放在顶部,去编辑-自由变换,移动锚点到左下方,向右移动一点手臂上的形状,仔细研究下图。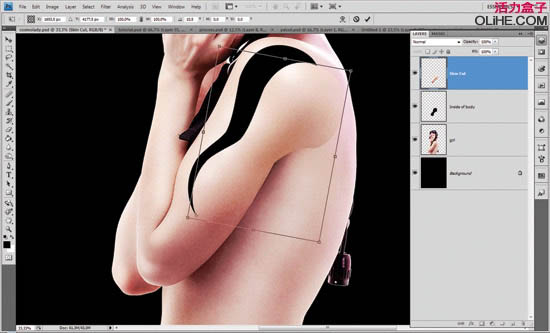
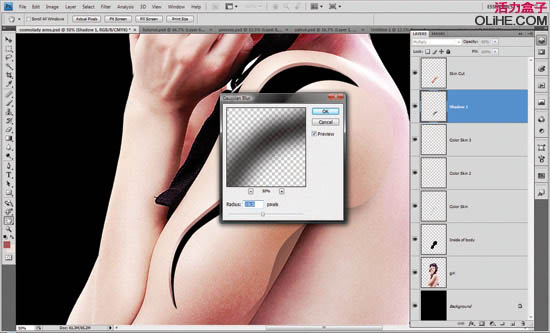
20、再次使用路径,重复选区步骤,使用选择—修改—收缩,应用下图的设置。这将是我们所创建的洞的边缘。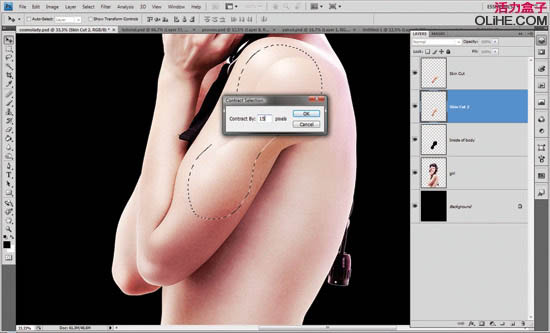
21、使用减淡工具和加深工具来添加洞边缘的高光和阴影,添加更多的细节来描绘阴影和高光的区域。(包括上面那步,自己琢磨一下怎么才能弄出下图的效果。)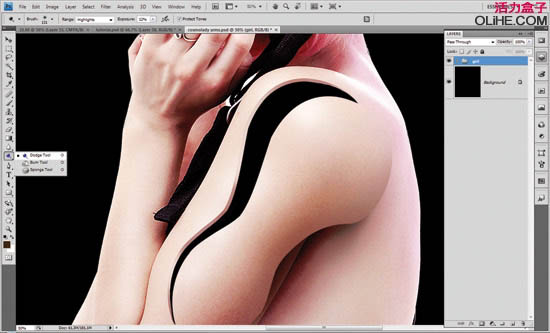
22、我们需要在形状的底部添加一些阴影来整合整个图像。参照我们的截图。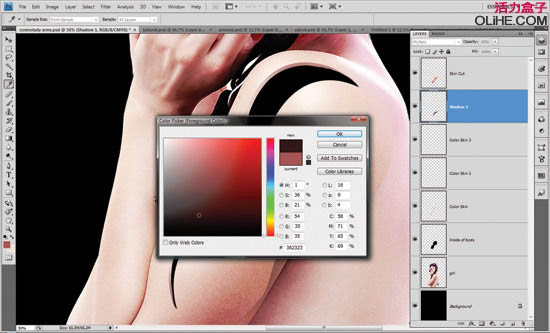
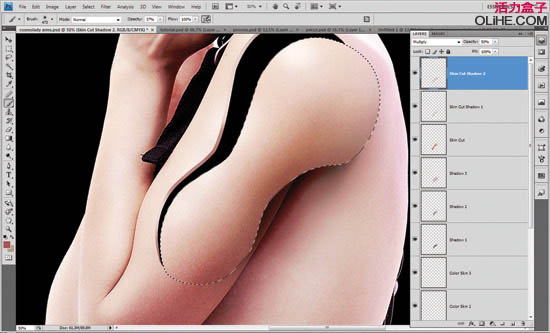
23、重复步骤19~22,在美女身上创建更多的洞。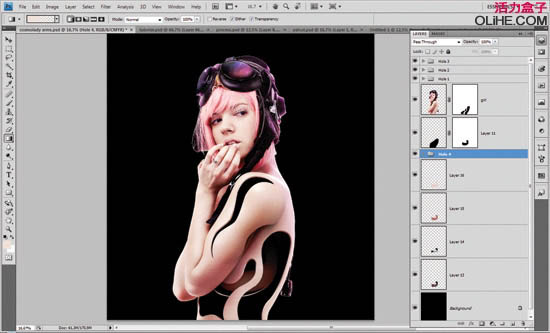
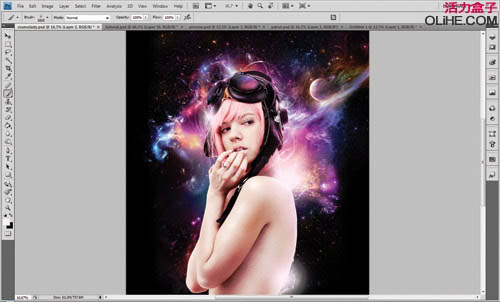
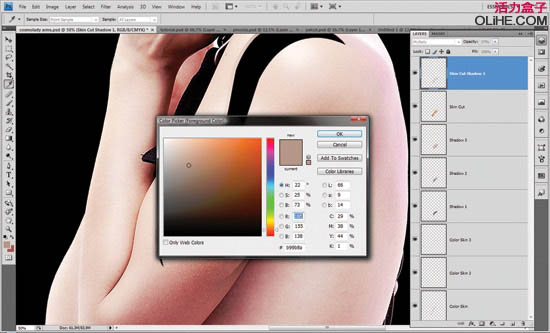
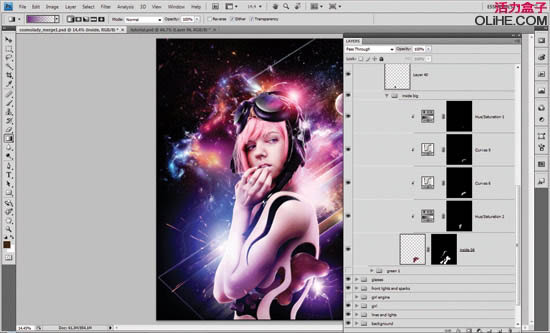
24、使美女产生更强烈的立体感。创建4个曲线调整图层(2 个为阴影,1个为高光,1个为眼睛的颜色),重复相同的图层蒙版技术和笔刷描绘。


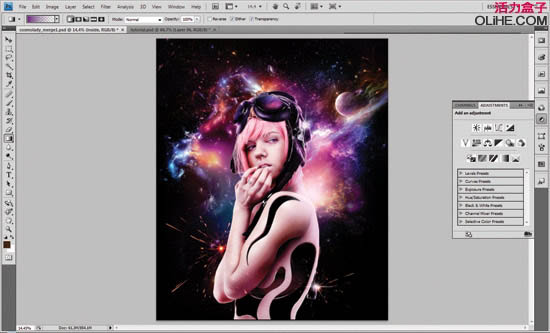
25、然后使用不同尺寸的画笔工具添加一些发光。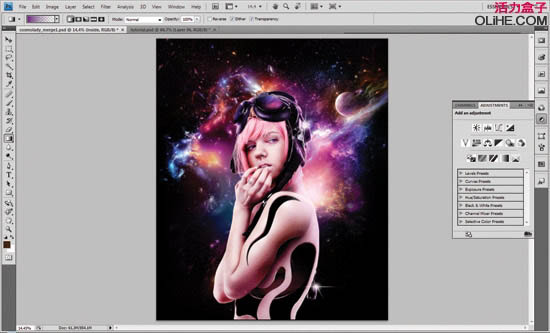
26、来添加一些闪烁效果。改变混合模式为滤色,放大每一个火花。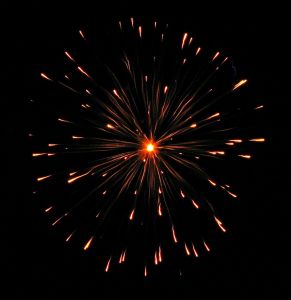
27、接下来我们使用不同大小的笔刷添加光线色彩,混合模式为滤色。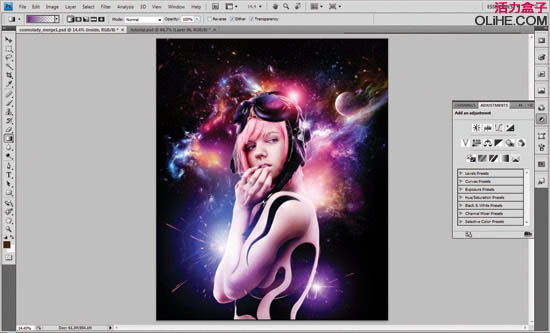
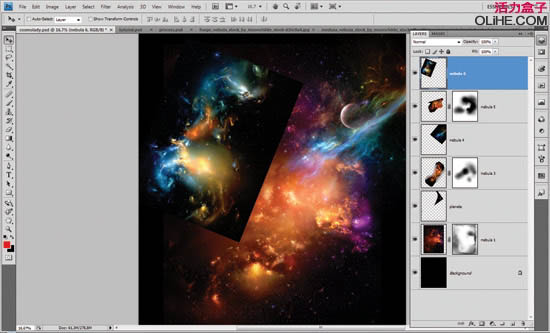
28、在这一步骤中,我们将添加一些渐变的动态线面。选择矩形选框工具,使用不同的颜色渐变填充你的选区,如下图所示。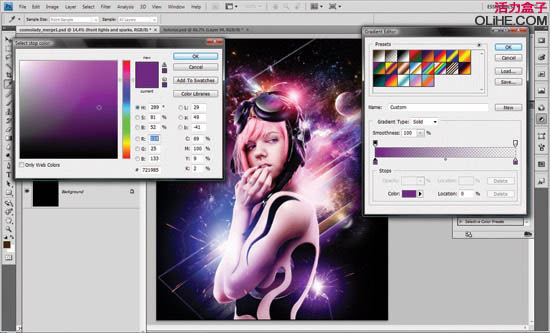
29、让我们为教程添加3D模型,下载地址:http://www.artjunks.com/files/lava.zip 。注意场景中的光,使用你学过的蒙版技术,曲线和笔刷技术来整合3 d效果。这里就要靠你的经验了。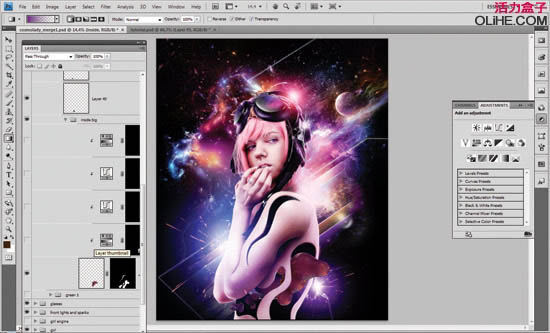
30、为了创建更深的画面立体感,在画面的前方添加一个更大的3 d模型,使用套索工具选择最近的一部分渲染,去选择—羽化—30%,然后去滤镜—模糊—动感模糊—角度79—距离10像素。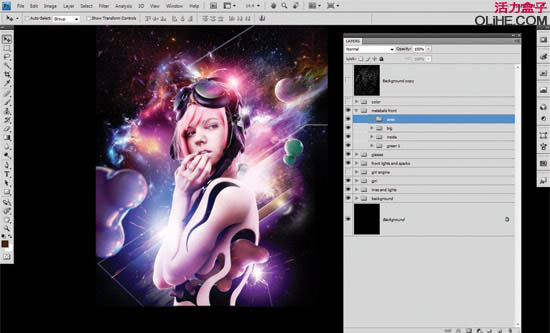
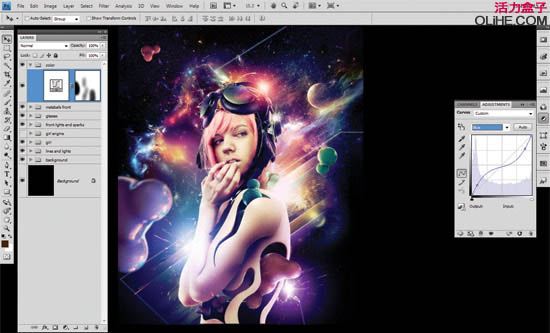
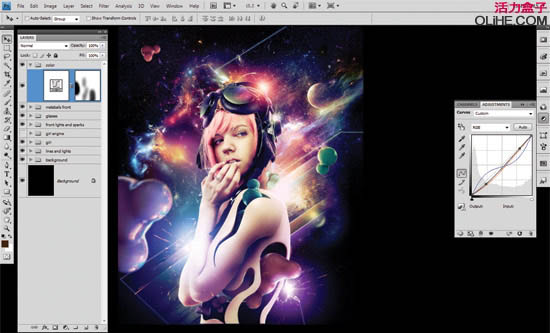
31、现在我们将把颜色转换为复古效果,按下图所示添加曲线。按照自己的喜好设定即可,没必要非的按照教程来。
32、最后复制作品,去滤镜- 风格化-照亮边缘。使用下图设置。.改变混合模式为柔光,不透明度到45%。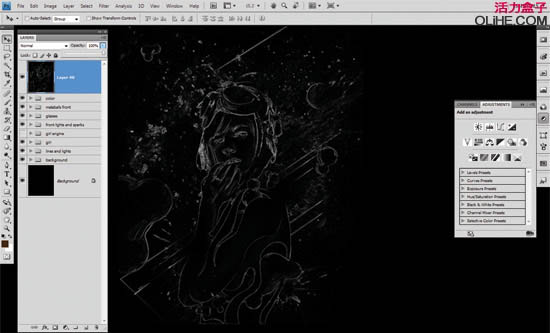
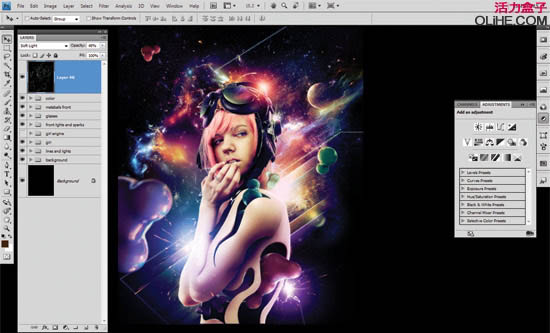
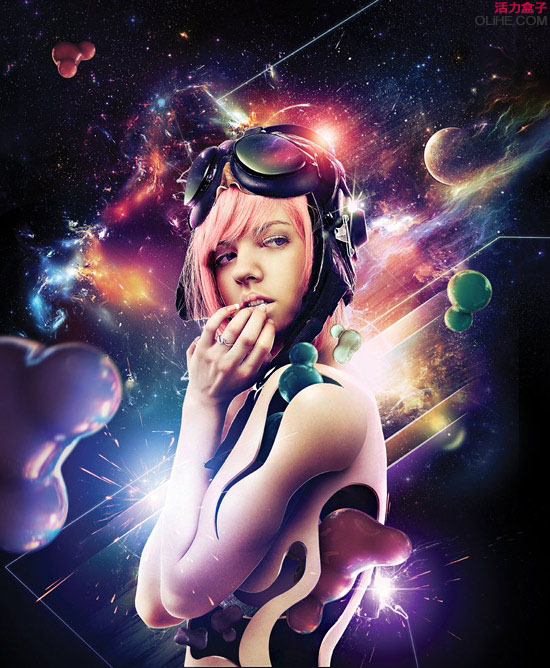
最终效果:


