想不想get新技能酷炫一下,今天图老师小编就跟大家分享个简单的Photoshop制作多图无痕融合教程,一起来看看吧!超容易上手~
最终效果与教程中的效果有点区别,不过最终还是学习下作者的融图,及素材运用方法。
最终效果
1、打开下图所示的两张素材图片。
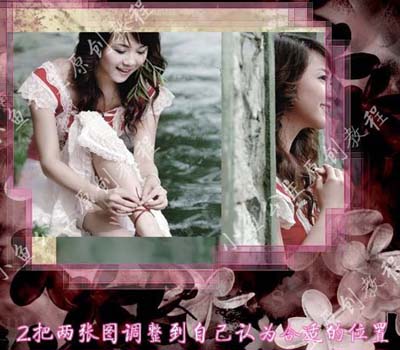
2、再打开下图所示的背景图片,把刚才的两张人物素材拖进来,调整到自己认为合适的位置。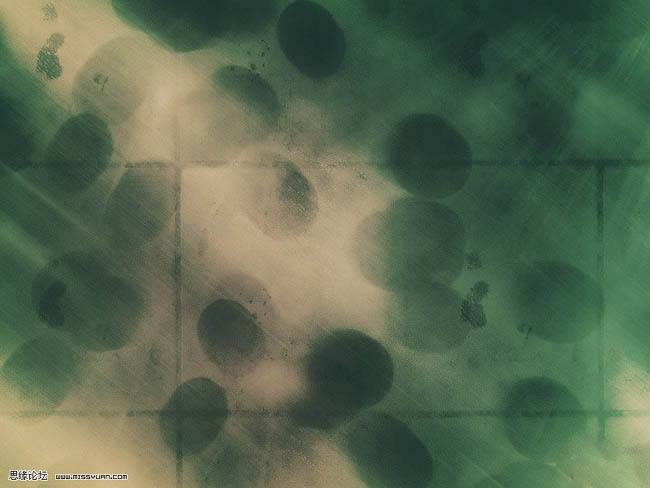
3、新建一个图层。
4、用不规则的笔刷在其中一张图上刷一下。 
5、按Ctrl点刷上的笔刷图层载入选区,按Ctrl + Shift + I反选。 
(本文来源于图老师网站,更多请访问http://m.tulaoshi.com)6、回到人物图层按Delele键删除,然后把笔刷层删除。
7、适当调整图层的角度。
(本文来源于图老师网站,更多请访问http://m.tulaoshi.com)8、给另一张图片加蒙版。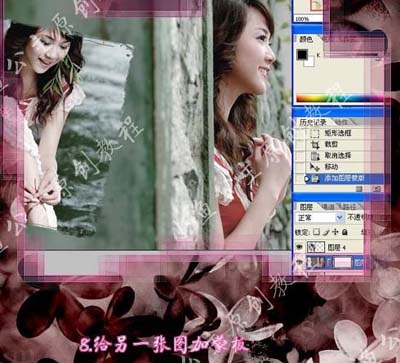
9、用黑白线性渐变工具拉出渐变效果。
10、打开下图所示的素材,放到所有图层的上面。 11、再把素材的混合模式改为“正片叠底”。 

12、把人物脸上多余的颜色用橡皮工具擦掉擦掉。
13、再新建一个图层。最后在刷上自己喜欢的笔刷,完成最终效果。