evelyn0319
2016-02-02 04:31
今天图老师小编给大家精心推荐个PS合成树林中与蝴蝶交流的仙子教程,一起来看看过程究竟如何进行吧!喜欢还请点个赞哦~
合成需要很强的综合能力,创意及基础功底。如下图所示的效果图中,原图比较普通,加入的素材也只有蝴蝶。不过作者在色调及环境上进行细化处理,加入了很多绚丽的颜色,人物衣服也换成与自然融合的绿草,这样可以更好突出主题中的神话色彩。
最终效果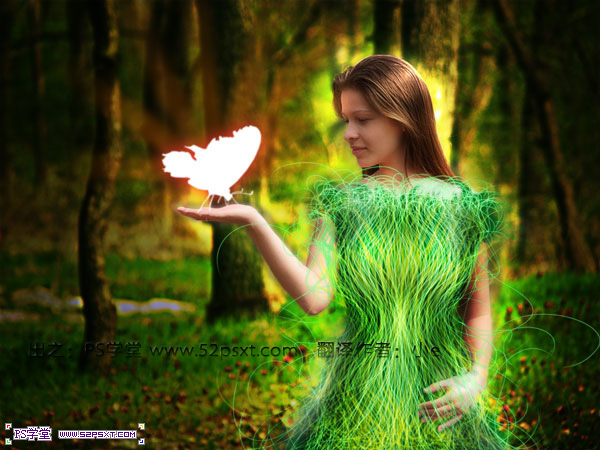
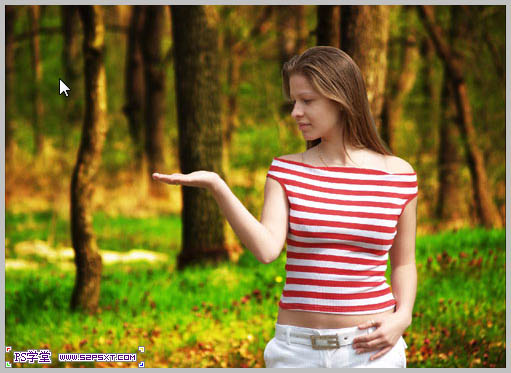
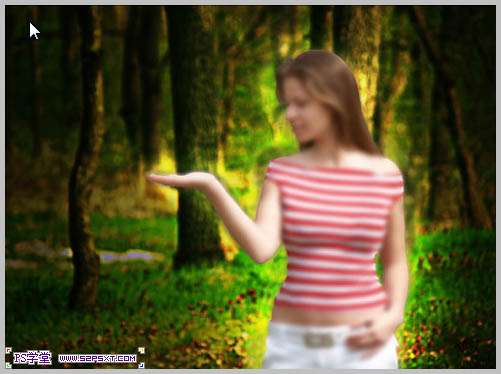
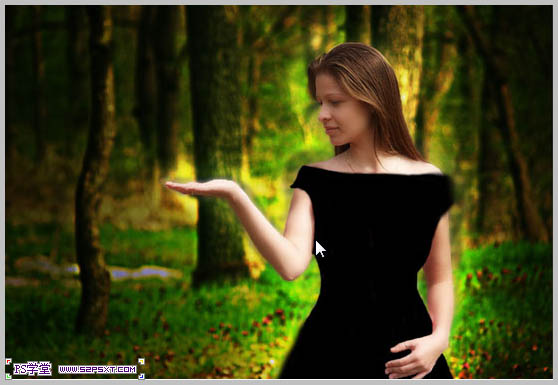
1、打开素材图片。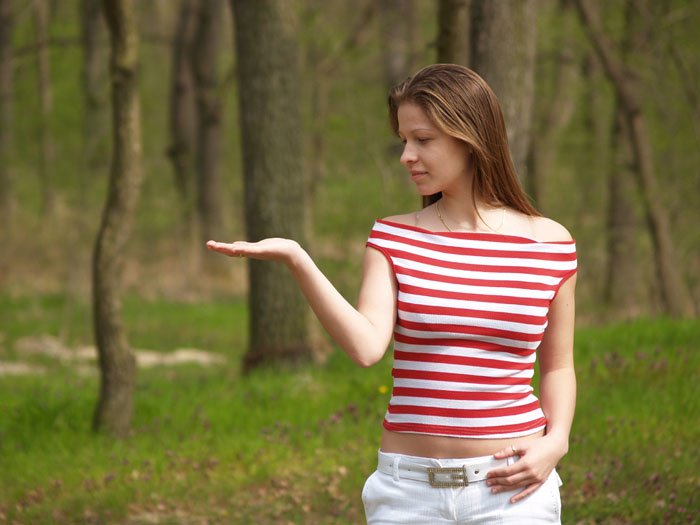
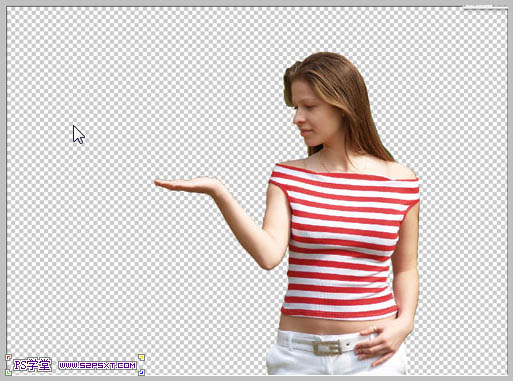
2、使用套索工具/钢笔工具将人物添加选区,按Ctrl+J复制一个新图层。
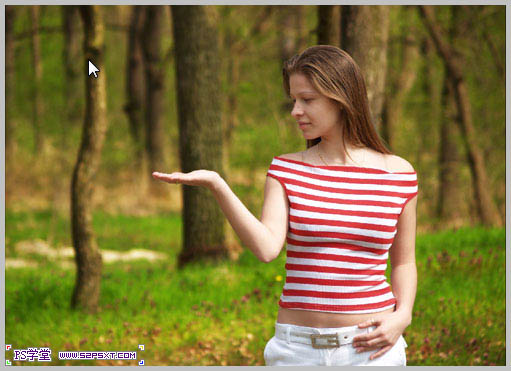
3、先处理背景图片,单击刚才打开的美女图片,应用‘图像-调整-亮度/对比度’数值如下。
4、应用‘图像-调整-曲线’数值效果如下。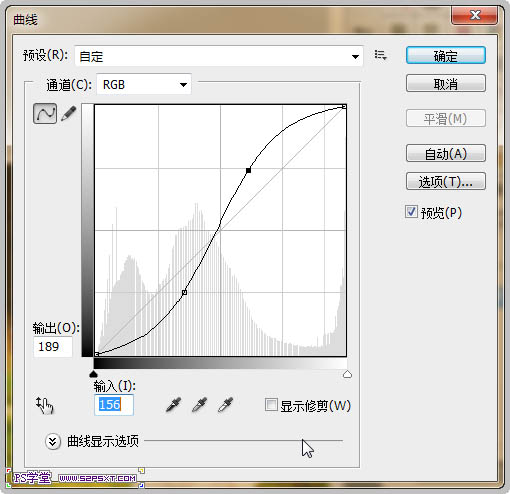
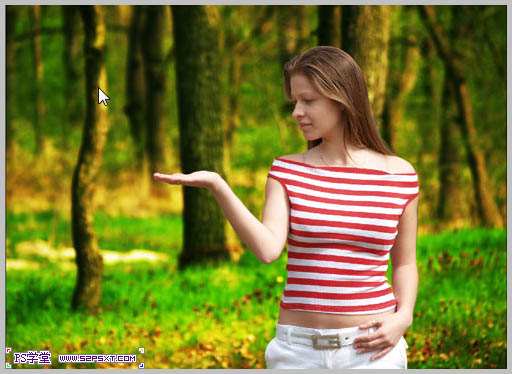
5、应用‘图像-调整-色彩平衡’给图片加上一点绿色,数值效果如下。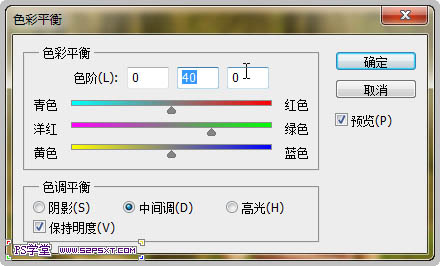
6、复制美女图层,应用‘滤镜-其它-高反差保留’,数值效果如下。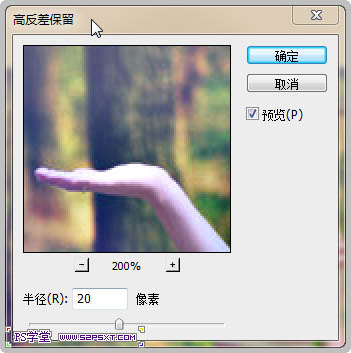
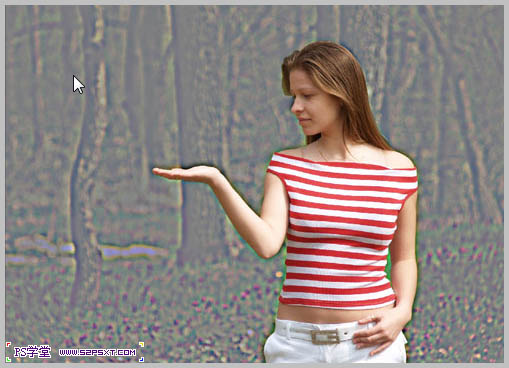
7、设置图层模式为:正片叠底。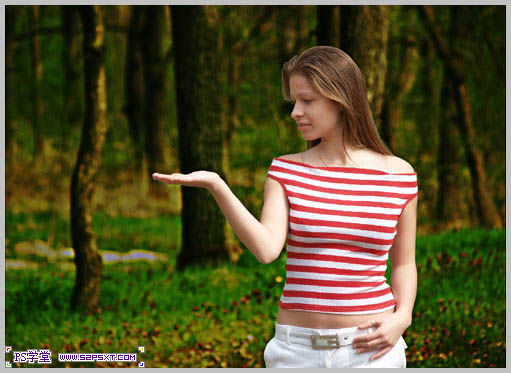
8、选择柔角橡皮擦工具(不透明度:70%),依着美女的轮廓轻轻擦处,这时女孩子周围将变成鲜亮效果。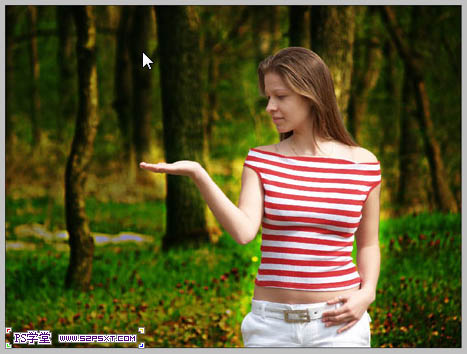
9、继续为美女周围增加光彩,新建图层,将这图层移到最上层并设置图层模式为:叠加,选择柔角笔刷,不透明度:30%,前景色为白色(#FFFFFF),将美女周画继续画亮一些。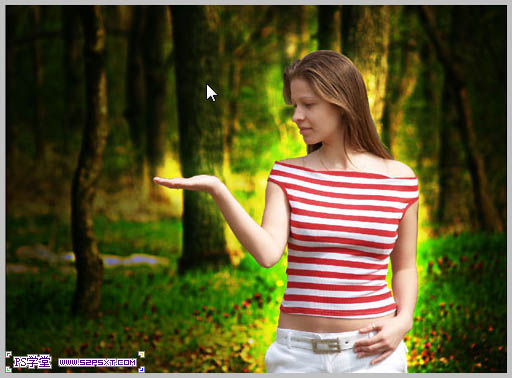
10、现在开始美化人物,首先要为人物瘦身,用到的是‘滤镜-液化’。
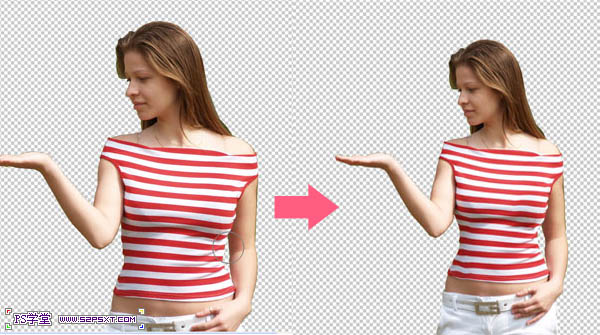
11、下图可以看到给哪些地方做了瘦身效果。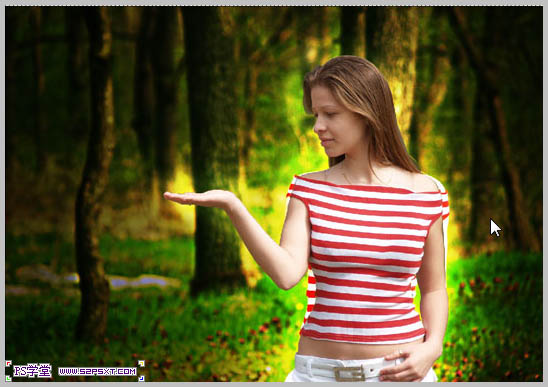
12、复制图层,应用‘滤镜-模糊-高斯模糊’像素3左右。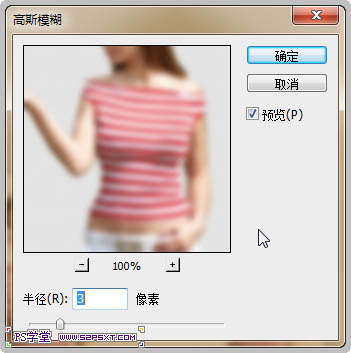
13、图层不透明度降到:60%。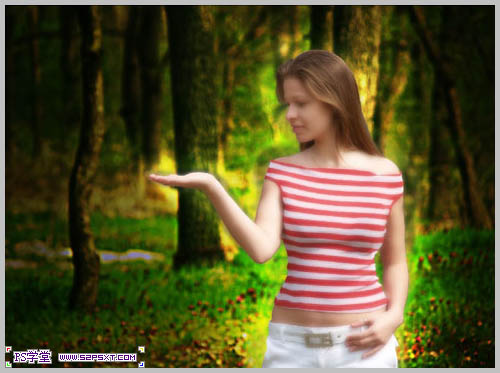
14、图层模式设为:滤色。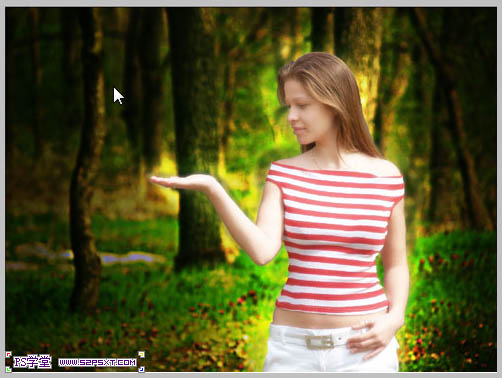
15、复制一层,图层模式设为:正片叠底。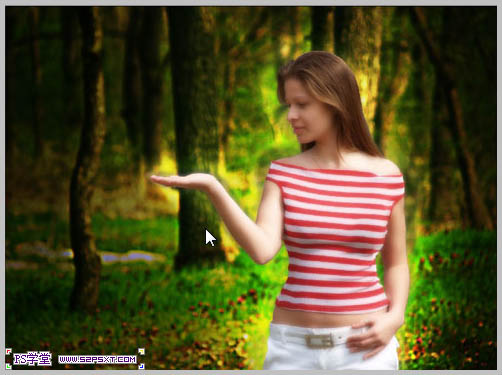
16、用柔角橡皮擦工具修整一下人物的轮廓,把模糊的地方擦除掉,显示出底层清晰的轮廓。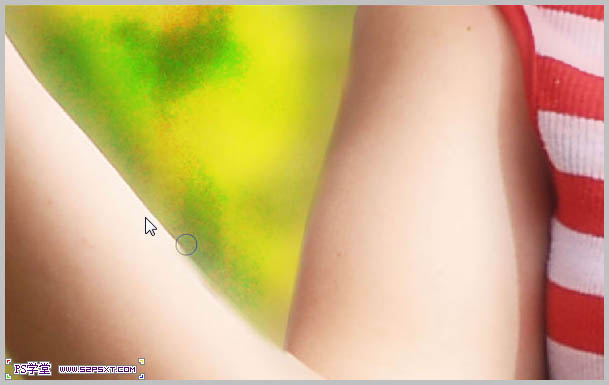

17、复制那层没有模糊的美女图层,移到最上面,应用‘滤镜-其它-高反差保留’像素1-2左右。
18、应用‘图像-调整-高度/对比度’数值效果如下。
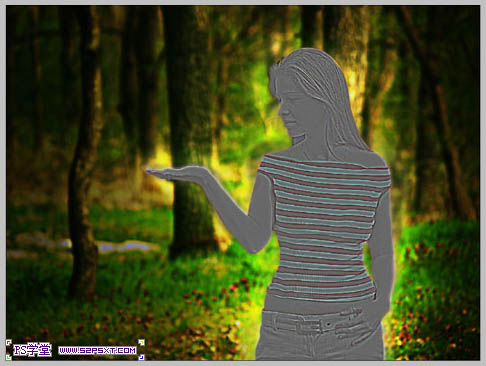
19、设置这层混合模式为:柔光。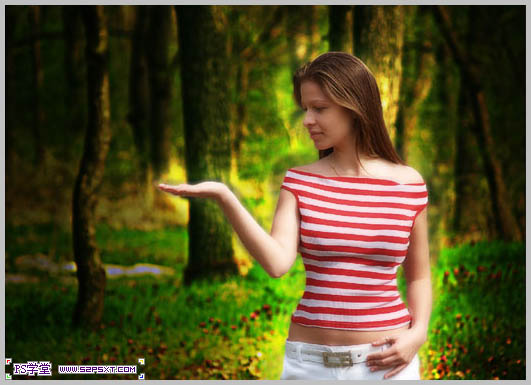
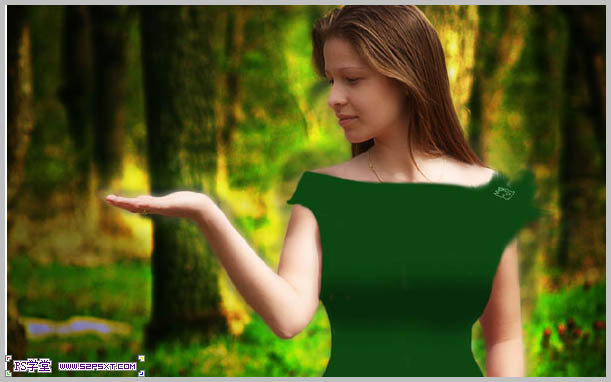
20、新建图层,移之最顶层,选择柔角画笔,前景黑色,为美女画出黑色衣服。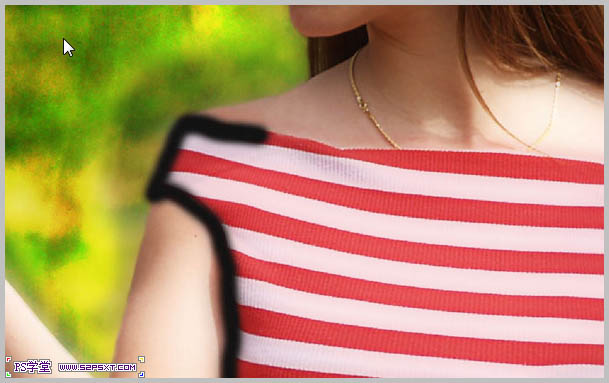
21、复制画好的黑色衣服图层,应用‘图像-调整-色阶’。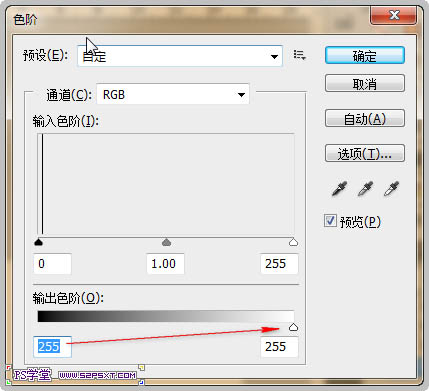

22、将这两个图层的不透明度分别降低为:70%。
23、选择橡皮擦工具,在白色衣服图层的胸部区域涂抹。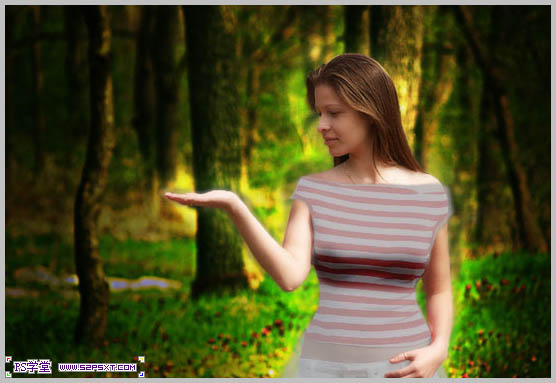
24、将黑色衣服图层不透明度改为:100%,白色衣服图层透明度改为:10,合并两个图层。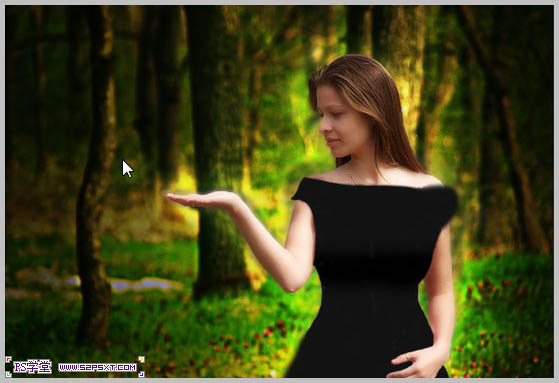
25、衣服做好后改变颜色,应用‘图像-调整-色相/饱合度’数值效果如下。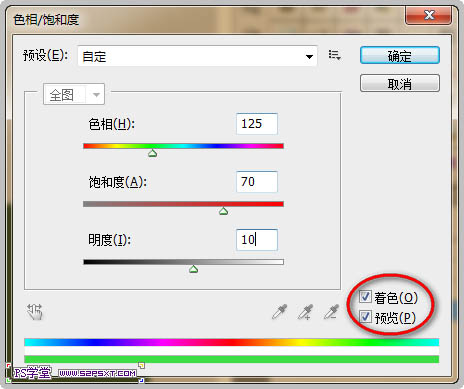

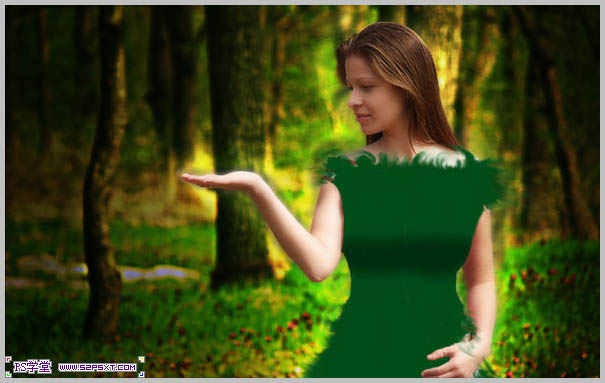
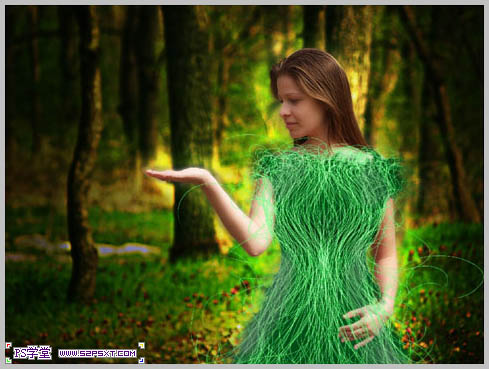
26、选择系统自带的‘粉笔’笔刷,使用涂抹工具(强度:50%)来涂抹出衣服上部分和底部,效果如下。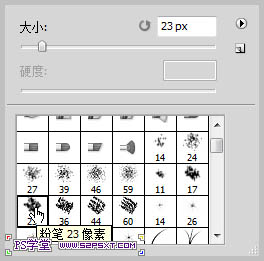
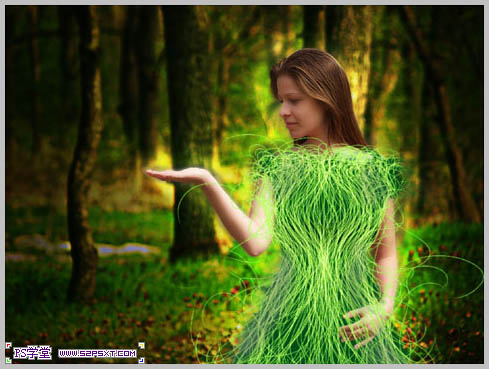
27、新建图层,调整好笔刷,直径1px,前景色白色,然后用钢笔工具勾出如下路径。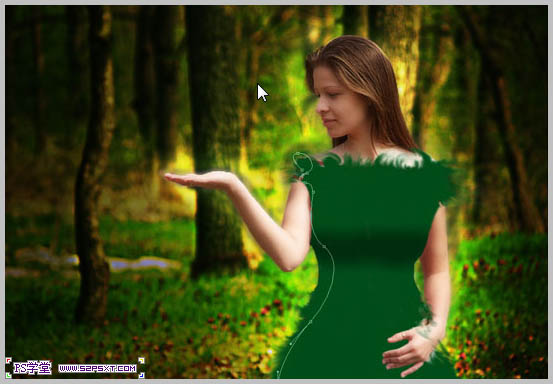
28、右键路径-选择‘描边路径-笔刷’,再右键-删除路径。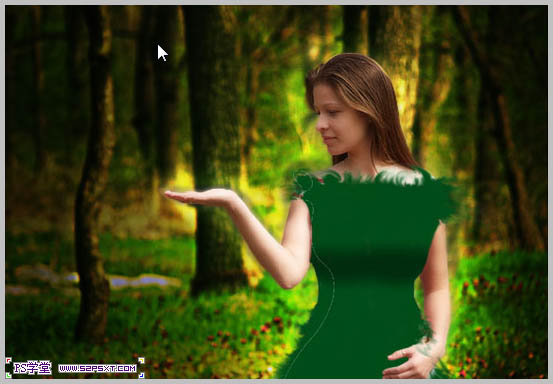
29、多创建一些这样的曲线,有些可以复制,看自己灵活去做了,效果如下。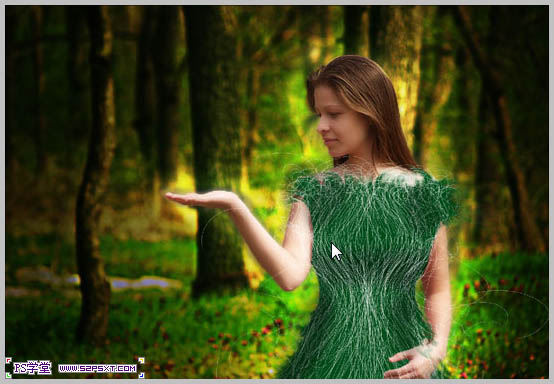
30、复制第11步创建的曲线图层,将被复制的图层应用‘滤镜-模糊-高斯模糊’2-3像素左右。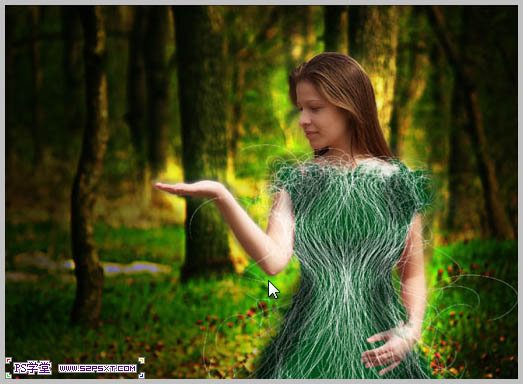
31、图层不透明度设为:60%。
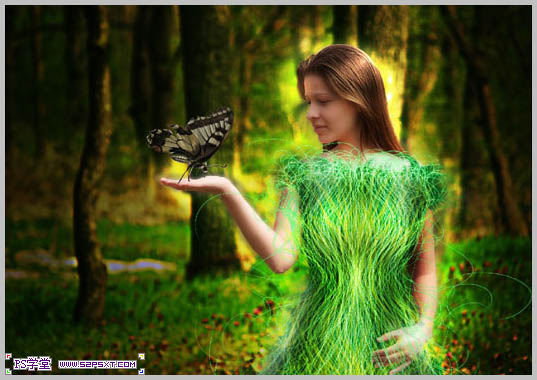
32、应用‘图像-调整-色相/饱和度’,数值效果如下。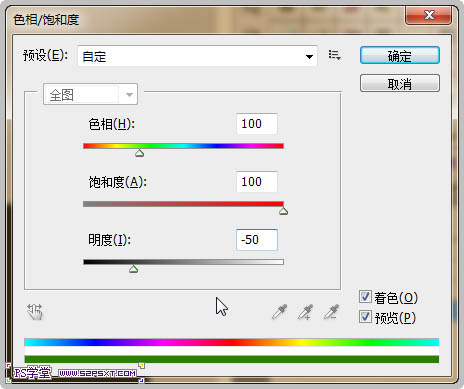
33、复制此图层,应用‘图像-调整-色相/饱和度’,数值效果如下。
(本文来源于图老师网站,更多请访问http://m.tulaoshi.com/ps/)34、点击‘编辑-变换-垂直翻转’。用柔角橡皮擦工具将上部分多出来的曲线擦掉。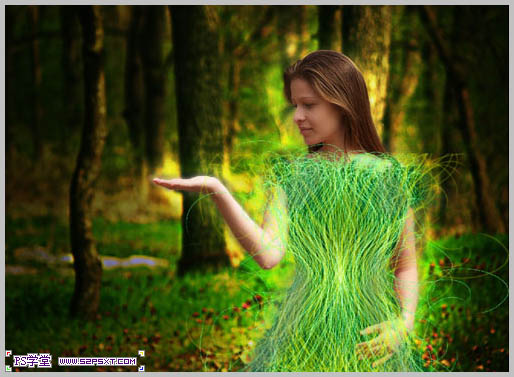
35、新建图层,混合模式为:叠加,选择柔角笔刷,用白色分别对人物的头发、胸部、额头等地方添加高光,用黑色分别对人物的腰部、肩膀加暗一些。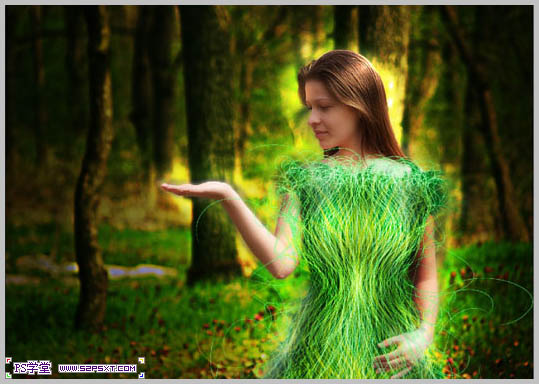
36、打开蝴蝶素材,将蝴蝶抠出来,拖入到正在做的画布内,缩小摆放在人物的手上。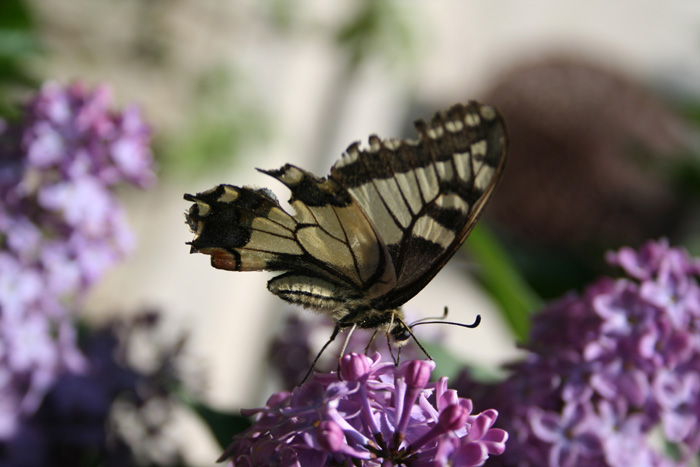
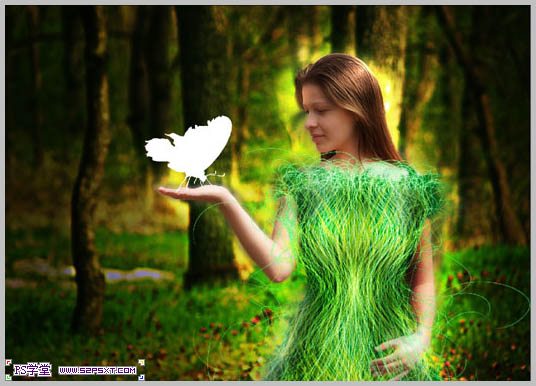
37、应用‘图像-调整-色阶’把蝴蝶变成白色。
38、应用‘滤镜-模糊-高斯模糊’像素0.5左右。
(本文来源于图老师网站,更多请访问http://m.tulaoshi.com/ps/)39、复制蝴蝶图层,为被复制的图层应用‘滤镜-模糊-高斯模糊’像素10-30左右。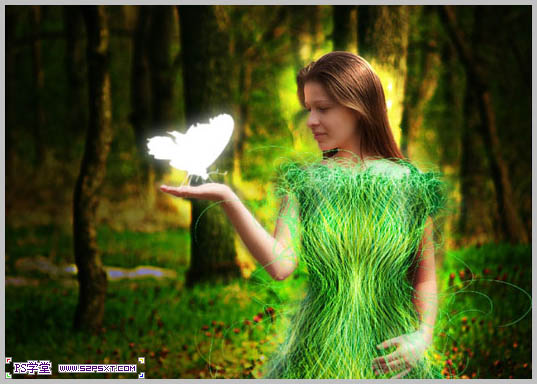
40、应用‘图像-调色-色相/饱和度’数值效果如下。

41、新建图层,将它移到两个蝴蝶图层的下面,使用柔角画笔工具,前景色(#fc6d05),按住Shift键画出直线后,多复制几层并调整位置,像光束效果一样,如下。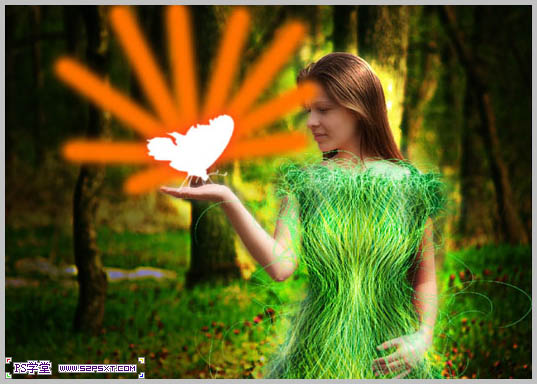
42、使用柔角橡皮擦工具擦除光束的末端。将图层不透明度调为:45%。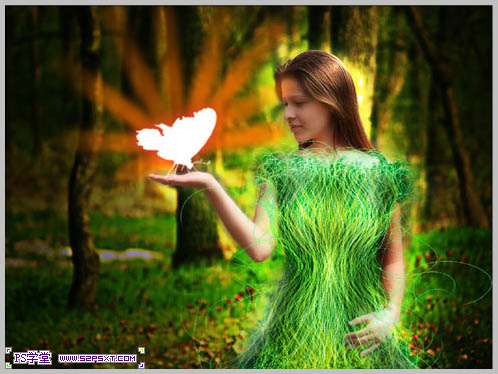
最后简单的调整一下小细节,最终效果如下:


