今天图老师小编给大家介绍下PS合成童话中的恐怖城堡场景,平时喜欢PS合成童话中的恐怖城堡场景的朋友赶紧收藏起来吧!记得点赞哦~
效果图合成的过程不难,不过作者的光影处理的非常完美,尤其是古树及城堡部分,需要根据光源设定暗部及高光,局部还需要重新调色。
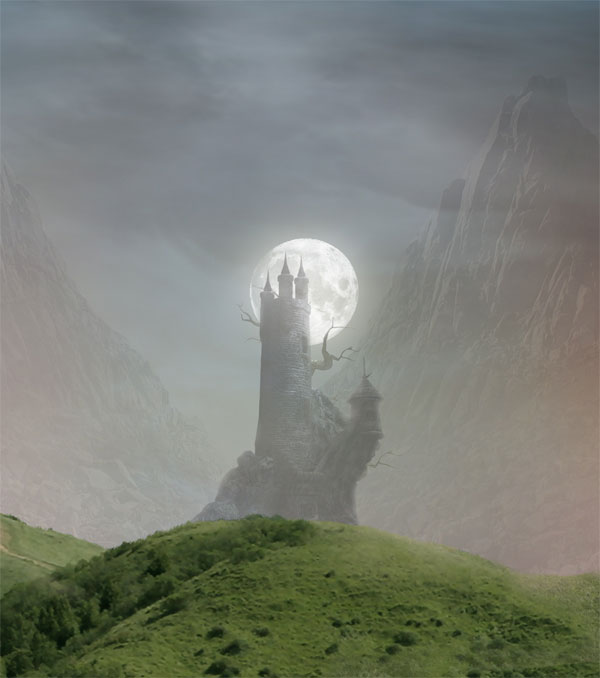
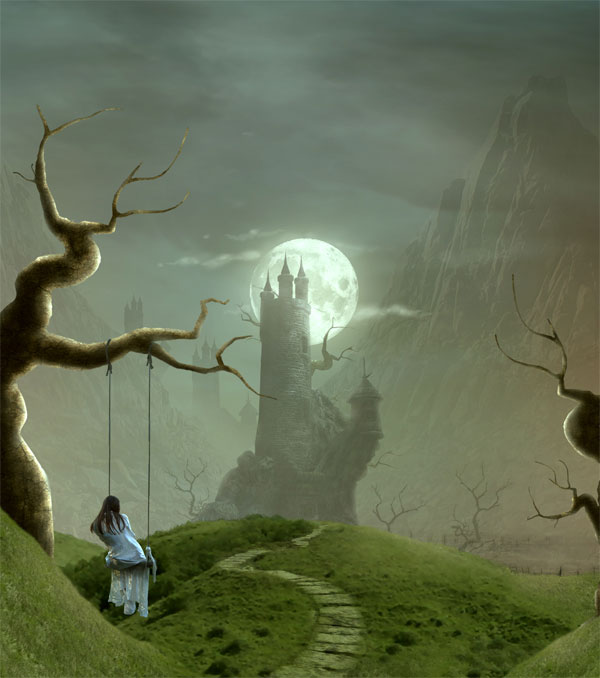
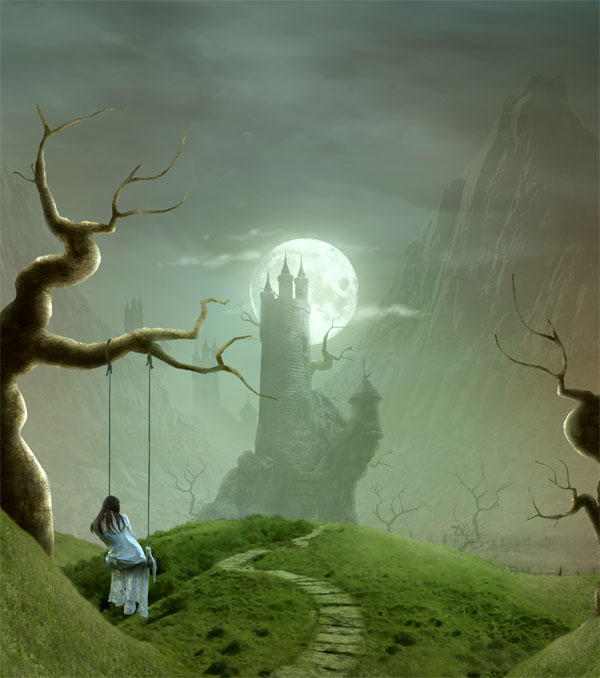
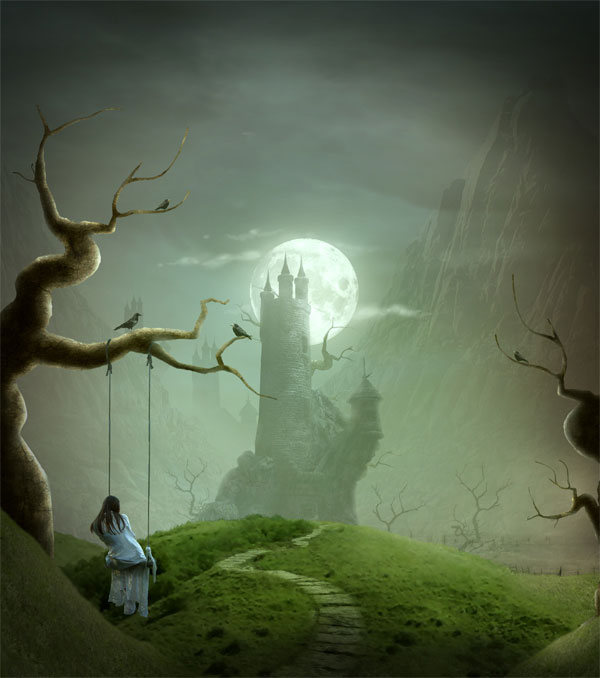
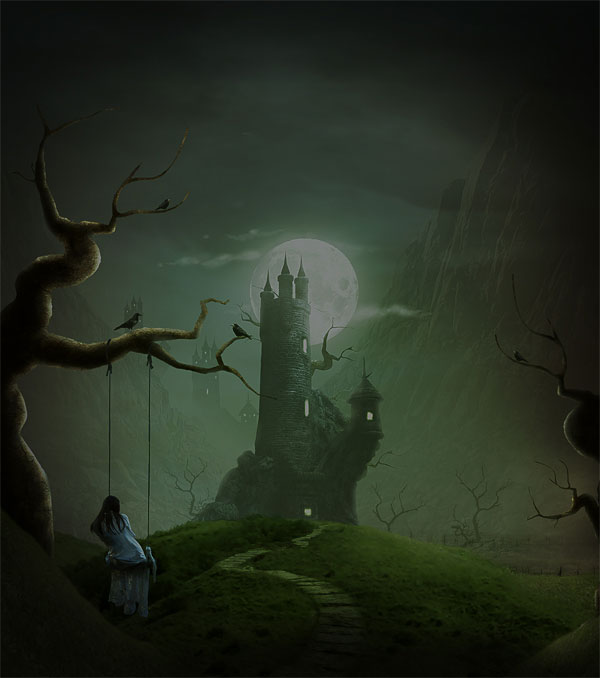
最终效果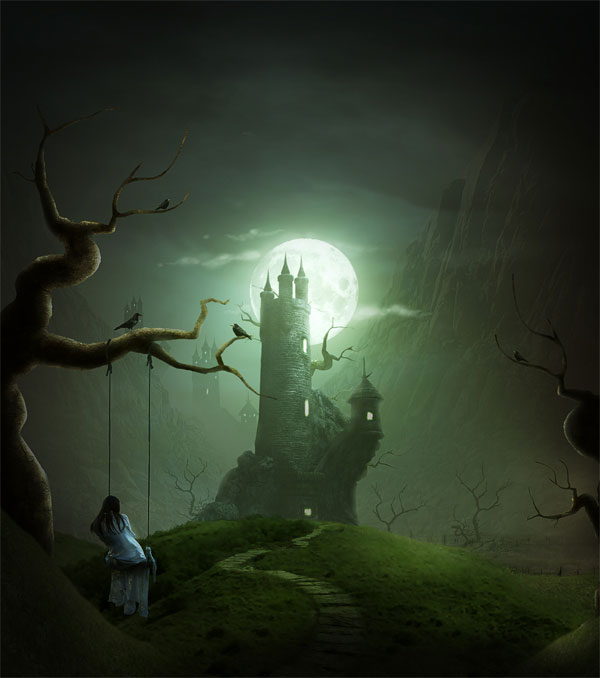
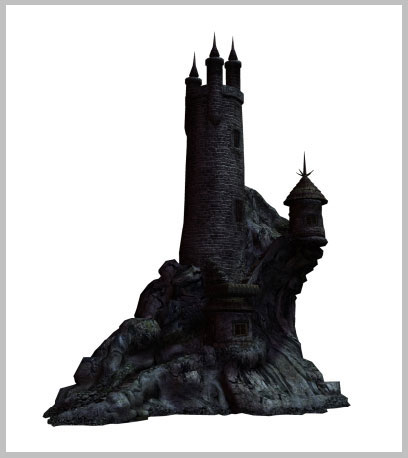
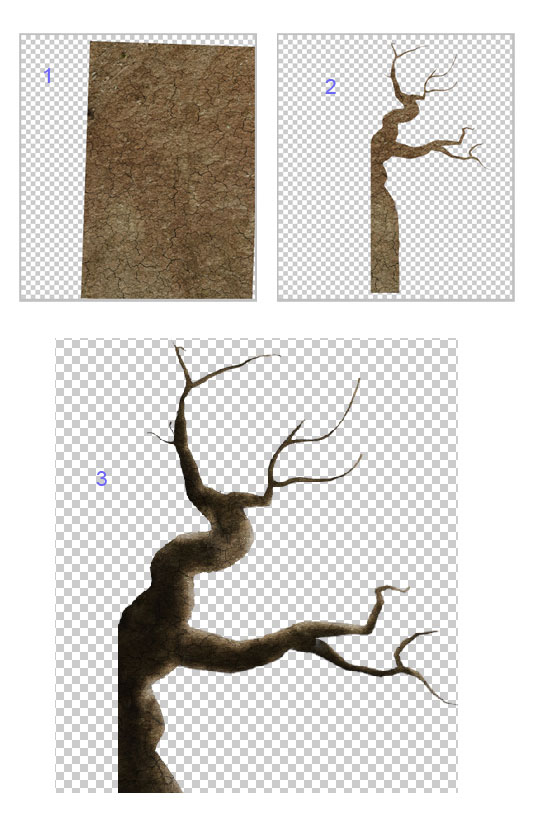
1、在photoshop中创建一个1600像素宽,1600像素高文档。 打开城堡图片放置在画布中。
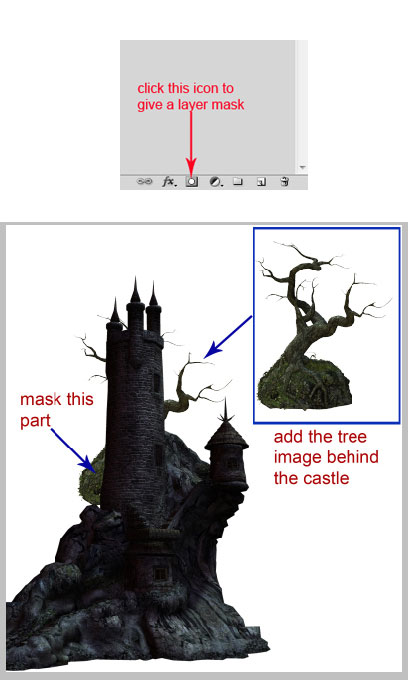
2、打开古树图像文档,将图像放在城堡后面。调整其大小。并用蒙版工具擦掉不需要的部分。 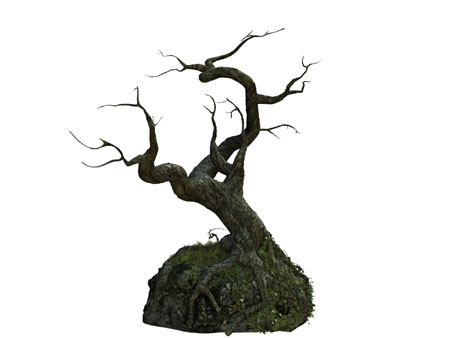
3、复制(Ctrl + J)树形象,其调整大小放置在城堡后面,复制多次。效果如下。 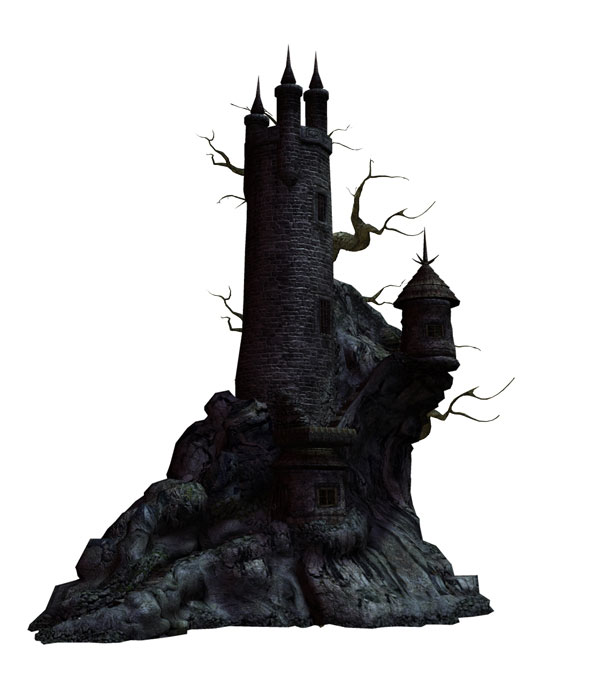
4、创建一个新文档(Ctrl + N),大小为1600像素宽,1600像素高。 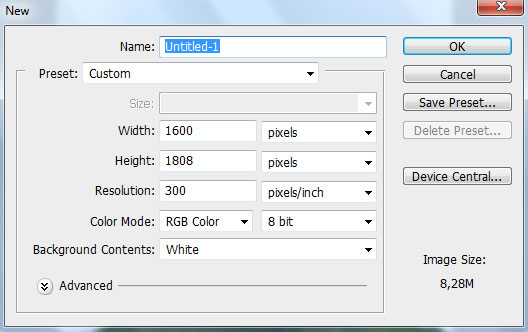
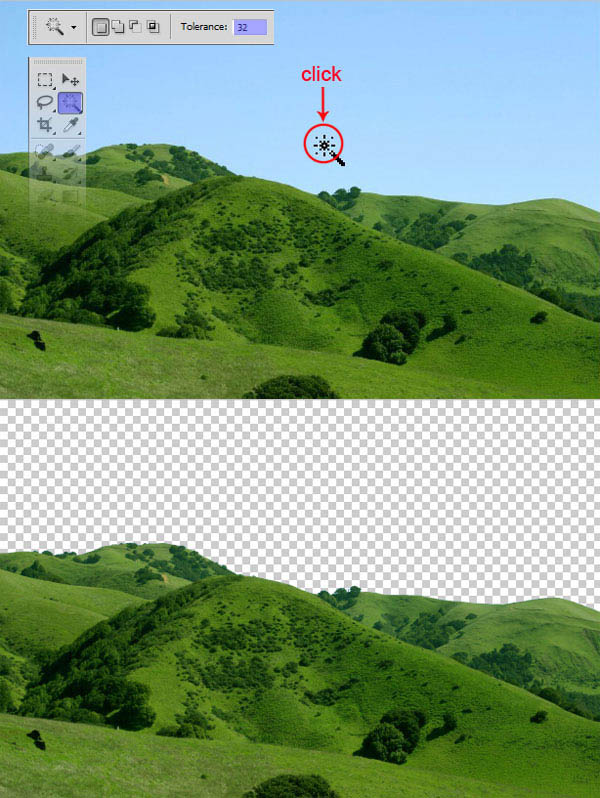
5、打开草滩图片, 使用魔棒工具选择天空,按Delete删除。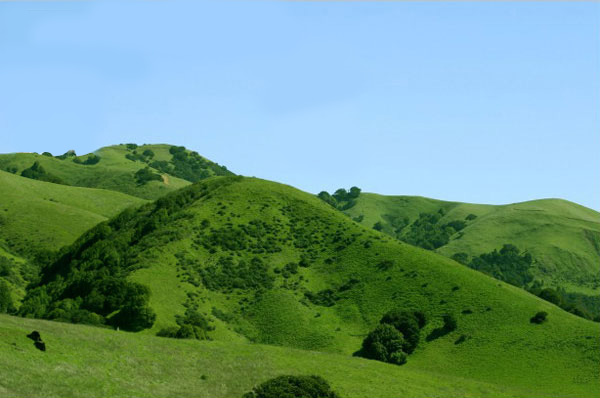
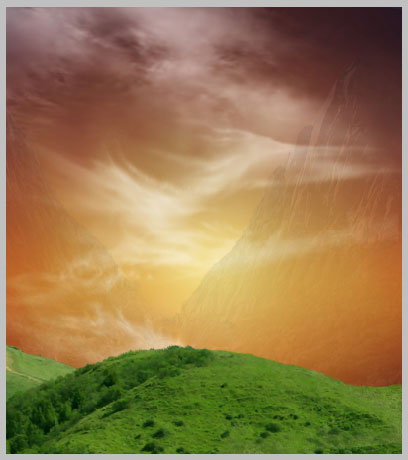
6、提取的草地放置到新文档。 使用自由变换工具(T)、调整大小以适应画布。 然后,滤镜模糊表面模糊。 设置如下图。 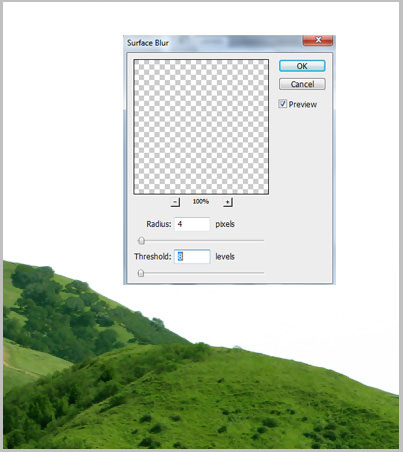
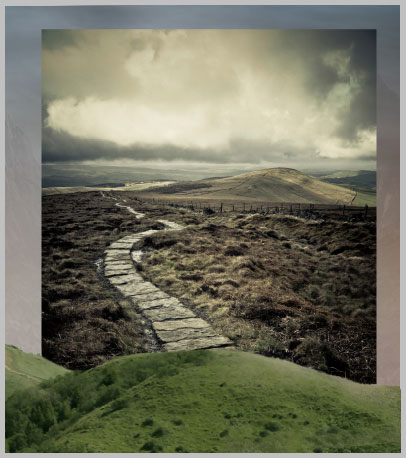
7、给草地添加图层蒙版用飞溅笔刷在下图红边部分涂抹。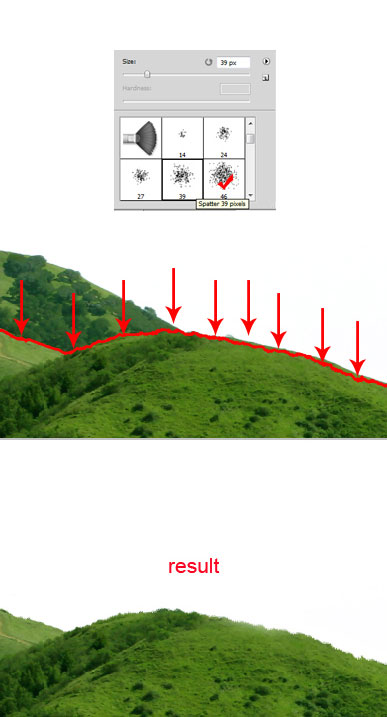
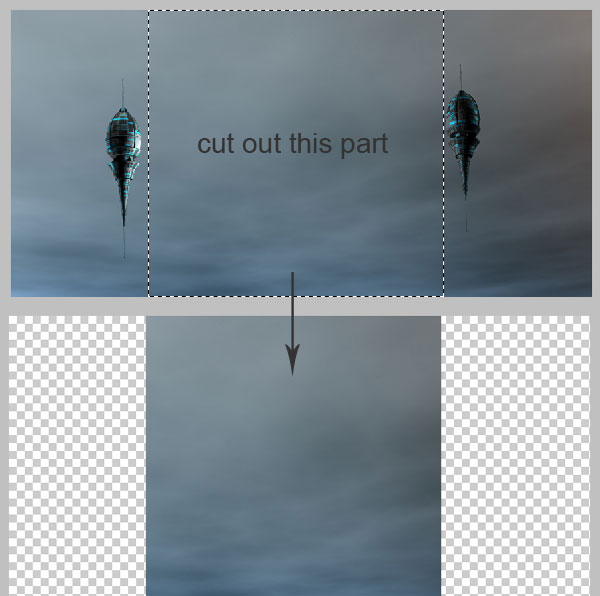
8、接下来使用套索工具如下部分,按Ctrl + J复制到一个新的图层。 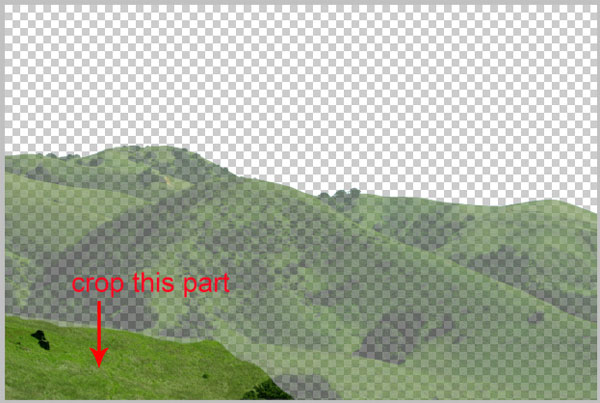
9、移到下图所示的位置。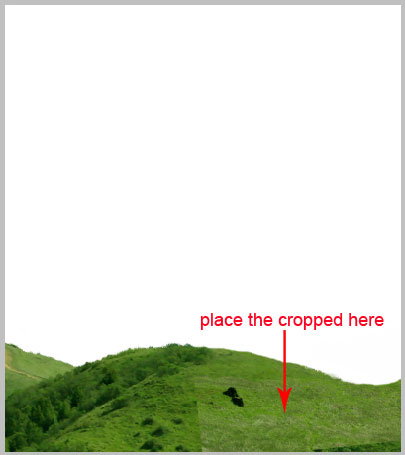
10、添加图层蒙版,用黑色画笔把边缘涂抹自然。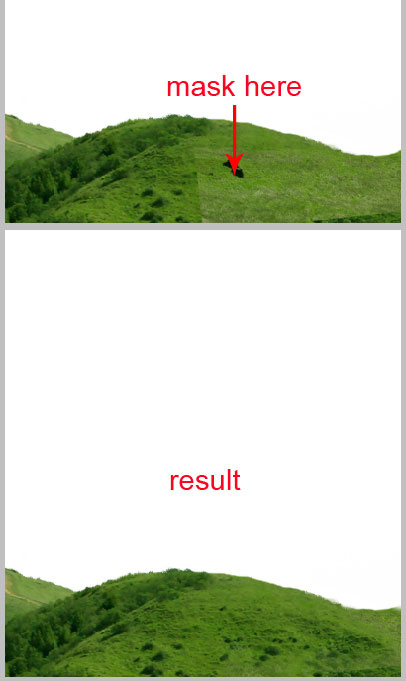
11、打开山谷图像,点击Ctrl + T变形,调整大小。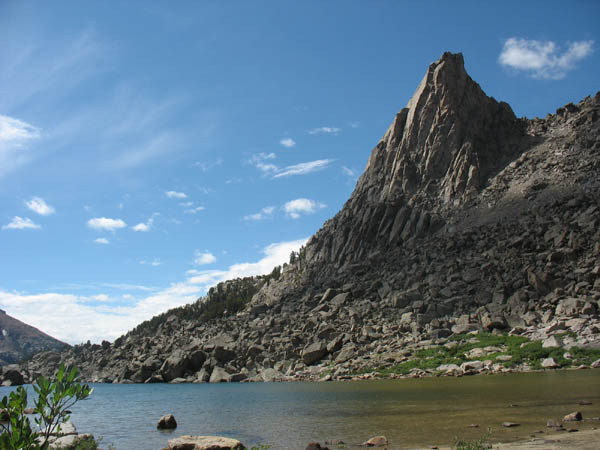
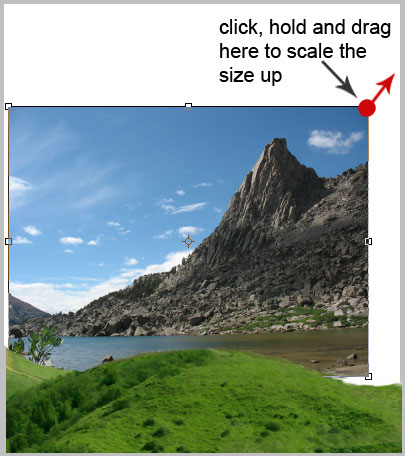
12、我们将用蒙版擦掉天空背景。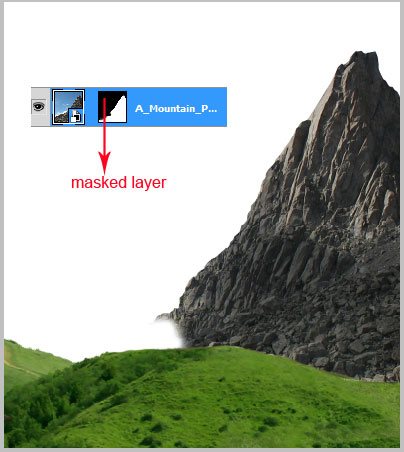
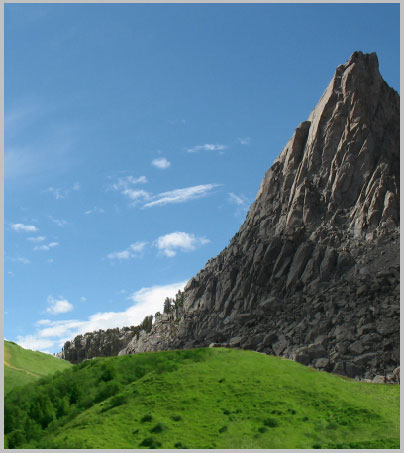
13、复制(Ctrl + J)山层,水平翻转并移到左侧位置,调整大小让它看起来并不统一。 
14、每个山层的不透明度减少到仅为10%。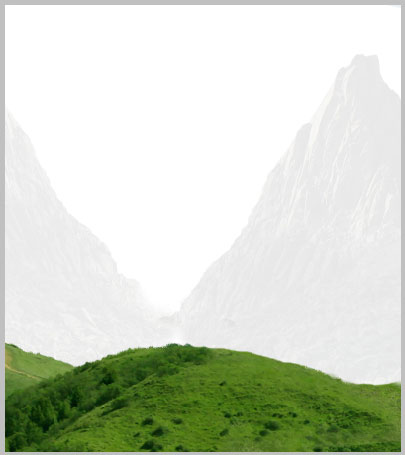
15、打开云图像。使用选框工具复制出云纹理背景。 
16、云纹理添加到场景中。调整大小以适应背景。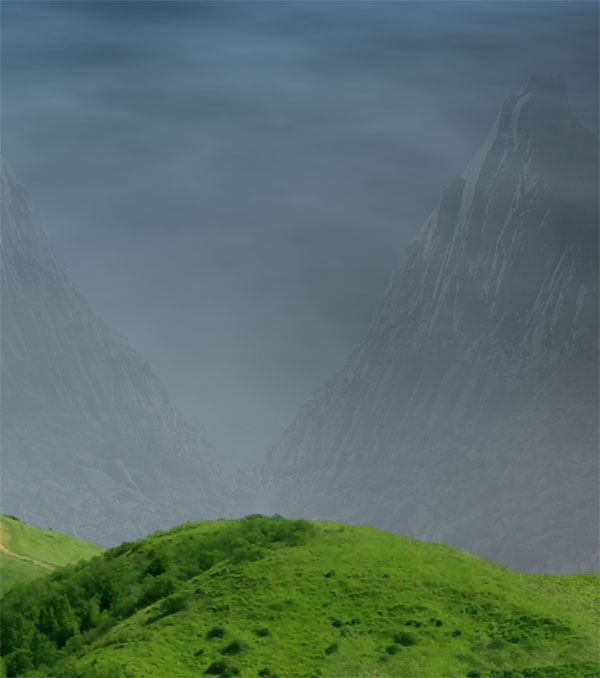
17、在云纹理层上面创建一个新层(Ctrl + Shift + N)。选择渐变工具,颜色设置如下,然后由顶部向下拉出线性渐变。 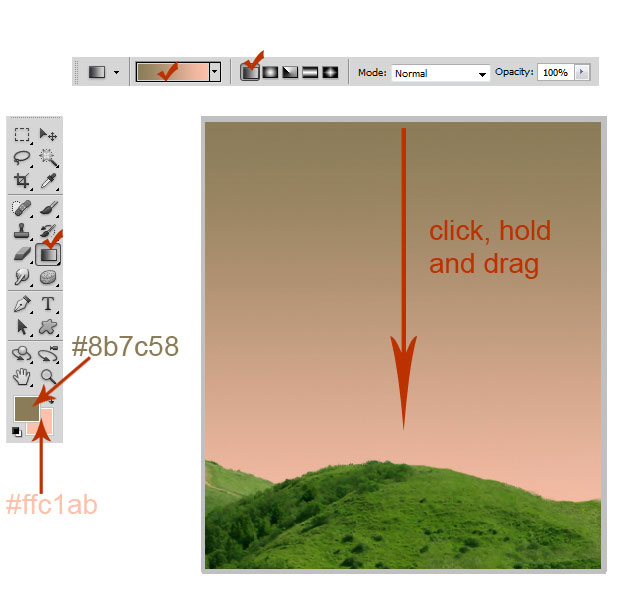
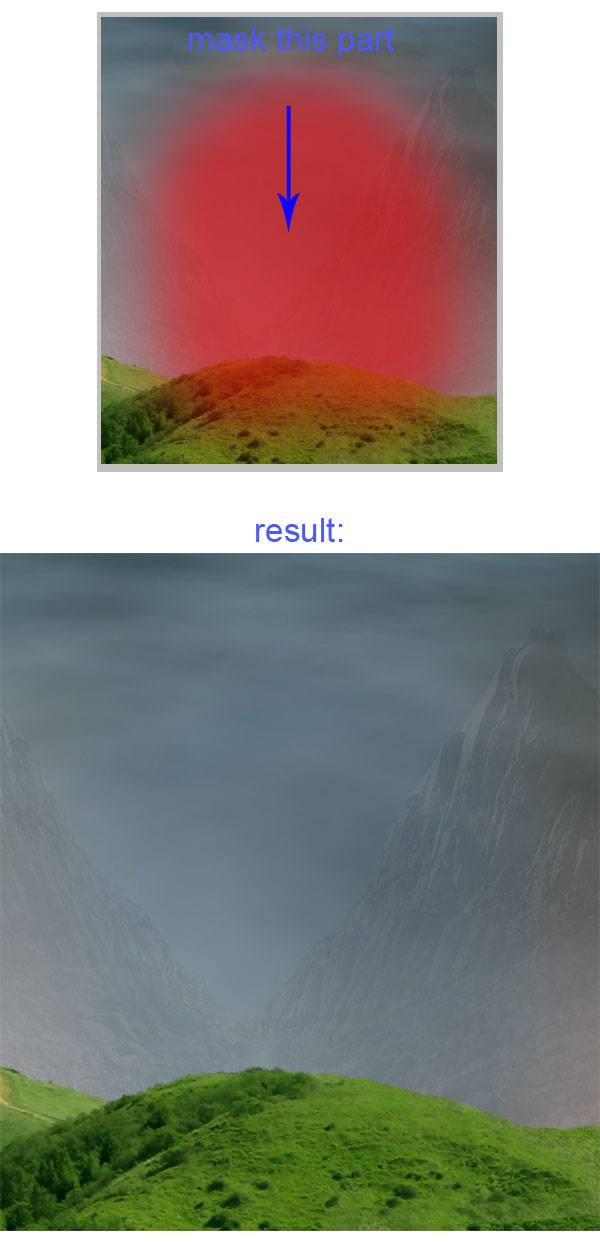
18、设置渐变层混合模式为“柔光”,不透明度为68%。添加图层蒙版,用黑色画笔把中间部分擦出来。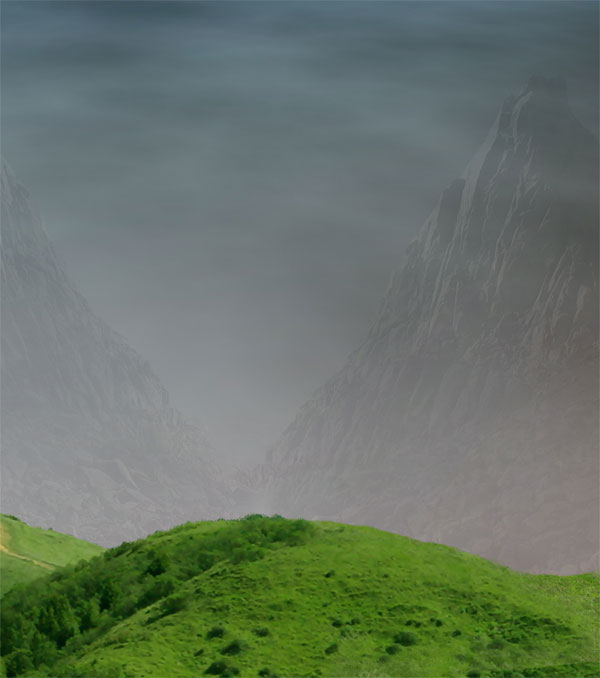
(本文来源于图老师网站,更多请访问http://m.tulaoshi.com/ps/)
19、添加另一个云图像文件,增加更多的云。 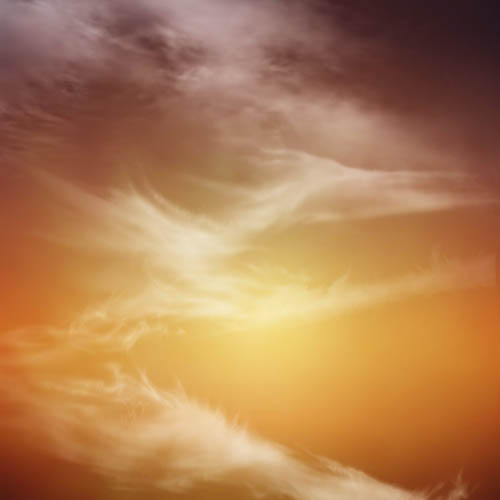
20、这种云的混合模式设置为“滤色” ,不透明度为35%。 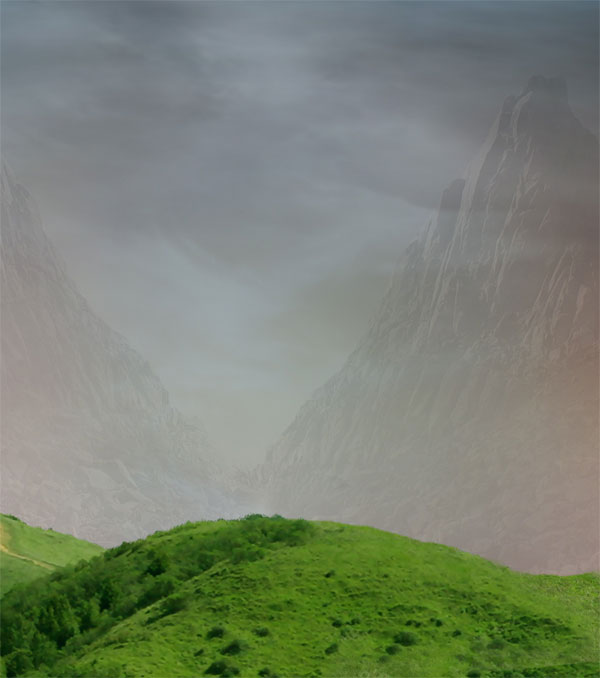
21、接下来,添加我们之前制作的城堡图片。调整大小,并将其放在两山之间。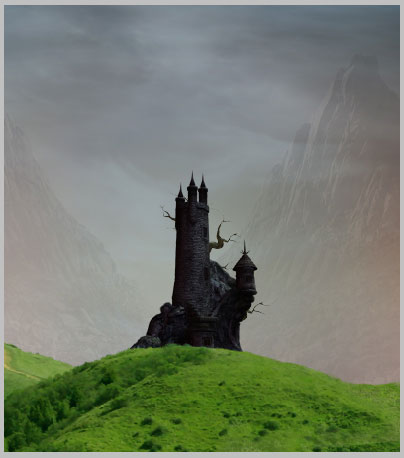
22、城堡的图层的透明度减少到30%。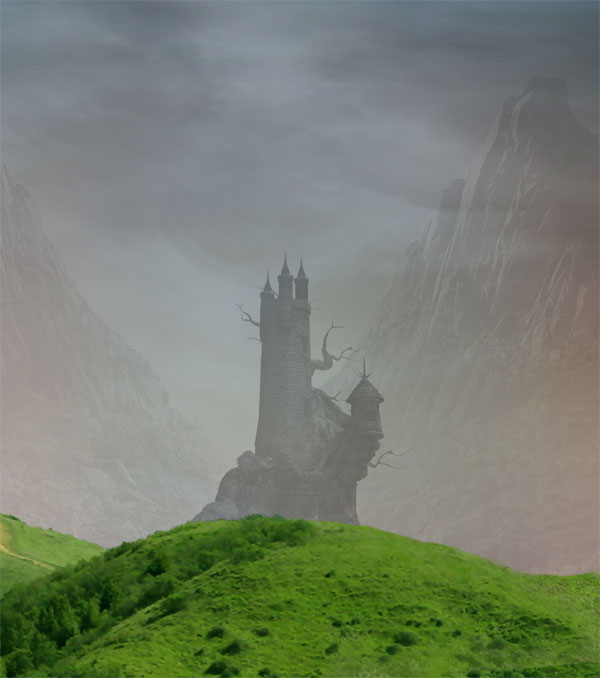
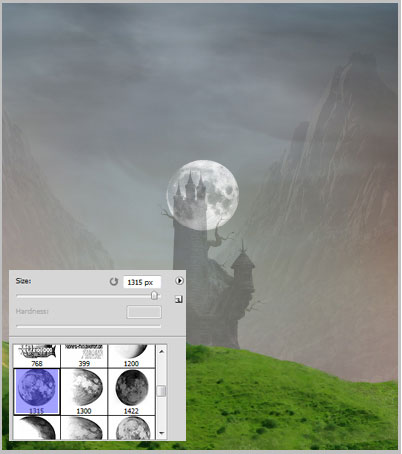
23、新建一个图层。用月球的画笔工具创建一个月球。 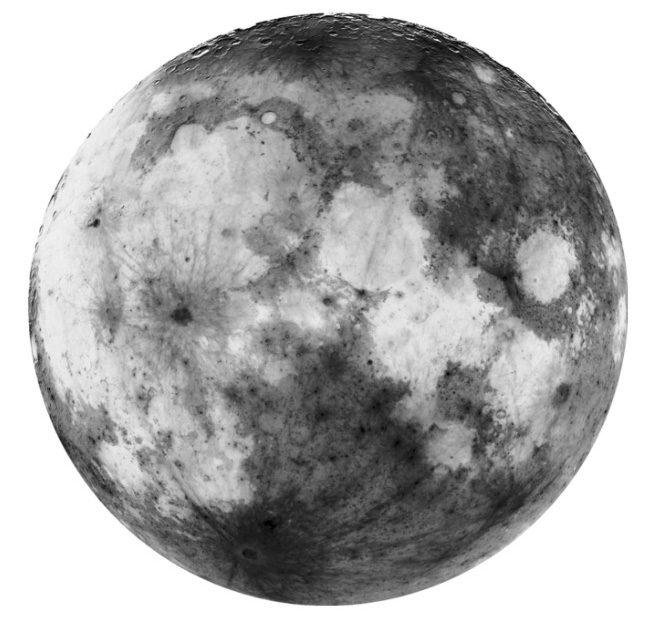
24、添加图层蒙版,用黑色画笔把月球靠城墙的一部分擦出来,城堡的墙上是可见的。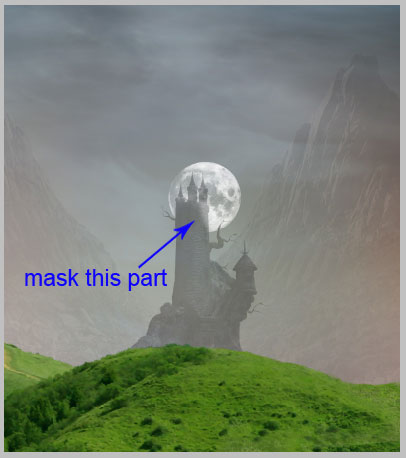
25、月亮层,选择图层图层样式外发光。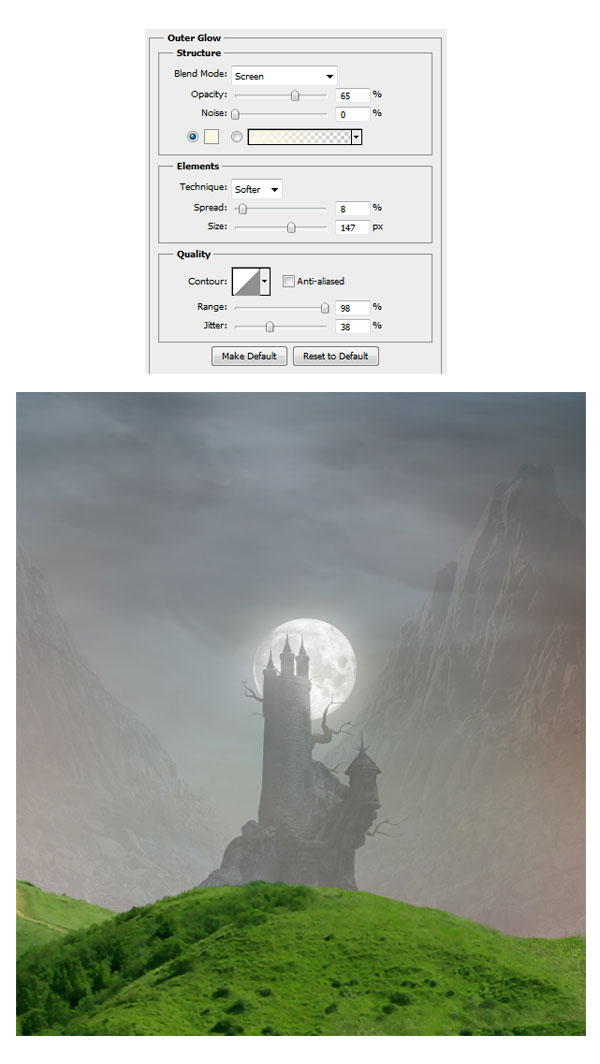
26、回到城堡层。按Ctrl鼠标点击城堡图层缩略图。当光标变成一个手指图标点击缩略图载入城堡选区,点击Ctrl + J复制选择的图形到一个新的图层,按Ctrl + Alt + G 创建剪贴蒙版。然后把当前层填充50%的灰色。 现在,用画笔工具,选择一个软笔刷。用白色画出高亮的位置。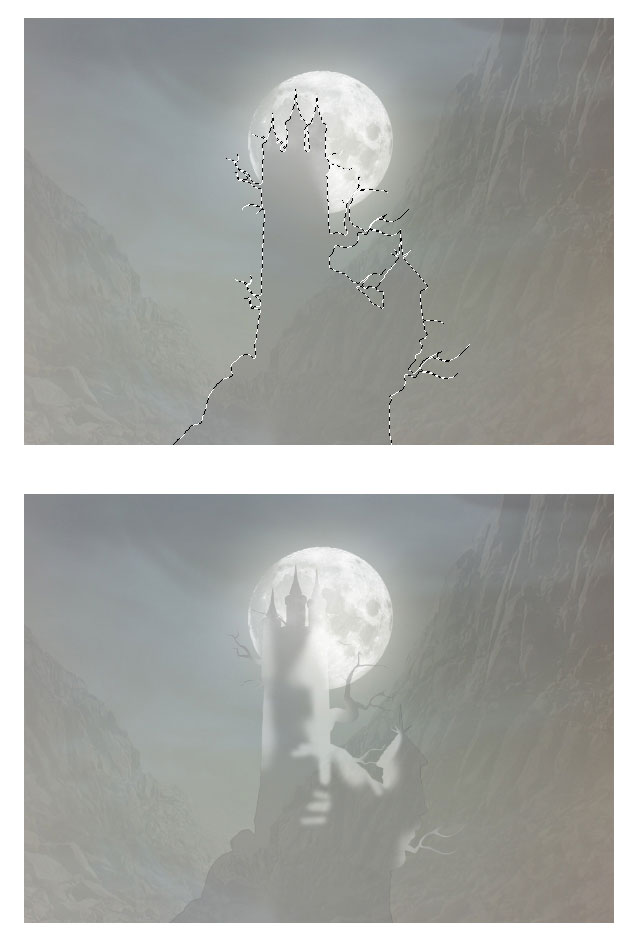
27、然后设置复制图层混合模式为“叠加”,不透明度100%。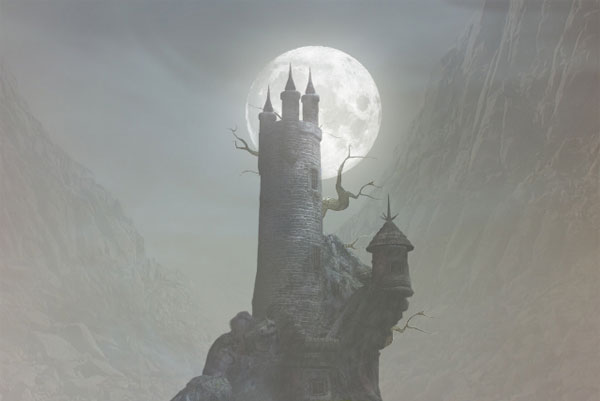
28、创建另一个新层,按Ctrl + Alt + G 创建剪切蒙版。再次选择一个非常柔软的圆刷,10 - 20%的不透明度。 用白色笔刷涂抹城堡的边缘位置,让高光更突出。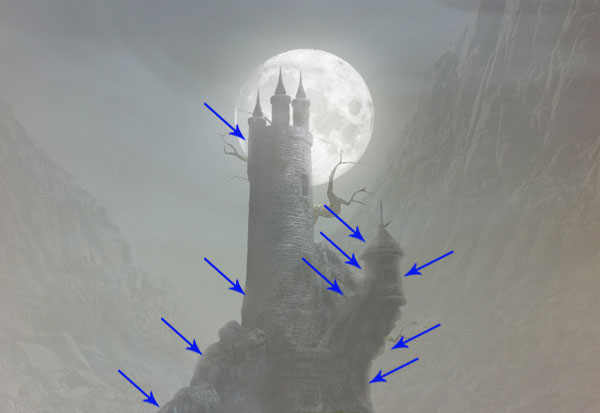
29、选择地面层,选择菜单:图层新调整图层色相/饱和度。参数设置如下图,同上的方法创建剪切蒙版。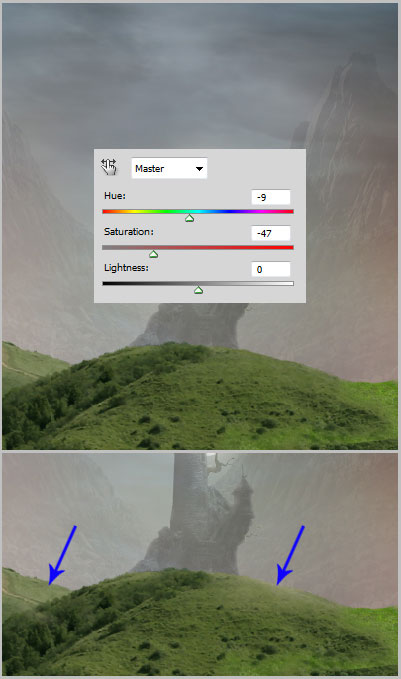
20、同样的制作其他地面层。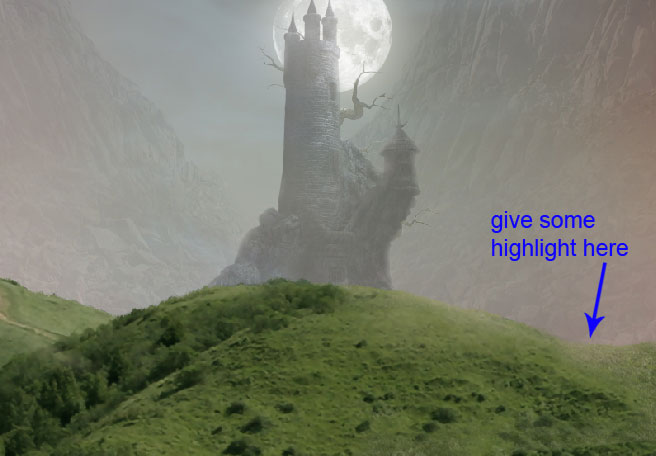
21、我们需要远处背景中添加更多的城堡。复制多个,调整他们的大小和减少透明度为10 - 20%。 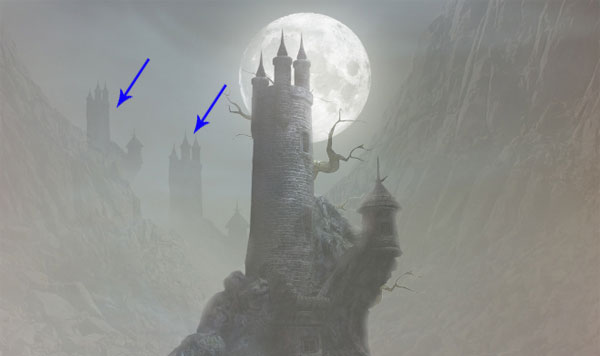
22、打开路素材。 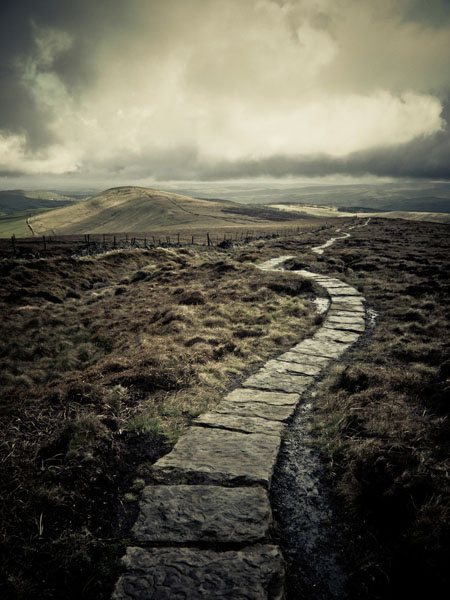
23、缩小图像的大小,并将其放置到右侧。用蒙版擦掉多余的部分。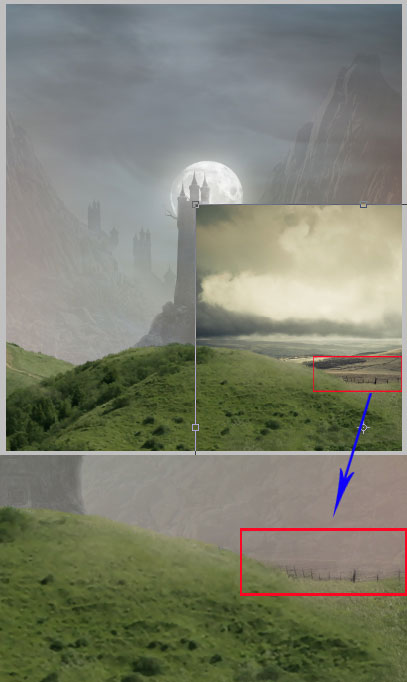
24、复制路图层放置到其他位置。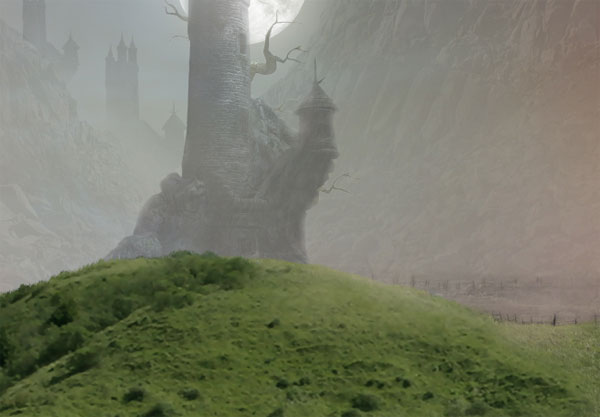
25、在这一步我们将添加路径在地上。复制路图层并将放置到地面层。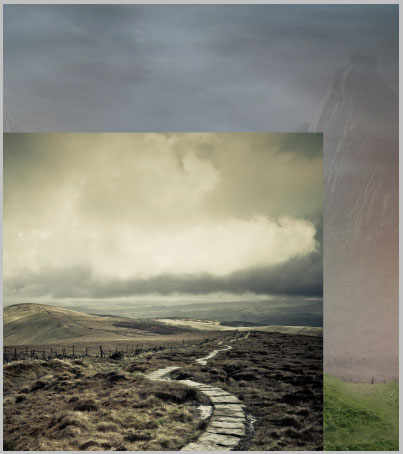
26、用蒙版擦掉不需要的部分,将其不透明度设置为50%。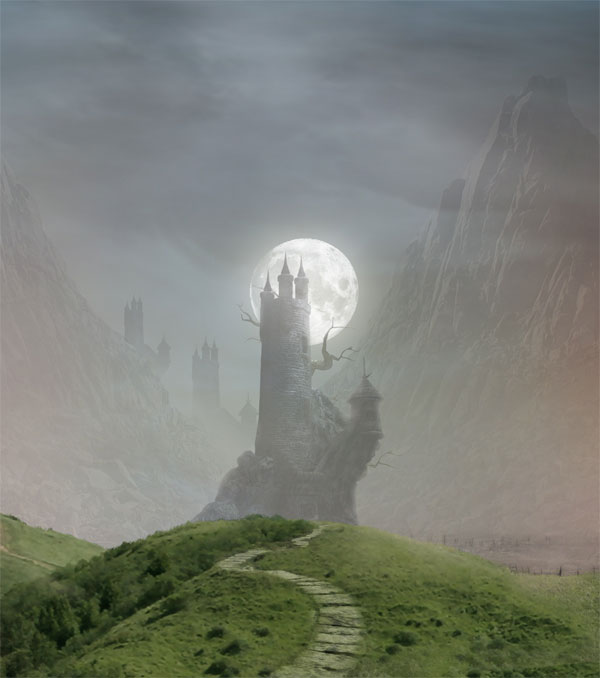
27、创建一个新文档(Ctrl + N)大小的1600像素宽,1600像素高。把树填充颜色#211e15。 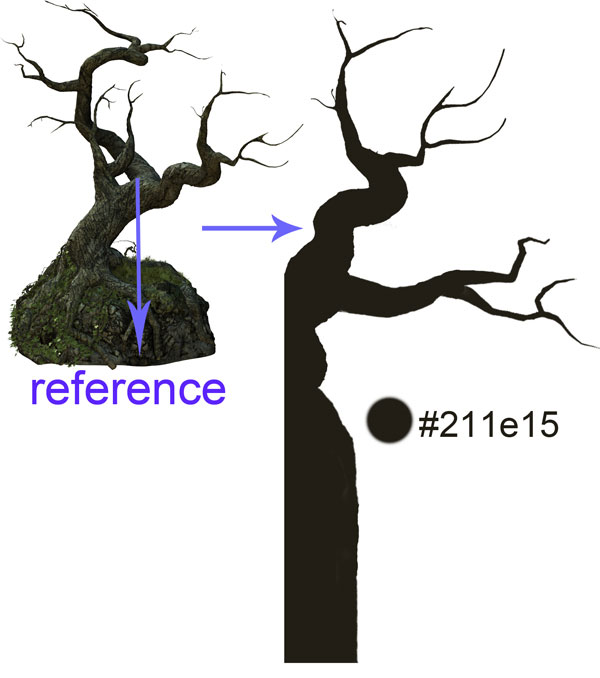
28、选择减淡工具并设置如下所示。
29、用减淡工具在树上划分出高亮区域。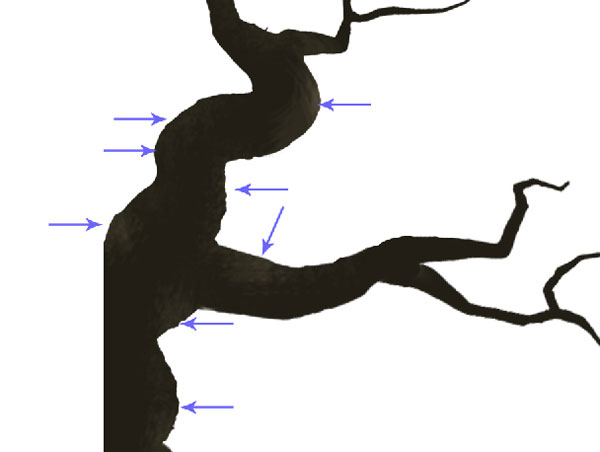
30、给树增加更多亮部。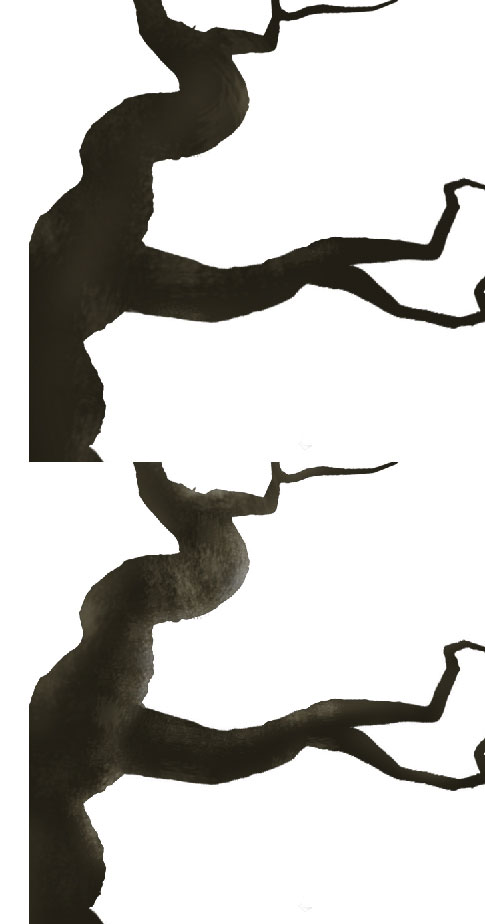
31、继续涂抹定义更多的亮部。试着改变笔刷的大小,范围切换到影子中间调突出。使用加深工具给树的一些阴影部分。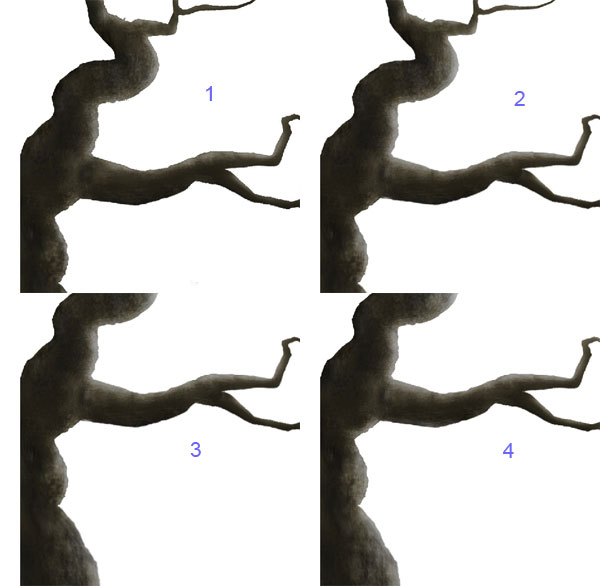
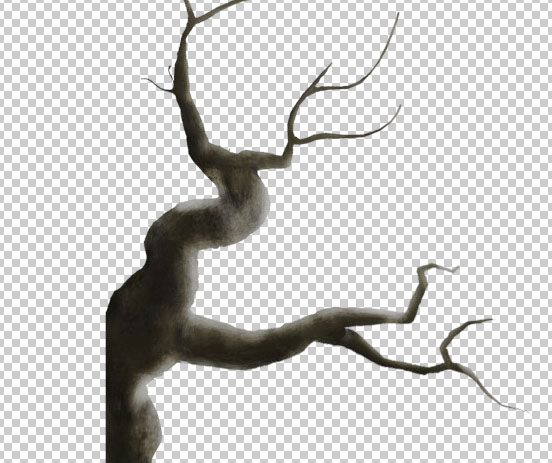
32、然后打开树上的纹理图像,拖进来按Ctrl + ALt + G创建剪切蒙版层。再把混合模式改为“柔光”,不透明度改为68%。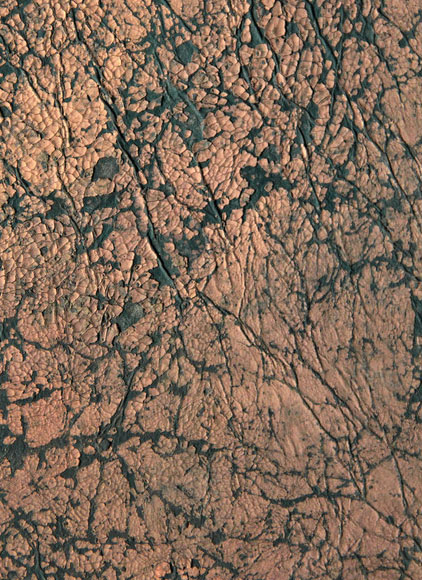
33、创建一个新层,创建剪切蒙版。选择一个非常柔软的圆刷,不透明度为10 - 20%。用白色笔刷涂抹树的边缘让亮部更突出。 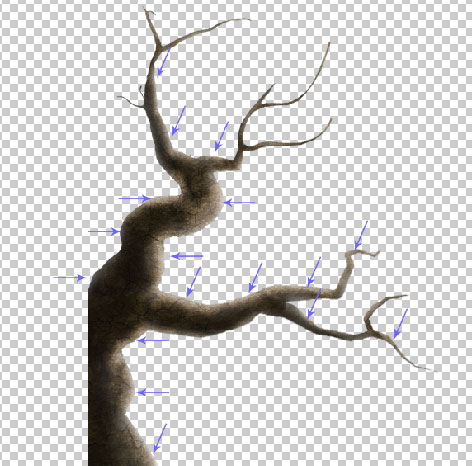
34、将树组添加到主文档。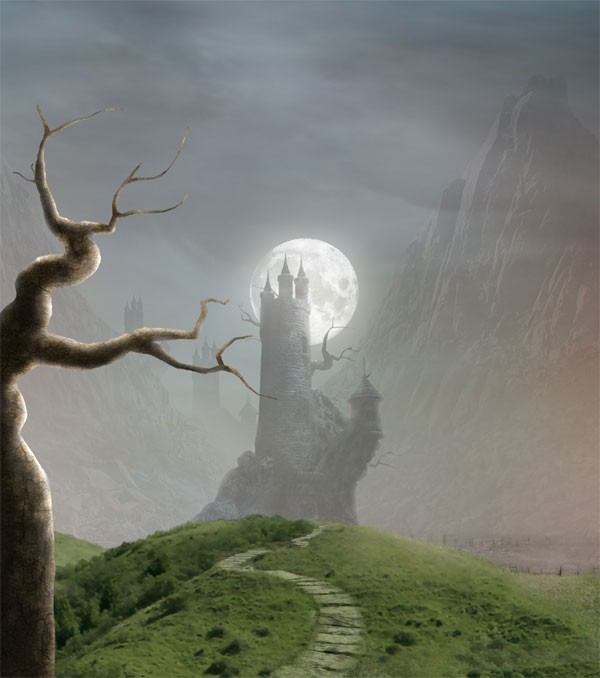
35、在右边的场景用同样的方法创建另一个树。
36、使用一个树的笔刷。 
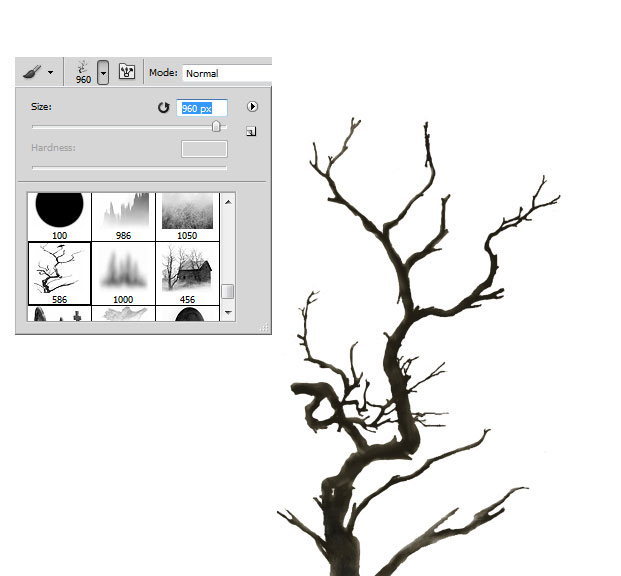
37、在场景中添加更多的树木。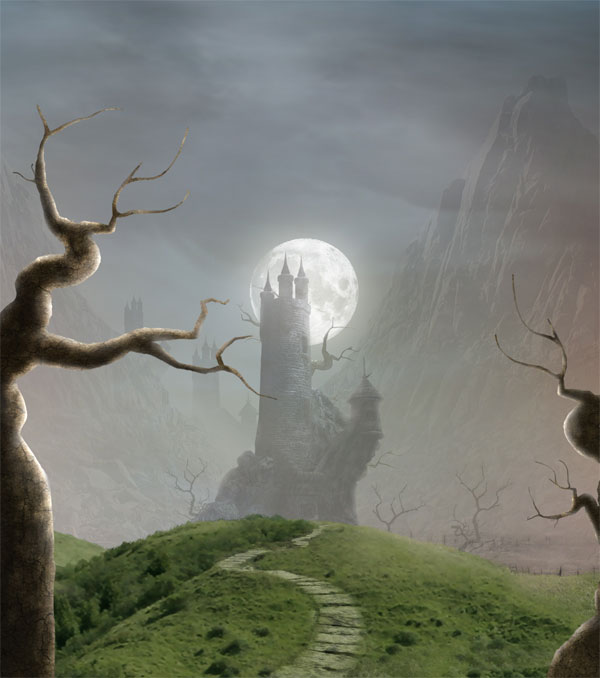
38、在这一步,我们复制地面的草地,在场景中添加前景。
(本文来源于图老师网站,更多请访问http://m.tulaoshi.com/ps/)39、打开人物的图像。用钢笔工具抠出人物。 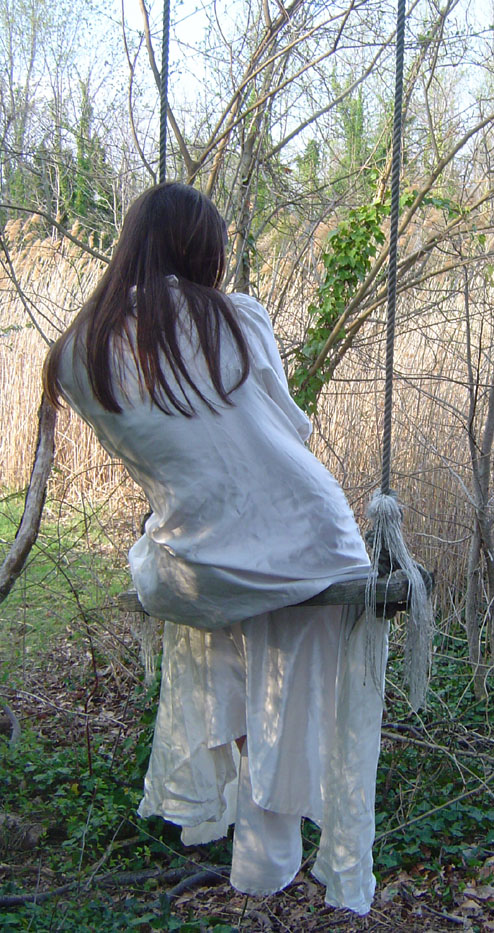
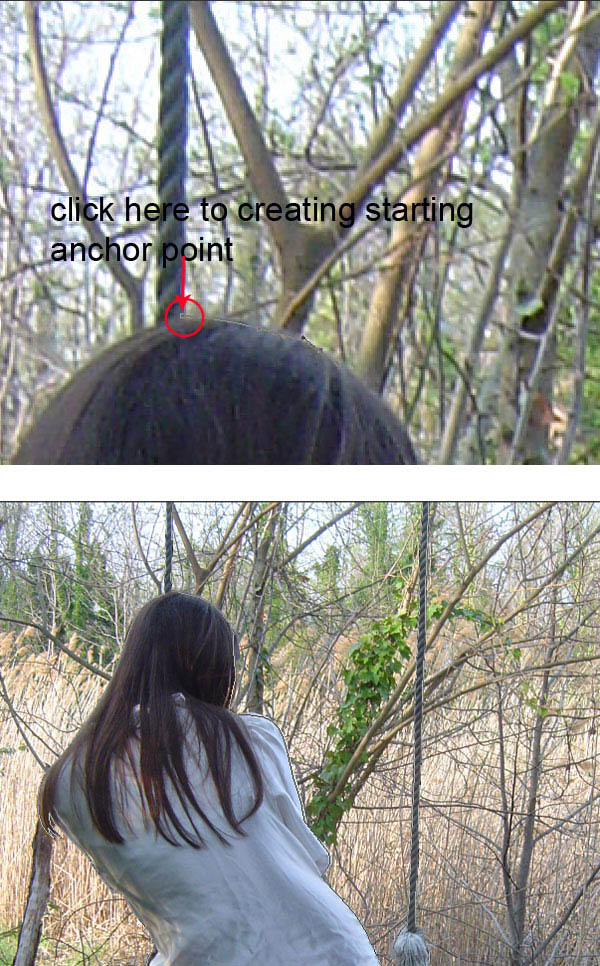
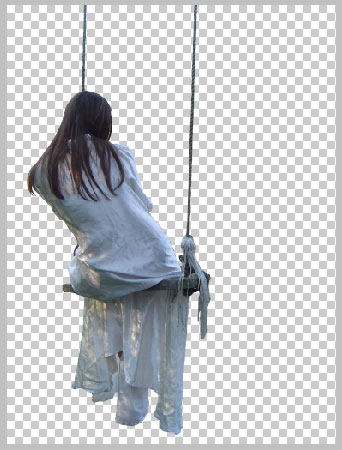
40、把人物添加到场景并调整大小。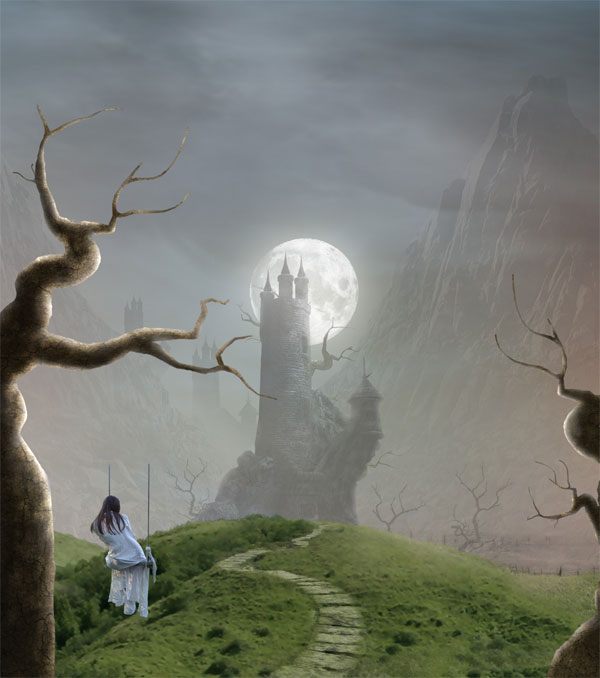
41、在这一步复制绳子并延长绳子到树干上。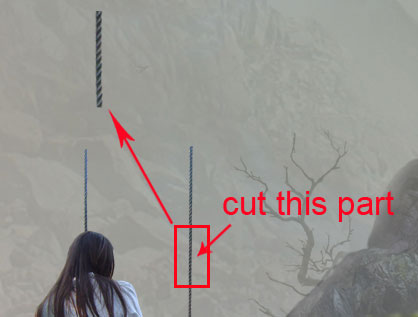
42、用自由变换工具将绳子弄弯曲。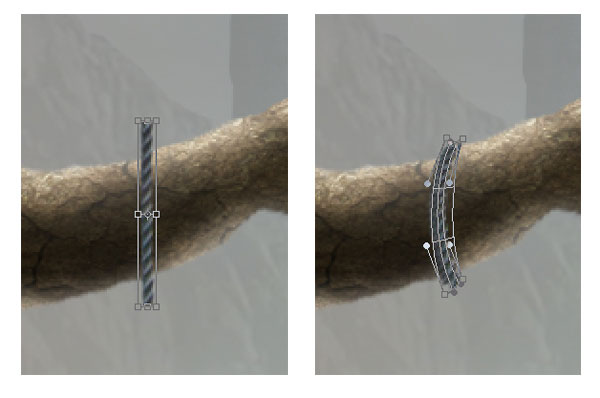
43、添加更多的绳索。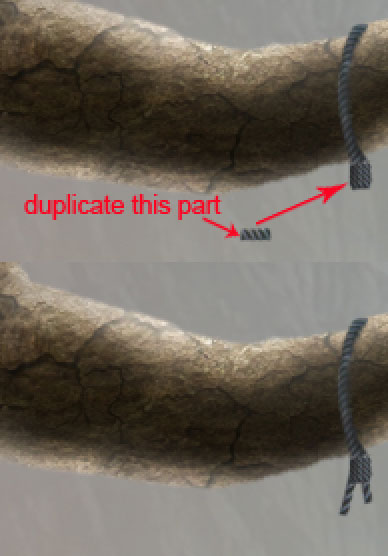
44、选择画笔工具,设置画笔预设如下的。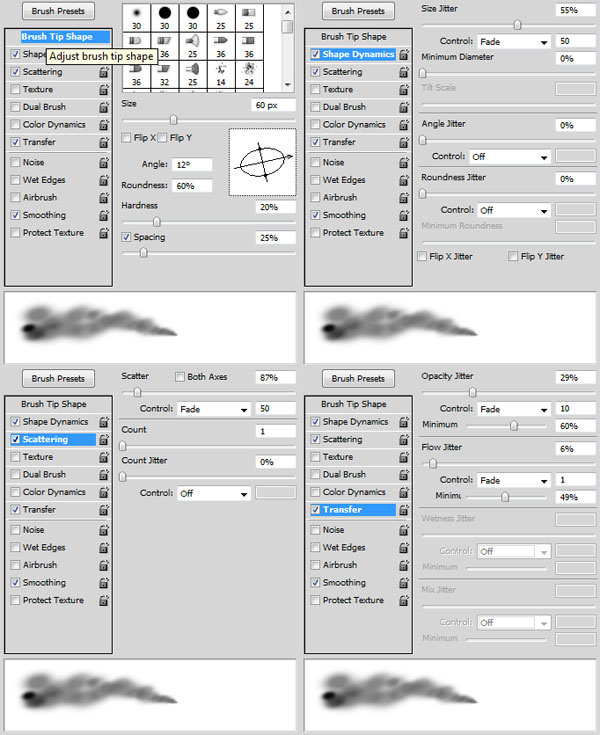
45、设置画笔的不透明度在20 - 30%之间。 然后,在一个新的图层画白云的场景。 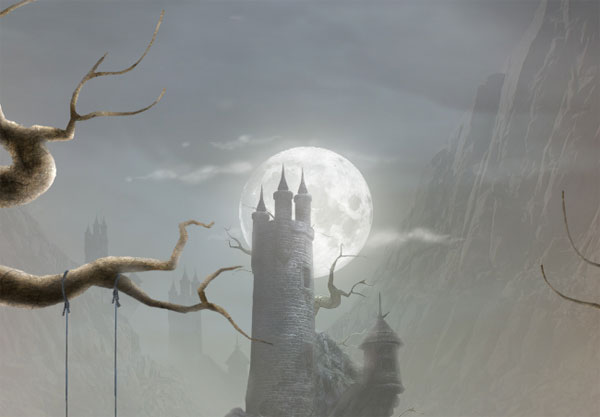
46、现在,调整颜色,选择菜单图层新调整图层色彩平衡。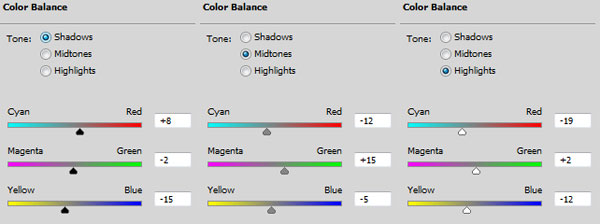
47、创建曲线调整图层,参数如下,确定后把不透明度设置为:60%。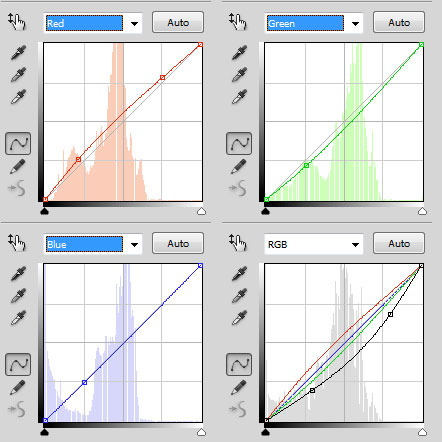
48、在图层面板中选择曲线层。用蒙版工具遮盖掉如下位置。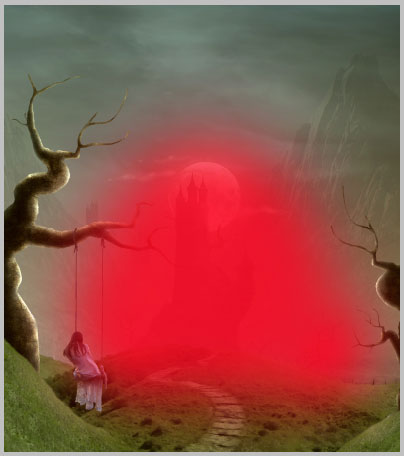
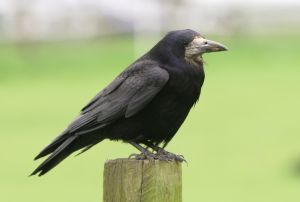
49、在图层最上面新建一个图层。 激活笔刷工具,选择一个非常柔软的圆刷,不透明度约20 - 30%,在新图层中添加暗角效果,并添加一些鸟树。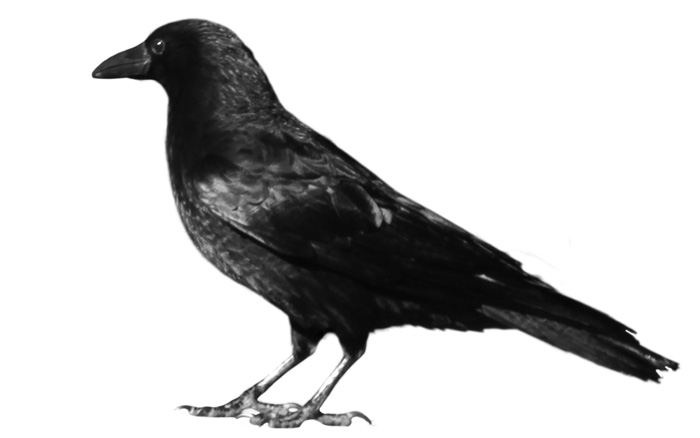
50、现在再创建一个新图层。用黑色填充的新层,设置这一层混合模式为颜色减淡。 选择画笔工具,不透明度设置为5 - 10%,选择一个软刷,用白颜色涂抹城堡的窗户。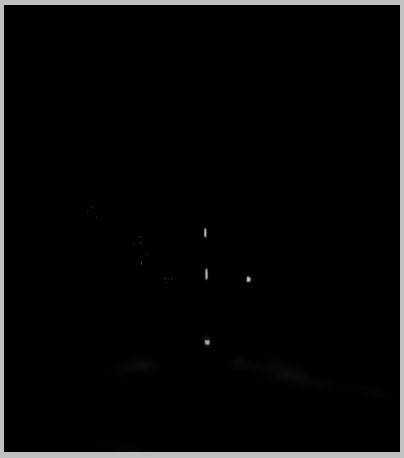
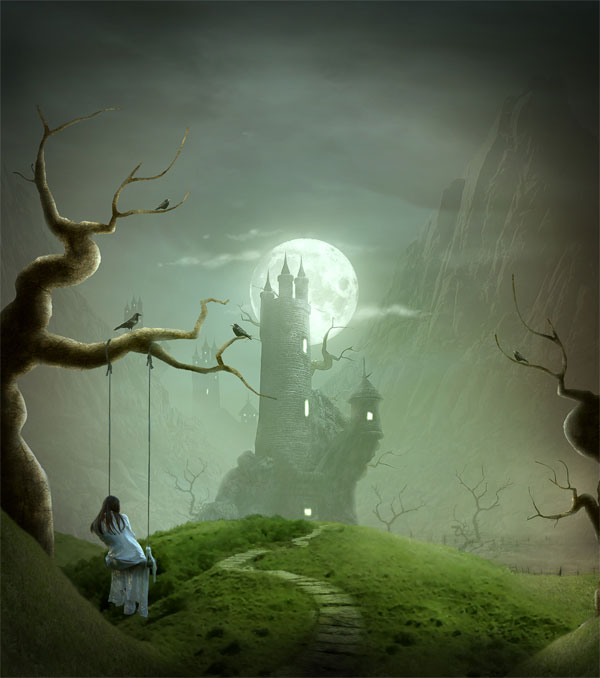
51、创建曲线调整图层,参数及效果如下。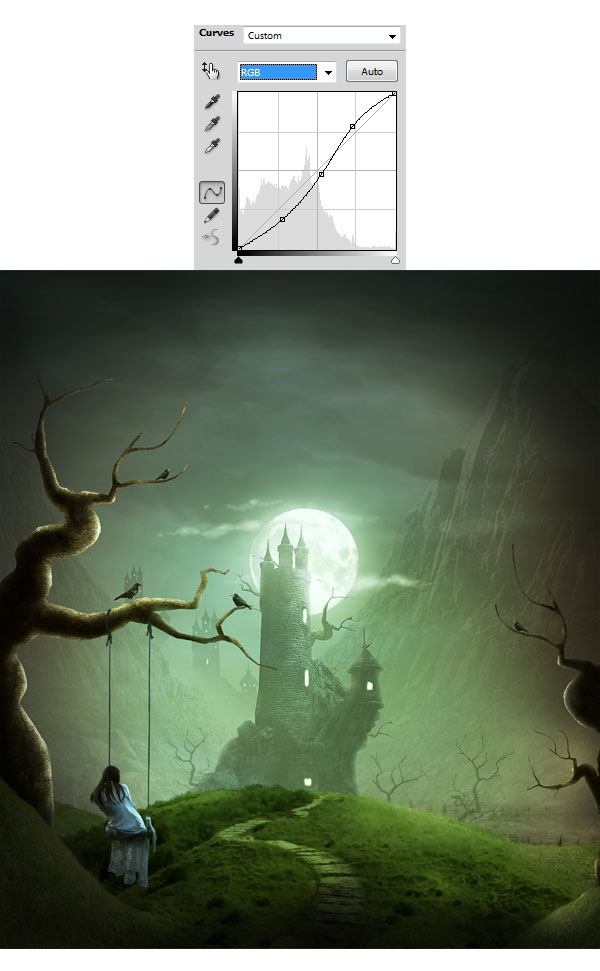
52、按住Shift + Ctrl + Alt + E盖印图层。 选择菜单:图层 智能对象 转换为智能对象。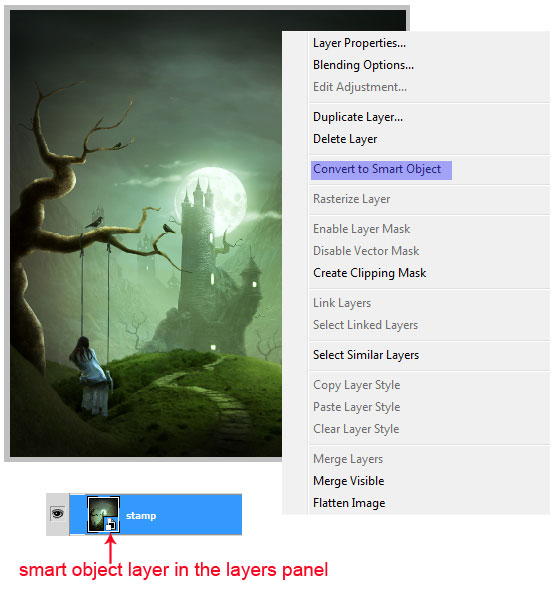
53、然后选择菜单:滤镜其它高反差保留。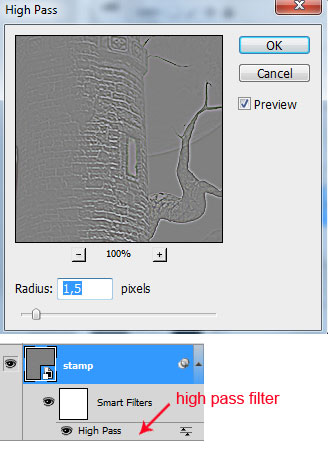
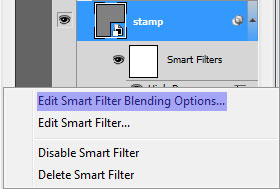
54、然后设置混合模式为“叠加”。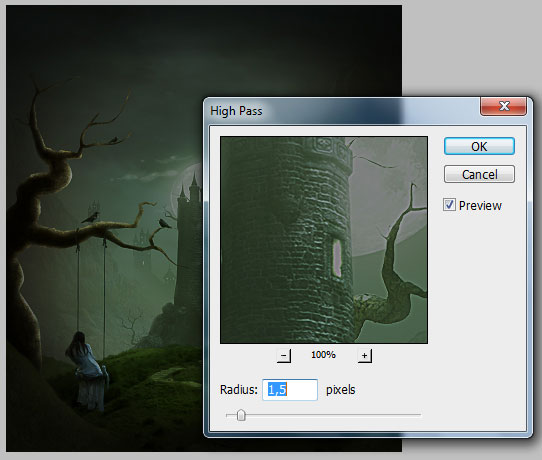
55、使用蒙版工具擦掉所指位置。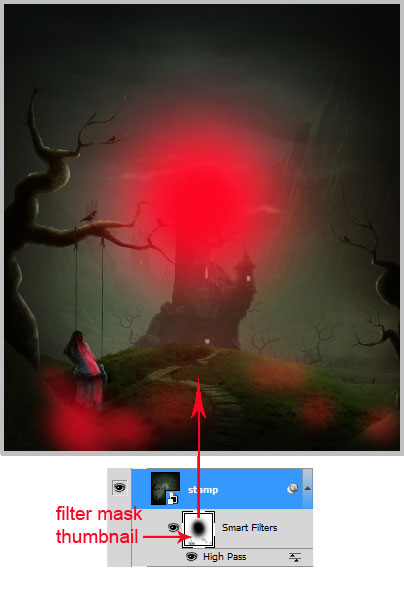

最终效果:


