Geass_星河
2016-02-02 02:29
get新技能是需要付出行动的,即使看得再多也还是要动手试一试。今天图老师小编跟大家分享的是Photoshop制作简洁红色圣诞壁纸,一起来学习了解下吧!
设计壁纸的时候,构思非常重要。有好的创意加上好的制作,效果就会很完美。本教程效果看上去非常简单,不过作者创意思维非常不错,用数字来变现主体。数字部分适当加上了一些圣诞元素,并用一些雪花及花纹背景衬托,节日的气氛非常浓重。
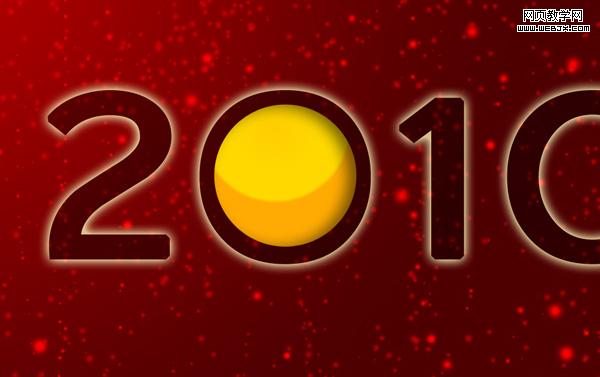
最终效果 
1、创建文档,大小为1920px by 1200px (RGB) ,分辨率72 pixels/inch,用矩形工具绘制一个矩形。
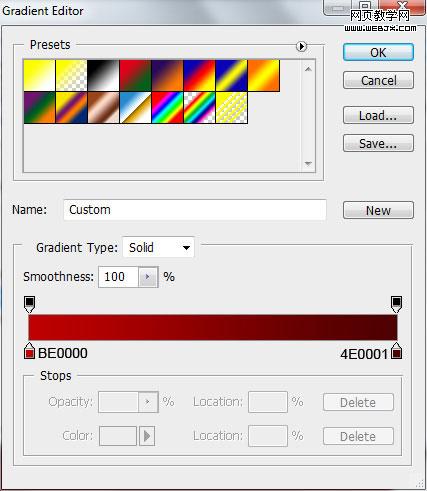
2、添加图层样式,选择渐变叠加,参数设置及效果如下。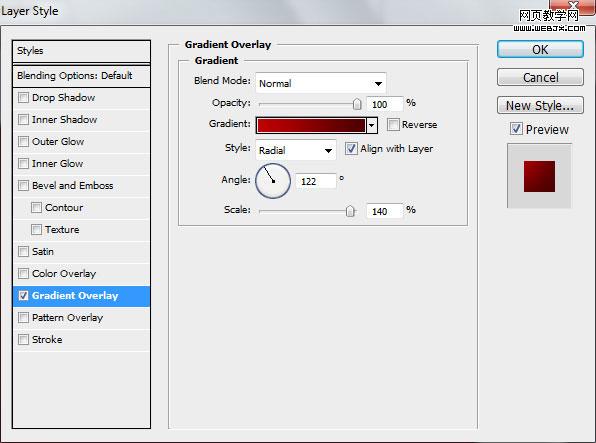

3、创建新图层,使用笔刷工具,柔角笔刷。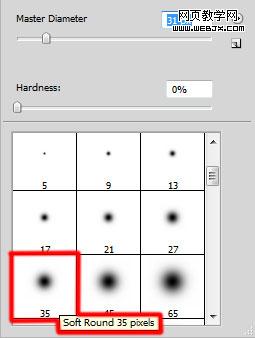
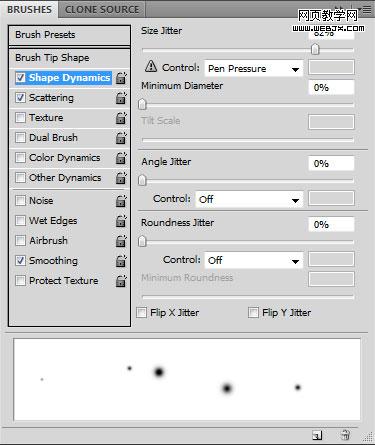
4、打开画笔面板设置。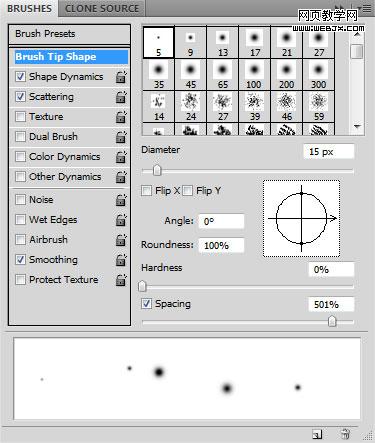

5、改变前景色为#CE0000 用笔刷绘制一些雪花。
6、再次创建新图层,用设置好的笔刷继续绘制一些雪花图形。
7、然后选择文字工具,打开字符面板设置如下我们输入2010字符。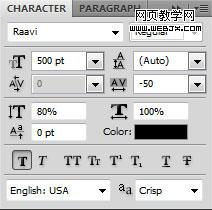

8、添加图层样式,选择外发光,参数及效果如下图。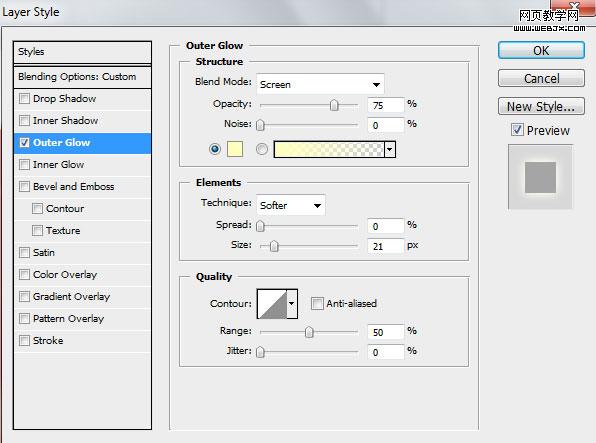

9、创建新图层,加上一些花纹素材,效果如下图。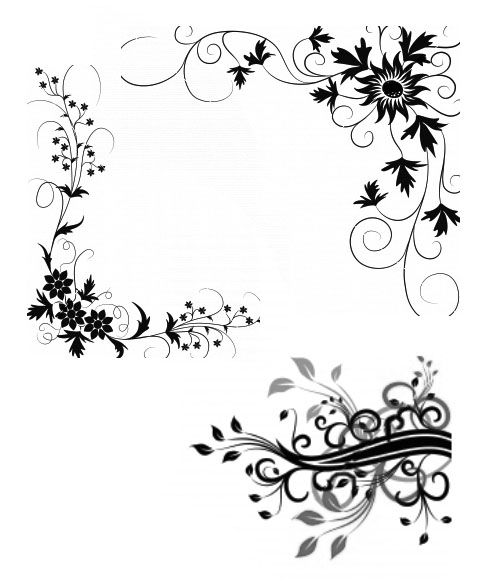

10、创建新图层使用柔角笔刷绘制一些白色的图形。
11、调整图层的填充为60%,效果如下。
12、创建新图层,使用柔角白色笔刷绘制一些白色图形。
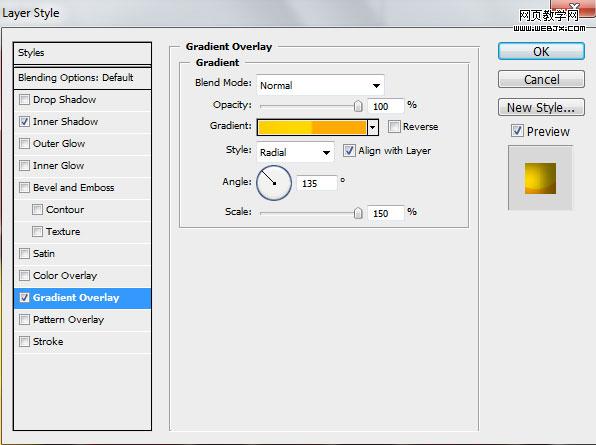
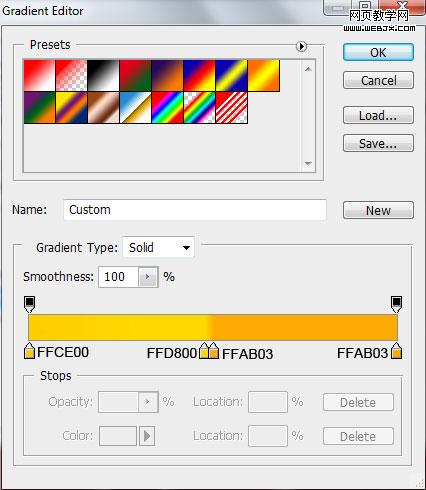
13、现在选择圆形工具绘制一个黑色的圆。
14、添加图层样式,选择内阴影和渐变叠加,参数及效果如下图: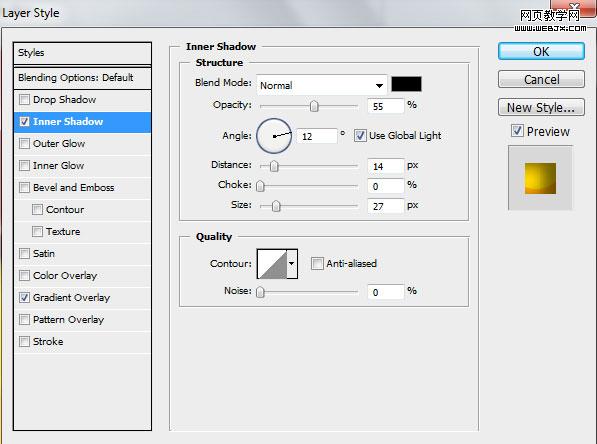
15、选择矩形工具,设置角度为10px,然后使用CTRL+T变形,颜色为 #FEDF36。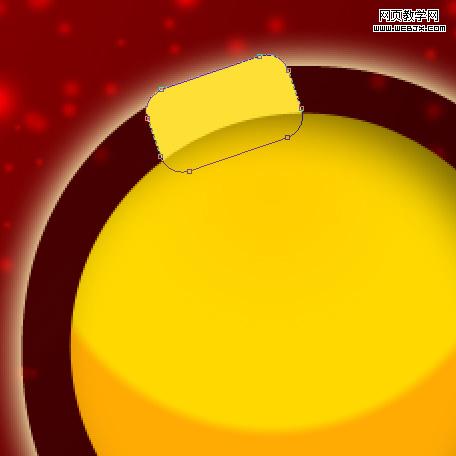
16、然后使用钢笔工具绘制一些图形,填充颜色为#FB2D0C。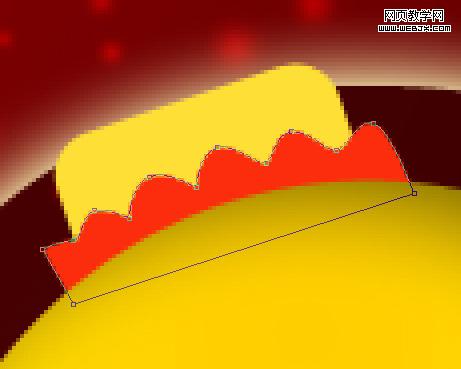
(本文来源于图老师网站,更多请访问http://m.tulaoshi.com)17、使用圆形工具绘制一个圆。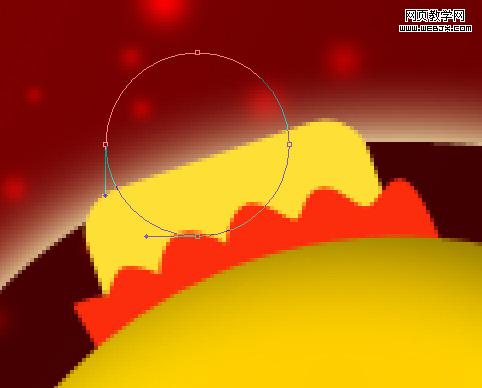
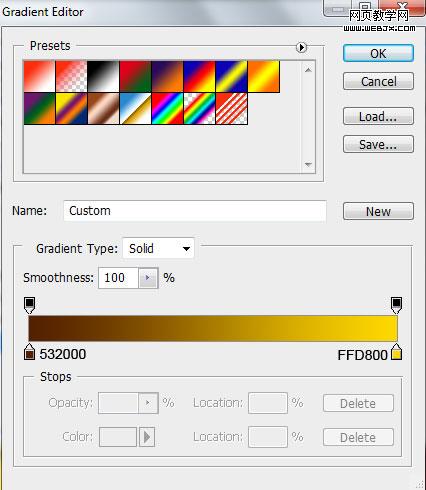
(本文来源于图老师网站,更多请访问http://m.tulaoshi.com)18、设置图层样式,选择描边,参数及效果如下图。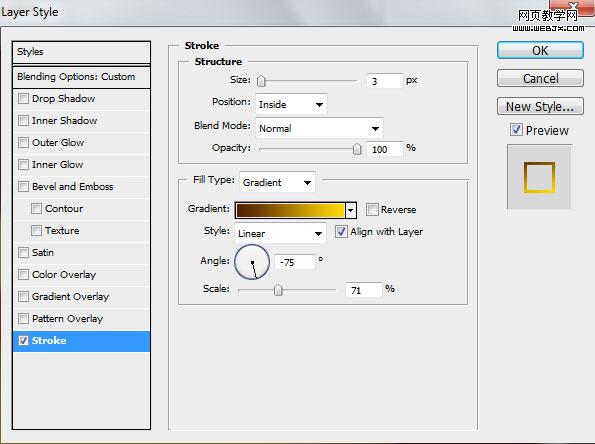

19、选择柔角画笔。
20、创建新图层,使用柔角的画笔在圆的周围添加发光效果。
21、添加蒙版,使用柔角画笔绘制一些图形。
22、使用钢笔工具绘制一个形状。
23、选择雪花形状,设置样色为 #F84202。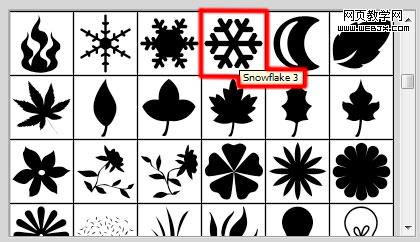

24、这时效果已经非常不错了,同样方法复制这几个图层,然后制作另外一个0的图案。
25、再添加一些其他五角星的图形,完成最终效果。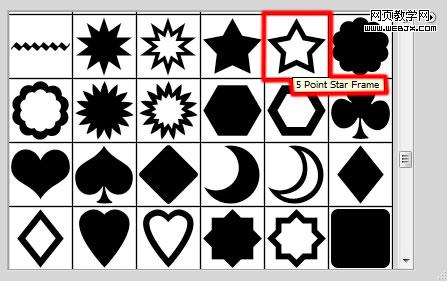
最终效果:


