给自己一点时间接受自己,爱自己,趁着下午茶的时间来学习图老师推荐的PS合成抽象的树头像,过去的都会过去,迎接崭新的开始,释放更美好的自己。
抽象合成跟平常的合成方法一样,只是构思的时候思维跳跃性要大一点,把一些不相干的东西巧妙的组合在一起,经过溶图,润色及处理细节等,让效果看上去非常有趣。
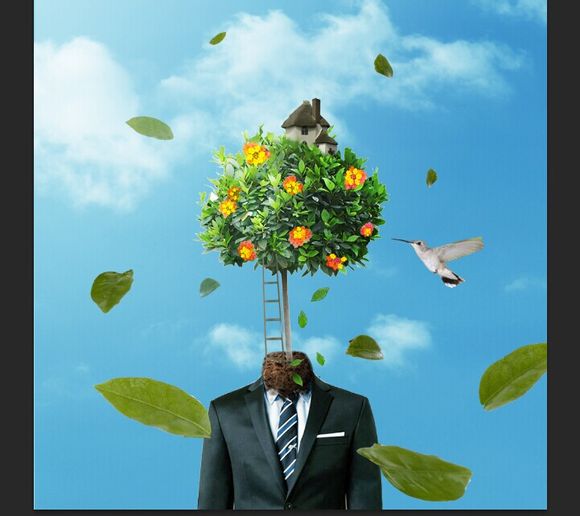
最终效果
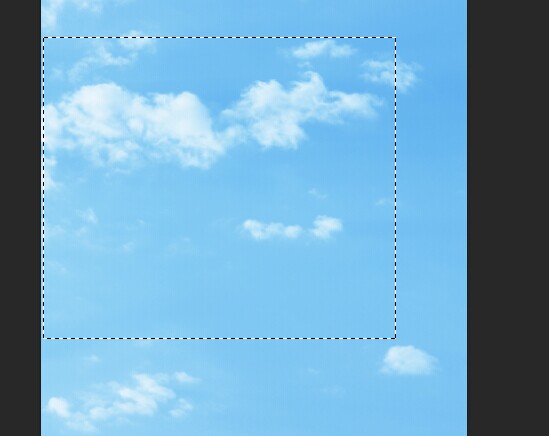
1、新建1000*1000像素背景图层,打开天空图,M选择工具选中天空一部分,V移动工具移到背景图层。
2、新建图层,G渐变工具拉一个渐变,图层模式改为柔光,透明度100%调整天空亮度。
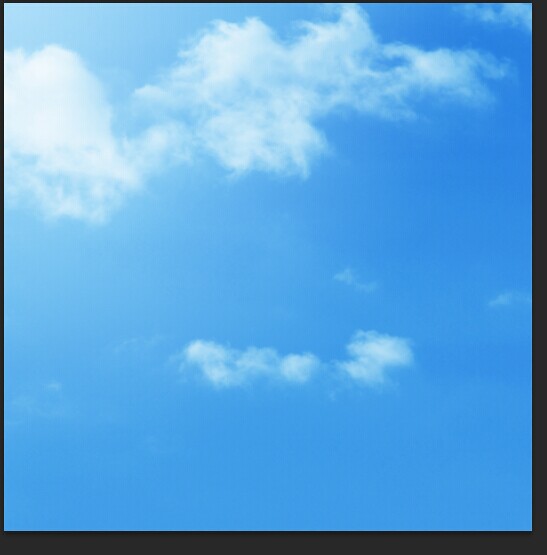
3、新建色相饱和度调整。这样背景就做好了。
4、打开人物图片,抠图移到背景图层。
(本文来源于图老师网站,更多请访问http://m.tulaoshi.com/ps/)

5、新建曲线图层,调成人物明暗度。
6、新建色彩平衡。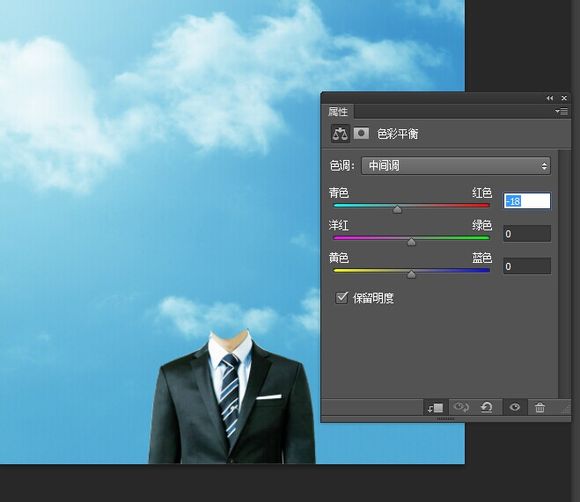
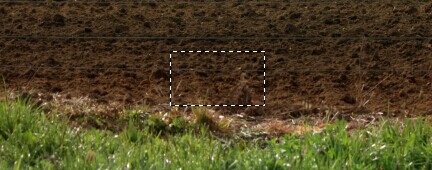
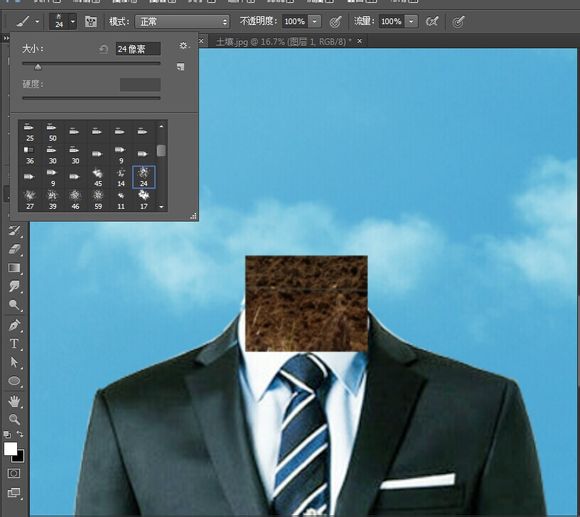
7、打开土壤图,M选择部分,移到脖子后建蒙版,用24号画笔擦除。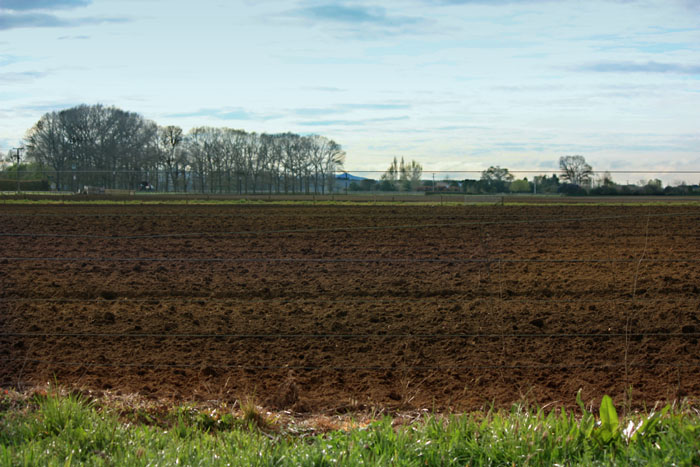

8、新建图层,图层模式叠加。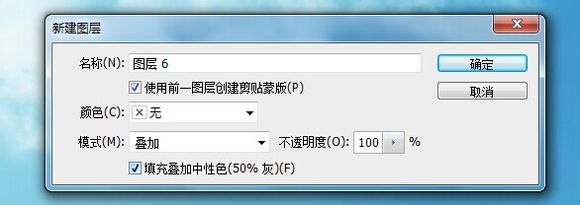
9、用白色画笔擦拭,调整土壤明暗度。

10、打开树,抠图,移到脖子位置,加蒙版擦拭。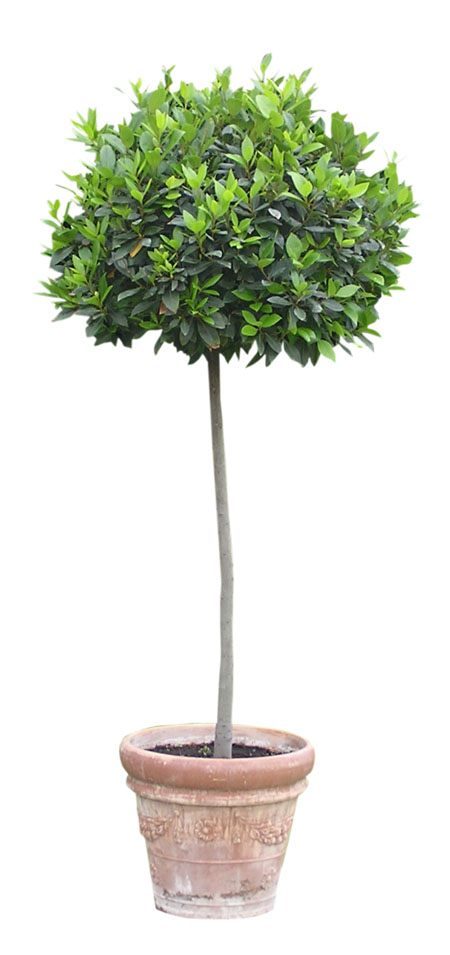

11、新建色彩平衡,然后用画笔擦出树干部分。

12、和上面8、9 步骤一样,新建图层,图层模式叠加,画出树的明暗度。

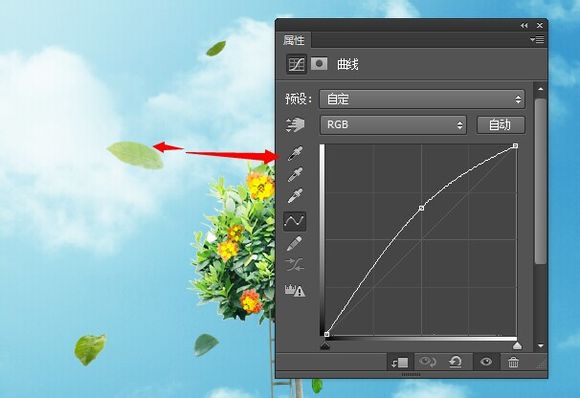
13、从树中复制几片树叶,变换,变形。
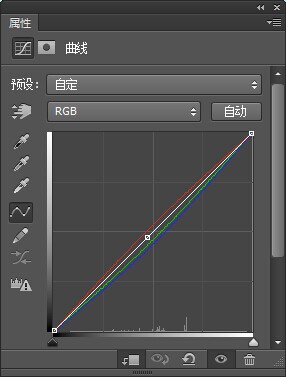
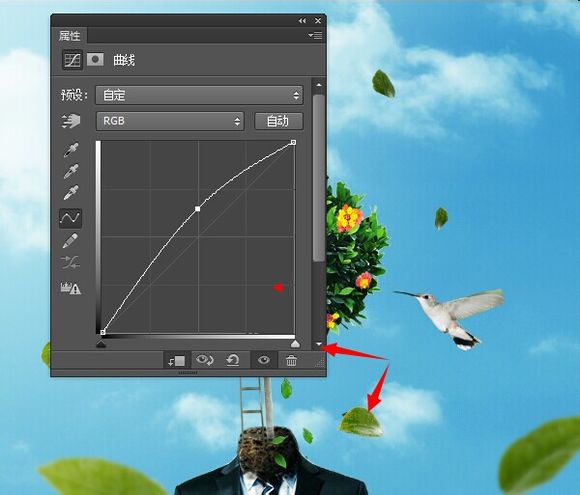
14、新建曲线图层,调整。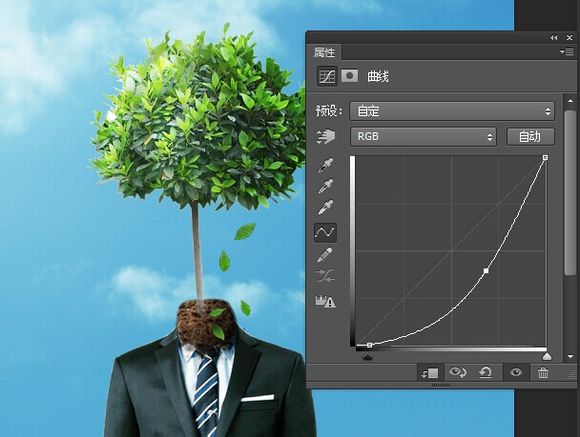
15、打开梯子图片,抠图,移动,加蒙版擦拭。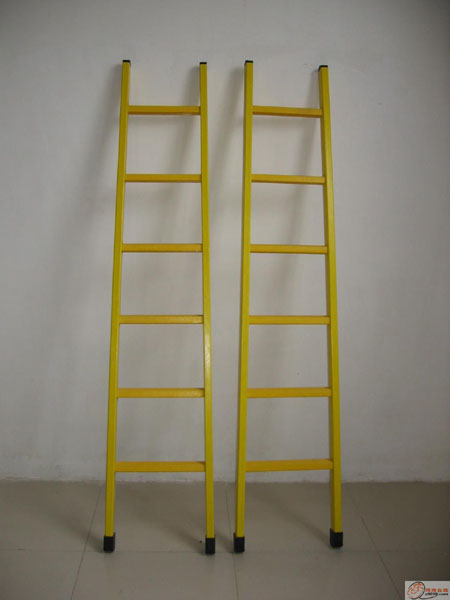

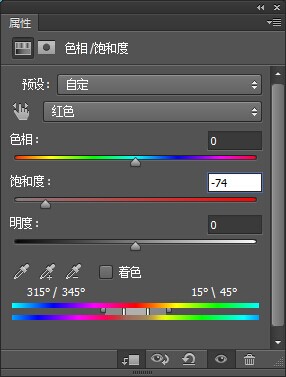
16、新建色相饱和度,改变梯子颜色。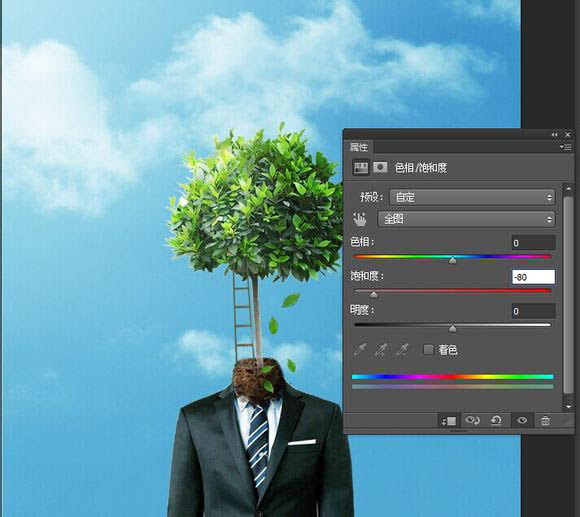
17、新建曲线图层,用黑色画笔调整梯子明暗度。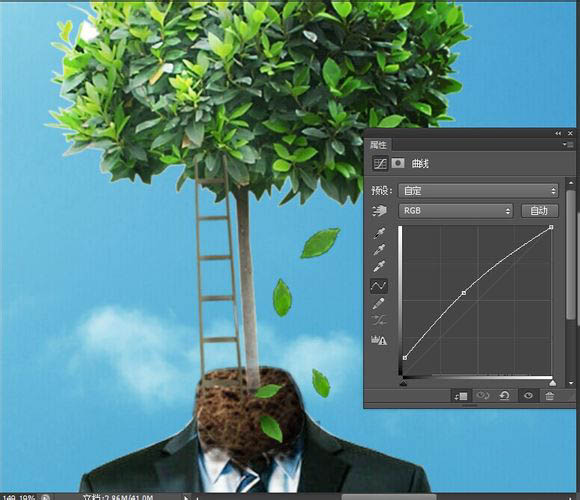

18、打开房子图片,抠出房子放在树顶,加蒙版擦拭。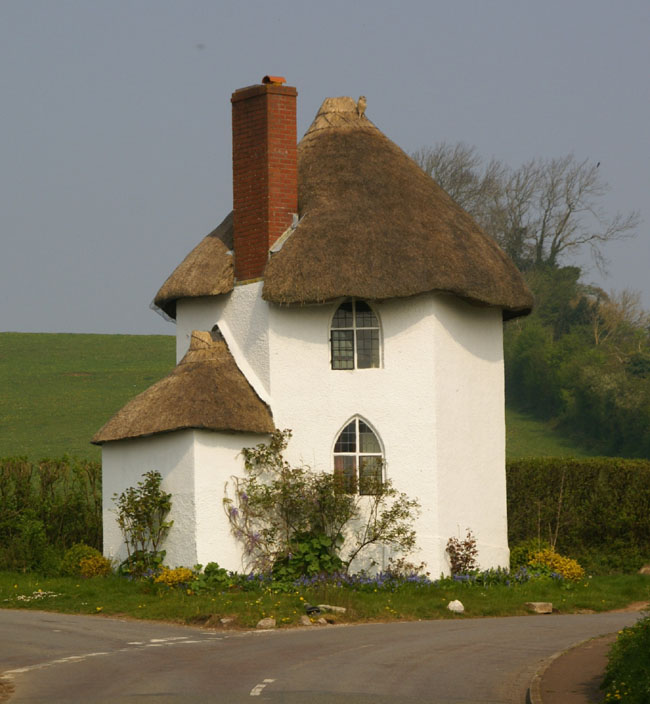

19、新建色相饱和度,改变房子颜色。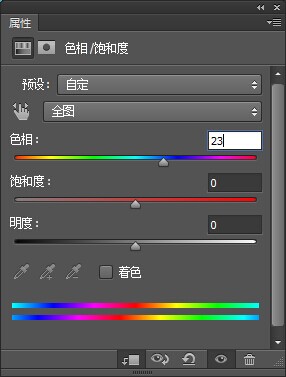

20、新建曲线图层,用黑色画笔调整房子明暗度。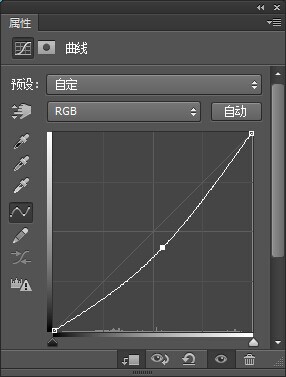

21、新建图层用c6d6bd在房子正面刷出暗度。图层模式:正片叠底100%。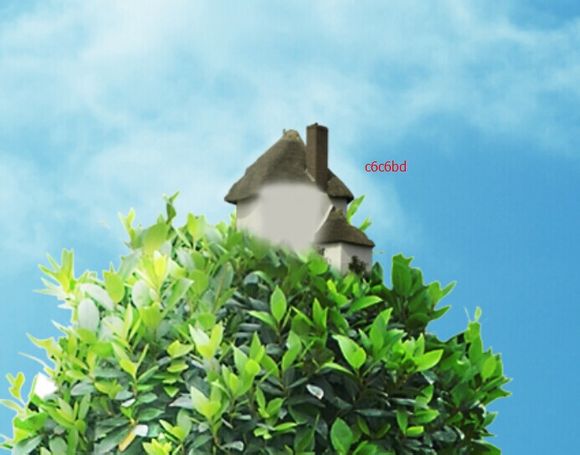
22、同样新建图层,用画笔擦出房子亮度,图层模式:柔光 100%。
23、打开花,通过复制,变换移到树上。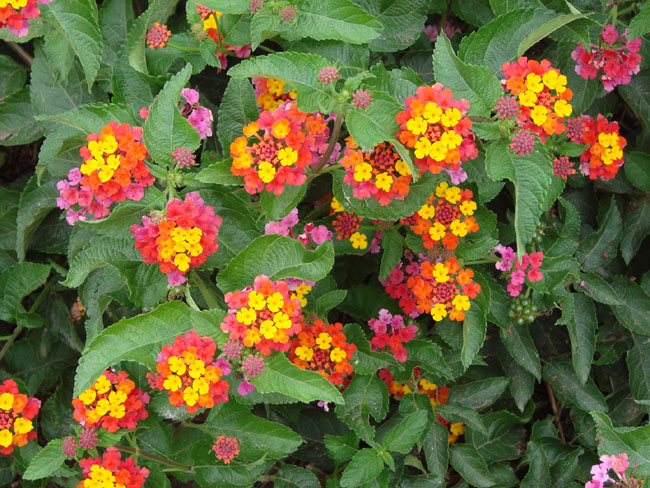

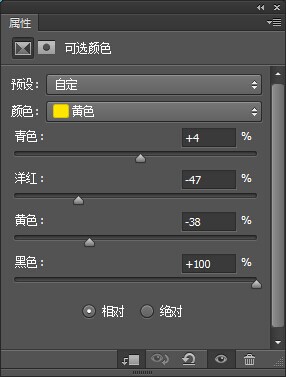
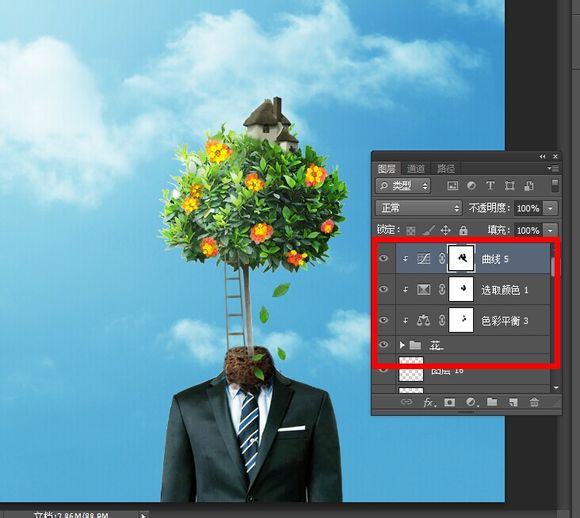
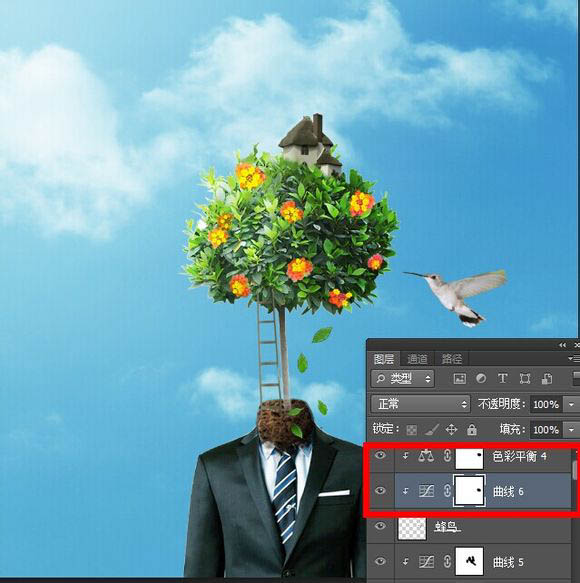
24、新建一个花的组,把花全部移到组里,新建色彩平衡,曲线,可选颜色设置。用黑色画笔擦出明暗度。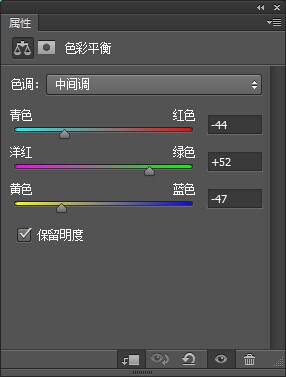
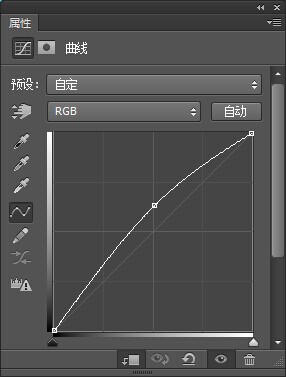
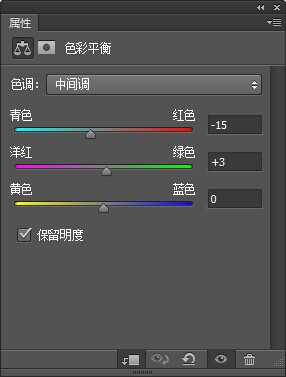
25、还是抠图,把蜂鸟移到背景图上,新建曲线,色彩平衡设置。最后黑色画笔画出蜂鸟翅膀部分。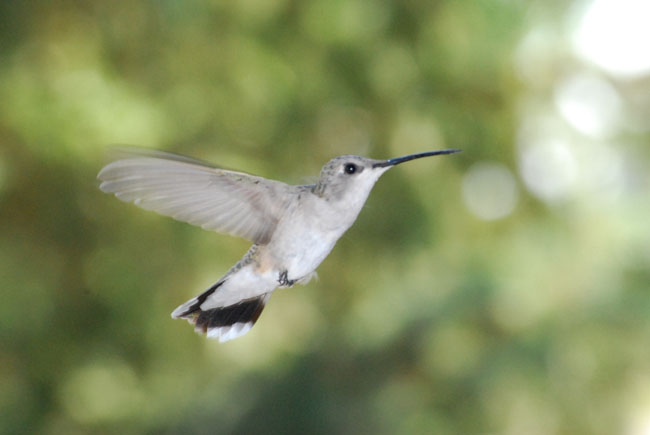
(本文来源于图老师网站,更多请访问http://m.tulaoshi.com/ps/)

26、打开树苗图片,抠出不同的树叶,变换铺在图里。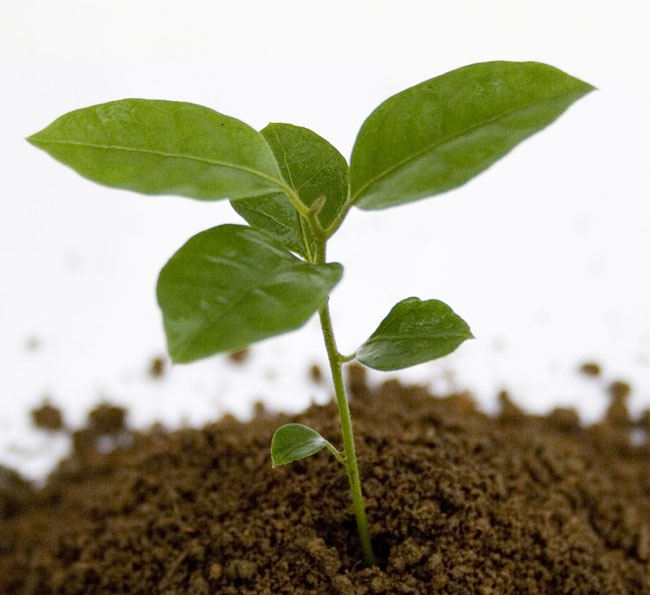
27、前面比较大的3片树叶,都要通过滤镜-高斯模糊-3像素。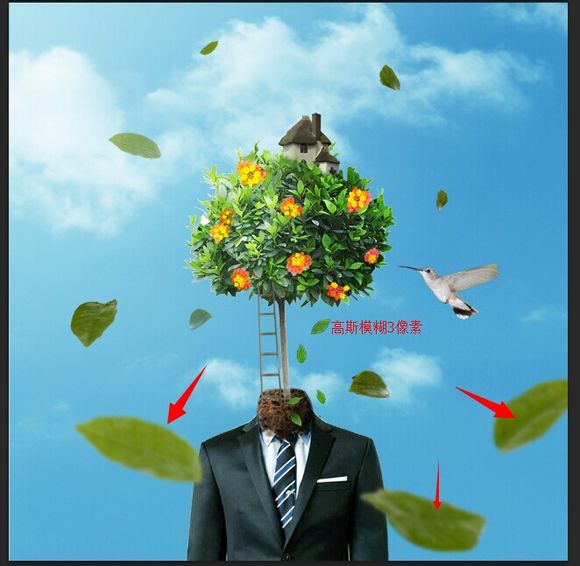
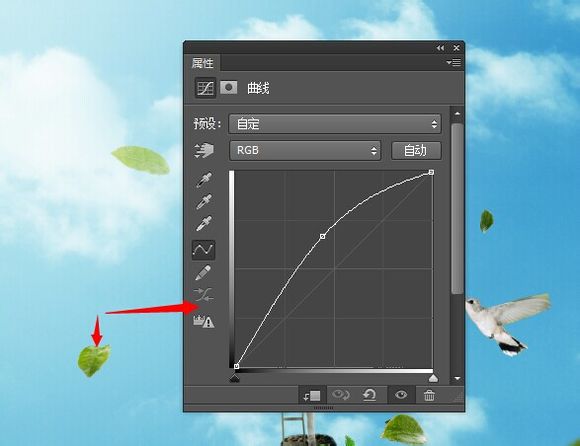
28、这里新建曲线图层,通过曲线调整树叶的明暗度。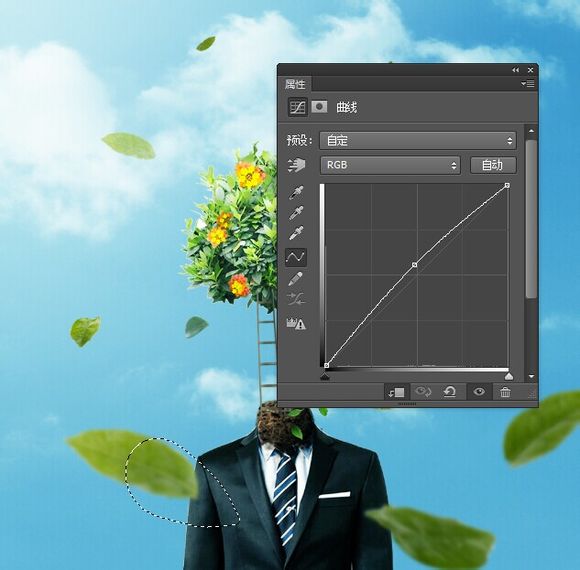
29、最后一步咯,新建一个渐变映射,颜色133C54和e3e2c2。图层模式:柔光100%,就完成了。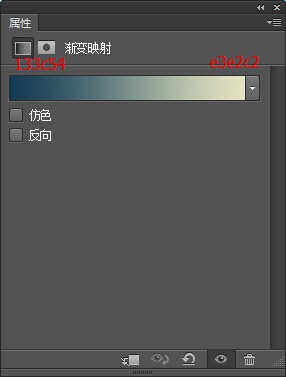
最终效果: