haoyifei130
2016-02-02 00:44
有了下面这个Photoshop制作超酷的火焰花纹教程,不懂Photoshop制作超酷的火焰花纹的也能装懂了,赶紧get起来装逼一下吧!
本教程介绍火焰花纹的制作方法。制作之前需要准备一些花纹及火焰素材。制作的时候先把花纹素材调成火焰色,并加上一些发光的图层样式。然后把火焰素材叠加到花纹上,用涂抹工具涂出火焰的形状即可。
转载请先联系作者QQ:284325662。
最终效果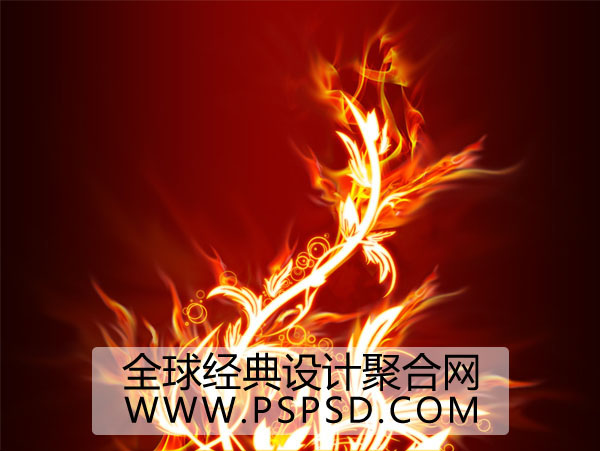
(本文来源于图老师网站,更多请访问http://m.tulaoshi.com)1、创建文件,大小为600 × 450,然后在添加一个渐变,如下: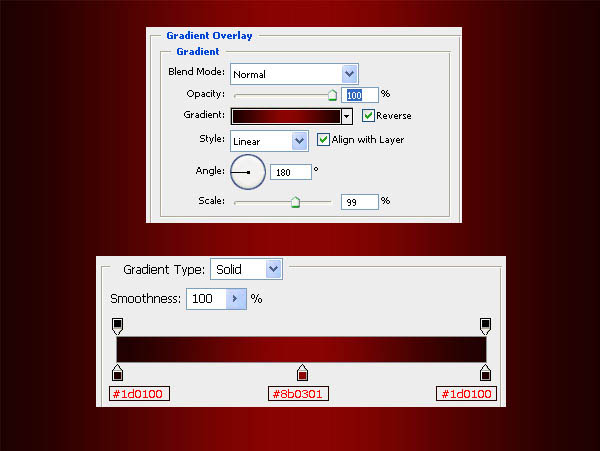
(本文来源于图老师网站,更多请访问http://m.tulaoshi.com)2、我们打开下图所示的素材,并拖到画布里面,然后命名为“花”。

3、适用混合样式颜色叠加,就会是下面的效果:
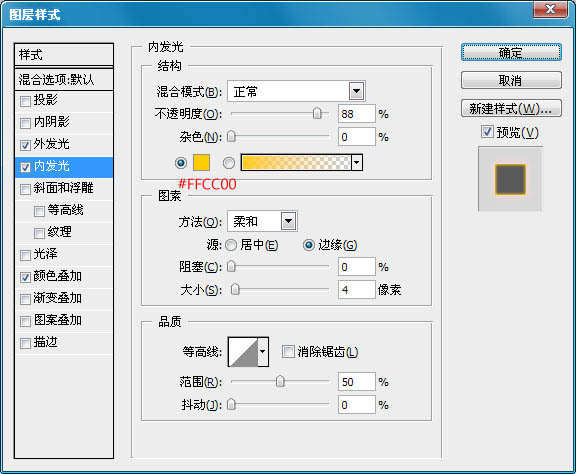
4、添加外发光和内发光,参数及效果如下图。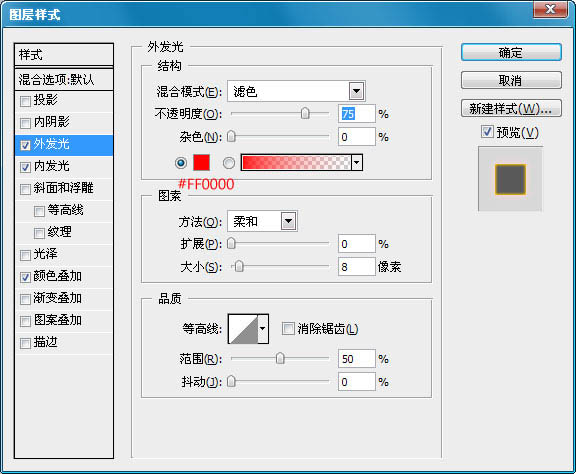

5、把“花”图层复制,然后选择滤镜模糊高斯模糊,设置如下:然后把原来的“花”图层设置透明度为:50%。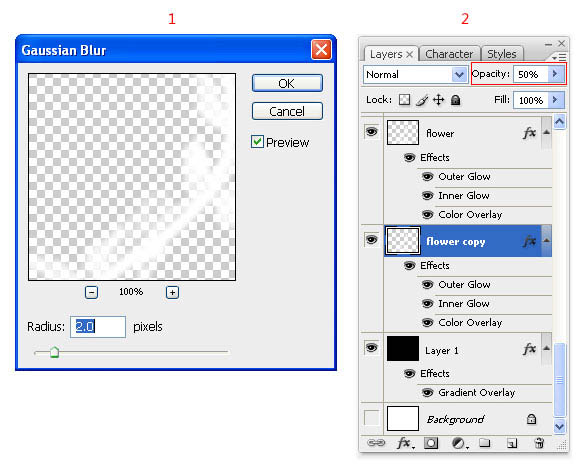
6、下面我们就用涂抹工具,在花的涂出火焰效果来,有点难度,但是很好玩。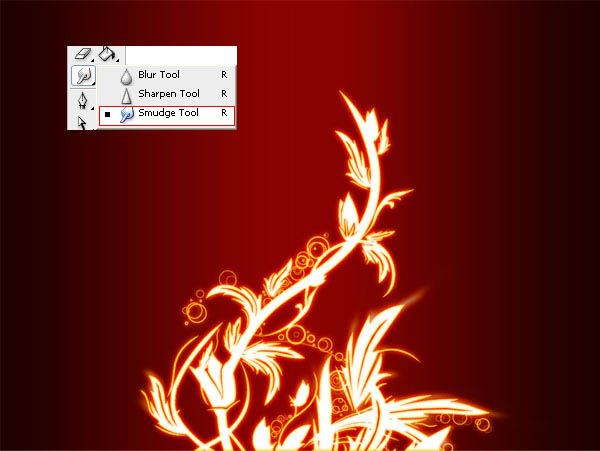
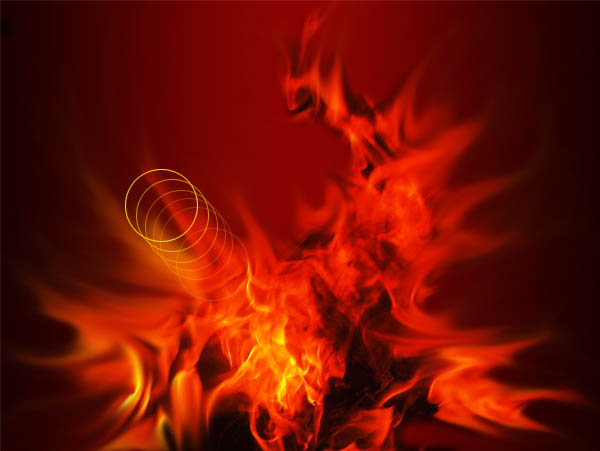
7、现在我们加强火焰效果。打开下图所示的火焰素材,用魔术棒去掉背景后拖进来,命名为“火焰”,然后用涂抹工具涂抹他的边缘,方法和效果如下:
8、现在我们把“图层”放到花的下面,然后设置混合模式为颜色减淡。不透明为:20%。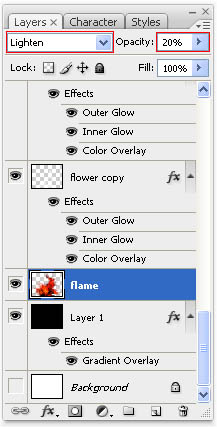
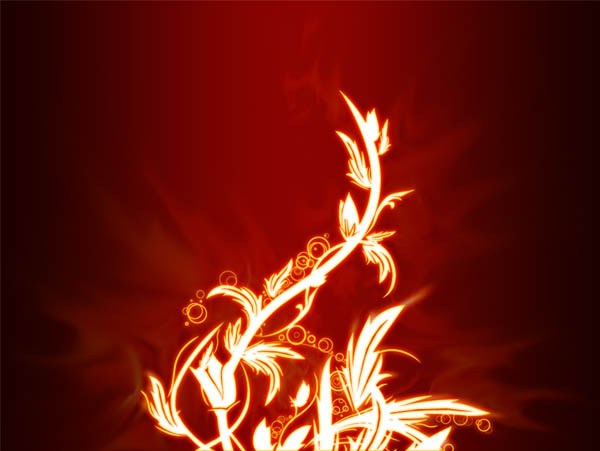
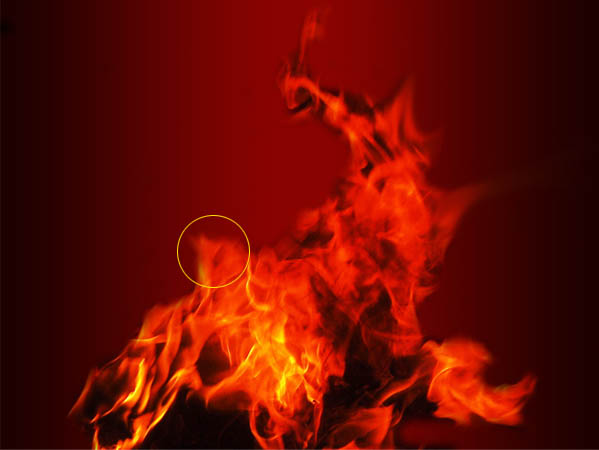
9、现在我们加强火焰,在画布上加入小火焰,放在花图层的下面,然后在适用涂抹工具,涂抹出它燃烧的效果,过程如下图。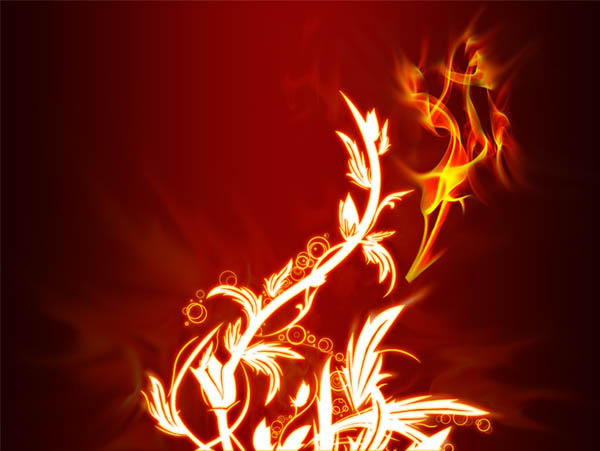


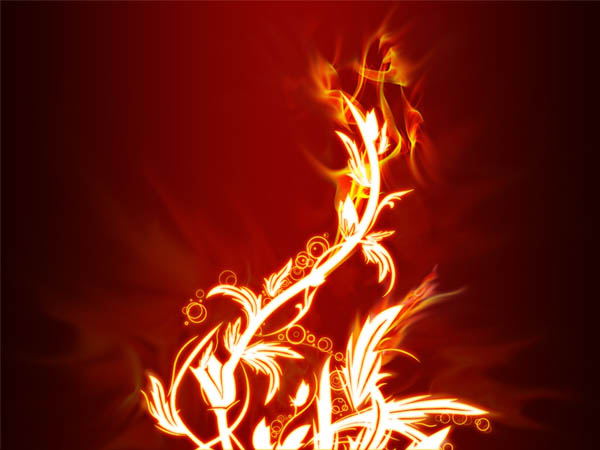
(本文来源于图老师网站,更多请访问http://m.tulaoshi.com)最终效果: