想不想get新技能酷炫一下,今天图老师小编就跟大家分享个简单的PS合成森林中的火焰鹿王教程,一起来看看吧!超容易上手~
作者合成图片的方法非常细腻,过程:先合成一幅教暗的背景图片;再加入鹿,并用火焰素材给鹿角部分增加火焰;再根据光源位置,给鹿局部及地面部分增加火焰反光即可。
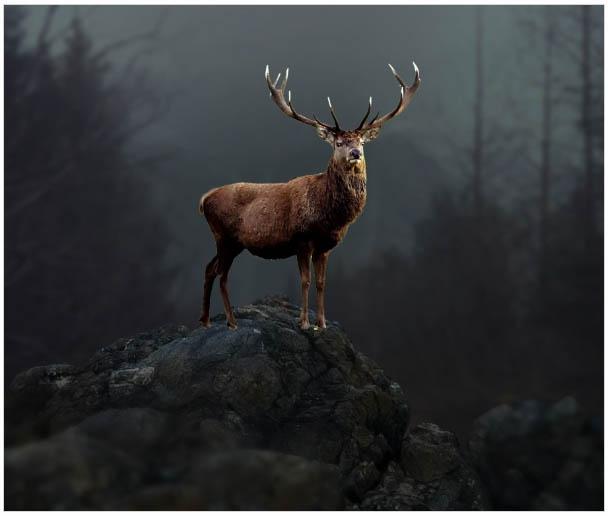
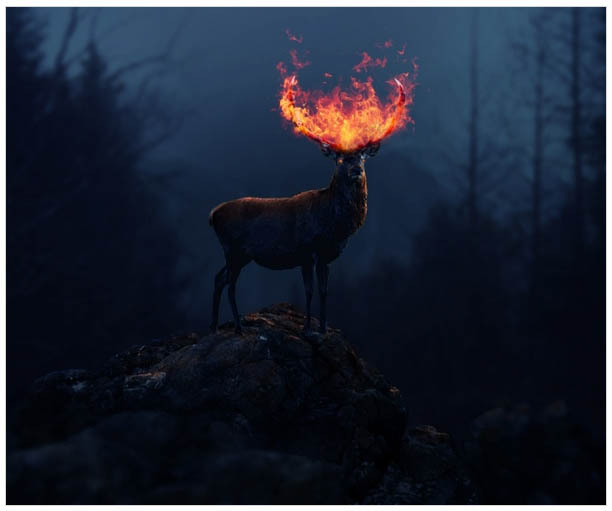
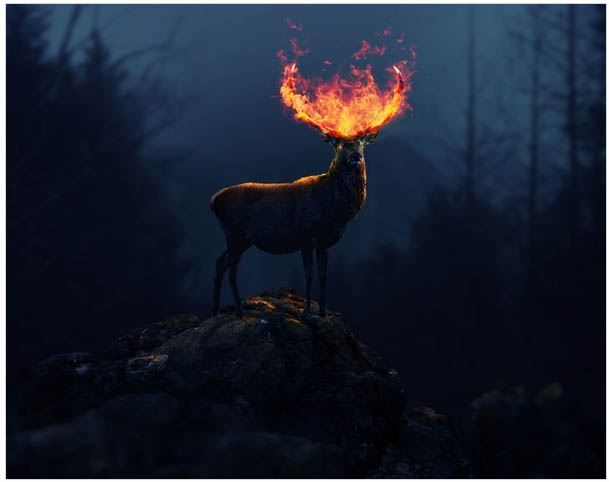
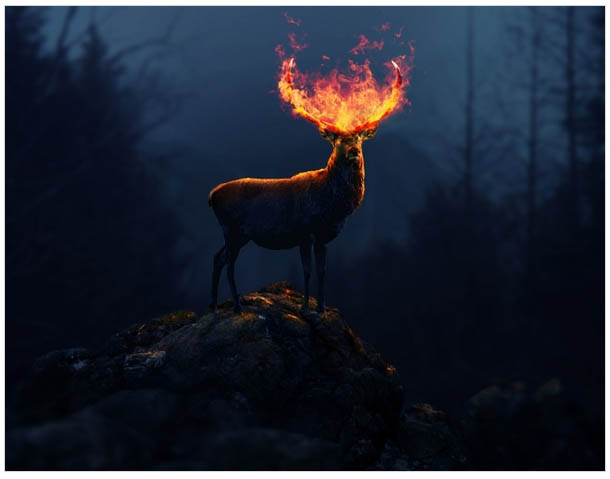
最终效果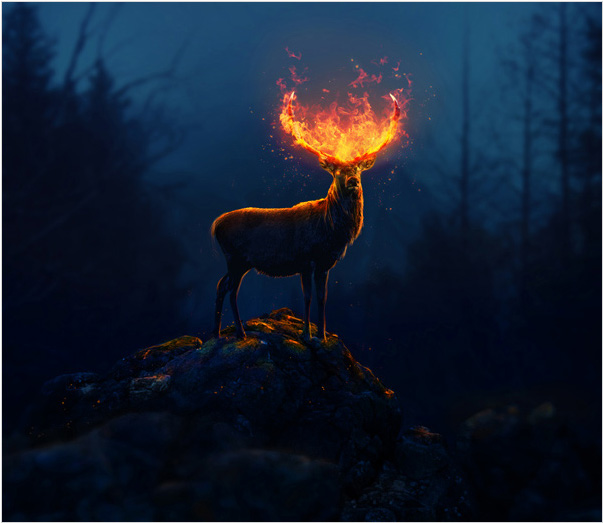
1、新建一个2000 * 1734像素,分辨率为72的文档,如下图。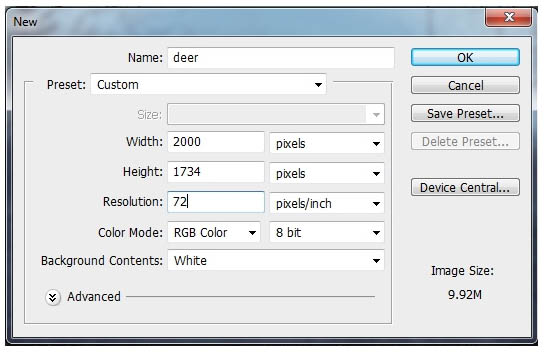
2、打开背景素材,用移动工具拖进来,并转为智能对象。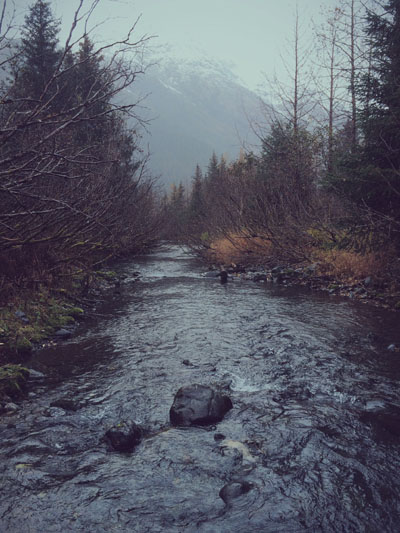
3、选择菜单:滤镜 模糊 高斯模糊,数值为8,如下图。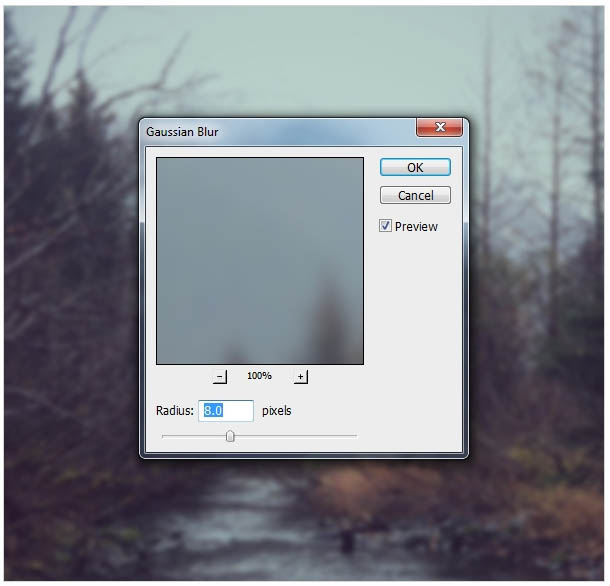
4、再打开背景素材2,用移动工具拖进来,同样转为智能对象。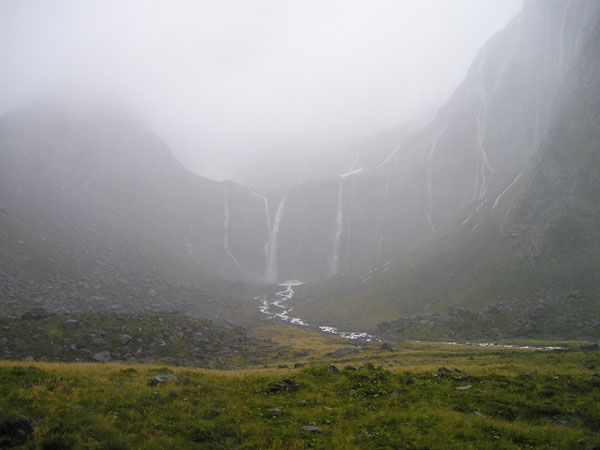
5、添加图层蒙版,用黑色画笔把下图选区部分擦出来,露出背景1局部效果。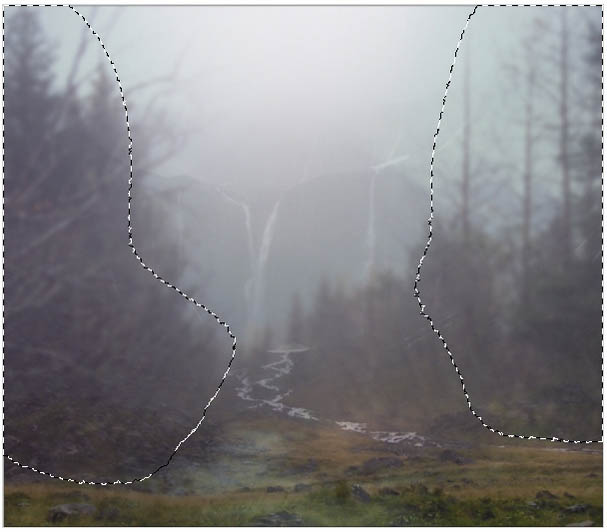
6、对背景2选择菜单:滤镜 模糊 高斯模糊,数值为8,如下图。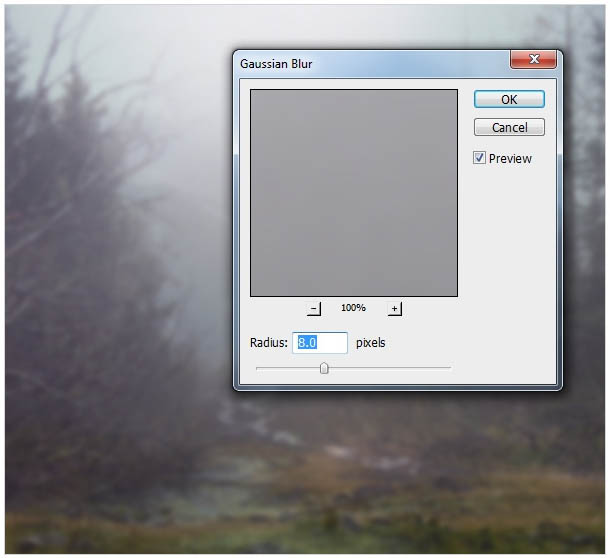
7、创建曲线调整图层,把高光部分压暗一点,参数如下图,确定后按Ctrl + Alt + G 创建剪切蒙版。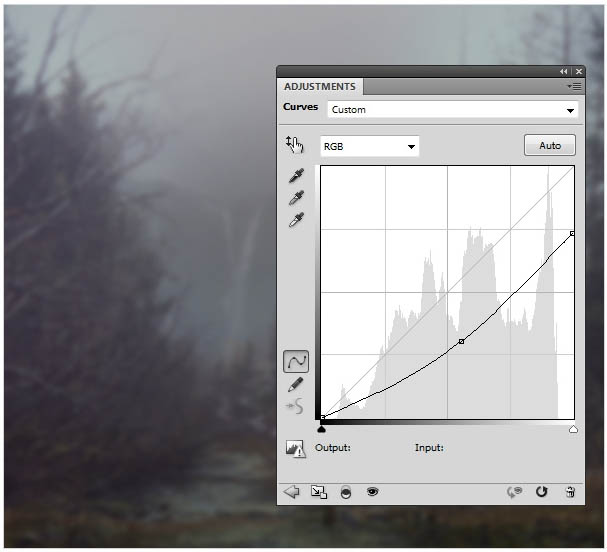
8、创建色彩平衡调整图层,对中间调进行调整,参数设置如下图,确定后同上的方法创建剪切蒙版。
9、打开岩石素材,用多边形套索工具把岩石部分选取出来。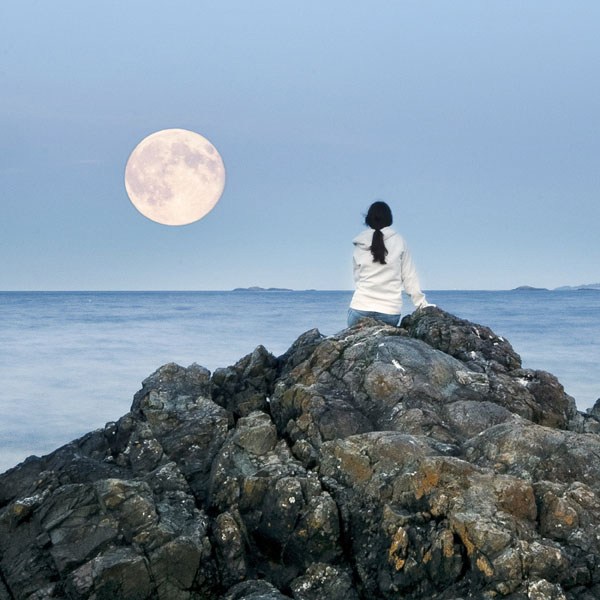
10、把选取的岩石用移动工具拖进来,选择菜单:编辑 变换 水平翻转,确定后转为智能对象。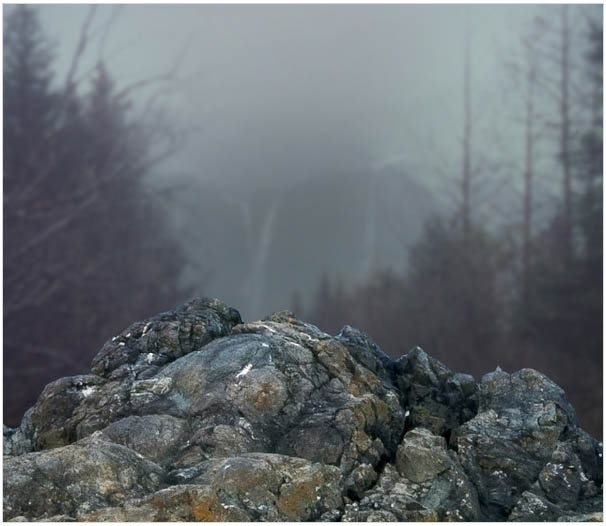
11、给岩石图层添加蒙版,用黑色画笔把一些不需要的部分擦掉,如下图。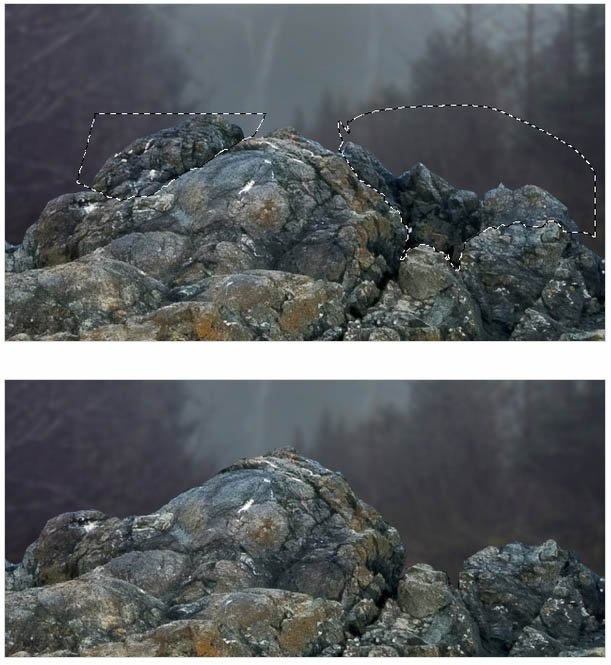
(本文来源于图老师网站,更多请访问http://m.tulaoshi.com/ps/)12、套索工具选择下图所示的岩石,然后右键选择“通过拷贝的图层”。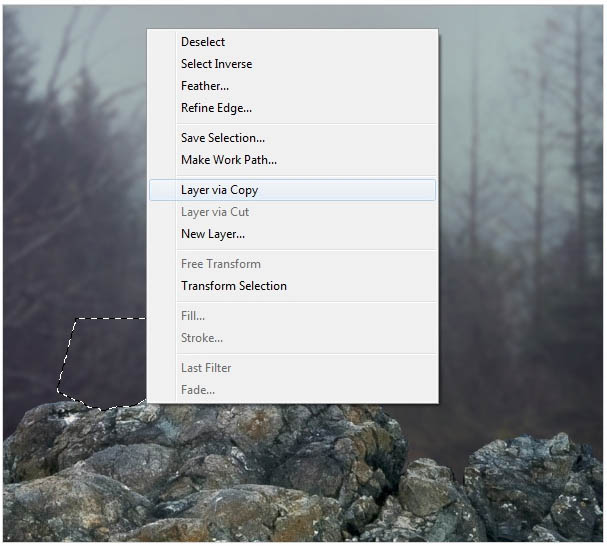
13、然后调整岩石的大小,如下图。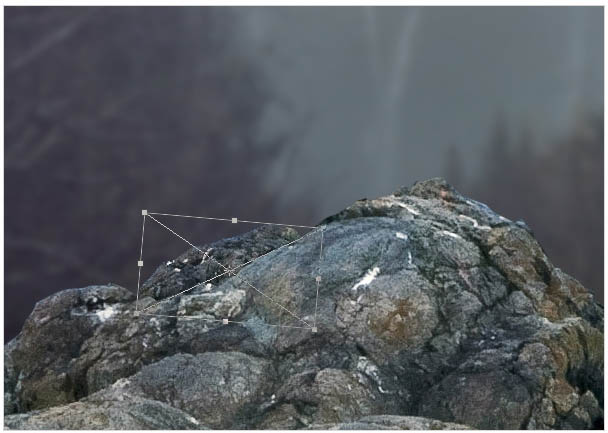
14、选择大岩石图层,选择菜单:滤镜 模糊 高斯模糊,数值如下图。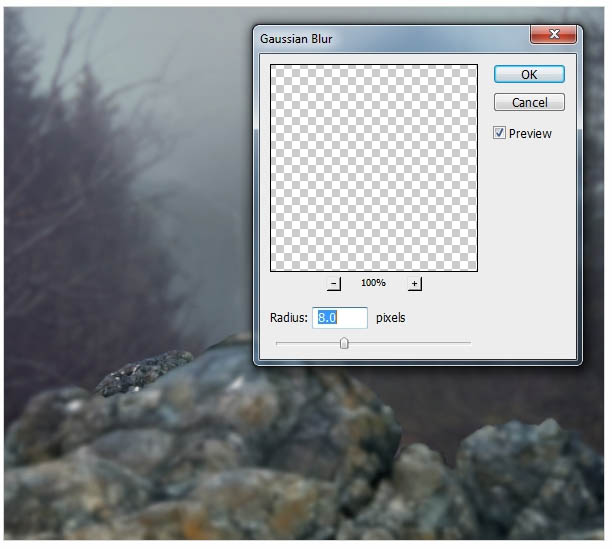
15、在滤镜蒙版上用黑色画笔把需要清晰的部分涂出来,如下图。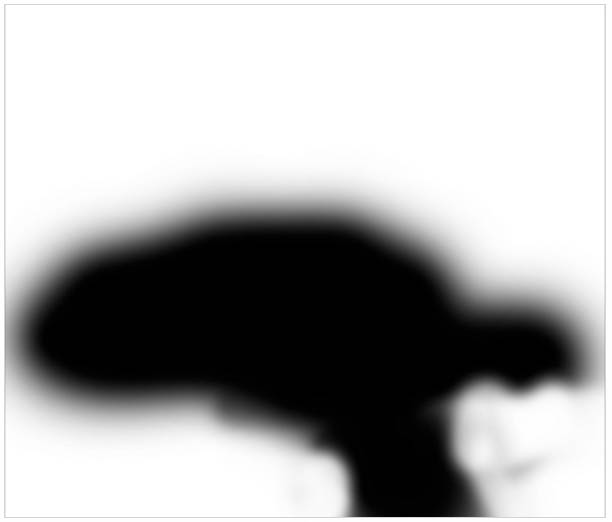

16、用图章工具消除岩石上的白色区域。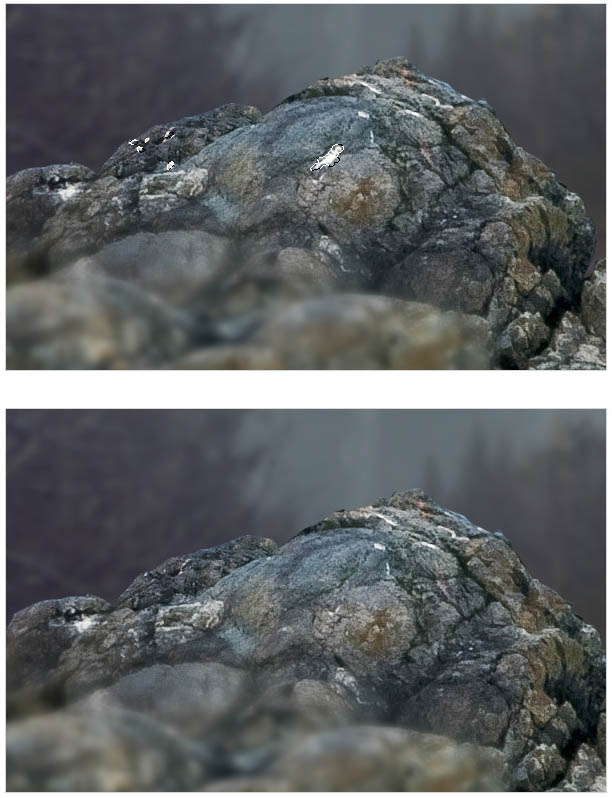
17、把所有岩石图层选择,按Ctrl + G 创建组,然后在组里创建曲线调整图层,设置如下图。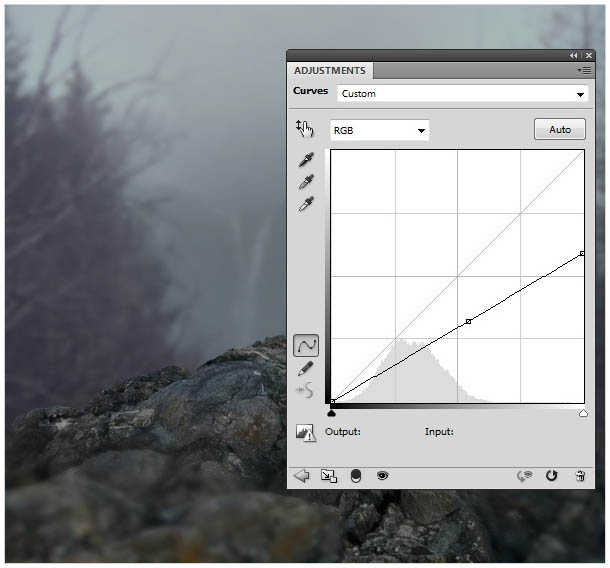
18、在曲线蒙版上,用黑色画笔把局部需要变亮的部分擦出来,如下图。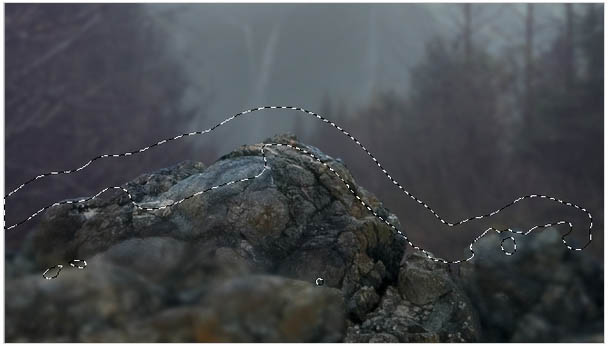
19、在图层的最上面创建曲线调整图层,把整体压暗,如下图。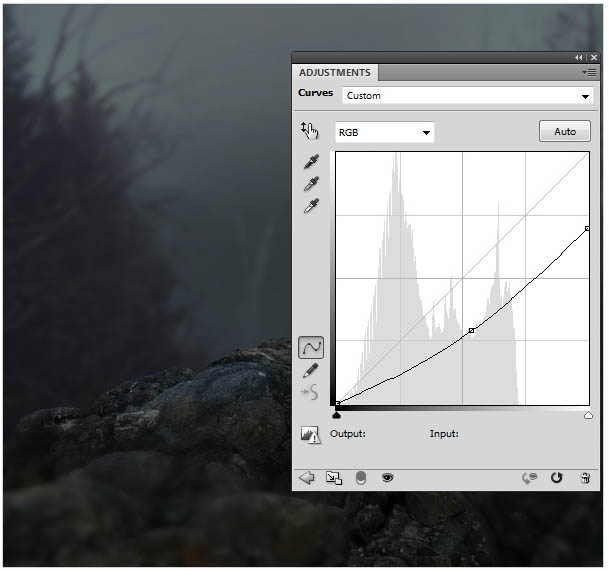
20、加入鹿素材。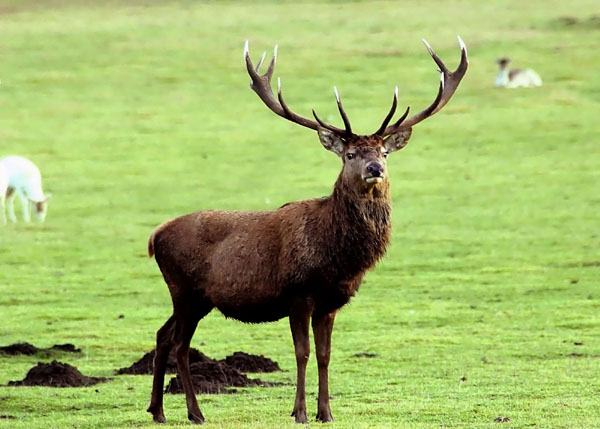
21、添加图层蒙版,用黑色画笔把中间的角涂掉。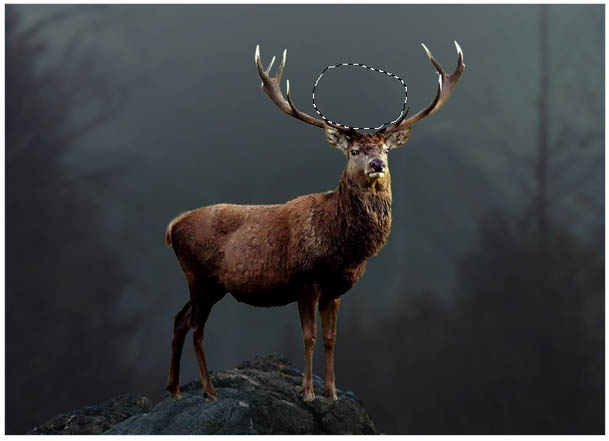
22、选择菜单:编辑 操控变形,如下图调整下面圆点位置。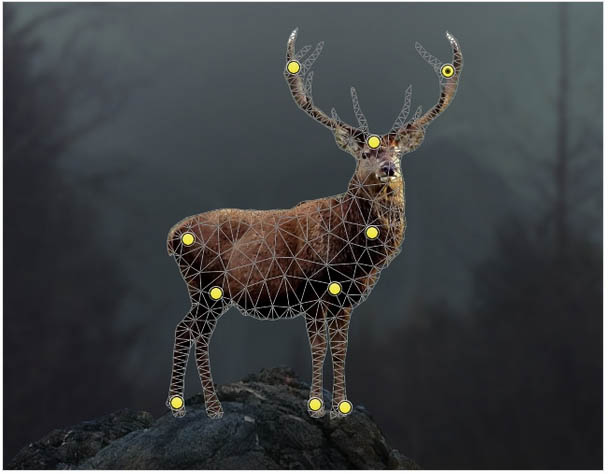
23、新建一个图层,设置如下。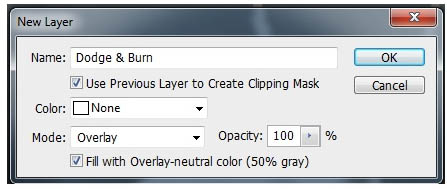
24、用加深及减淡工具处理局部明暗,如下图。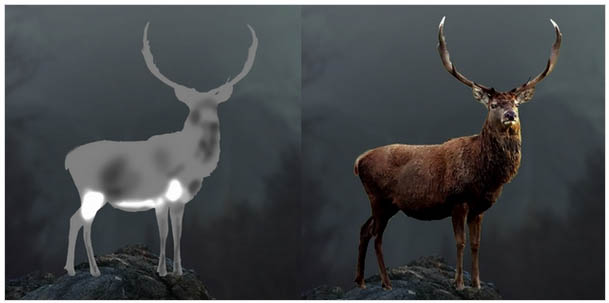
25、创建一个色彩平衡调整图层,调整中间调颜色,确定后创建剪切蒙版。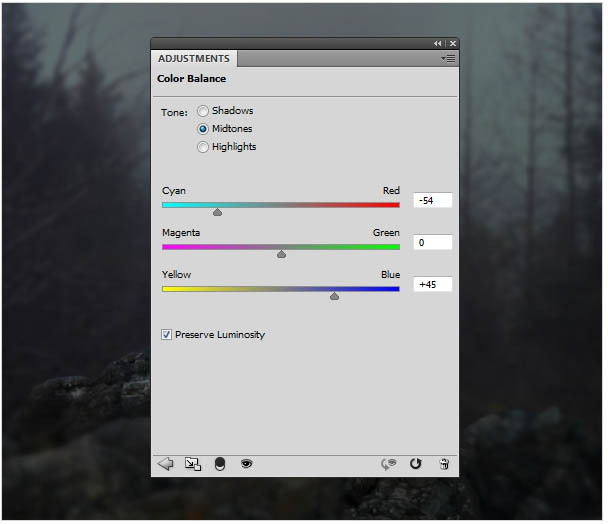
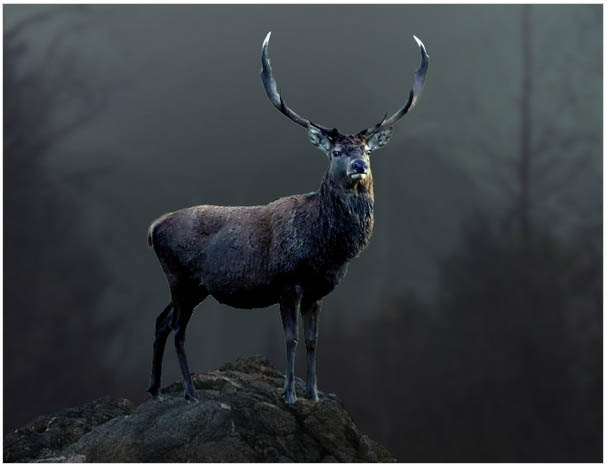
26、创建曲线调整图层,把高光区域压暗,确定后创建剪切蒙版。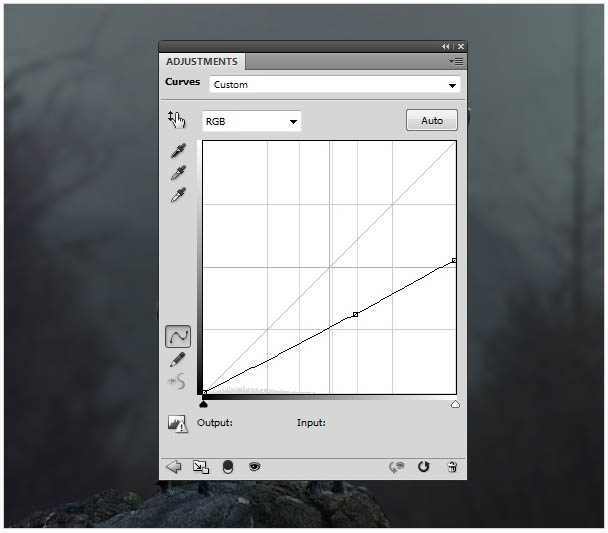
27、在曲线蒙版上用黑色画笔把需要变亮的区域擦出来,如下图。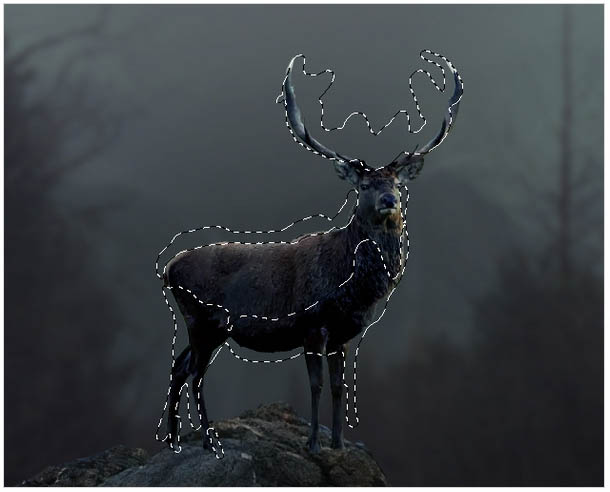
28、创建曲线调整图层,参数设置如下图,确定后创建剪切蒙版。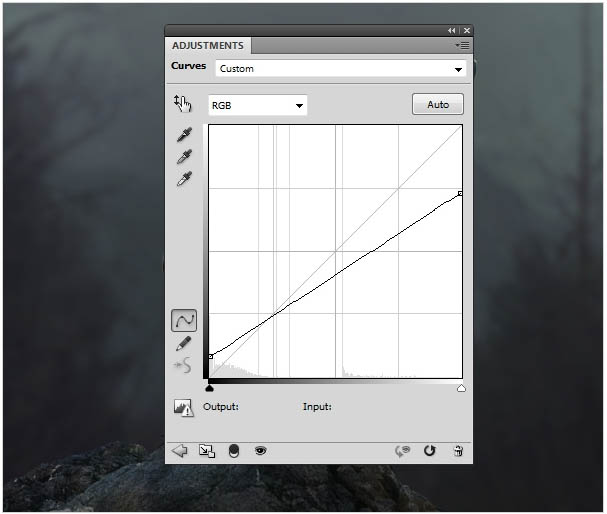
(本文来源于图老师网站,更多请访问http://m.tulaoshi.com/ps/)29、在曲线蒙版上用黑色画笔把选区部分擦出来。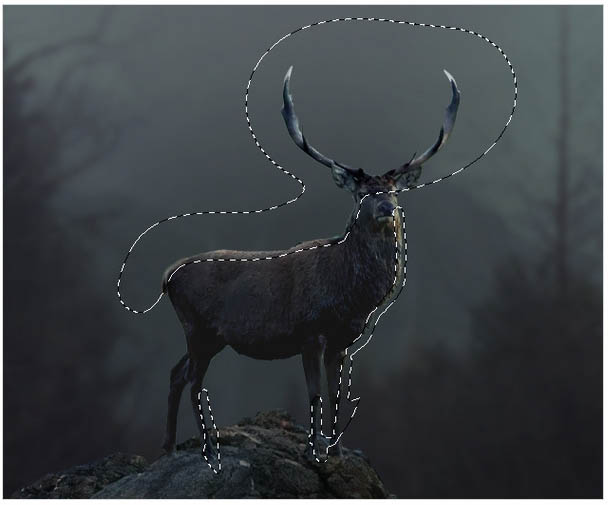
30、创建渐变映射调整图层,颜色设置为#061947,#5fb1f7,如下图,确定后把混合模式改为“柔光”。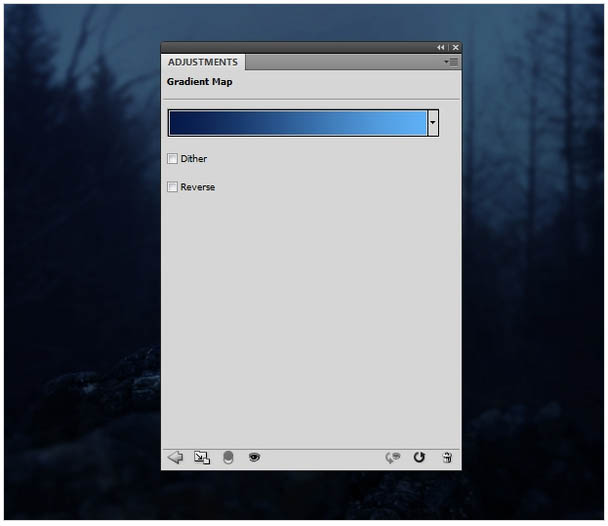
31、新建一个图层,把前景色设置为#fd802d,用画笔把鹿眼睛部分涂上颜色,如下图。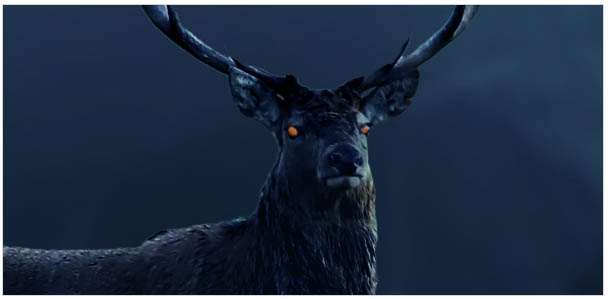
32、给当前图层添加图层样式,选择外发光,颜色设置为橙黄色:#fd802d,如下图。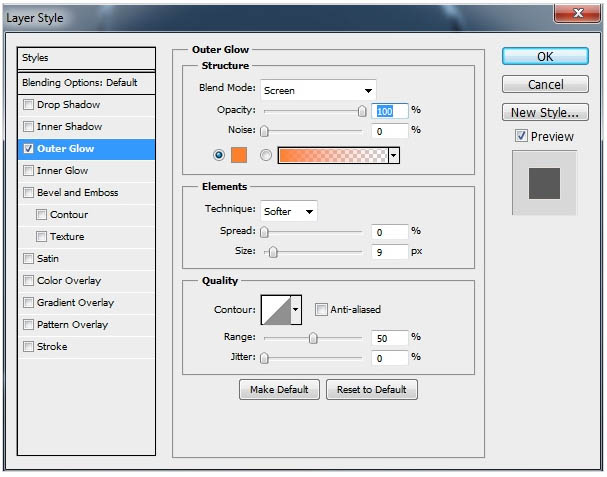
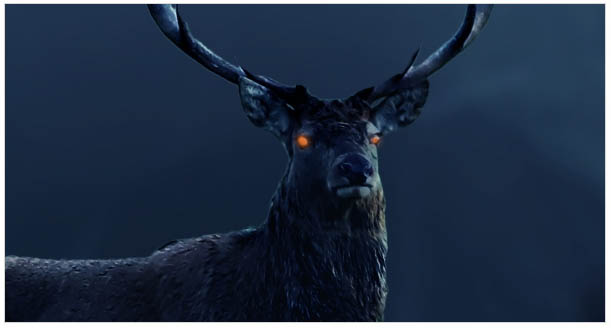
33、打开火焰素材,用套索工具选取下图所示的选区。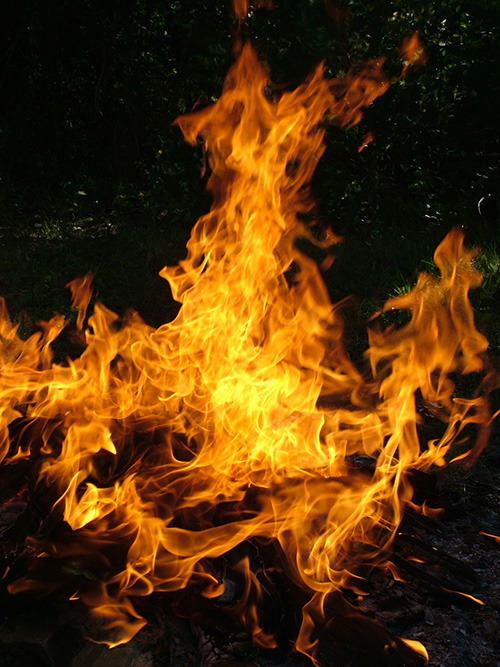
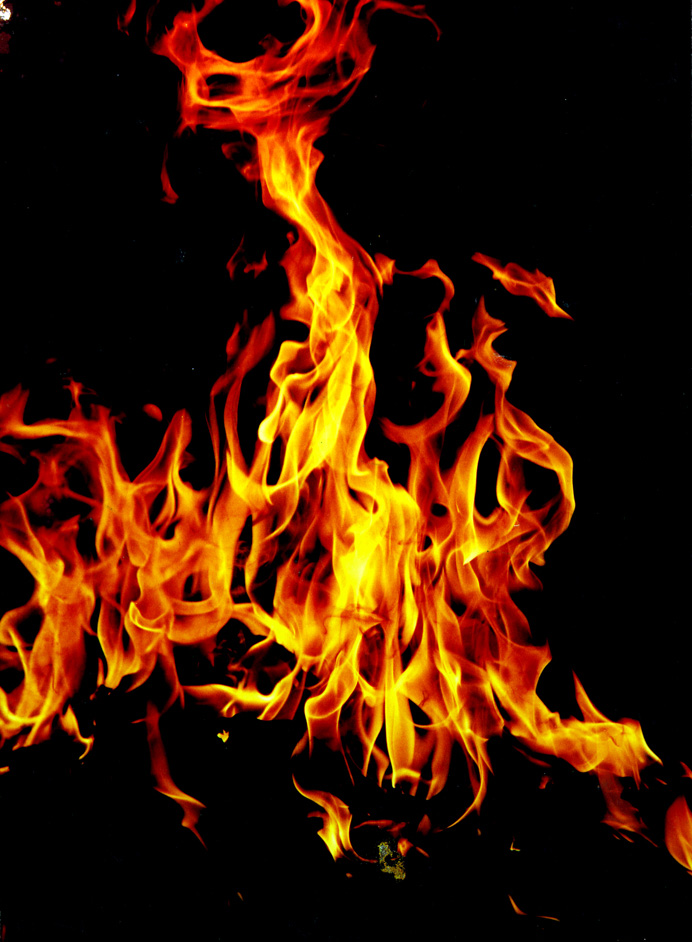
34、用移动工具把火焰拖进来,混合模式改为“滤色”,如下图。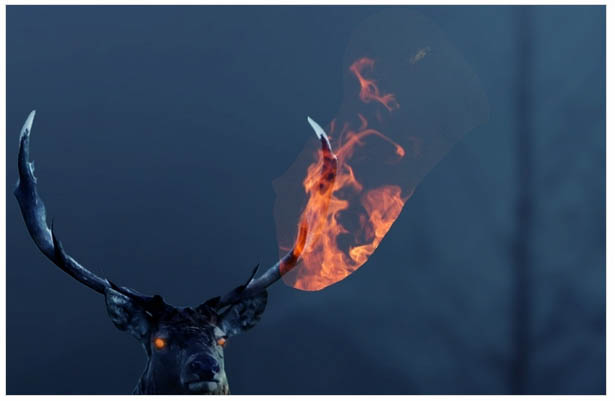
35、添加图层蒙版,用黑色画笔擦去边缘,如下图。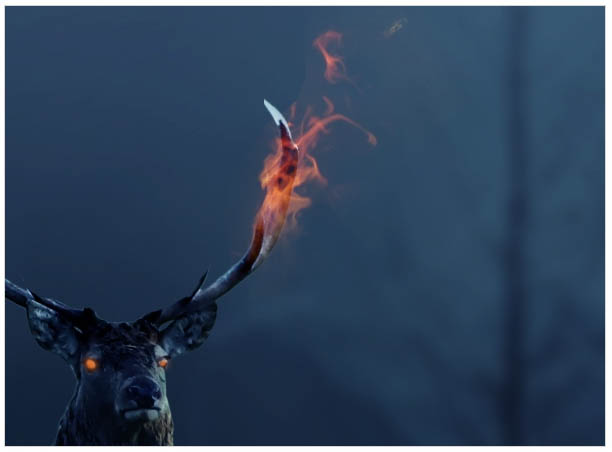
36、同上的方法复制更多的火焰进来,局部可以调整角度和大小。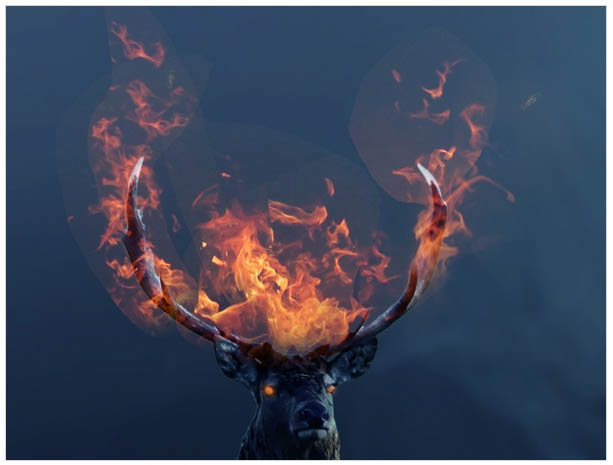
37、增加更多的火焰,效果如下图。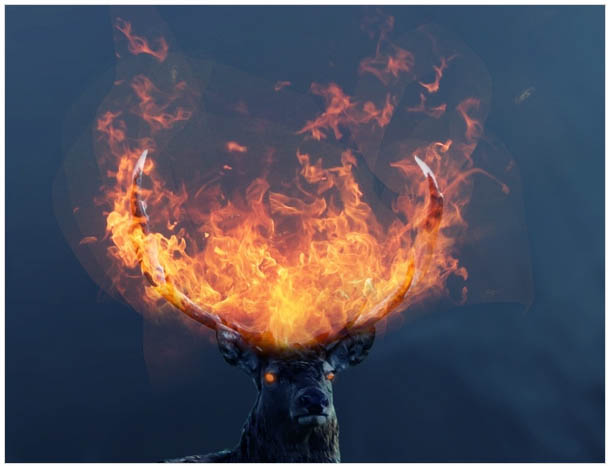
38、选择所有的火焰图层,按Ctrl + G 创建组,把组混合模式改为“滤色”,在组里创建色阶调整图层,参数设置如下图。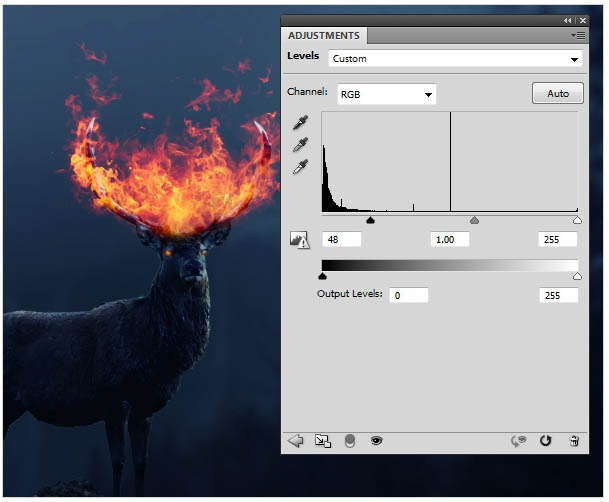
39、新建一个图层,混合模式改为“叠加”,把前景色设置为:#ea6842,用画笔把一些有反光的区域涂出来。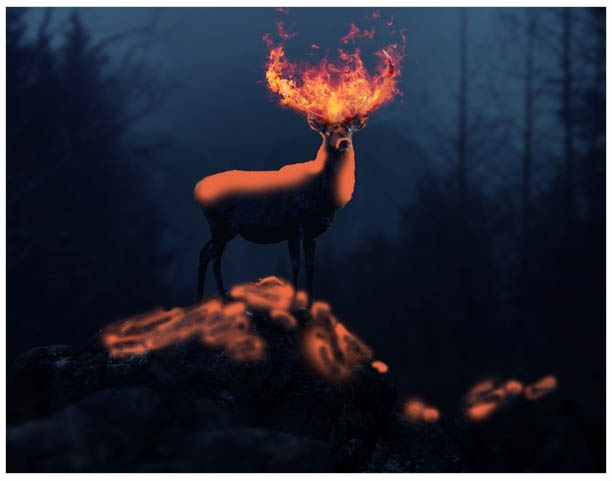
40、新建一个图层,混合模式改为“叠加”,把前景色设置为:#f6d778,用画笔涂出下图所示效果。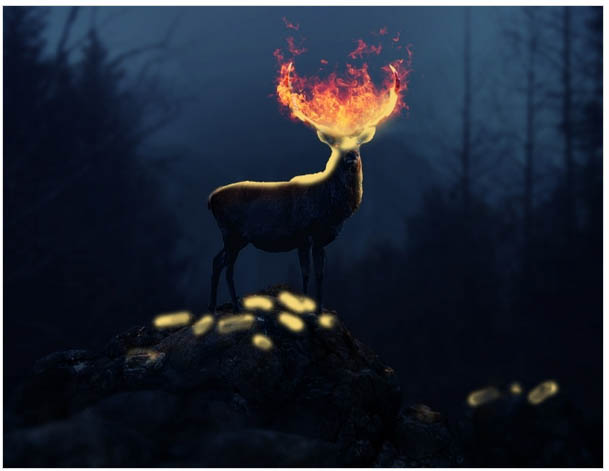
41、新建一个图层,混合模式改为“叠加”,把前景色设置为:#fc994b,用画笔涂出下图所示效果。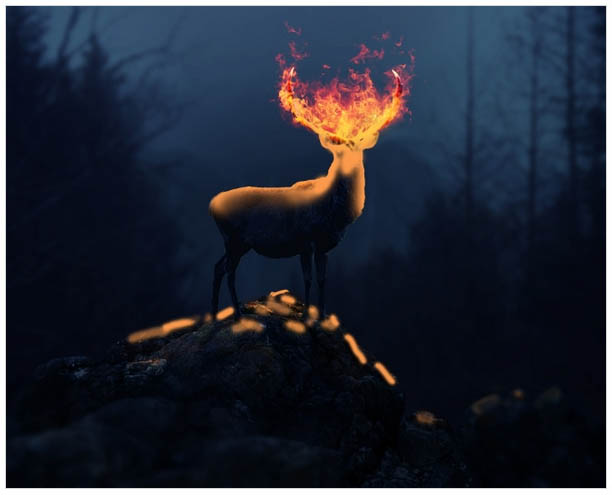
42、新建一个图层,混合模式改为“强光”,用画笔把鹿角火焰区域加强一下,如下图。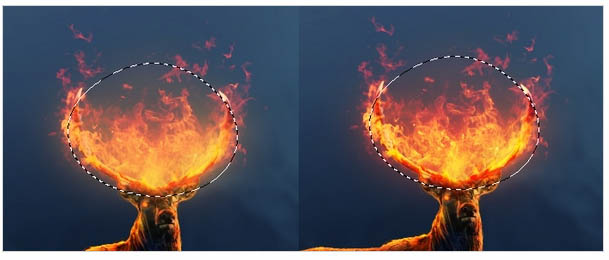
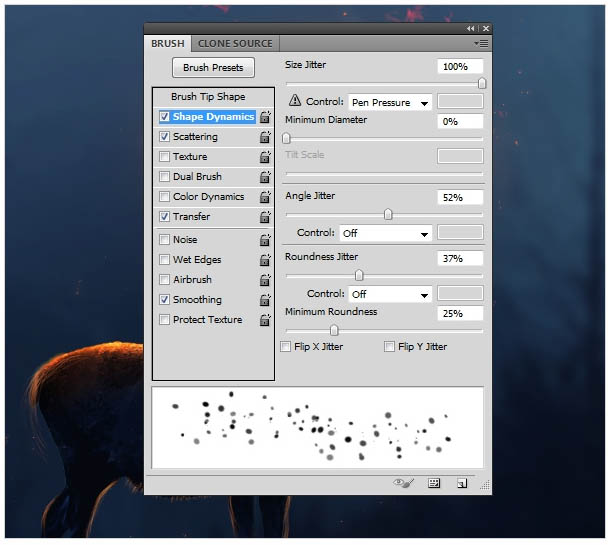
43、新建一个图层,把前景色设置为:#ea6842,选择画笔工具,按F5调出画布预设面板,设置如下图,然后给火焰边缘增加小点。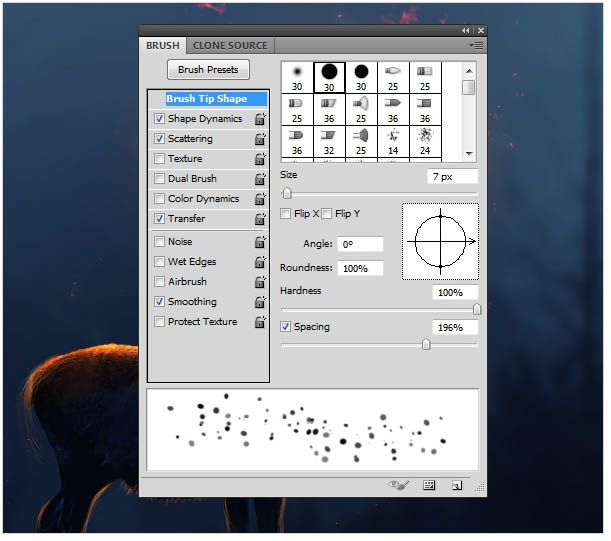
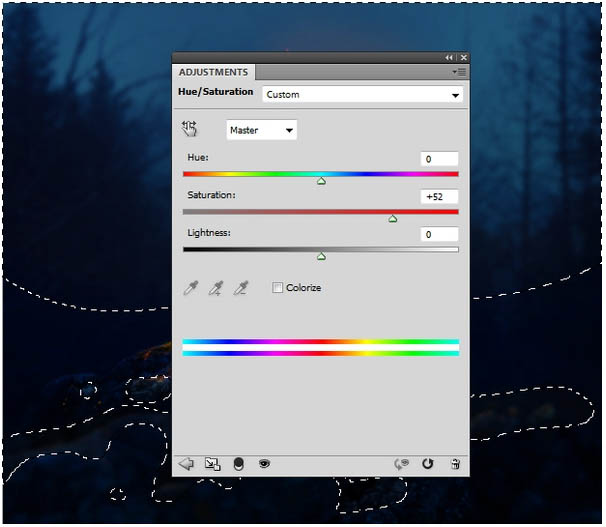
44、调整一下局部明暗及颜色,如下图。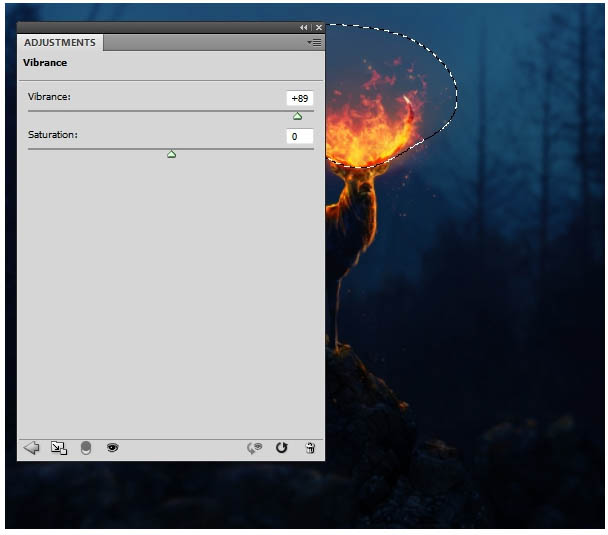
最终效果:


