岁数大了,QQ也不闪了,微信也不响了,电话也不来了,但是图老师依旧坚持为大家推荐最精彩的内容,下面为大家精心准备的PS调出照片的暗灰艺术色彩,希望大家看完后能赶快学习起来。
本教程介绍暗灰色艺术色彩调整方法,制作的时候先用曲线,等工具调整好对比度然后使用灰色填充,再加上适当的滤镜效果,色彩就调好了,感觉非常的高档!
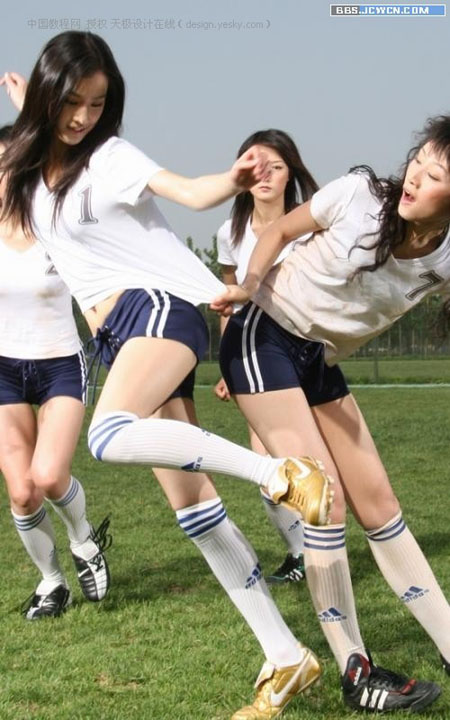
原图
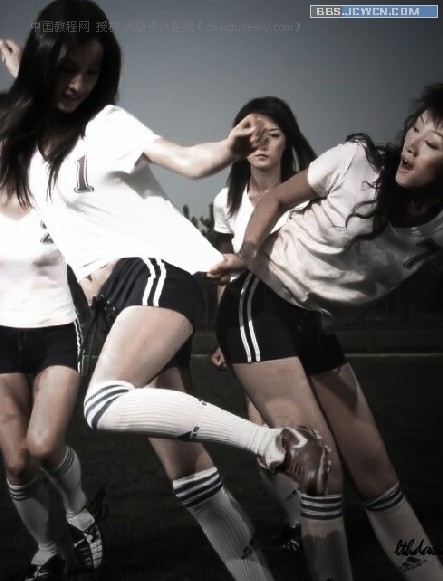
最终效果
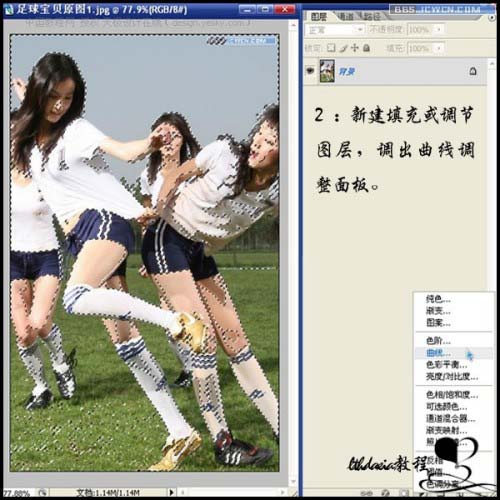
1.打开原图,Ctrl+ Alt + ~提取高光
2.然后创建调整图层选择曲线
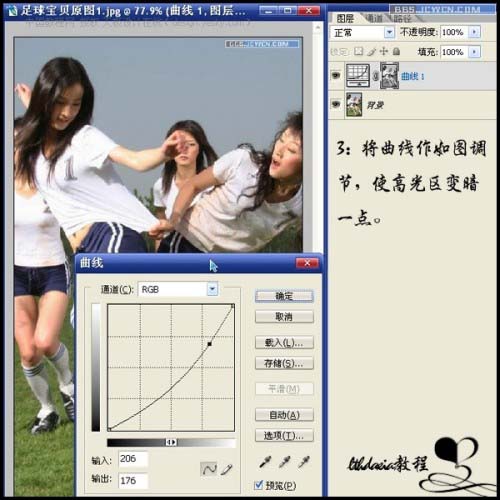
3.曲线调整参数设置如下图
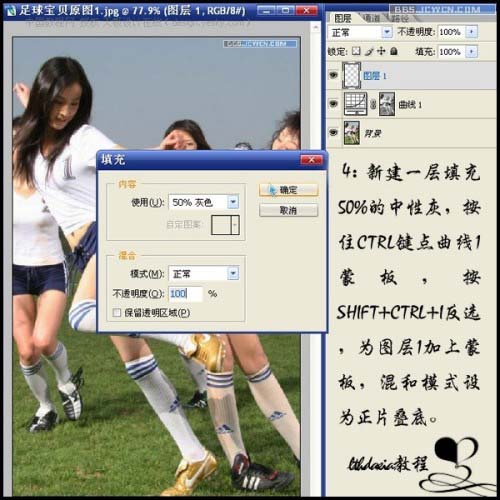
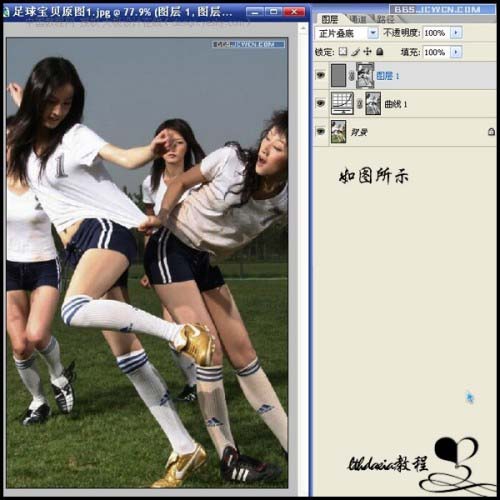
4.新建一层填充50%中性灰,按住Ctrl键点曲线1蒙板,按Shift+ Ctrl + I反选,为图层1加上蒙版,图层混合模式改为“正片叠底”
(本文来源于图老师网站,更多请访问http://m.tulaoshi.com/psxpcl/)
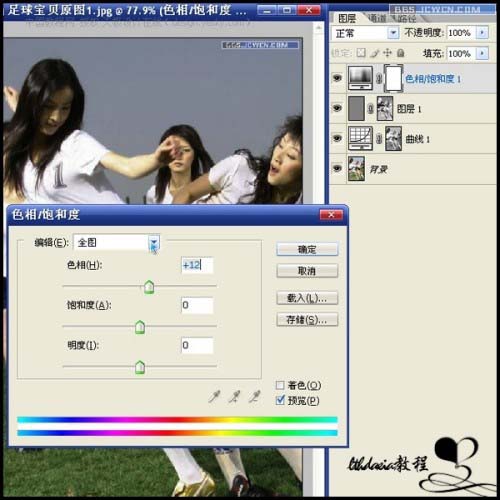
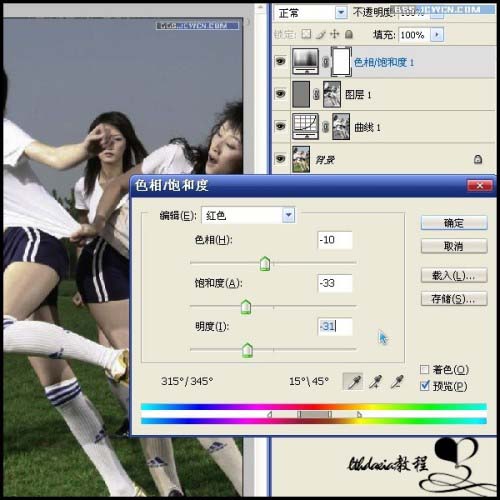
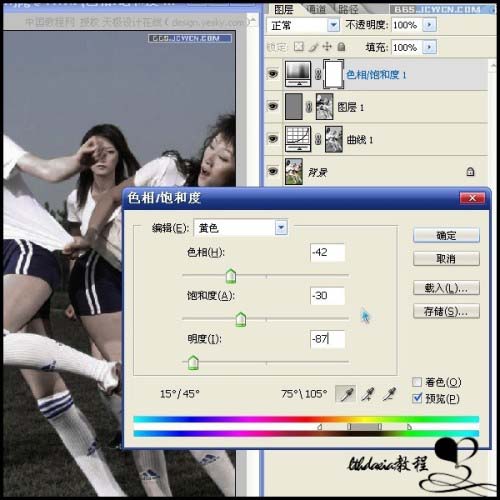
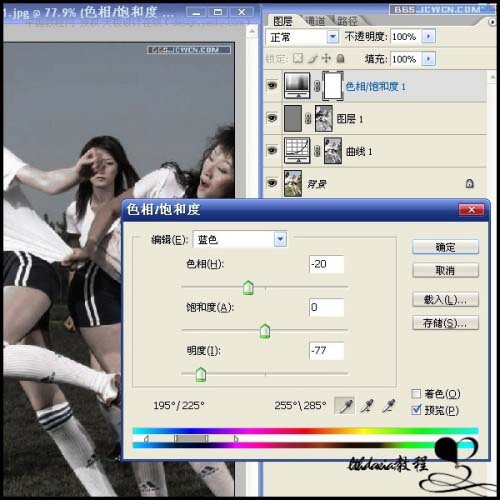
(本文来源于图老师网站,更多请访问http://m.tulaoshi.com/psxpcl/) 5.新建色相/饱和度调节层,做如下设置
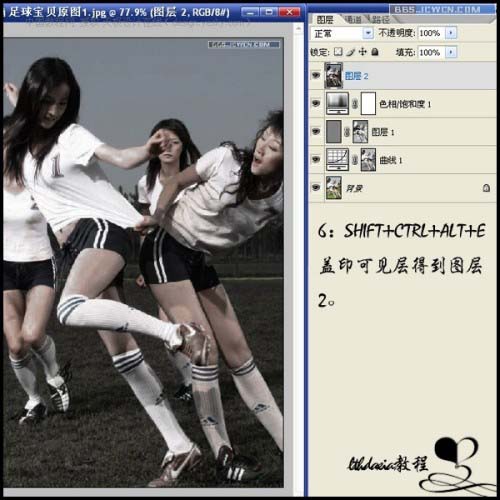
6.按Ctrl+ Shift + Alt + E盖印图层
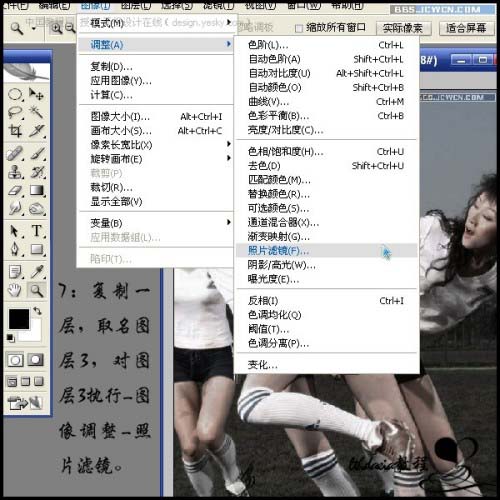
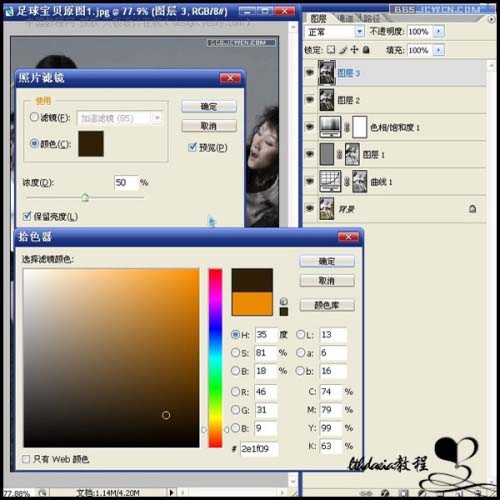
7.复制一层,命名为“图层3”,对图层3执行菜单:图像 调整 照片滤镜
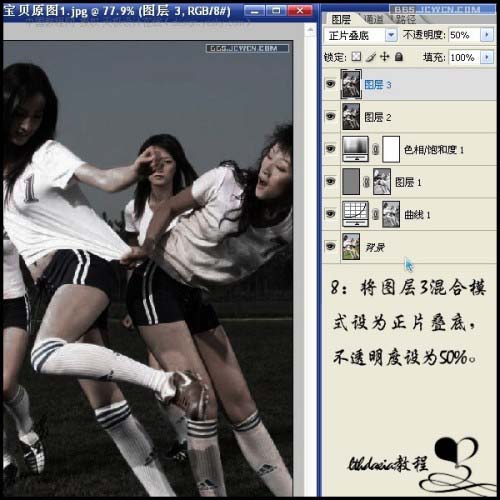
8.将图层3混合模式改为“正片叠底”,不透明度改为:50%
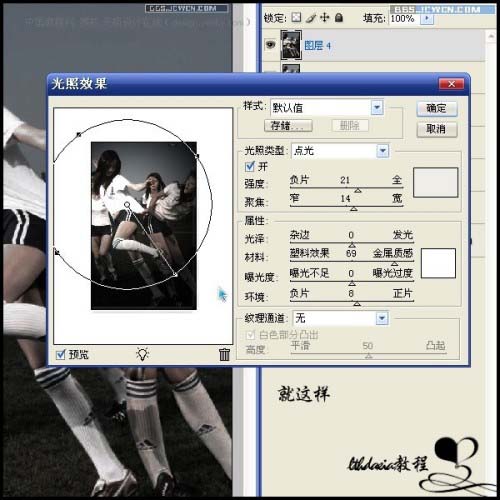
9.再次盖印图层得到图层4,对图层4执行菜单:滤镜 渲染 光照效果,为图像增加暗角。
最终效果


