今天图老师小编给大家展示的是Photoshop简单给黑白人像上色,精心挑选的内容希望大家多多支持、多多分享,喜欢就赶紧get哦!
本教程介绍黑白照片上色的一些基础知识。图片上色的时候有很多不确定性,因为不知道到底原来图片的真实色彩。只能按照大致的猜测及平时的配色习惯来上色。
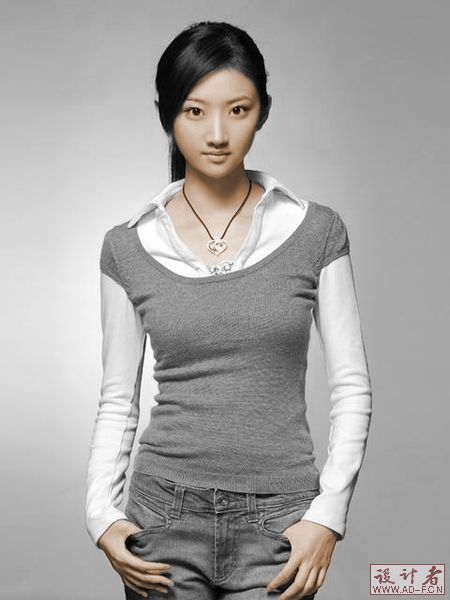
原图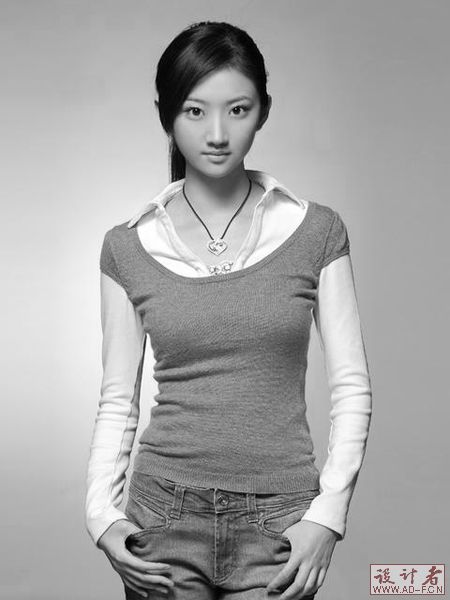
最终效果
1、打开黑白照片,将图像模式转换为RGB,用选择工具将人物皮肤部份选择起来,如图所示: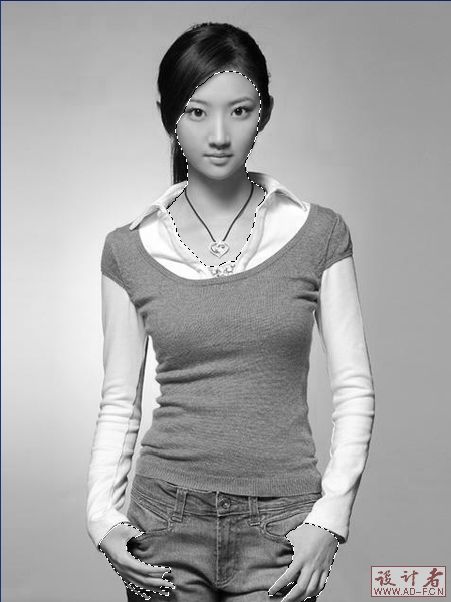
2、对选区进行羽化,数值为2:
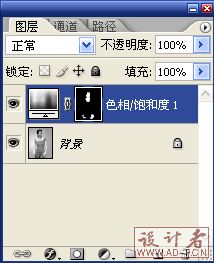
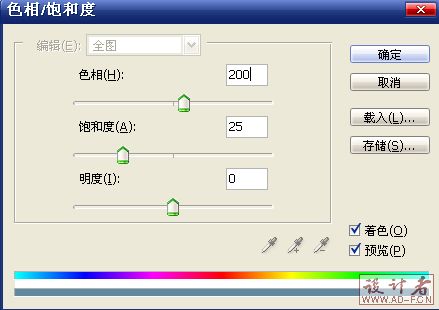
3.、图层菜单-新调整图层-色相/饱和度,为皮肤上色(注意,必须选择着色复选框)。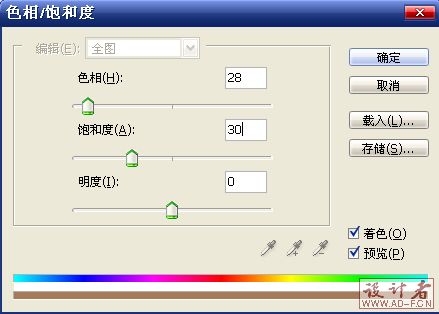
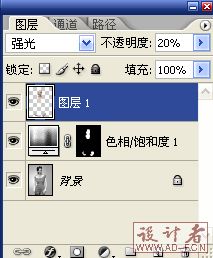
4、此时皮肤的高光和暗度不明显,新建图层,按Ctrl+Shift+Alt+E盖印图层,然后按住Ctrl键点击调整图层的蒙版,载入之前的皮肤选区,Ctrl+Shift+I反选,按Delete删除皮肤以外的区域,最后把图层混合模式改为强光,并降低图层的不透明度,此时皮肤的高光质感出来了。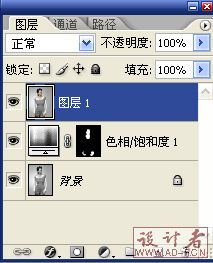

(本文来源于图老师网站,更多请访问http://m.tulaoshi.com/psxpcl/)5、同样,用选择工具将衣服选择起来,用之前的方法新建调整图层为衣服着色。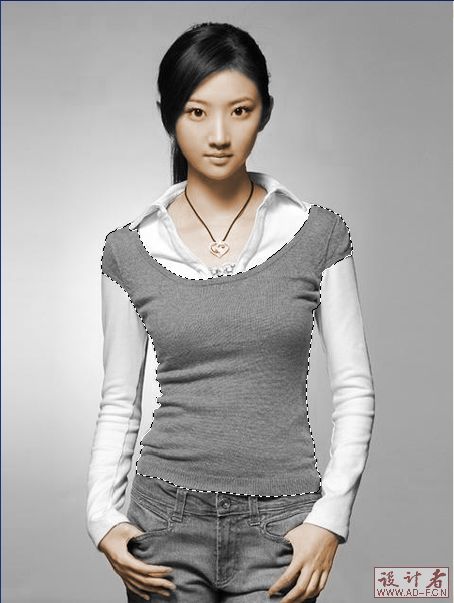
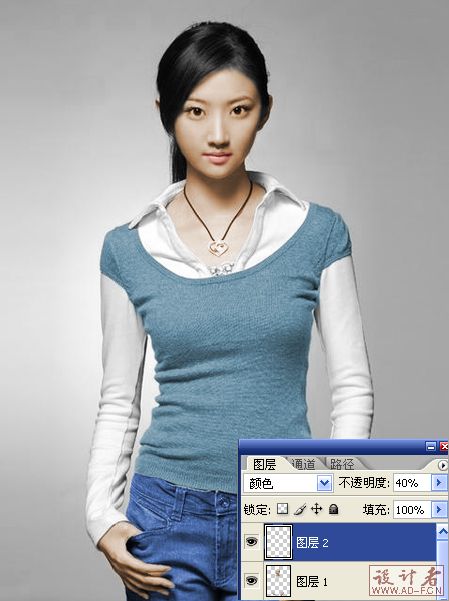
6、再将裤子选取,新建调整图层着色。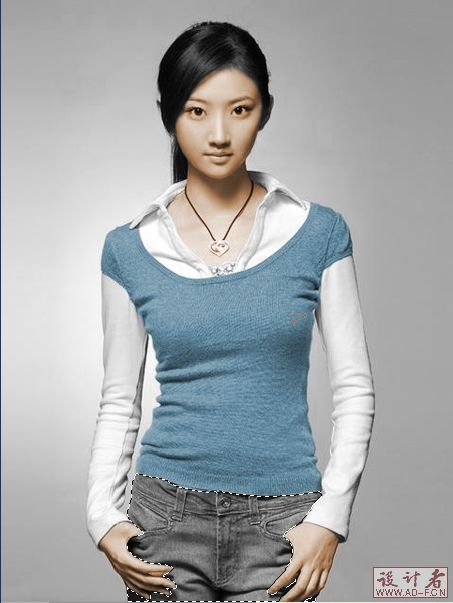
7、最后对局部进行精确修改,新建图层,在人物嘴唇处用红色填充,将图层混合模式改为颜色,降低不透明度。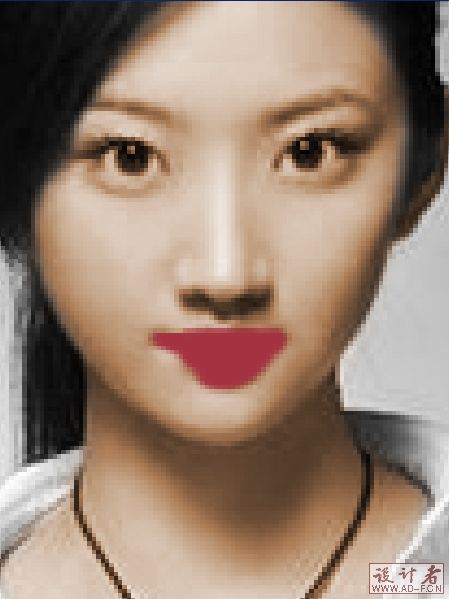
(本文来源于图老师网站,更多请访问http://m.tulaoshi.com/psxpcl/)8、同样的方法,新建图层,并在眉毛处用黑色涂抹,图层模式改为正片叠底,降低图层不透明度,得到最终效果。


