在这个颜值当道,屌丝闪边的时代,拼不过颜值拼内涵,只有知识丰富才能提升一个人的内在气质和修养,所谓人丑就要多学习,今天图老师给大家分享利用路径及图层样式制作精致的放大镜,希望可以对大家能有小小的帮助。
放大镜是质感非常强的实物,制作之前最好找一些金属放大镜的实物图,了解表面金属质感的高光及暗部构成。然后用渐变工具把这些高光及暗部设置出来,这样就可以做出非常逼真的质感效果。
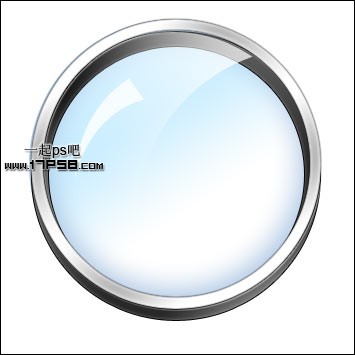
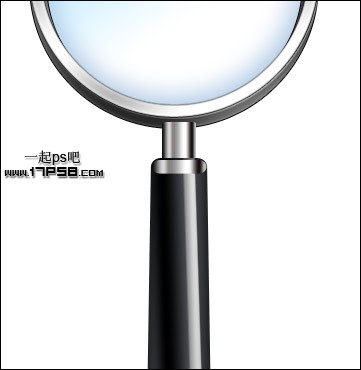
最终效果
1、新建文档600x700像素,背景白色,我们先绘制镜面,新建图层,画一个黑色正圆。
2、添加图层样式。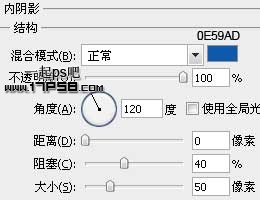

3、把图层不透明度改为35%,效果如下。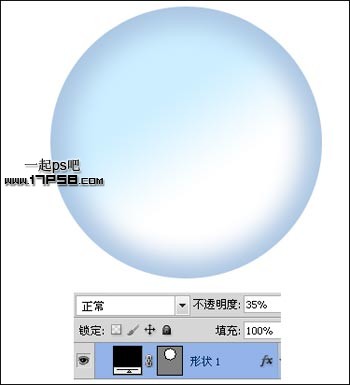
4、新建图层用钢笔画下图路径,颜色白色,图层不透明度改为80%,作为高光。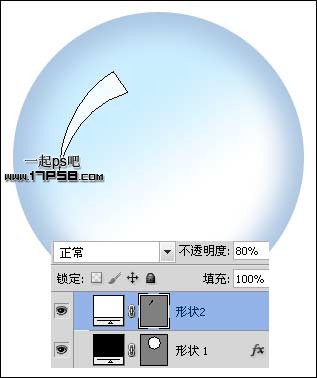
5、再新建一层,减法模式画一个黑色圆环。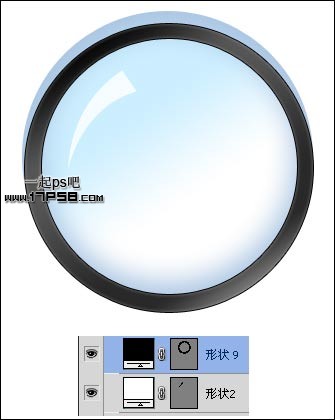
6、新建图层,减法模式画出月牙形状。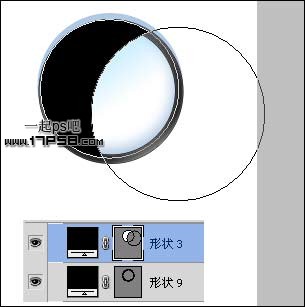
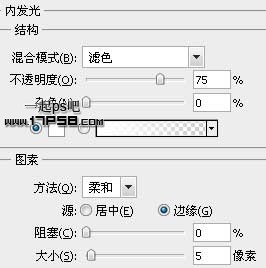
7、添加图层样式。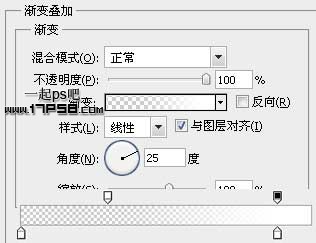
8、填充归零,不透明度改为75%,效果如下,这是另一个高光。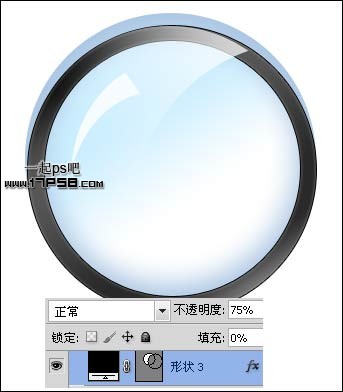
(本文来源于图老师网站,更多请访问http://m.tulaoshi.com)9、新建图层减法模式画一个圆环,为了让童鞋们看清楚位置,我选择红色。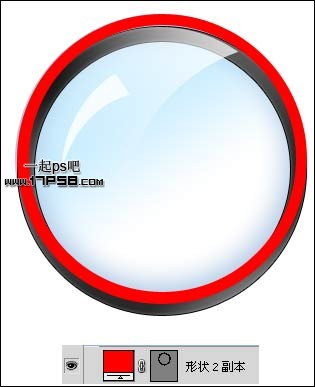
10、添加图层样式。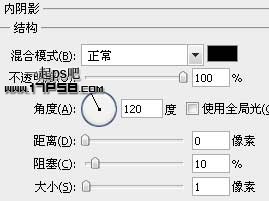
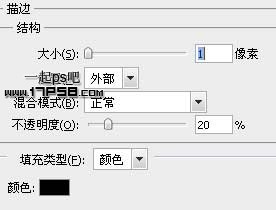
(本文来源于图老师网站,更多请访问http://m.tulaoshi.com)11、镜面我们做完了,下面制作镜柄。新建图层画一个半径5像素的圆角矩形。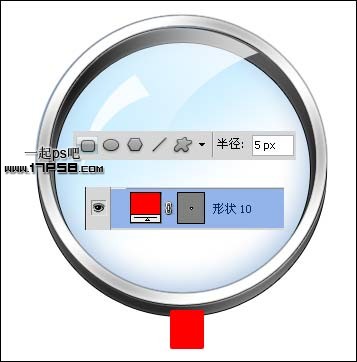
12、添加图层样式。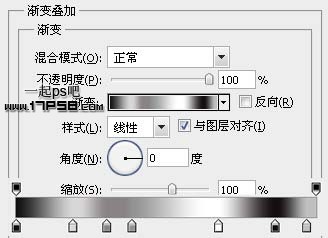
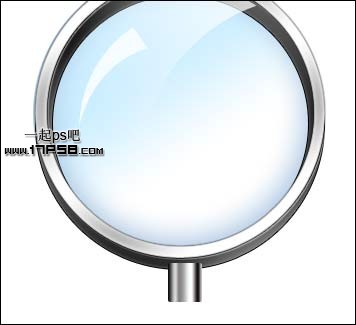
13、新建图层画一半径10像素的圆角矩形。
14、Ctrl+T把底端拉大些。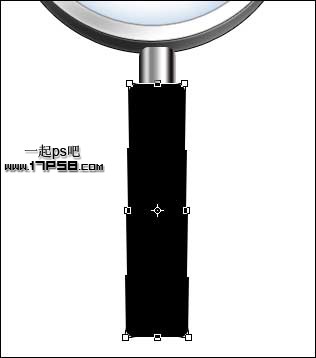
15、添加图层样式。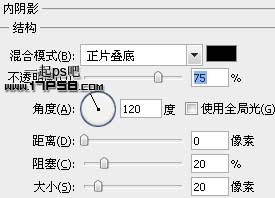

16、新建图层画一红色圆角矩形。
17、添加图层样式。
18、新建图层减法模式画下图所示红色形状。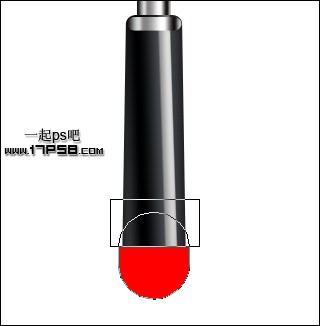
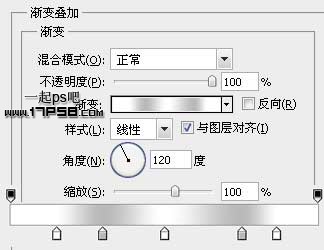
19、图层样式就是渐变叠加,和以前步骤基本都一样,不截图了,类似下图效果。
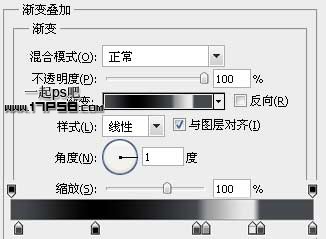
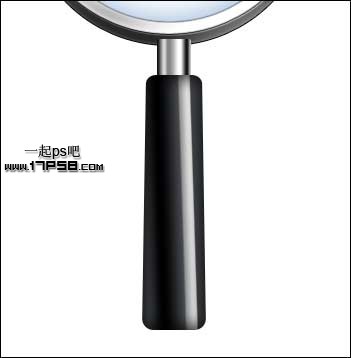
20、剩下的就是新建图层画一圆角矩形,添加渐变叠加样式,然后复制一层,填充归零,往下挪一段距离。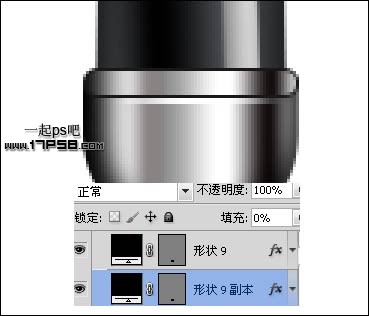
再添加一些阴影,完成最终效果。