下面这个巧用照片滤镜还原严重偏色的人物图片教程由图老师小编精心推荐选出,过程简单易学超容易上手,喜欢就要赶紧get起来哦!
制作的过程中有任何疑问可以加作者的QQ:284500445。
原图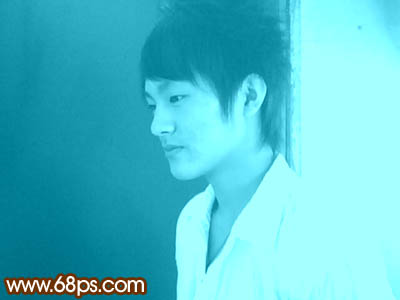
最终效果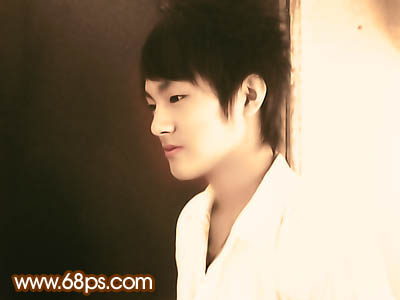
(本文来源于图老师网站,更多请访问http://m.tulaoshi.com/psxpcl/)1、打开原图。
2、新建曲线图层RGB:79/94;红:57/118;绿:142/76;蓝:181/106。
(本文来源于图老师网站,更多请访问http://m.tulaoshi.com/psxpcl/)3、新建图层,填充黑色。混合模式改为叠加,不透明度改为50%。
4、新建图层,按Ctrl + Alt + Shift + E盖印图层,然后执行:滤镜—-模糊—高斯模糊,4像素,填加蒙版,在蒙版上填充黑色,再用白色画笔在人物脸及皮肤上有杂色的地方涂抹,给人物磨皮。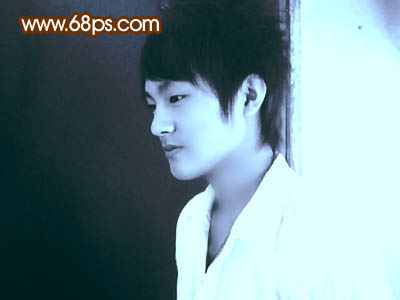
5、新建图层,前景色设为#735082,用画笔涂抹人物嘴唇,给人物嘴唇上色。然后图层模式改为“叠加”,图层不透明度改为:37%,效果如下图。
6、新建照片滤镜图层调整图层,选上加温滤镜,浓度90%。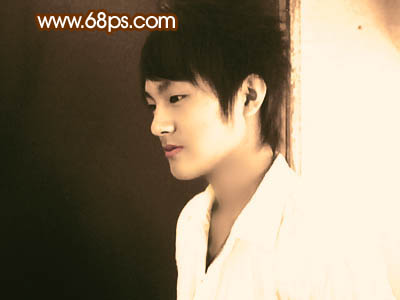
7、新建曲线图层RGB:94/113;红:83/109。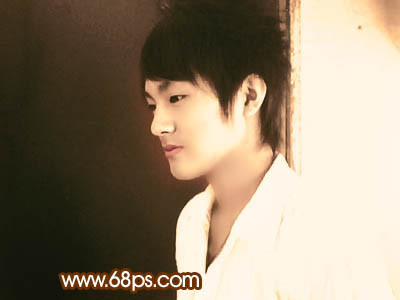
8、新建图层,盖印图层。然后用TOPAZ,给人物适当的锐化,完成最终效果。
(本文来源于图老师网站,更多请访问http://m.tulaoshi.com/psxpcl/) 


